How Many Clear Coats for Car
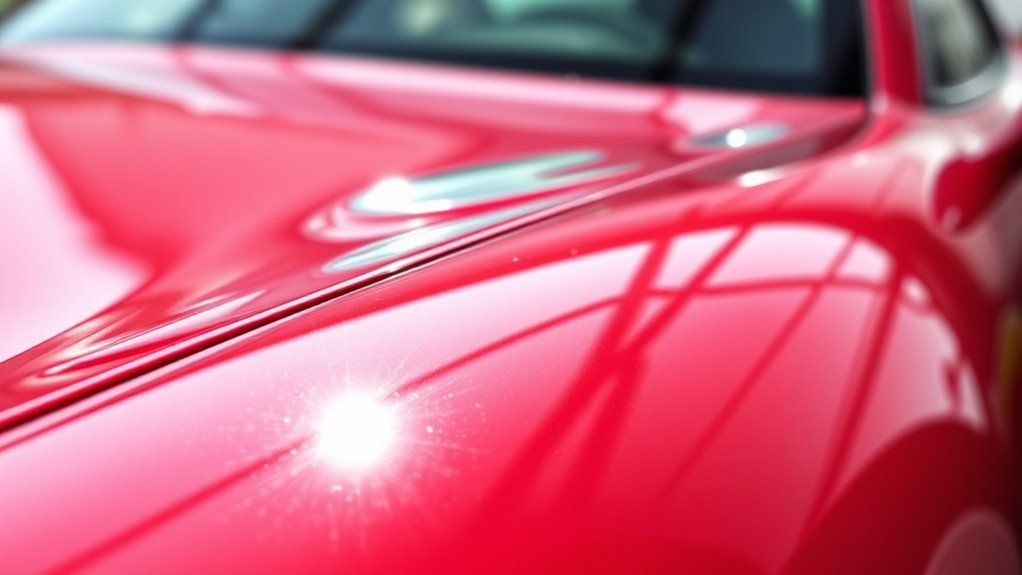
You should apply at least two to three clear coats on your car for ideal protection and a brilliant finish. This layer guarantees a durable shield against environmental damage while enhancing the paint’s appearance. Make certain to prepare the surface properly and use a quality spray gun for even application. After you finish, maintaining your clear coat becomes essential for longevity. Discover more about the preparation and care to keep your car looking its best.
##
If you’re looking to achieve a flawless finish on your car with clear coats, you’ve come to the right place. This article will guide you through the essential information on applying clear coats, including the recommended number of layers, proper application techniques, and common pitfalls to avoid. By the end, you’ll have a clear understanding of how to enhance your car’s durability and appearance, ensuring it remains protected against UV rays and environmental damage. Get ready to transform your vehicle and enjoy the confidence of hitting the open road with a stunning, well-protected finish.
Preparation For Cleaning
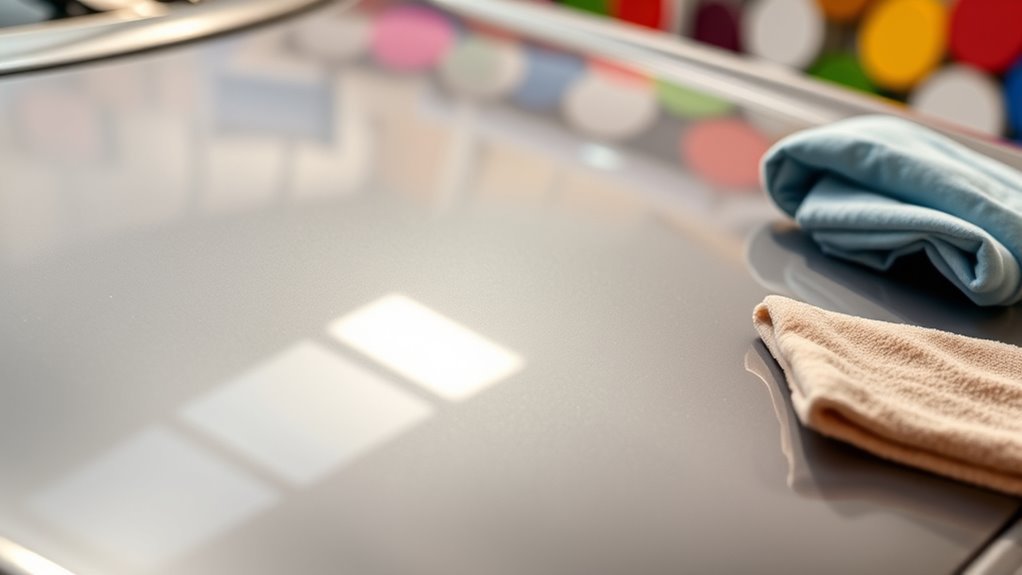
Before you plunge into the cleaning process, it’s vital to gather the right materials and create an ideal workspace. Start by selecting a location that’s well-ventilated and free from debris. This guarantees you can focus on effective car detailing without distractions. Next, collect your cleaning supplies, including microfiber towels, a soft brush, and a quality car soap. Proper surface preparation is essential; make sure your vehicle is parked in the shade to prevent drying spots from the sun. Remove any loose dirt or debris to avoid scratching the paint during the detailing process. Finally, check for any imperfections on the surface that may need special attention. This groundwork sets the stage for a successful cleaning experience. Also, wearing gloves is recommended to protect your hands while handling cleaning agents and materials, ensuring safety during the process protect hands during cleaning.
Tools and Chemical Required
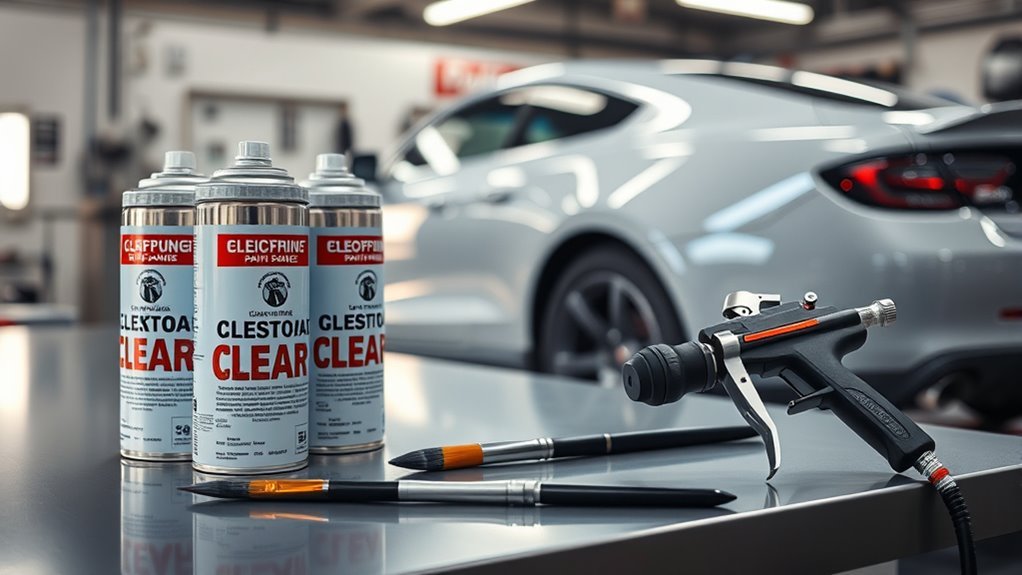
Having the right tools and chemicals is vital for achieving a flawless finish on your car. A quality spray gun is essential for applying your clear coat evenly. You’ll also need a few other items to guarantee a smooth process.
| Tool/Chemical | Purpose |
|---|---|
| Spray Gun | Applies clear coat |
| Clear Coat | Provides a protective layer |
| Paint Thinner | Cleans the spray gun |
| Sandpaper (2000 grit) | Prepares the surface |
| Masking Tape | Protects areas from overspray |
Using these tools will help you achieve that perfect shine while making certain your car’s paint is well protected. Invest in quality materials, and you’ll enjoy the freedom of a professional-looking finish.
How to Clean:
How to Clean Your Car for Clear Coat Application
Cleaning your car properly before applying a clear coat is essential for achieving a smooth and long-lasting finish. Follow these detailed steps to ensure your vehicle is ready for the clear coat.
Step 1: Wash the Car Thoroughly
- Gather Supplies: Collect a pH-balanced car shampoo, a bucket, a microfiber wash mitt, and a hose or pressure washer.
- Rinse the Car: Start by rinsing the entire car to remove loose dirt and debris.
- Prepare the Wash Solution: Fill a bucket with water and add the recommended amount of pH-balanced car shampoo.
- Wash the Car: Using the microfiber wash mitt, wash the car section by section, starting from the top and working your way down. This prevents dirt from being dragged across the paint.
- Rinse Again: Rinse each section thoroughly before moving to the next to avoid soap drying on the surface.
Step 2: Dry the Car
- Use a Microfiber Towel: After rinsing, take a clean microfiber towel and gently dry the car.
- Prevent Water Spots: Make sure to dry all areas, especially crevices where water can accumulate.
- Check for Streaks: Wipe any streaks or spots that may have formed during the washing process.
Step 3: Focus on Contaminated Areas
- Inspect the Wheels and Undercarriage: Pay special attention to these areas, as they tend to collect more grime and contaminants.
- Use a Separate Mitt or Brush: For the wheels and undercarriage, use a separate wash mitt or brush to avoid transferring dirt back to the painted surfaces.
Step 4: Clay the Surface (if necessary)
- Assess the Surface: After drying, run your hand over the paint to feel for any embedded particles.
- Prepare the Clay Bar: If the surface feels rough, use a clay bar kit, which usually includes a lubricant.
- Apply Lubricant: Spray the lubricant onto a small section of the paint.
- Use the Clay Bar: Gently rub the clay bar over the lubricated area until it feels smooth.
- Wipe Clean: After claying, wipe the area with a clean microfiber towel to remove any residue.
Step 5: Final Inspection
- Look for Remaining Contaminants: Inspect the entire vehicle for any spots that may have been missed.
- Ensure Surface is Clean: Make sure the surface is free of any wax, grease, or contaminants before proceeding to the clear coat application.
To achieve the best results, using microfiber cloths throughout the cleaning process helps lift dirt effectively without scratching the paint surface.
Safety Consideration
While preparing for a clear coat application, it’s essential to take into account safety measures to protect yourself and your vehicle. Start by working in a well-ventilated area; this reduces inhalation of harmful fumes from the clear coat. Use a high-quality respirator mask to shield against volatile organic compounds (VOCs) that may be released during the process. Don’t forget to wear gloves and goggles to protect your skin and eyes from any splashes or overspray. Additionally, make sure you’ve removed any flammable materials nearby, as clear coats can be flammable. By prioritizing these safety considerations, you’ll enhance your paint protection efforts while keeping yourself safe during the application process. Stay informed and prepared for a successful clear coat project.
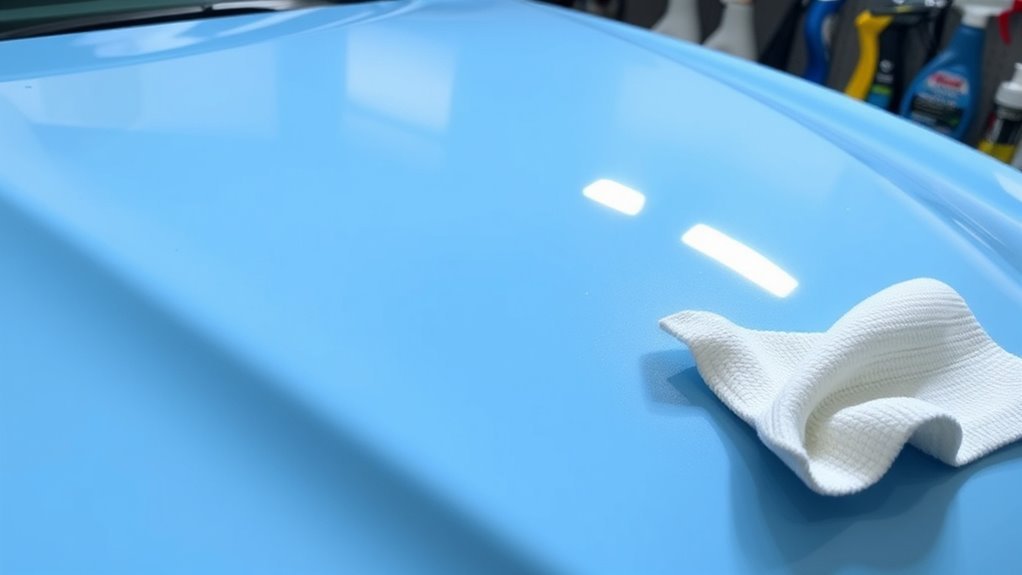
Tips to keep clean for long time
Although maintaining a clean surface may seem intimidating, there are effective strategies to guarantee your clear coat lasts longer and remains pristine. By implementing simple car maintenance routines and protective measures, you can enjoy a gleaming finish for years to come. Here are a few tips to take into account:
- Regularly wash your car using a pH-balanced soap.
- Apply a high-quality wax every few months to shield the clear coat.
- Park in shaded areas or use car covers to minimize UV exposure.
These practices not only enhance the longevity of your clear coat but also prevent environmental contaminants from damaging the surface. Using gentle, non-abrasive cleaners helps maintain the finish without causing dullness or damage. By committing to these guidelines, you’ll make certain your vehicle stays looking its best, giving you the freedom to enjoy the open road without worry.
Frequently Asked Questions
How Long Does Clear Coat Last on a Car?
Clear coat longevity typically lasts between 2 to 5 years, depending on various factors like environmental conditions and maintenance. Regular clear coat maintenance, such as washing your car frequently and applying a sealant, can extend its lifespan. UV exposure, road debris, and harsh weather can wear it down faster, so keeping your vehicle protected is essential. By staying proactive, you can enjoy a lasting, glossy finish for longer.
Can You Apply Clear Coat Over Old Paint?
Yes, you can apply clear coat over old paint, but it’s essential to guarantee paint compatibility. Start by preparing the old paint surface properly—clean it, sand it lightly, and remove any contaminants. This preparation helps the new clear coat bond effectively. If the underlying paint is in good condition, you’ll achieve a smooth, durable finish that enhances your car’s appearance and protects it from environmental damage.
What Happens if I Don’t Apply Enough Clear Coats?
If you don’t apply enough clear coats, you’ll compromise the clear coat durability and paint adhesion. A thin layer can lead to increased susceptibility to scratches, UV damage, and environmental contaminants, affecting your car’s appearance and longevity. Insufficient coats may also cause uneven gloss and peeling over time. To guarantee ideal protection and a smooth finish, it’s vital to apply the recommended number of clear coats, allowing your vehicle to shine and endure.
Is It Necessary to Sand Between Clear Coat Layers?
Yes, it’s essential to sand between clear coat layers! Think of it as the secret handshake to release exceptional clear coat adhesion. Using proper sanding techniques, like 800-grit paper, creates a surface that promotes bonding, ensuring your finish isn’t just good but spectacular. Without this important step, you risk a finish that peels or looks lackluster. So, don’t skip it—give your car the freedom to shine with layers that truly adhere!
How Do Weather Conditions Affect Clear Coat Application?
Weather conditions greatly impact clear coat application. High temperatures can accelerate drying, leading to uneven finishes, while low temperatures may result in poor adhesion. Humidity levels also play a vital role; high humidity can cause the clear coat to trap moisture, resulting in cloudiness or fish eyes. It’s important to monitor these factors to guarantee the best application. Ideally, aim for moderate temperatures and low humidity for the best results.


