How to Reduce Cleaning Costs in Keyboard
You can reduce keyboard cleaning costs by using household items like vinegar, baking soda, or a mix of water and isopropyl alcohol instead of buying pricey cleaners. Setting a quick daily wipe routine stops dirt build-up, while keyboard covers prevent crumbs and spills, cutting down deep cleans. Compressed air and DIY tools like soft brushes and cotton swabs help keep keys debris-free without pro help. Keep your keyboard cleaner longer, and you’ll find even more ways to save and maintain it efficiently.
Use Household Items for Effective Keyboard Cleaning
Although professional cleaning products are available, you don’t need to spend extra money when household items can do the job just as well. You can create a simple vinegar solution by mixing equal parts white vinegar and water to gently wipe your keyboard’s surface. This natural cleaner cuts through grime without harsh chemicals, giving you freedom from expensive sprays. For stubborn stains or odors, sprinkle a bit of baking soda on a soft cloth and rub it lightly over the affected areas. Baking soda acts as a gentle abrasive and deodorizer, making your keyboard fresh without costing a dime. Using these common items not only saves money but also keeps your cleaning routine safe and eco-friendly, empowering you to maintain your keyboard effortlessly.
Establish a Regular Cleaning Routine
You can keep your keyboard in top shape by doing a quick daily wipe to prevent buildup. Once a week, spend a bit more time on a thorough cleaning to remove deeper dirt and debris. Sticking to this routine will save you from costly repairs or replacements down the line.
Daily Maintenance Tips
A consistent daily cleaning routine can considerably cut down on keyboard dirt buildup and extend its lifespan. By prioritizing keyboard hygiene every day, you free yourself from costly repairs and replacements later on. To keep your keyboard in top shape, follow this simple maintenance checklist:
- Wipe the keyboard surface with a microfiber cloth to remove dust and oils.
- Use compressed air to blow out crumbs and debris lodged between keys.
- Avoid eating or drinking near your keyboard to prevent sticky messes.
- Wash your hands before use to minimize dirt transfer.
Sticking to these daily habits not only preserves your keyboard but also gives you more freedom to focus on what matters—your work and creativity—without interruptions from malfunctioning equipment.
Weekly Deep Cleaning
Setting aside one day each week for a deep keyboard cleaning can prevent dirt and grime from building up, saving you money on repairs down the line. By establishing a weekly checklist, you create a clear routine that keeps your keyboard in top shape without hassle. Focus on removing keycaps carefully, cleaning beneath them, and wiping the surface thoroughly. Adjust your cleaning frequency based on your environment—dustier spaces may need more attention. Sticking to this routine gives you the freedom to work without worrying about sticky keys or malfunctions. Regular deep cleaning not only extends your keyboard’s lifespan but also reduces the likelihood of costly replacements. Make this weekly practice part of your schedule, and watch how it simplifies maintenance while cutting costs.
Prevent Dirt Build-Up With Keyboard Covers

Although it might seem like a small step, using keyboard covers can make a huge difference in keeping dirt and debris from accumulating. These covers act as a barrier, reducing the need for frequent deep cleans and saving you time and money. When choosing keyboard cover types, consider silicone, TPU, or plastic—each offers unique protection and feel.
Here’s how keyboard covers help with dirt prevention:
- Shield against crumbs, dust, and spills effortlessly.
- Provide easy cleaning; just wipe or rinse the cover.
- Preserve your keyboard’s original look and function.
- Allow you to maintain freedom from constant cleaning hassle.
Utilize Compressed Air for Dust Removal
You can save time and money by using compressed air to quickly blow out dust and debris from your keyboard. Just make sure to hold the can upright and use short bursts to avoid moisture buildup. This simple step keeps your keyboard cleaner without the need for costly deep cleaning.
Benefits of Compressed Air
A can of compressed air can be one of your best allies when it comes to keeping your keyboard clean. It offers significant compressed air benefits, especially in dust removal efficiency, making it easier for you to maintain a spotless workspace without hassle. Here’s why it’s a game-changer:
- Quick and effortless removal of dust from tight spaces.
- Prevents damage by avoiding physical contact with delicate keys.
- Saves money by reducing the need for professional cleaning.
- Portable and convenient, giving you freedom to clean anytime, anywhere.
Using compressed air means you’re in control, freeing yourself from costly, time-consuming cleaning methods. It’s a straightforward, effective way to keep your keyboard running smoothly and looking fresh.
Proper Usage Techniques
When using compressed air to clean your keyboard, it’s important to hold the can upright and spray in short bursts to avoid moisture buildup. This technique helps maintain ergonomic typing comfort by preventing sticky keys caused by dampness. Regular dust removal also supports spill prevention by keeping debris from trapping liquids under your keys.
| Step | Action | Tip |
|---|---|---|
| 1 | Hold can upright | Prevents moisture release |
| 2 | Spray in short bursts | Avoids key damage |
| 3 | Clean edges & gaps | Enhances ergonomic typing |
DIY Keyboard Cleaning Tools and Solutions
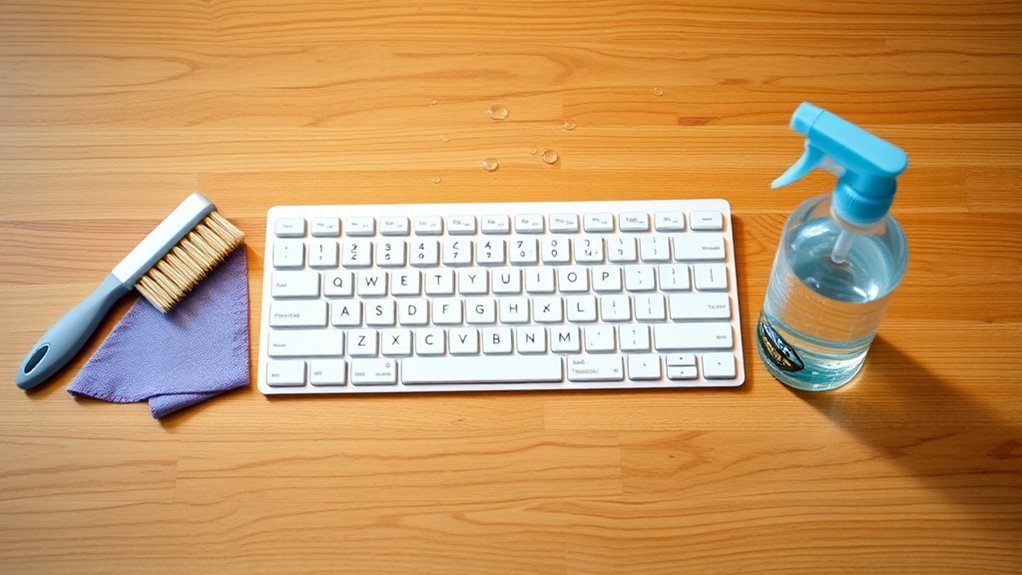
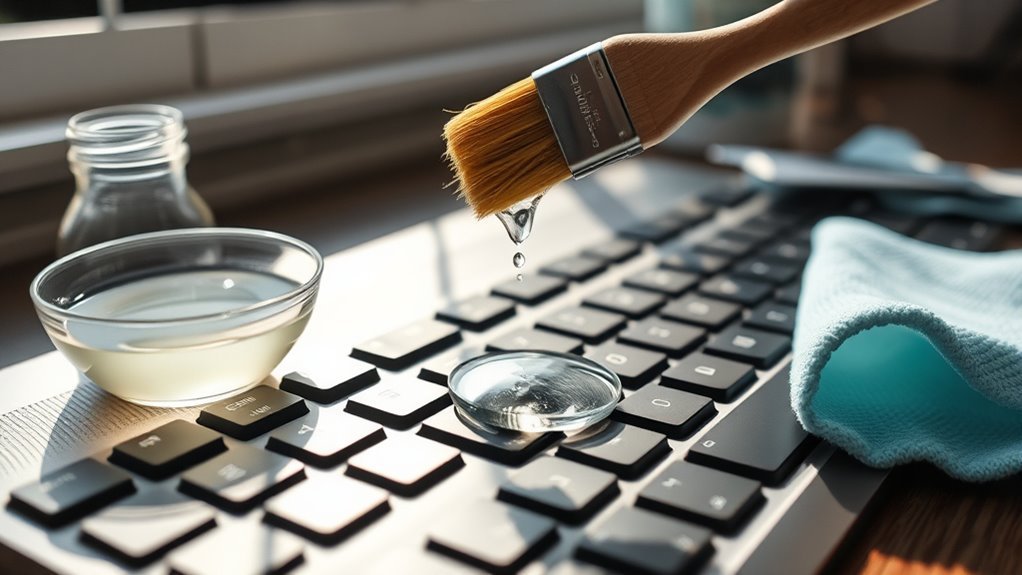
Although professional cleaning kits can be effective, making your own keyboard cleaning tools and solutions is a cost-efficient alternative that you can easily do at home. Embracing these cleaning hacks lets you maintain your keyboard without breaking the bank or relying on commercial products. Here are four DIY solutions to try:
- Use a soft brush or old toothbrush to sweep away dust and crumbs.
- Make a homemade cleaning solution with equal parts water and isopropyl alcohol in a spray bottle.
- Use cotton swabs dipped in the solution to clean between keys.
- Employ sticky tape or a lint roller to pick up surface debris quickly.
These simple homemade solutions give you freedom and control over your keyboard upkeep without extra costs.
Proper Keyboard Usage to Minimize Dirt Accumulation
Since dirt and grime build up faster with frequent use, adopting proper keyboard habits can greatly cut down on cleaning time and costs. You can maintain a cleaner keyboard by practicing ergonomic typing, which not only protects your hands but also encourages a consistent finger placement that minimizes accidental smudges and debris transfer. Mindful usage means being aware of what you bring near your keyboard—avoid eating or drinking around it to prevent crumbs and spills. Regularly washing your hands before typing reduces grease and dirt buildup. By combining ergonomic typing with mindful usage, you take control over your workspace’s cleanliness, saving you time and money. This approach gives you the freedom to focus on your work without worrying about constant, costly keyboard maintenance.
Frequently Asked Questions
Can Professional Keyboard Cleaning Services Save Money Long-Term?
Did you know that regular maintenance can extend a keyboard’s lifespan by up to 50%? By choosing professional services, you’re investing in long term savings since they prevent costly repairs or replacements. You won’t have to worry about frequent breakdowns or wasted time cleaning yourself, giving you more freedom to focus on what matters. So yes, professional keyboard cleaning can save you money and hassle over time.
How Do Mechanical and Membrane Keyboards Differ in Cleaning Costs?
When comparing mechanical and membrane keyboards, you’ll find cleaning costs differ mainly because of mechanical durability versus membrane fragility. Mechanical keyboards are built tough, making them easier to clean without worrying about damage, so you won’t spend as much on repairs or replacements. Membrane keyboards, on the other hand, are more fragile, so you’ll need to be careful and might end up paying more for professional cleaning or replacements if things go wrong.
What Are the Warranty Implications of Cleaning a Keyboard Myself?
Did you know that 30% of keyboard warranty claims get denied due to improper cleaning? When you clean your keyboard yourself, you risk voiding warranty coverage if you use harsh cleaning methods or open the device improperly. To keep your freedom and protect your warranty, stick to manufacturer-recommended cleaning methods like gentle wiping or using approved solutions. This way, you maintain control without sacrificing protection.
Are There Specific Keyboard Brands Known for Easier Maintenance?
If you want freedom in maintaining your keyboard, you’ll appreciate brands like Logitech and Corsair. Logitech maintenance is straightforward thanks to their modular designs and easily removable keycaps, letting you clean without hassle. Corsair’s design focuses on durability and user-friendly features, making upkeep simpler. Choosing these brands means you won’t feel trapped by complex cleaning, giving you more control over your keyboard’s care and longevity without extra costs or stress.
How Does Keyboard Layout Affect Cleaning Time and Expenses?
Did you know that keyboards with fewer keys can reduce cleaning time by up to 30%? Your choice of keyboard design directly impacts cleaning efficiency. Compact layouts mean fewer nooks for dust and crumbs to hide, letting you breeze through maintenance faster. So, if you want more freedom from tedious upkeep, opting for a minimalist layout can save you both time and money, freeing you up to focus on what matters most.