How to Clean a Plastic Gas Tank Safely and Effectively
Cleaning a plastic gas tank safely and effectively is essential for maintaining optimal fuel system performance and ensuring safety. This process involves a series of straightforward steps that eliminate contaminants and debris while protecting the integrity of the tank. In this guide, you’ll discover effective methods for cleaning your plastic gas tank, the necessary tools and materials, and crucial safety precautions to follow during the process.
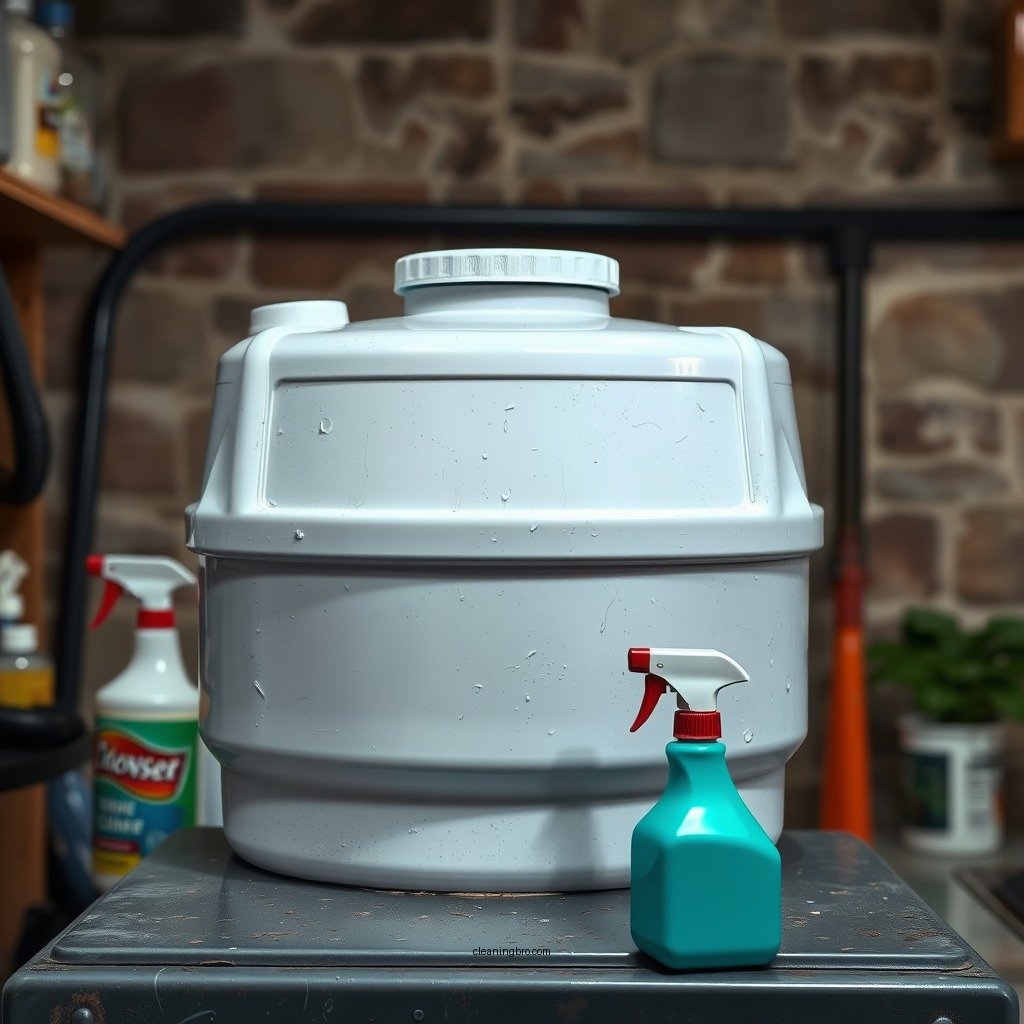
Gather Necessary Tools and Materials

Before you begin the cleaning process, it’s important to gather the right tools and materials to ensure a safe and effective clean. Here’s what you’ll need:
– Fuel-safe cleaning solution: Look for a product specifically designed for cleaning fuel tanks to avoid chemical interactions that could damage the plastic or leave harmful residues.
– Soft brushes and cloths: Use non-abrasive brushes and cloths to scrub the interior of the gas tank without scratching or damaging the plastic surface.
– A bucket or container: This will be used for rinsing the tank and collecting any debris that is removed during the cleaning process.
– Protective gear: Gloves, goggles, and a mask are essential to protect yourself from chemical exposure and debris.
Having these tools ready will streamline the process and help you perform the task efficiently.
Drain the Gas Tank


Draining the gas tank is a crucial first step that should not be overlooked:
– Ensure safety first: Always work in a well-ventilated area, away from open flames, sparks, or other potential ignition sources. Plastic gas tanks can contain flammable vapors, making proper ventilation critical.
– Remove the gas: Utilize a siphon pump or similar tool to safely drain the remaining fuel from the tank. Make sure to store the fuel in an appropriate container for future use or disposal, following local regulations.
By properly draining the tank, you set the stage for an effective cleaning process.
Inspect the Tank

Once the tank is drained, the next step is to conduct a thorough inspection:
– Check for damage: Examine the tank for any visible cracks, leaks, or signs of wear that could affect its functionality. If you find significant damage, it may be best to replace the tank entirely.
– Identify contaminants: Look for any rust, dirt, sludge, or debris that may have accumulated inside the tank. Understanding the type and extent of contamination will help you choose the best cleaning method.
This inspection step is essential for ensuring the effectiveness of the cleaning process and the safety of the tank.
Top Contaminants Found in Plastic Gas Tanks (2023)
| # | Contaminant | Common Source | Removal Method | Risk Level |
|---|---|---|---|---|
| 1 | Rust | Old fuel | Chemical cleaner | High |
| 2 | Dirt | Environmental exposure | Water rinse | Medium |
| 3 | Sludge | Decomposed fuel | Scrubbing | High |
| 4 | Water | Condensation | Chemical drying agent | Medium |
| 5 | Debris | Fuel pump malfunction | Screen filter | Low |
| 6 | Microbial Growth | Old fuel | Biocide treatment | High |
| 7 | Additives | Fuel treatment | Chemical neutralization | Medium |
Clean the Interior of the Tank
With your tank inspected and prepared, it’s time to clean the interior:
– Apply the cleaning solution: Fill the tank with the appropriate fuel-safe cleaning solution and water, following the manufacturer’s instructions for dilution.
– Use brushes: Employ soft brushes to gently scrub the interior surfaces of the tank, focusing on any stubborn spots where debris or sludge may have accumulated. Take care to reach all corners and crevices to ensure a thorough clean.
Cleaning the interior effectively will help prevent future issues and keep the fuel system functioning at its best.Rinse and Dry
After cleaning, rinsing and drying the tank is crucial:
– Thoroughly rinse: Use clean water to flush out the cleaning solution and any remaining debris. It’s important to ensure that all residues are removed to avoid contaminating the fuel later.
– Let it dry: Allow the tank to air dry completely before reassembling. This step is essential to prevent water from mixing with the fuel, which can cause engine performance issues.
Proper rinsing and drying are critical for maintaining the integrity and functionality of your gas tank.
Reassemble and Test
Once the tank is clean and dry, you’re ready to reassemble and test:
– Reconnect all parts: Carefully reattach any components you may have removed, ensuring that all seals and connectors are fitted securely to prevent leaks.
– Perform a fuel test: Fill the tank with a small amount of fuel and check for leaks. Observe the tank’s performance to ensure that everything is functioning properly.
Conducting a test after reassembly is vital to confirm that the cleaning process was successful and that the tank is ready for operation.
Safety Precautions
Safety should always be your top priority when cleaning a plastic gas tank:
– Work with care: Always wear gloves and goggles to protect yourself from chemicals and debris. Ensuring proper protective gear will minimize risks during the cleaning process.
– Dispose of waste properly: Follow local regulations for disposing of used cleaning solutions and contaminants. Improper disposal can harm the environment and lead to legal consequences.
Taking these precautions will help you maintain a safe working environment and protect both yourself and the ecosystem.
Cleaning a plastic gas tank not only enhances its longevity but also ensures that your fuel system operates efficiently. By following these steps and taking necessary precautions, you can safely clean your gas tank and maintain your vehicle’s performance. Regularly checking and cleaning your gas tank will help prevent future buildup and keep your engine running smoothly.
Frequently Asked Questions
How do I safely clean a plastic gas tank without damaging it?
To safely clean a plastic gas tank, start by draining any remaining fuel and removing the tank from the vehicle if possible. Use a mixture of warm water and a mild detergent to scrub the interior with a long brush, avoiding harsh chemicals that could damage the plastic. Rinse thoroughly with clean water to ensure no soap residue remains before allowing it to dry completely.
What is the best method to remove stuck fuel residue from a plastic gas tank?
The best method to remove stuck fuel residue involves filling the plastic gas tank with a mixture of vinegar and baking soda. Allow the solution to sit for several hours to break down the residue, then shake the tank gently. Afterward, rinse with warm water and let it air dry to prevent any lingering odors.
Why is it important to clean a plastic gas tank?
Cleaning a plastic gas tank is crucial to prevent contamination of fuel, which can lead to engine performance issues and clogging of filters. Over time, debris and sediment can accumulate, affecting fuel quality and potentially damaging the engine. Regular maintenance of the tank ensures optimal performance and longevity of your vehicle.
Which products are safe to use for cleaning a plastic gas tank?
Safe products for cleaning a plastic gas tank include mild detergents, baking soda, and vinegar. Avoid using aggressive solvents like acetone or bleach, as they can harm the plastic material. Always check the manufacturer’s recommendations before using any cleaning agents to ensure compatibility.
How often should I clean my plastic gas tank?
It is recommended to clean your plastic gas tank at least once a year or whenever you notice signs of contamination, such as poor engine performance or fuel discoloration. Regular inspections can help identify issues early, allowing you to maintain fuel quality and protect your engine from potential damage.
References
- Gasoline
https://en.wikipedia.org/wiki/Gasoline - https://www.epa.gov/cleanups/cleaning-your-tank-gasoline
https://www.epa.gov/cleanups/cleaning-your-tank-gasoline - https://www.ncbi.nlm.nih.gov/pmc/articles/PMC3518540/
https://www.ncbi.nlm.nih.gov/pmc/articles/PMC3518540/ - https://www.cdc.gov/niosh/docs/2007-139/pdfs/2007-139.pdf
https://www.cdc.gov/niosh/docs/2007-139/pdfs/2007-139.pdf - https://www.sciencedirect.com/topics/engineering/plastic-fuel-tank
https://www.sciencedirect.com/topics/engineering/plastic-fuel-tank - https://www.britannica.com/science/gasoline
https://www.britannica.com/science/gasoline - https://www.theguardian.com/environment/2021/jun/15/cleaning-up-marine-plastics
https://www.theguardian.com/environment/2021/jun/15/cleaning-up-marine-plastics - https://www.nytimes.com/2021/09/14/science/ocean-plastics-cleanup.html
https://www.nytimes.com/2021/09/14/science/ocean-plastics-cleanup.html - Google Scholar Google Scholar
https://scholar.google.com/scholar?q=cleaning+plastic+gas+tank - Google Scholar Google Scholar
https://scholar.google.com/scholar?q=how+to+clean+gas+tank+plastic


