How to Clean a Chlorinator: Step-by-Step Guide
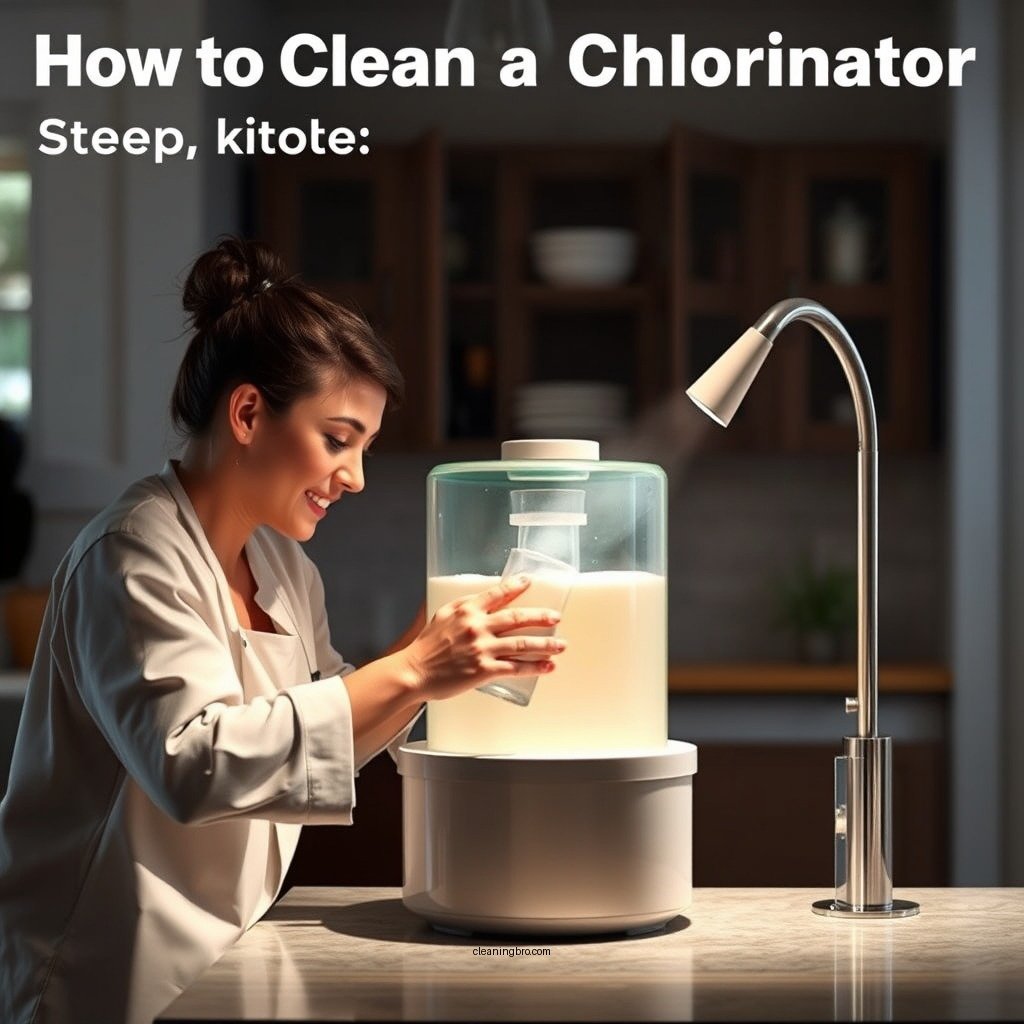
Cleaning a chlorinator is essential for maintaining the efficiency and safety of your swimming pool. To effectively clean your chlorinator, start by turning off the power, then disassemble the unit, and follow specific cleaning steps to ensure it functions properly. This guide will walk you through the necessary steps to clean your chlorinator thoroughly, helping you keep your pool water safe and crystal clear.
Maintaining your chlorinator not only prolongs its lifespan but also ensures that your pool remains a safe and enjoyable environment. A well-maintained chlorinator helps to optimize chlorine production, preventing issues such as algae growth and cloudy water.
Safety Precautions
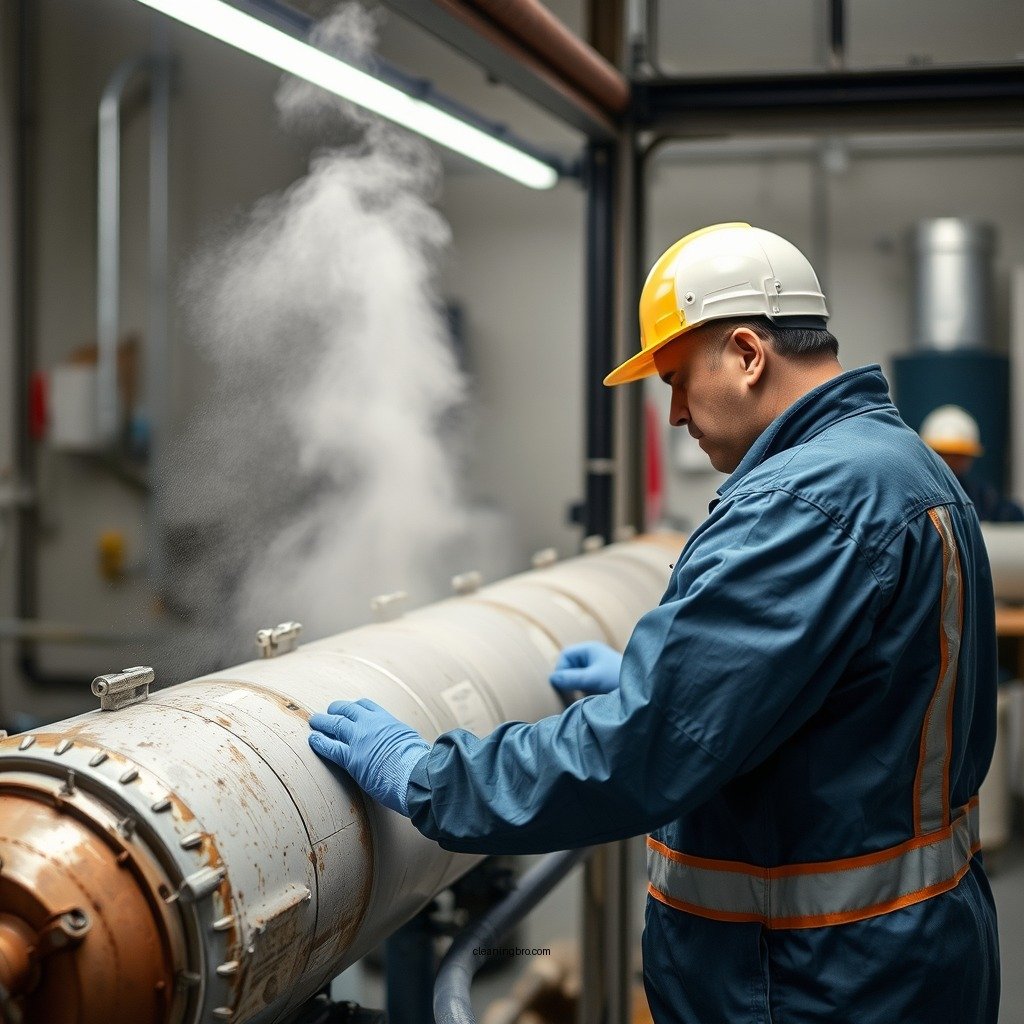
Before you begin cleaning your chlorinator, it’s crucial to prioritize safety. Here are some important precautions to follow:
– Turn Off the Power: Always disconnect the power supply to the chlorinator before starting any maintenance. This prevents accidental electrical shocks and ensures a safe working environment.
– Wear Protective Gear: Use gloves and eye protection to safeguard against exposure to chemicals. Chlorine and cleaning agents can be harmful to the skin and eyes, so it is essential to minimize direct contact.
By adhering to these safety measures, you can perform the cleaning process confidently and securely.
Disassembling the Chlorinator
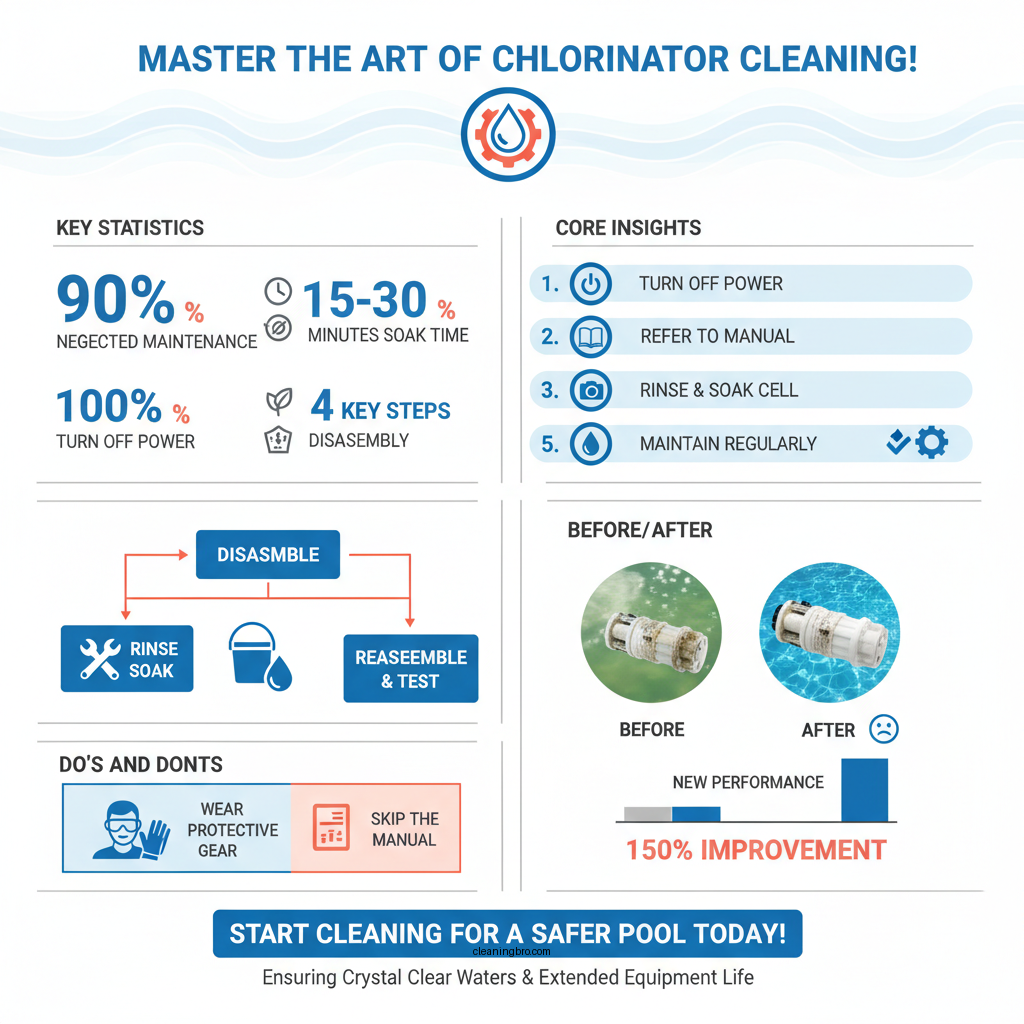
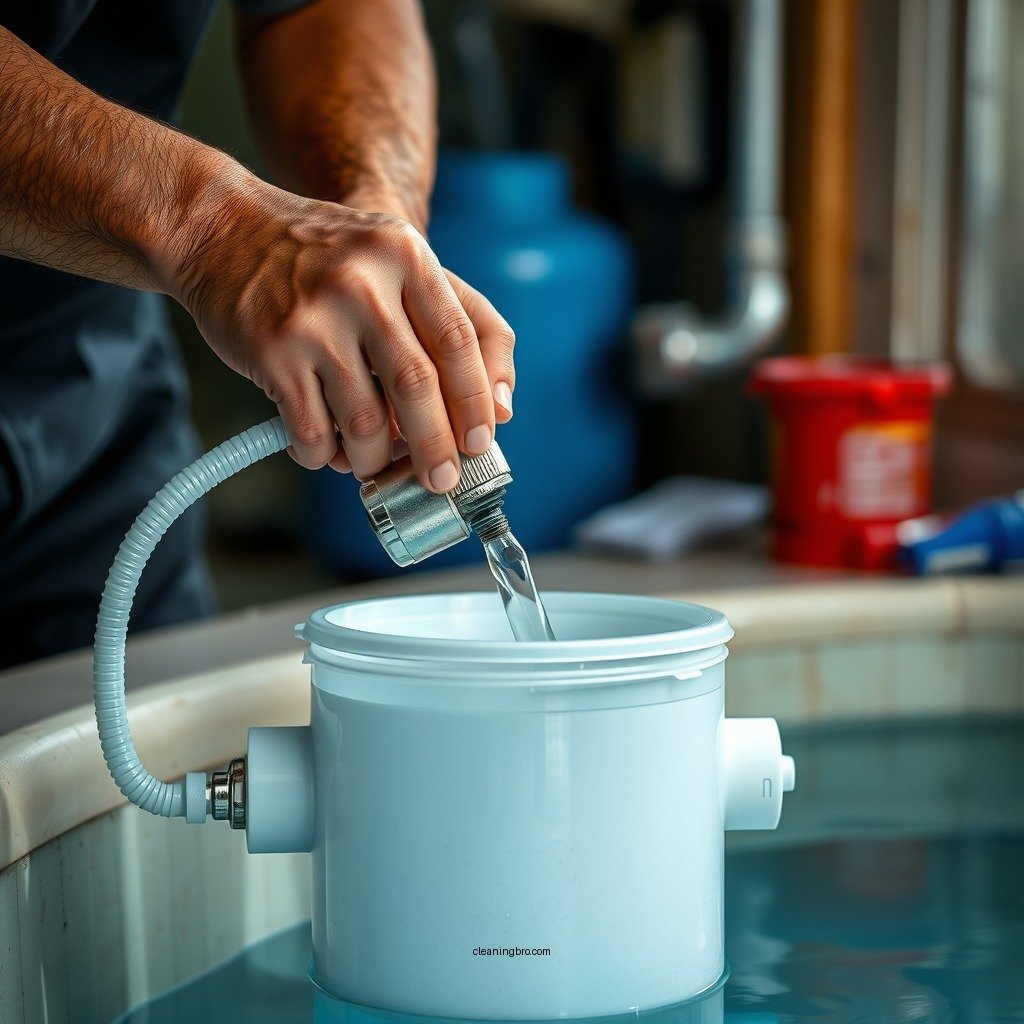
Disassembling the chlorinator is a critical step in the cleaning process. Here’s how to do it properly:
– Consult the Manufacturer’s Instructions: Before you start taking apart your chlorinator, refer to the manufacturer’s manual for specific guidance. This ensures you follow the correct procedure for your model.
– Document the Disassembly: As you remove parts, take photos or make notes. This documentation will be invaluable when it comes time to reassemble the unit, ensuring that no parts are left out or incorrectly installed.
Careful disassembly will prevent damage to the chlorinator and ensure a smoother reassembly process.
Cleaning the Chlorinator Cell
The chlorinator cell is where the magic happens, converting salt into chlorine. Proper cleaning of this component is vital for optimal performance.
– Rinse the Cell: Start by rinsing the chlorinator cell with clean water to remove any visible debris or buildup. This initial rinse helps to loosen any stubborn deposits that may have accumulated.
– Soak the Cell: Prepare a cleaning solution using a mixture of water and vinegar or a specialized cleaning solution recommended by the manufacturer. Soak the cell in this solution for 15-30 minutes. This process effectively dissolves mineral deposits and scale without damaging the cell.
After soaking, rinse the cell thoroughly with clean water to remove any remaining cleaning solution, ensuring that it is ready for reassembly.
Common Chlorinator Cell Cleaning Solutions (2024)
| # | Cleaning Solution | Effectiveness | Time to Soak | Cost |
|---|---|---|---|---|
| 1 | Vinegar | High | 15-30 mins | $5 |
| 2 | Muriatic Acid | Very High | 10-20 mins | $15 |
| 3 | Commercial Cleaner | High | 20-30 mins | $10 |
| 4 | Baking Soda | Moderate | 30-60 mins | $3 |
| 5 | Citric Acid | High | 15-30 mins | $8 |
| 6 | Dish Soap | Moderate | 20-30 mins | $2 |
| 7 | Salt Water Solution | Low | 30-60 mins | Free |
Inspecting and Replacing Parts
Once the chlorinator cell is clean, it’s time to inspect other components for wear and tear:
– Check for Wear or Damage: Look closely at the chlorinator cell, O-rings, seals, and other components. Signs of wear can include cracks, discoloration, or brittleness.
– Replace Damaged Parts: If you notice any damaged parts, it is crucial to replace them before reassembly. This ensures that the chlorinator functions efficiently and minimizes the risk of leaks.
By conducting a thorough inspection and replacing any compromised components, you can significantly enhance the reliability of your chlorinator.
Reassembling the Chlorinator
Reassembling your chlorinator is where all your careful preparation pays off:
– Follow the Reverse Order of Disassembly: Use the photos or notes taken during disassembly to guide you. This will ensure that every part is placed back correctly.
– Secure Connections: Make sure all connections are tight and secure to prevent any leaks during operation. Pay special attention to O-rings and seals, as they play a critical role in maintaining pressure and preventing water loss.
Proper reassembly is key to restoring the chlorinator to full working order.
Testing the System
After reassembly, it’s time to put your chlorinator back into action:
– Turn the Power Back On: Reconnect the power supply to the chlorinator and ensure that all systems are operational.
– Check for Leaks: Monitor the area around the chlorinator for any signs of leaks. If you notice any, turn off the system and check your connections again.
– Monitor Chlorine Levels: Run the system and observe the chlorine levels in your pool. Adjust the settings as needed to maintain optimal chlorine production.
Testing ensures that the chlorinator is functioning at peak efficiency, providing you with clean and safe swimming water.
Regular Maintenance Tips
To keep your chlorinator in optimal condition, consider implementing these regular maintenance strategies:
– Schedule Regular Cleanings: Aim to clean your chlorinator every few months, or more frequently if your pool experiences heavy use. This prevents scale buildup and ensures consistent chlorine production.
– Monitor Chlorine Levels: Regularly check your pool’s chlorine levels and adjust the chlorinator settings accordingly. This proactive approach can help avoid issues like algae growth and poor water quality.
– Inspect Components Frequently: Make it a habit to inspect the chlorinator and its components regularly. Early detection of wear and tear can save you from costly repairs down the line.
By following these maintenance tips, you can ensure that your chlorinator remains effective, enhancing your overall pool experience.
Chlorinator Maintenance Products: Full Comparison
| Feature | ⭐ Vinegar Solution | Muriatic Acid | Commercial Cleaner |
|---|---|---|---|
| Effectiveness | High | Very High | High |
| Cost | $5 | $15 | $10 |
| Time to Soak | 15-30 mins | 10-20 mins | 20-30 mins |
| Acidic Nature | ❌ | ✅ | ✅ |
| Safe for Plastic | ✅ | ❌ | ✅ |
| Ease of Use | ✅ | ✅ | ✅ |
| Availability | Widely Available | Commonly Found | Readily Available |
| Environmental Impact | Low | High | Moderate |
| User Reviews | ★★★★☆ | ★★★☆☆ | ★★★★☆ |
| 🏆 Best For | Eco-friendly users | Heavy-duty cleaning | General maintenance |
By following these steps, you will ensure that your chlorinator remains in good working condition, providing clean and safe water for your swimming pool. Regular maintenance not only extends the life of the chlorinator but also enhances your overall pool experience. Be proactive and clean your chlorinator today!
Frequently Asked Questions
How often should I clean my chlorinator?
You should clean your chlorinator every 3 to 4 weeks to ensure optimal performance and longevity. Regular maintenance prevents buildup of calcium and other deposits, which can hinder the chlorinator’s efficiency in sanitizing your pool water.
What is the best method to clean a saltwater chlorinator?
The best method to clean a saltwater chlorinator involves turning off the power, removing the chlorinator cell, and soaking it in a mixture of water and muriatic acid for about 15-30 minutes. This process effectively removes mineral buildup and ensures your chlorinator operates at peak performance.
Why is it important to clean my chlorinator regularly?
Cleaning your chlorinator regularly is crucial because it prevents mineral buildup that can lead to reduced chlorine production and increased energy consumption. A clean chlorinator not only improves water quality but also extends the life of the unit, saving you money on repairs or replacements.
Which cleaning products are safe for chlorinator maintenance?
Safe cleaning products for chlorinator maintenance include diluted muriatic acid or a commercial descaling solution specifically designed for pool equipment. Always follow the manufacturer’s instructions and take necessary precautions, such as wearing gloves and goggles, to ensure your safety during the cleaning process.
How can I tell if my chlorinator needs cleaning?
You can tell if your chlorinator needs cleaning by checking for visible calcium buildup on the cell and monitoring chlorine production levels. If you notice a decrease in chlorine output or cloudy pool water, it’s a sign that your chlorinator may require immediate cleaning to restore its effectiveness.
References
- https://www.cdc.gov/healthywater/swimming/pools/cleaning.html
https://www.cdc.gov/healthywater/swimming/pools/cleaning.html - https://www.epa.gov/pools/pool-and-spa-safety
https://www.epa.gov/pools/pool-and-spa-safety - https://www.who.int/water_sanitation_health/publications/pool_safety/en/
https://www.who.int/water_sanitation_health/publications/pool_safety/en/ - https://www.health.ny.gov/environmental/water/drinking/cleaning_pools.htm
https://www.health.ny.gov/environmental/water/drinking/cleaning_pools.htm - https://www.sciencedirect.com/topics/earth-and-planetary-sciences/pool-cleaning
https://www.sciencedirect.com/topics/earth-and-planetary-sciences/pool-cleaning - https://www.ncbi.nlm.nih.gov/pmc/articles/PMC3500174/
https://www.ncbi.nlm.nih.gov/pmc/articles/PMC3500174/ - https://www.britannica.com/science/chlorinator
https://www.britannica.com/science/chlorinator - Google Scholar Google Scholar
https://scholar.google.com/scholar?q=how+to+clean+chlorinator - Google Scholar Google Scholar
https://scholar.google.com/scholar?q=chlorinator+cleaning+methods - Google Scholar Google Scholar
https://scholar.google.com/scholar?q=pool+chlorinator+maintenance