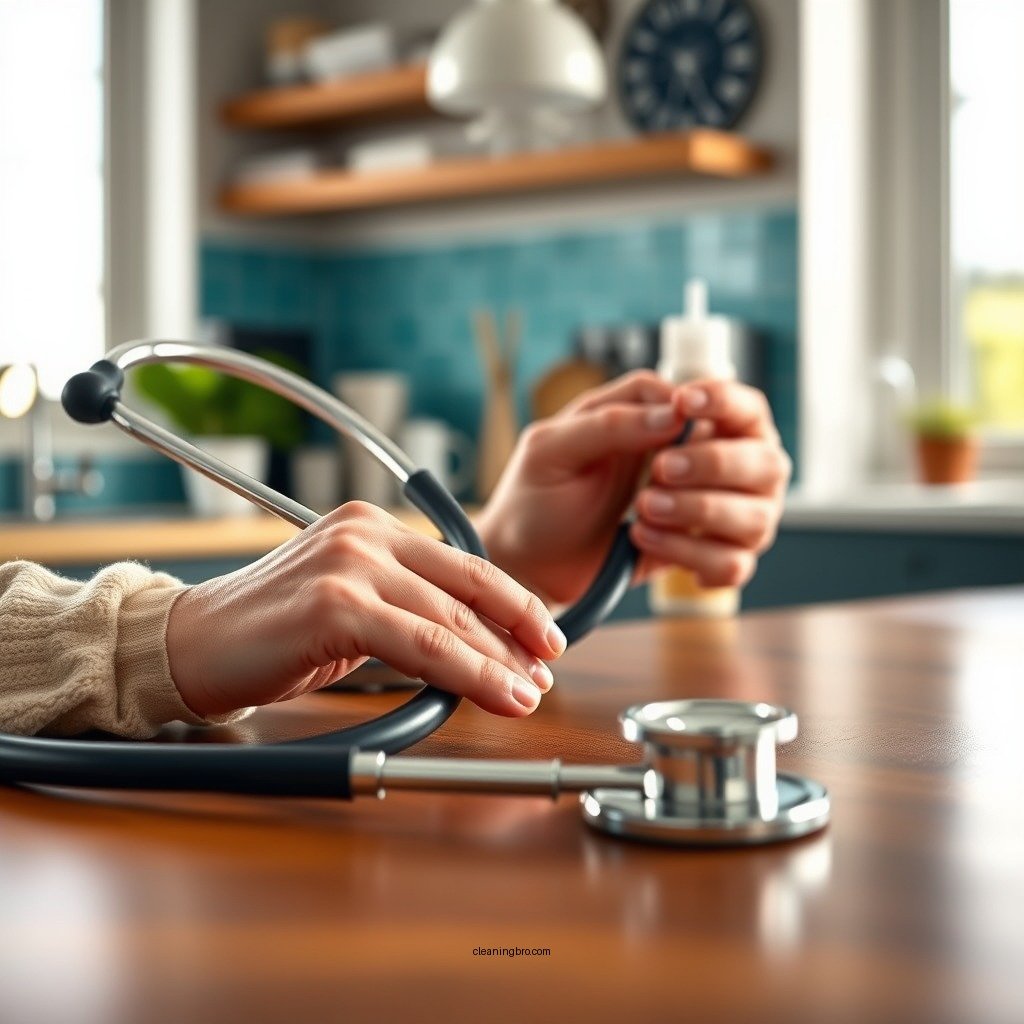
How to Clean a Stethoscope: A Step-by-Step Guide
Cleaning a stethoscope is vital for both hygiene and functionality. By maintaining a proper cleaning routine, you can prevent the spread of germs and ensure accurate diagnoses. This guide will provide you with a systematic approach to cleaning your stethoscope, including the best practices, necessary materials, and common mistakes to avoid.
Understanding the Importance of Cleaning Your Stethoscope

Regular cleaning of your stethoscope is critical for several reasons. First and foremost, it plays a key role in preventing the spread of germs and infections, particularly in clinical settings where multiple patients are examined. According to research, stethoscopes can harbor bacteria, including Staphylococcus aureus and other pathogens, which can be transmitted from patient to patient if not properly cleaned.
Furthermore, a clean stethoscope enhances sound quality and accuracy in diagnoses. Dust, dirt, and wax buildup can obstruct sound transmission, leading to misinterpretations of heartbeats or lung sounds. By keeping your stethoscope clean, you ensure optimal performance, thereby improving patient care.
Materials Needed for Cleaning


To effectively clean your stethoscope, gather the following materials:
– Disinfectant wipes or a solution: Choose a product that is specifically recommended for medical equipment to avoid damage. Alcohol-based wipes are effective for metal parts, but they should be used cautiously on rubber components.
– Soft lint-free cloth: This will help you clean the tubing and diaphragm without scratching the surface.
– Cotton swabs: These are essential for reaching tight spaces, such as between the diaphragm and the rim or around the earpieces.
By having these materials ready, you can streamline the cleaning process and ensure thorough sanitization.
Step-by-Step Cleaning Process

Cleaning your stethoscope involves a systematic approach:
1. Wipe the Earpieces and Diaphragm: Start by using disinfectant wipes to clean the earpieces and diaphragm. Ensure that you cover all surfaces, as these areas come into direct contact with patients.
2. Clean the Tubing: Next, use a soft cloth dampened with disinfectant solution to wipe down the tubing. Be thorough, as dirt and bacteria can accumulate here as well.
3. Use Cotton Swabs for Tight Spaces: For hard-to-reach areas, such as the grooves around the diaphragm and the small spaces at the earpieces, dip cotton swabs in the disinfectant solution and gently clean these areas.
4. Final Wipe: After cleaning, allow your stethoscope to air dry completely before storing it. This helps ensure that any remaining disinfectant evaporates, leaving your stethoscope ready for use.
Top 7 Stethoscope Brands in 2023
| # | Brand | Model | Material | Price |
|---|---|---|---|---|
| 1 | 3M Littmann | Classic III | Polymer | $120 |
| 2 | ADC | Adscope 615 | Aluminum | $90 |
| 3 | MDF Instruments | Stethoscope Model 3 | Stainless Steel | $85 |
| 4 | Welch Allyn | Tycos | Rubber | $110 |
| 5 | Littmann | Cardiology IV | Polymer | $200 |
| 6 | AccuMed | Stethoscope | Polymer | $60 |
| 7 | Omron | Stethoscope | Plastic | $50 |
Best Practices for Stethoscope Maintenance
Maintaining your stethoscope goes beyond just cleaning; it involves a few best practices to prolong its lifespan and functionality:
– Proper Storage: Store your stethoscope in a clean, dry place, ideally in a protective case. Avoid placing it in areas where it could come into contact with dirt or contaminants.
– Temperature Sensitivity: Stethoscopes should not be exposed to extreme temperatures, as this can damage their materials. Keep them away from direct sunlight and hot surfaces.
– Regular Inspections: Periodically inspect your stethoscope for any wear and tear. Look for cracks in the diaphragm, fraying tubing, or loose earpieces. Replacing parts as needed ensures your stethoscope remains effective.
By following these best practices, you not only maintain hygiene but also enhance the durability of your stethoscope.
Frequency of Cleaning
The frequency of cleaning your stethoscope is crucial for maintaining hygiene. Here are the recommended guidelines:
– Before and After Patient Use: Clean your stethoscope before and after each patient interaction. This practice minimizes the risk of cross-contamination.
– Weekly Deep Cleaning: In clinical environments, perform a deep clean at least once a week. This involves a thorough cleaning of all parts and inspection for any damage.
– As Needed: If you notice any visible dirt or if your stethoscope has come into contact with bodily fluids, clean it immediately.
By adhering to these cleaning frequencies, you ensure a safer environment for both yourself and your patients.
Common Mistakes to Avoid
While cleaning your stethoscope, avoid the following common mistakes:
– Using Alcohol-Based Wipes on Rubber Parts: These can degrade rubber components, leading to cracks and loss of integrity. Use wipes that are safe for all materials.
– Neglecting Regular Cleaning: Failing to clean your stethoscope regularly can lead to bacteria buildup, risking patient health.
– Ignoring Damage: Always check for damage before cleaning. Cleaning a compromised stethoscope may worsen existing issues or lead to further damage.
By being mindful of these common pitfalls, you can ensure your stethoscope remains in excellent condition.
Maintaining a clean stethoscope is crucial for both personal hygiene and professional practice. By following the outlined steps and best practices, you can ensure your stethoscope remains effective and safe to use. Start cleaning your stethoscope regularly to protect both yourself and your patients.
Frequently Asked Questions
How do you properly clean a stethoscope to prevent infection?
To properly clean a stethoscope and prevent infection, use disinfectant wipes or a cloth dampened with 70% isopropyl alcohol. Wipe down the entire surface, including the diaphragm, tubing, and earpieces, ensuring you cover all areas that come into contact with skin. Allow it to air dry before using it again to ensure maximum germ-killing effectiveness.
What is the best way to disinfect a stethoscope after patient use?
The best way to disinfect a stethoscope after patient use is to use a hospital-grade disinfectant wipe designed for medical equipment. Thoroughly clean the diaphragm, bell, and earpieces, paying special attention to any crevices where bacteria can hide. This process helps maintain hygiene standards and protects both the healthcare provider and patients.
Why is it important to clean your stethoscope regularly?
It is important to clean your stethoscope regularly to prevent the transmission of pathogens and infections between patients. Stethoscopes can harbor bacteria, viruses, and other contaminants, which can pose a risk to both healthcare professionals and patients. Regular cleaning not only promotes safety but also prolongs the lifespan of the stethoscope.
Which cleaning products are safe to use on a stethoscope?
Safe cleaning products for a stethoscope include alcohol-based wipes, disinfectant sprays that are non-corrosive, and solutions specifically designed for medical instruments. Always avoid using bleach or harsh chemicals that can damage the materials of the stethoscope. Check the manufacturer’s guidelines for recommended cleaning agents to ensure compatibility.
How often should a stethoscope be cleaned in a clinical setting?
In a clinical setting, a stethoscope should be cleaned between each patient use to maintain optimal hygiene standards. Additionally, a thorough cleaning should be performed at the end of each day or shift. Regular maintenance not only ensures patient safety but also helps in the proper functioning of the stethoscope over time.
References
- https://www.mayoclinic.org/healthy-lifestyle/adult-health/in-depth/stethoscope-care/art-20045825
https://www.mayoclinic.org/healthy-lifestyle/adult-health/in-depth/stethoscope-care/art-20045825 - https://www.cdc.gov/infectioncontrol/guidelines/disinfection/cleaning-stethoscope.html
https://www.cdc.gov/infectioncontrol/guidelines/disinfection/cleaning-stethoscope.html - https://www.ncbi.nlm.nih.gov/pmc/articles/PMC6463577/
https://www.ncbi.nlm.nih.gov/pmc/articles/PMC6463577/ - Infection prevention and control GLOBAL
https://www.who.int/health-topics/infection-prevention-and-control#tab=tab_1 - Blepharitis – StatPearls – NCBI Bookshelf
https://www.ncbi.nlm.nih.gov/books/NBK459305/ - https://www.healthline.com/health/stethoscope-care
https://www.healthline.com/health/stethoscope-care - Stethoscope | Medical Diagnosis, Cardiology & Acoustics | Britannica
https://www.britannica.com/science/stethoscope - Google Scholar Google Scholar
https://scholar.google.com/scholar?q=cleaning+a+stethoscope - Google Scholar Google Scholar
https://scholar.google.com/scholar?q=stethoscope+disinfection+protocol - Google Scholar Google Scholar
https://scholar.google.com/scholar?q=infection+control+stethoscope+cleaning


