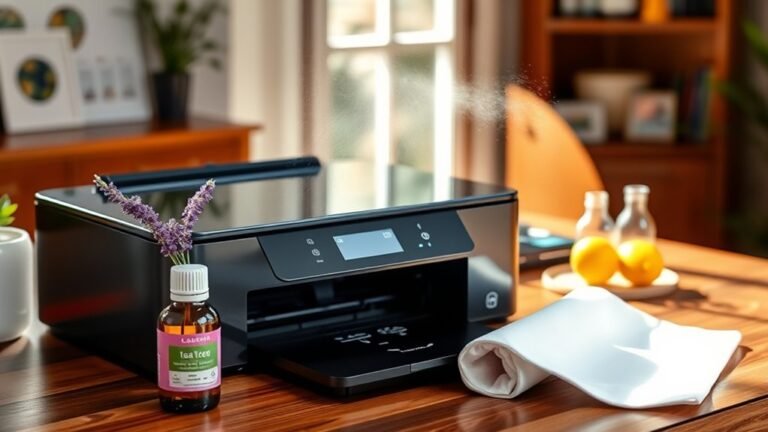
How to Make Homemade Keyboard Cleaner
You can make a simple, effective keyboard cleaner by mixing equal parts distilled water and white vinegar with a few drops of mild dish soap. Use a microfiber cloth dampened with this solution to gently wipe your keys, and cotton swabs lightly moistened to clean between them. Always unplug your keyboard before cleaning and avoid soaking it. For tougher grime, isopropyl alcohol works well without leaving residue. Keep your keyboard spotless by following a few handy tips ahead.
Materials Needed for Homemade Keyboard Cleaner
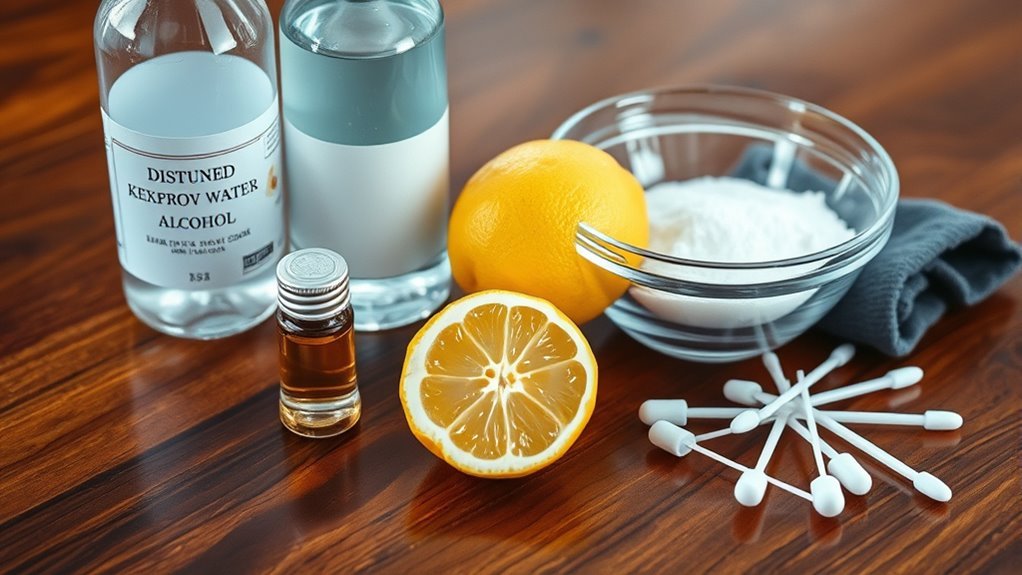
To make an effective homemade keyboard cleaner, you’ll need just a few common materials that you can easily find around your home or purchase inexpensively. Start with natural ingredients like distilled water and white vinegar, both gentle yet powerful for cleaning. You can also use isopropyl alcohol for quick drying and disinfecting. Opting for eco friendly options means avoiding harsh chemicals that harm the environment and your health. A microfiber cloth is essential for wiping without scratching, and cotton swabs help reach tight spaces between keys. These simple, natural ingredients and tools give you freedom from expensive, chemical-laden products while keeping your keyboard spotless and safe. With minimal effort and sustainable choices, you’re in control of a cleaner, greener workspace.
Safety Precautions Before Cleaning Your Keyboard
Before you start cleaning your keyboard, there are three key safety precautions you should follow to protect both your device and yourself. First, disconnect your keyboard from the computer or power source to avoid any electrical hazards—this is essential for keyboard safety. Next, avoid using harsh chemicals or excessive moisture, as they can damage internal components. Always use a damp, not wet, cloth to prevent liquid from seeping inside. Finally, work in a well-ventilated area to avoid inhaling fumes from cleaning agents. These cleaning precautions help you maintain your keyboard’s functionality while keeping your hands safe. By following these simple steps, you can enjoy the freedom of a clean keyboard without risking damage or injury.
Preparing a Gentle Cleaning Solution
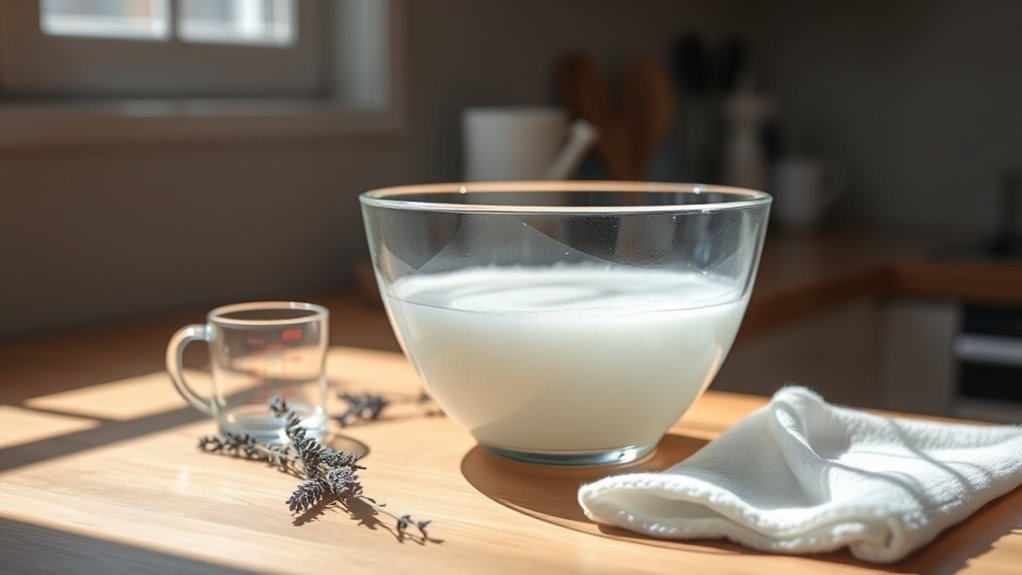
Creating a gentle cleaning solution is key to safely removing dirt and grime from your keyboard without causing damage. To make your own effective cleaner, focus on gentle ingredients and proper cleaning ratios. Here’s a simple guide:
- Mix 1 cup of distilled water with 1 cup of white vinegar for a balanced solution.
- Add a few drops of mild dish soap to boost cleaning power without harsh chemicals.
- Stir gently to combine, avoiding harsh agitation that could break down ingredients.
- Pour the solution into a spray bottle for easy application and controlled use.
This blend respects your keyboard’s delicate components while freeing it from dirt. Using gentle ingredients with correct cleaning ratios lets you clean confidently, keeping your workspace fresh and damage-free.
Using Isopropyl Alcohol for Effective Cleaning
Although your gentle cleaning solution works well for regular maintenance, using isopropyl alcohol is essential when you need to tackle stubborn grime or disinfect your keyboard. Its isopropyl benefits include quick evaporation and strong grease-cutting power, boosting your cleaning effectiveness without leaving residue.
Here’s a quick comparison to help you decide when to use isopropyl alcohol:
| Cleaning Task | Isopropyl Alcohol Use |
|---|---|
| Daily dust removal | Not necessary |
| Sticky spills | Highly recommended |
| Disinfection | Essential |
You want freedom to keep your keyboard spotless and germ-free, and isopropyl alcohol gives you that edge. Just apply with a lint-free cloth or cotton swab, and you’ll see grime vanish fast, leaving your keyboard fresh and ready for action.
How to Make a Vinegar-Based Keyboard Cleaner
You’ll need just a few simple ingredients like white vinegar, water, and a spray bottle to make this cleaner. Mixing them properly is key to ensuring your keyboard gets a thorough clean without damage. Let’s go over the exact steps to prepare and use your vinegar-based keyboard cleaner.
Ingredients Needed
To make a vinegar-based keyboard cleaner, you’ll need just a few simple ingredients that are easy to find around your home. Using natural ingredients guarantees your cleaner is safe and eco-friendly, while still being a highly effective mixture for tackling dirt and grime on your keyboard. Here’s what you’ll need:
- White vinegar – a natural disinfectant that breaks down grime without harsh chemicals.
- Distilled water – prevents mineral deposits and keeps your mixture pure.
- Isopropyl alcohol (70% or higher) – helps evaporate moisture quickly, reducing damage risk.
- A few drops of essential oil (optional) – adds a pleasant scent and extra antibacterial properties.
These components combine to create a powerful yet gentle cleaner, giving you freedom to maintain your keyboard safely.
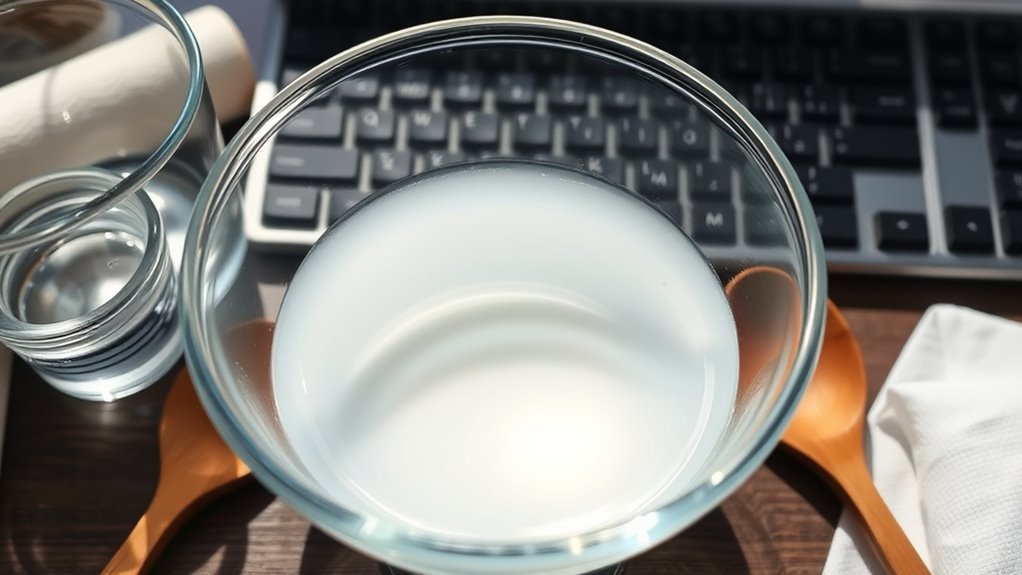
Cleaning Instructions
Now that you have all the ingredients ready, it’s time to mix your vinegar-based keyboard cleaner. Combine equal parts white vinegar and distilled water in a spray bottle. Add a few drops of mild dish soap to boost its cleaning power. Shake gently to blend. Before you start, unplug your keyboard or remove batteries for safety. Lightly spray a microfiber cloth with your cleaner—never spray directly on the keyboard. Wipe each key and surface carefully to remove dust, oils, and grime. For stubborn spots, dip a cotton swab in the solution. Regular keyboard maintenance is key to prolonging your device’s life. Aim for a cleaning frequency of once every two weeks if you use your keyboard daily. This simple routine keeps your workspace fresh and your freedom intact.
Creating a Baking Soda Paste for Stubborn Dirt
A thick, gritty paste made from baking soda can tackle the stubborn dirt lodged between your keyboard keys. Here’s how to create this effective cleaning paste:
- Mix 2 tablespoons of baking soda with just enough water to form a thick, spreadable paste.
- Stir the mixture thoroughly to eliminate lumps, ensuring an even texture.
- Use a small brush or cotton swab to apply the baking soda cleaning paste precisely where grime builds up.
- Let the paste sit for 5 minutes to break down dirt, then gently wipe it away with a damp cloth.
This DIY baking soda paste gives you the freedom to clean deeply without harsh chemicals, keeping your keyboard fresh and functional.
Tips for Cleaning Between Keys
When cleaning between your keyboard keys, using compressed air can quickly remove loose debris without any mess. You’ll also want to gently brush away dust with a soft brush to avoid damaging the keys. For stubborn grime, a cotton swab dipped in your homemade cleaner can reach those tight spaces effectively.
Use Compressed Air
One of the easiest ways to remove dust and debris from between your keyboard keys is by using compressed air. It’s a quick, effective tool that supports your keyboard maintenance routine and lets you keep your workspace clean without hassle. To get the most out of compressed air, follow these steps:
- Hold the keyboard at an angle to let debris fall out easily.
- Use short bursts of compressed air to avoid moisture buildup.
- Move systematically across the keyboard, targeting tight spaces between keys.
- Avoid shaking the can to maintain consistent airflow and prevent liquid discharge.
Soft Brush Techniques
Besides compressed air, using a soft brush can help you reach and remove stubborn dust and debris lodged between your keyboard keys. When selecting brush types, opt for ones with fine, gentle bristles like a paintbrush or a makeup brush to avoid scratching your keyboard’s surface. You’re in control here, so experiment with different cleaning angles—tilt the keyboard slightly and brush diagonally or horizontally to dislodge particles trapped in tight spaces. Moving the brush in varied directions guarantees thorough cleaning without forcing debris deeper. Remember, light pressure works best; you want freedom from dirt without damaging your device. By mastering these soft brush techniques, you maintain a clean keyboard effortlessly and enjoy the satisfaction of a clutter-free workspace.
Cotton Swab Cleaning
A cotton swab is a handy tool for reaching those narrow gaps between your keyboard keys where dust and grime tend to accumulate. When you want to clean freely and efficiently, mastering cotton swab techniques helps you maintain your keyboard without hassle. Here’s how to get the most out of it:
- Dampen the cotton swab lightly with your homemade cleaner—avoid soaking to prevent moisture damage.
- Gently run it along the edges and between keys, twisting as needed to lift dirt.
- Use cotton swab alternatives like foam swabs or micro brushes for tighter spots or sensitive keys.
- Replace swabs often to avoid redistributing grime.
Using Microfiber Cloths to Avoid Damage
Although you might be tempted to grab any cloth nearby, using a microfiber cloth is essential to clean your keyboard safely. Microfiber benefits include its gentle texture that won’t scratch or damage delicate keys, and its superior ability to trap dust and oils without spreading them around. This means you can clean more effectively while protecting your device. To keep enjoying these microfiber benefits, proper cloth care is key—wash it regularly without fabric softeners and air dry it to maintain its effectiveness. By choosing microfiber and caring for it well, you gain freedom from worries about scratches or residue. It’s a simple switch that lets you clean smarter, preserving your keyboard’s look and function effortlessly.
How to Disassemble Your Keyboard for Deep Cleaning
Before you plunge into deep cleaning, you’ll need to carefully disassemble your keyboard to access the hard-to-reach spots beneath the keys. Different keyboard types—mechanical, membrane, or chiclet—require unique approaches, so knowing yours is key. Also, consider your cleaning frequency; frequent users need more regular deep cleans. Here’s a simple guide:
- Unplug your keyboard and flip it over to locate screws or clips.
- Remove keycaps gently with a keycap puller or flat tool, noting their positions.
- For mechanical keyboards, detach the switches if possible; membrane keyboards may need more cautious handling.
- Keep all parts organized, and avoid forcing anything to prevent damage.
Disassembling properly gives you freedom to clean thoroughly and keep your keyboard in top shape.
Storing Your Homemade Keyboard Cleaner Safely
To keep your homemade keyboard cleaner effective and safe, you’ll want to choose the right container that seals well and won’t react with the ingredients. Make sure to label it clearly so you can easily identify it later and avoid any accidental misuse. Also, store it in a cool, dry place away from direct sunlight to maintain its quality.
Choosing Appropriate Containers
Selecting the right container is essential for keeping your homemade keyboard cleaner effective and safe. You want something that preserves the solution and lets you use it freely whenever needed. Here’s what to take into account:
- Opt for reusable containers to reduce waste and keep your cleaning eco-friendly.
- Choose container sizes that match your usage frequency — small for occasional, larger if you clean often.
- Pick materials like glass or high-quality plastic to avoid chemical reactions with your cleaner.
- Confirm the container has a tight-sealing lid to prevent evaporation and contamination.
Labeling and Identification
One essential step in storing your homemade keyboard cleaner safely is proper labeling and identification. Without clear labeling techniques, you risk confusion or accidental misuse. Start by using waterproof labels or masking tape to write the cleaner’s name and the date you made it. Identification methods like color-coding or adding symbols can help you quickly distinguish your cleaner from other liquids. Make sure your label includes any safety warnings, especially if your formula contains alcohol or other strong ingredients. Keep your labels legible and firmly attached to the container to avoid mix-ups. By applying these straightforward labeling techniques and identification methods, you maintain control over your homemade cleaner, ensuring safe and confident use whenever you need it.
Storage Environment Tips
Although your homemade keyboard cleaner is effective, it won’t stay that way if you don’t store it properly. To keep your cleaner in top shape, follow these storage environment tips:
- Keep it at an ideal temperature, typically between 60-75°F, to preserve its ingredients.
- Avoid high humidity levels, which can degrade the solution or encourage mold growth.
- Store the cleaner in a cool, dark place away from direct sunlight to maintain its potency.
- Use airtight containers to prevent evaporation and contamination.
Frequently Asked Questions
Can Homemade Cleaner Damage Mechanical Keyboard Switches?
You might wonder if homemade cleaner safety impacts your mechanical keyboard switches. It can, especially if the cleaner isn’t compatible with the switch material. Some ingredients might corrode or degrade plastic and metal parts, causing damage over time. To keep your freedom to clean as you like, always test your homemade solution on a small area first and avoid harsh chemicals. Being cautious guarantees your switches stay functional and long-lasting.
How Often Should I Clean My Keyboard With Homemade Solutions?
Think of your keyboard as a garden that needs regular watering to stay fresh. Following frequency guidelines, you should clean it every one to two weeks using gentle cleaning techniques like soft brushes or microfiber cloths with homemade solutions. This keeps dirt from building up and your keys feeling smooth. But if you eat at your desk or share your keyboard, you might want to clean it more often to keep your typing experience free and clear.
Are Homemade Cleaners Safe for Wireless Keyboards?
You can definitely use homemade cleaners on your wireless keyboard, but you’ll want to take safety precautions seriously. Avoid getting moisture inside the keyboard to protect its electronics. Use a lightly dampened cloth rather than spraying directly. While homemade solutions can be effective for surface dirt, they might not be as powerful as commercial options for deep cleaning. With the right care, you’ll keep your wireless keyboard clean and functioning without restrictions.
Can I Use Essential Oils in My Keyboard Cleaner?
You can definitely use essential oils in your keyboard cleaner, but you’ve got to be cautious. Essential oil benefits include natural antibacterial properties and pleasant scents, making your DIY cleaning recipes both effective and invigorating. Just dilute them properly with water or alcohol to avoid damaging your keyboard. Since you value freedom, experimenting with different oils allows you to customize your cleaner while keeping your device safe and your workspace fresh.
What Should I Do if Liquid Seeps Under the Keys?
If liquid seeps under your keys, act fast to prevent liquid damage. First, power off your keyboard to avoid short circuits. Then, carefully perform key removal to lift the affected keys, letting you access the trapped liquid. Use a soft cloth or cotton swab to gently absorb moisture. Allow your keyboard to dry completely—preferably overnight—before reassembling and powering it back on. Taking these steps gives you freedom from lasting damage.