How to Clean Fiber Optic Cable: A Step-by-Step Guide
Cleaning fiber optic cables is essential for ensuring optimal performance and signal clarity. By employing the right tools and techniques, you can effectively clean these delicate cables while minimizing the risk of damage. In this article, you’ll learn how to properly clean fiber optic cables to enhance their longevity and functionality, ultimately improving the reliability of your network connections.
Understanding Fiber Optic Cables

Fiber optic cables consist of thin strands of glass or plastic that transmit data as light signals. Unlike traditional copper cables, fiber optics are less susceptible to electrical interference, enabling faster and more reliable data transmission over long distances. However, their performance can be severely compromised by contaminants such as dust, oil, and fingerprints, which can scatter or absorb light signals. Regular cleaning is vital to maintain signal integrity and prevent costly downtime, making it an essential practice for both residential and commercial applications.
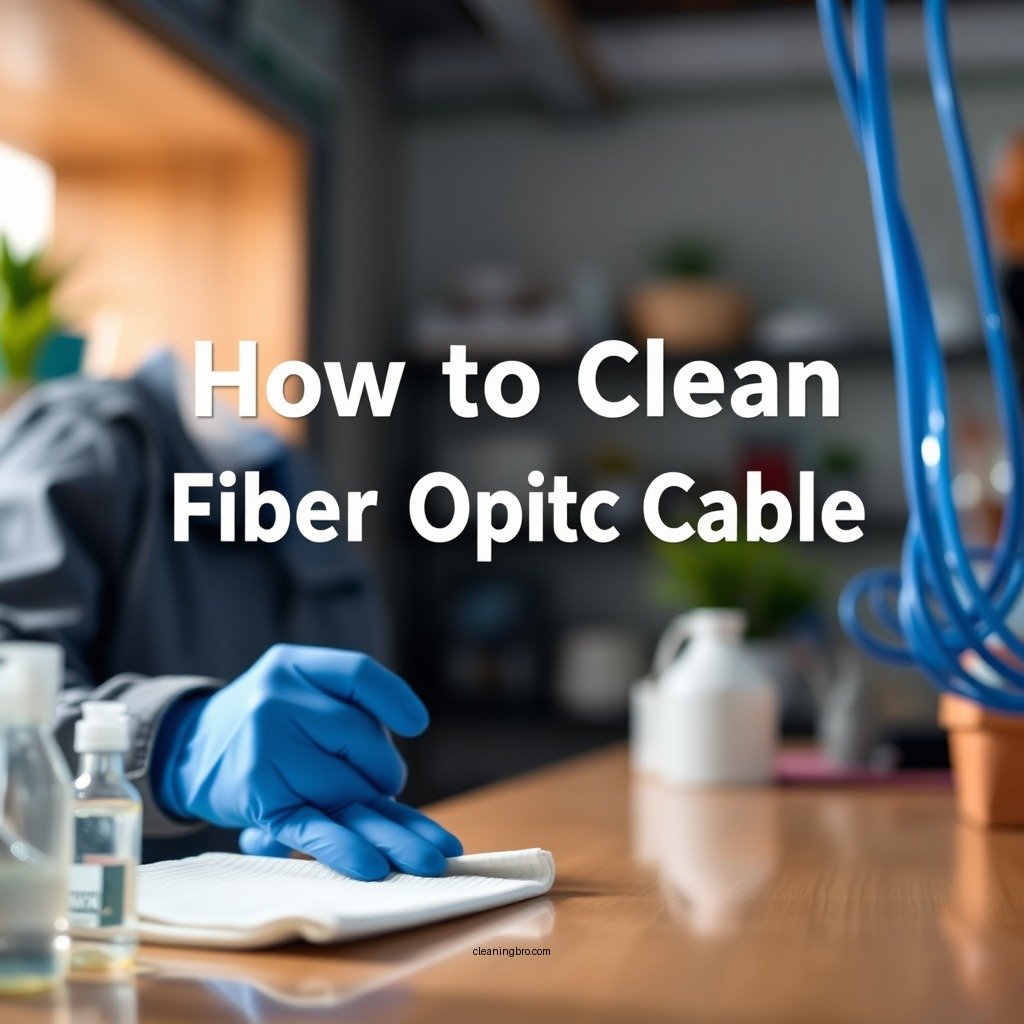
Tools Needed for Cleaning


To effectively clean fiber optic cables, you will need specific tools designed for this purpose. A comprehensive fiber optic cleaning kit typically includes:
– Lint-free wipes: These are crucial for avoiding scratches and ensuring that no fibers are left behind during the cleaning process.
– Cleaning fluid: A specialized cleaning solution designed for fiber optics helps dissolve contaminants without leaving residue.
– Fiber optic cleaning tool: This tool is designed to safely clean the ends of connectors and fibers without risking damage.
Having the right tools on hand not only makes the cleaning process easier but also helps ensure that the job is done correctly.
Preparing for the Cleaning Process

Before starting the cleaning process, it is important to prepare your workspace effectively. Here are some steps to follow:
1. Ensure a clean environment: Make sure the workspace is free from dust and debris, as even small particles can affect the cleaning process.
2. Control static electricity: Use an anti-static mat or wrist strap to prevent static discharge that could damage sensitive electronic components.
3. Gather tools and materials: Ensure all necessary tools and cleaning materials are accessible to streamline the cleaning process and avoid interruptions.
By preparing adequately, you can enhance the efficiency of your cleaning efforts and reduce the likelihood of causing damage to the fiber optic cables.
Types of Contaminants Found on Fiber Optic Cables
| # | Contaminant Type | Impact on Signal | Cleaning Frequency |
|---|---|---|---|
| 1 | Dust | High | Weekly |
| 2 | Oil | Very High | Daily |
| 3 | Fingerprint | Medium | After Each Use |
| 4 | Moisture | Very High | As Needed |
| 5 | Debris | High | Weekly |
| 6 | Chemical Residue | Very High | After Each Use |
| 7 | Fungus/Mold | Critical | Monthly |
Step-by-Step Cleaning Process
Cleaning fiber optic cables requires a careful approach. Below is a step-by-step guide to effectively clean your cables:
1. Inspect the connector: Begin by visually inspecting the fiber optic connector for any visible dirt, dust, or debris. This step helps identify the areas that require cleaning.
2. Apply cleaning fluid: Dampen a lint-free wipe with the fiber optic cleaning fluid. It is essential to use a designated cleaning fluid, as other cleaners may leave residues that can negatively impact signal quality.
3. Gently clean the connector: Using the dampened wipe, gently clean the fiber optic connector in a circular motion. Ensure that you cover the entire surface without applying excessive pressure, which could damage the fiber.
4. Dry the connector: After cleaning, allow the connector to air dry for a few moments. Ensure that there is no residual moisture before reconnecting the cable.
5. Re-inspect the connector: Finally, visually inspect the connector once more to ensure it is clean and free from any lint or residue.
By following these steps, you can ensure that your fiber optic cables perform at their best while minimizing the risk of damage during the cleaning process.
Frequency of Cleaning Fiber Optic Cables
Common Mistakes to Avoid
When cleaning fiber optic cables, it’s important to be aware of common mistakes that can lead to damage or ineffective cleaning. Here are some key pitfalls to avoid:
– Using abrasive materials: Avoid using paper towels or any materials that can scratch the surface of the fiber optic connectors. Instead, stick to lint-free wipes designed for this purpose.
– Overusing cleaning fluid: Using too much cleaning solution can lead to streaks or residues that detract from signal quality. Always dampen the wipe rather than soaking it.
– Neglecting regular cleaning: Failing to incorporate regular cleaning into your maintenance routine can lead to the accumulation of contaminants and degraded performance over time.
By being mindful of these mistakes, you can ensure a more effective cleaning process that protects your fiber optic cables and maintains their performance.
Maintenance Tips for Fiber Optic Cables
Maintaining fiber optic cables involves more than just regular cleaning. Here are some additional tips to ensure their longevity:
– Regular inspections: Periodically inspect connectors and cables for any signs of wear, damage, or contamination. Early detection can prevent larger issues.
– Proper storage: When not in use, store fiber optic cables in a clean and secure environment. Avoid sharp bends and physical strain, which can cause damage.
– Use protective covers: When connectors are exposed, use protective caps to prevent dust and debris accumulation.
– Stay informed: Keep up with best practices for fiber optic maintenance and cleaning to ensure you are using the latest techniques and tools.
By implementing these maintenance strategies, you can significantly extend the lifespan and functionality of your fiber optic cables.
Regular cleaning and maintenance are crucial for ensuring that your fiber optic cables function optimally over time. By following the outlined steps and incorporating these practices into your routine, you can enhance the performance and reliability of your network connections. Ready to improve your cable performance? Start cleaning today!
Frequently Asked Questions
What are the best tools for cleaning fiber optic cables?
The best tools for cleaning fiber optic cables include lint-free wipes, alcohol-based cleaning solutions, and specialized fiber optic cleaning kits. These tools are designed to remove dust, dirt, and oils without damaging the delicate fibers. Using the right cleaning tools is crucial to maintaining the performance and longevity of your fiber optic connections.
How do you properly clean a fiber optic connector?
To properly clean a fiber optic connector, first, ensure you have the right cleaning supplies, such as a lint-free wipe and isopropyl alcohol. Apply a small amount of alcohol to the lint-free wipe, then gently wipe the connector end face in a circular motion. Allow it to dry completely before reconnecting, as this will help prevent signal loss and ensure optimal performance.
Why is it important to clean fiber optic cables regularly?
Regular cleaning of fiber optic cables is essential to prevent signal degradation and interruptions in service. Dust, dirt, and oils can accumulate on the connectors, leading to increased attenuation and reduced data transmission efficiency. By maintaining clean connections, you ensure reliable performance and extend the lifespan of your fiber optic network.
Which cleaning method is most effective for fiber optic cables?
The most effective cleaning method for fiber optic cables involves using a combination of dry and wet cleaning techniques. Start with dry cleaning using a static-free wipe to remove loose particles, followed by a wet clean with an alcohol solution to eliminate stubborn residues. This two-step approach maximizes cleaning efficiency and minimizes the risk of damage to the fibers.
How often should fiber optic cables be cleaned?
Fiber optic cables should be cleaned regularly, ideally every time they are connected or disconnected, to prevent contamination. In environments with high dust levels or when experiencing connectivity issues, more frequent cleaning may be necessary. Establishing a routine maintenance schedule helps ensure optimal performance and reliability of your fiber optic network.
References
- Fiber-optic communication
https://en.wikipedia.org/wiki/Fiber_optic_communications - https://www.sciencedirect.com/topics/engineering/fiber-optic-cable
https://www.sciencedirect.com/topics/engineering/fiber-optic-cable - https://www.ncbi.nlm.nih.gov/pmc/articles/PMC5877905/
https://www.ncbi.nlm.nih.gov/pmc/articles/PMC5877905/ - Fiber optics | Definition, Inventors, & Facts | Britannica
https://www.britannica.com/technology/fiber-optics - Google Scholar Google Scholar
https://scholar.google.com/scholar?q=how+to+clean+fiber+optic+cable - Google Scholar Google Scholar
https://scholar.google.com/scholar?q=fiber+optic+cable+maintenance - Google Scholar Google Scholar
https://scholar.google.com/scholar?q=fiber+optic+cleaning+techniques - https://www.fiberoptic.com/cleaning-fiber-optic-cables/
https://www.fiberoptic.com/cleaning-fiber-optic-cables/ - how to clean fiber optic cable – Search results
https://en.wikipedia.org/wiki/Special:Search?search=how+to+clean+fiber+optic+cable - https://www.ncbi.nlm.nih.gov/search/research-articles/?term=how+to+clean+fiber+optic+cable
https://www.ncbi.nlm.nih.gov/search/research-articles/?term=how+to+clean+fiber+optic+cable