Budget-Friendly DIY Cleaning Products for Germs
You can easily make budget-friendly DIY cleaners to fight germs using household staples like vinegar, baking soda, and essential oils. Mix equal parts white vinegar and rubbing alcohol with water for an effective all-purpose disinfectant spray. For easy use, soak reusable cloths in a vinegar and essential oil solution to create natural surface wipes. Just remember to avoid mixing baking soda with bleach and keep your workspace ventilated. If you want to get more tips and recipes, keep exploring these simple solutions.
Essential Ingredients for Homemade Germ-Fighting Cleaners
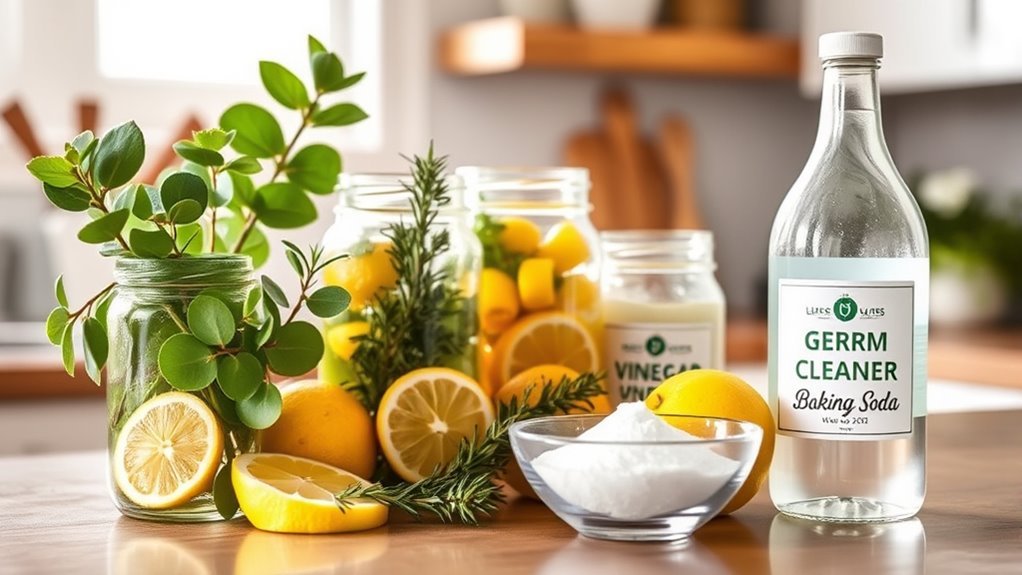
When making your own germ-fighting cleaners, there are three essential ingredients you’ll want to have on hand: vinegar, baking soda, and hydrogen peroxide. These staples give you the freedom to craft effective cleaners without relying on costly, chemical-laden products. Vinegar’s acidity tackles grime and bacteria, while baking soda serves as a gentle abrasive that deodorizes and lifts dirt. Hydrogen peroxide adds an extra layer of protection with its powerful antimicrobial properties. To boost your cleaners’ effectiveness and add a personal touch, incorporate essential oils like tea tree or lavender, known for their natural antimicrobial qualities and fresh scents. By combining these ingredients, you create versatile, potent solutions that empower you to maintain a clean, healthy environment on your terms—free from harsh chemicals and unnecessary expenses.
How to Make All-Purpose Disinfectant Spray
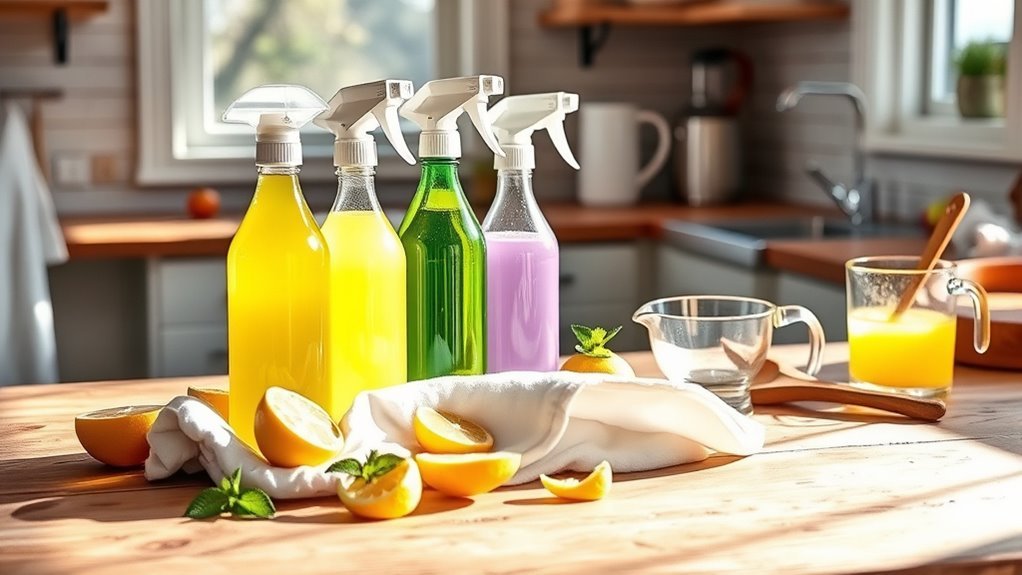
To make your own all-purpose disinfectant spray, you’ll need a few simple ingredients like vinegar, water, and essential oils. Mixing them correctly guarantees your spray is both effective and safe to use around your home. I’ll also share some tips on how to apply it for the best results.
Ingredients Needed
You’ll need just a few simple ingredients to make an effective all-purpose disinfectant spray at home. Choosing eco friendly alternatives not only protects your health but also the planet, giving you the freedom to clean without guilt. Here’s what you’ll need:
- White vinegar – A natural disinfectant that’s both powerful and cost effective.
- Rubbing alcohol (70% isopropyl alcohol) – Kills germs quickly and enhances your spray’s efficiency.
- Water – Dilutes the mixture to a safe, usable strength while keeping costs low.
With these ingredients, you’re all set to create a budget-friendly, eco-conscious cleaning solution. It’s a simple way to stay germ-free without relying on harsh chemicals or expensive products.
Mixing Instructions
Start by combining equal parts of white vinegar and rubbing alcohol in a spray bottle, then add water to fill the rest of the container. This simple approach sticks to effective mixing ratios that balance disinfecting power with safety. When blending, shake the bottle gently to mix ingredients thoroughly without causing spills or foam. Avoid overfilling; leaving some space helps you shake and blend well. Using a funnel can make pouring easier and reduce mess. Remember, precise mixing ratios guarantee your homemade disinfectant works efficiently without wasting ingredients. By mastering these blending techniques, you gain control over your cleaning products, empowering you to stay germ-free on your terms. This hands-on method lets you create reliable, budget-friendly disinfectant spray exactly how you want it.
Usage Tips
Once you’ve mixed your disinfectant spray with the right proportions, knowing how to use it effectively makes all the difference. To maximize germ prevention and apply smart cleaning techniques, follow these steps:
- Spray generously on surfaces, ensuring full coverage without soaking.
- Let the solution sit for at least 5 minutes to allow germs to be eliminated.
- Wipe down with a clean cloth or paper towel, focusing on high-touch areas.
Natural Surface Wipes Recipe
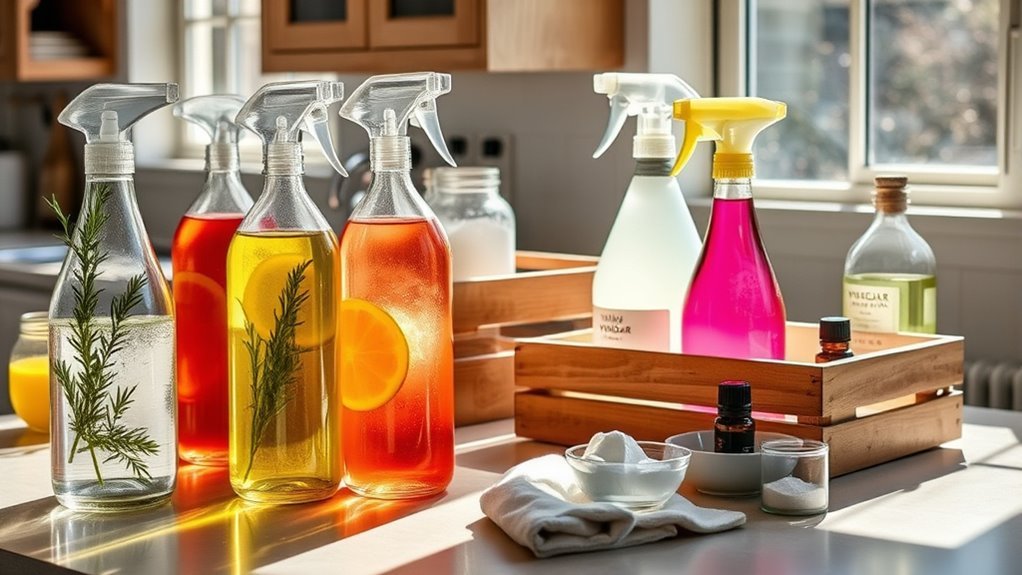
Although commercial surface wipes are convenient, making your own natural version lets you control the ingredients and reduce waste. You can easily create eco friendly alternatives using simple items like cotton cloths, water, white vinegar, and a few drops of essential oils known for their disinfecting properties, such as tea tree or lemon. This approach aligns with effective surface disinfecting methods without relying on harsh chemicals. Start by cutting reusable cloths into wipe-sized pieces, then mix one cup of water with half a cup of white vinegar and 10-15 drops of your chosen essential oil in a jar. Soak the cloths in the solution and store them in an airtight container. Now, you have a powerful, natural wipe that’s gentle on surfaces and the planet, giving you freedom from wasteful, chemical-laden products.
DIY Kitchen and Bathroom Scrub
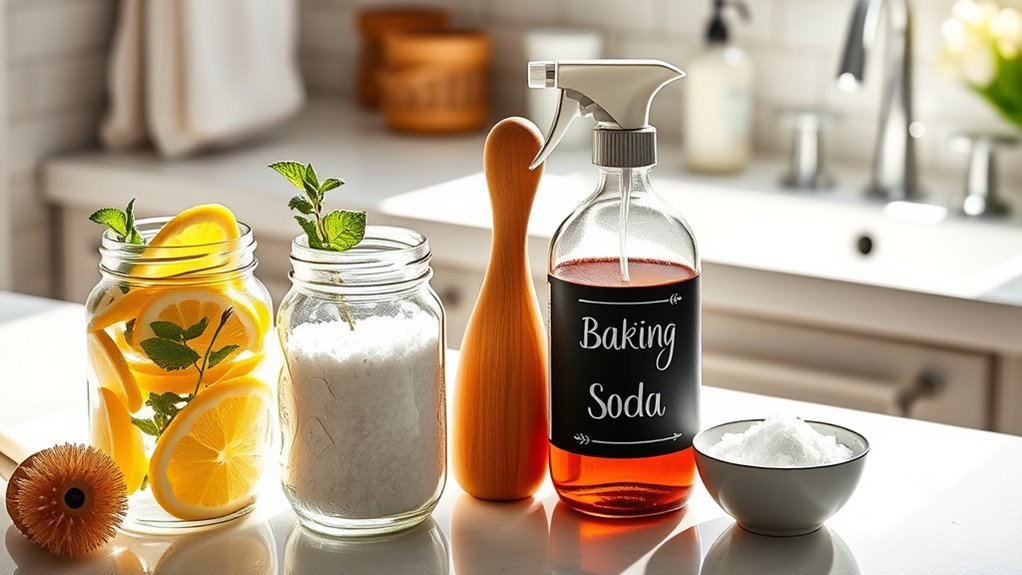
When you want a powerful yet natural cleaner for tough kitchen and bathroom grime, making your own scrub is a great choice. This DIY kitchen and bathroom scrub not only boosts kitchen cleaning but also promotes effective bathroom sanitation without harsh chemicals. Here’s a simple recipe you can mix up quickly:
- Combine 1 cup baking soda, 1/4 cup liquid castile soap, and 10 drops of your favorite essential oil for a pleasant scent.
- Stir until you get a paste consistency that’s easy to apply.
- Use a sponge or cloth to scrub sinks, tubs, and countertops, then rinse with warm water.
This scrub gives you freedom from store-bought toxins while keeping your spaces fresh and germ-free.
Tips for Using Vinegar and Baking Soda Safely
Because vinegar and baking soda react vigorously when combined, you should handle them carefully to avoid unwanted messes or damage. When mixing, add vinegar slowly to baking soda to control the fizz and prevent spills. Always work in a well-ventilated area to avoid strong odors. For vinegar precautions, avoid using it on natural stone or hardwood surfaces, as the acidity can cause damage. With baking soda safety, never mix it with bleach or other household chemicals, as this can create harmful gases. Store both ingredients separately in airtight containers to maintain their effectiveness. By following these simple tips, you can enjoy the freedom of using DIY cleaners confidently and safely without worrying about accidents or damaging your home.
Storing and Using Your DIY Cleaners Effectively
Handling vinegar and baking soda safely is just one part of working with DIY cleaners. To keep your homemade solutions effective and easy to use, storing them properly is key. Here’s how you can master it:
- Choose airtight storage containers to preserve your cleaners’ potency and prevent spills.
- Always label your containers clearly with cleaning labels that include ingredients and date made, so you know exactly what’s inside and when to refresh.
- Store your DIY cleaners away from direct sunlight and extreme temperatures to maintain their strength longer.
Frequently Asked Questions
Can DIY Cleaners Completely Replace Commercial Disinfectants?
You might feel like you’re sailing uncharted waters when deciding if DIY cleaners can completely replace commercial disinfectants. In an effectiveness comparison, commercial products often have rigorously tested ingredients proving their germ-killing power. Ingredient analysis shows DIY options can be effective but usually lack the broad-spectrum strength of store-bought ones. You’re free to choose DIY for simple tasks, but don’t rely solely on them for serious disinfection needs.
Are Homemade Cleaners Safe for Pets and Children?
You might wonder if homemade cleaners are safe for pets and kids. Generally, they’re gentler than harsh chemicals, which is great for pet safety and child safety. Still, you should keep these cleaners out of reach and avoid using ingredients that can irritate sensitive skin or cause allergic reactions. By choosing natural ingredients wisely, you’re giving yourself freedom to clean effectively without worrying about harming your little ones or furry friends.
How Long Do DIY Cleaning Products Remain Effective?
Imagine your DIY cleaner turning into a science experiment gone wild on your shelf! In reality, your concoction’s shelf life depends on ingredient stability—some mixtures last weeks; others spoil in days. To keep your freedom-loving spirit alive, store them in airtight containers, away from sunlight. Always check for changes in smell or texture before use. That way, you’re not stuck with a useless potion but a fresh, effective cleaner every time!
Can These Cleaners Remove Tough Stains Like Rust or Mold?
You can tackle tough stains like rust and mold with DIY cleaners, but their effectiveness varies. For rust removal, natural acids like lemon juice or vinegar help break down stains, while baking soda adds scrubbing power. Mold treatment often calls for diluted hydrogen peroxide or vinegar to kill spores. These options give you the freedom to clean safely and affordably, but for stubborn stains, you might need stronger, specialized products.
What Are the Environmental Benefits of Using DIY Cleaners?
You might be surprised by how much impact your cleaning choices have. When you use DIY cleaners made with sustainable ingredients, you’re not just cleaning your home—you’re protecting the planet. These eco-friendly formulations reduce harmful chemicals, and when paired with eco friendly packaging, they cut down on plastic waste. Choosing homemade cleaners gives you the freedom to care for your space and the Earth without compromise. It’s a small change with big benefits.


