Deep Cleaning Checklist for Fan
Before deep cleaning your fan, unplug it and gather gloves, a soft cloth, mild cleaner, and a screwdriver. Move it to a stable area and carefully disassemble the grill and blades. Clean blades with a damp cloth and mild soap, soak grill parts if needed, and dust the motor with a dry brush. Thoroughly dry all parts before reassembling securely. Test for smooth, quiet operation. Keep these steps in mind as you get ready to maintain your fan efficiently.
Safety Precautions Before Cleaning
Before you start cleaning your fan, make certain it’s unplugged to avoid any risk of electric shock. This simple step is vital for your electrical safety and helps prevent common cleaning hazards. You want your cleaning process to be liberating, not dangerous, so always double-check that the fan is disconnected from power. Avoid touching any electrical components with wet hands or damp cloths, as moisture increases the risk of shocks. Be aware of sharp fan blades or edges that can cause injury. Taking these safety precautions guarantees you maintain control and freedom during cleaning without risking harm. By respecting these boundaries, you protect yourself and your space, turning what could be a risky chore into an empowering, safe routine.
Tools and Materials Needed
To get your fan sparkling clean, you’ll need a few essential supplies like a soft cloth, a brush, and the right cleaning solution. Don’t forget to wear protective gear, such as gloves and a mask, to keep yourself safe from dust and chemicals. Choosing the proper cleaning agents can make a big difference in how well your fan is cleaned without causing damage.
Essential Cleaning Supplies
Gathering the right tools and materials makes deep cleaning your fan much easier and more effective. Start with essential cleaning tools like a microfiber cloth, soft-bristle brush, and a vacuum with a brush attachment to remove dust from blades and grills. Have a gentle all-purpose cleaner or mild soap solution handy for wiping down surfaces without causing damage. Don’t forget cotton swabs for tight spots and a screwdriver if you need to disassemble parts. These maintenance tips will help you keep your fan in great shape while saving time and effort. With the right supplies ready, you’ll breeze through your cleaning routine and enjoy a fresher, freer environment without hassle. Staying prepared is key to effortless fan upkeep.
Protective Gear Options
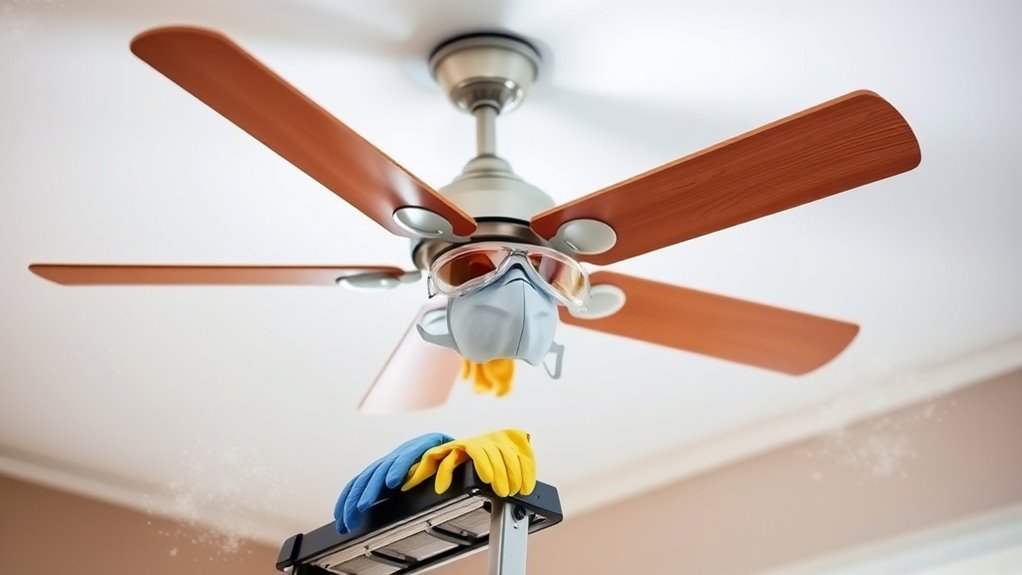
A reliable set of protective gear will keep you safe and comfortable while deep cleaning your fan. When choosing gloves options, consider nitrile or latex gloves for flexibility and protection against dirt and cleaning agents. If you have sensitive skin, opt for hypoallergenic gloves to avoid irritation. For your face, mask recommendations include a basic dust mask or an N95 respirator if you’re dealing with heavy dust or mold buildup. These masks help prevent inhaling particles that can irritate your lungs. Don’t forget safety goggles if you’re using sprays or cleaners that could splash into your eyes. By selecting the right protective gear, you maintain your freedom to clean efficiently without compromising your health or comfort during the task.
Cleaning Solution Choices
While selecting the right cleaning solutions, you’ll want to focus on products that effectively remove dust, grime, and grease without damaging your fan’s components. Choosing eco friendly solutions is a smart move if you care about your health and the planet. You can find gentle sprays or make your own DIY cleaners using simple ingredients like vinegar, baking soda, and water. These homemade options are powerful yet safe, giving you control over what touches your fan. Avoid harsh chemicals that might corrode metal or wear down plastic parts. Always test your chosen cleaner on a small area first to guarantee it won’t cause damage. With the right cleaning solution in hand, you’re set to restore your fan’s shine while keeping it safe and sustainable.
Unplugging and Preparing the Fan
Before you start cleaning, make sure you unplug the fan to avoid any risk of electric shock. This simple step is essential for your safety and helps protect your fan during maintenance. Proper unplugging and preparation set the stage for effective fan maintenance, ultimately boosting fan longevity and letting you enjoy its freedom-giving breeze longer.
Here’s a quick guide to prep your fan:
| Step | Purpose |
|---|---|
| Unplug from outlet | Prevents electric shock |
| Move to cleaning area | Provides space to work freely |
| Place on stable surface | Avoids accidental falls |
Disassembling the Fan Components

Once you’ve safely unplugged and prepared your fan, you can start taking it apart to access the components that need cleaning. Begin by reviewing the fan assembly techniques specific to your model—this helps you avoid forcing parts and damaging the unit. Identify the main components: the front grille, fan blades, motor housing, and rear grille. Typically, the front grille clips or screws off, so remove those carefully. Note how each piece connects; this component identification step will make reassembling easier and stress-free. Keep track of screws and small parts in a container so they don’t get lost. Taking your time here gives you the freedom to work confidently and guarantees every part is ready for a thorough clean without risking damage.
Cleaning the Fan Blades
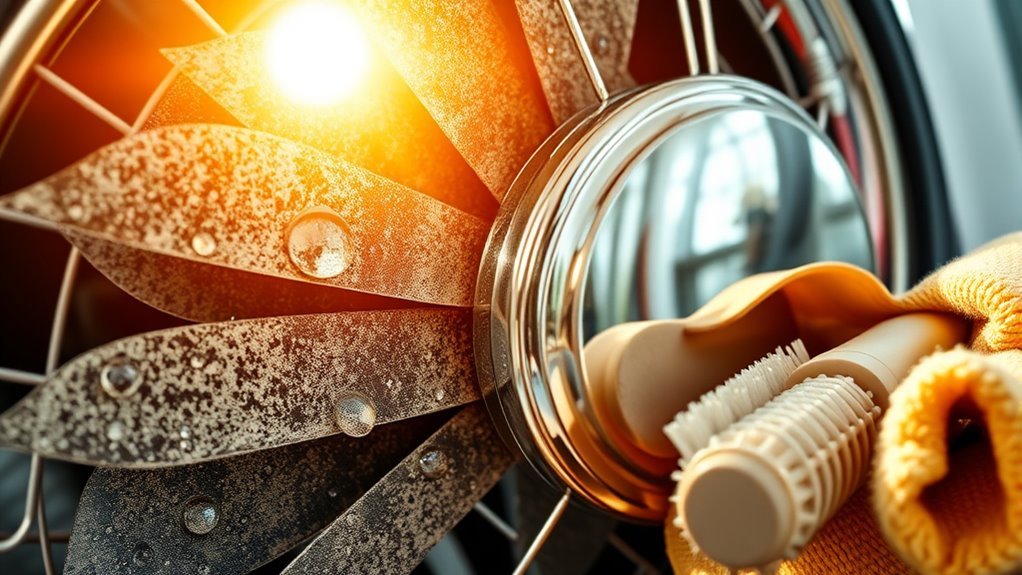
Although the fan blades might seem simple to clean, they often collect dust and grime that can affect your fan’s performance. To keep your fan running smoothly, you’ll want to use effective blade cleaning techniques. Start by wiping each blade with a damp microfiber cloth to remove loose dust. For stubborn grime, mix a mild detergent with water and gently scrub the blades. Make sure you dry them thoroughly before reassembling. These fan maintenance tips help improve airflow and extend your fan’s lifespan. Avoid harsh chemicals that could damage the blades or their finish. By regularly cleaning your fan blades, you’re not only improving air quality but also freeing yourself from unnecessary repairs. Taking these steps lets you enjoy a cleaner, more efficient fan with less hassle.
Washing the Fan Grill and Housing
Since the fan grill and housing collect dust and debris just like the blades, you’ll want to clean them regularly to maintain ideal airflow. Start by removing the grill carefully, following your fan’s manual if needed. Use a soft brush or vacuum to get rid of loose dust. Then, soak the grill in warm soapy water for 10-15 minutes. Rinse and dry it thoroughly before reattaching. For the housing, wipe it down with a damp cloth, avoiding excess moisture near electrical parts. These fan maintenance tips will keep your fan running smoothly and efficiently. Mastering grill cleaning techniques not only boosts airflow but also extends your fan’s lifespan, giving you the freedom to enjoy cool, fresh air without hassle.
Cleaning the Motor and Electrical Parts
Before you start cleaning the motor and electrical parts, make sure the fan is unplugged to avoid any accidents. Use a soft brush or compressed air to gently remove dust buildup without damaging the components. Taking these safety steps will help keep your fan running smoothly and safely.
Safety Precautions First
When you start cleaning the motor and electrical parts of your fan, you’ll want to make certain it’s completely unplugged to avoid any risk of electric shock. Disconnecting power is your first line of defense against safety hazards. Never rush this step—you’re prioritizing your personal safety. Before touching any components, double-check that the plug is out and that no power source is connected. Use a dry cloth or a soft brush to clean these parts; moisture and electricity don’t mix. Be cautious not to spray water or cleaning solutions directly onto the motor. Taking these precautions guarantees you maintain your freedom to enjoy a clean, safe environment without risking injury or damage. Your safety is the foundation of effective fan maintenance.
Removing Dust Buildup
Anyone tackling fan maintenance knows that dust buildup on the motor and electrical parts can affect performance and safety. To keep your fan running smoothly, you’ll want to master effective dust removal techniques. First, unplug the fan to guarantee your safety. Use a soft brush or compressed air to gently clear dust from the motor housing and electrical components without causing damage. Avoid using water or liquid cleaners here, as they can harm the electrical parts. Regularly applying these fan maintenance tips will not only improve airflow but also extend your fan’s lifespan, giving you freedom from unexpected breakdowns. Staying on top of dust buildup means your fan stays efficient, safe, and ready whenever you need it.
Drying the Components Thoroughly
To guarantee your fan works safely and efficiently, you’ll want to dry each component thoroughly after cleaning. Proper drying techniques are essential for moisture prevention, ensuring your fan won’t suffer from rust or electrical issues. Take your time with this step to keep your fan running smoothly and freely.
Thoroughly drying all fan parts after cleaning prevents rust and electrical problems, ensuring safe, smooth operation.
Here are three effective drying techniques you can use:
- Air Drying: Place components in a well-ventilated area, allowing natural airflow to evaporate moisture completely.
- Towel Drying: Use a microfiber cloth to gently wipe off excess water from surfaces and crevices.
- Blow Drying: Use a hairdryer on a cool setting to reach tight spots and speed up drying without heat damage.
Mastering moisture prevention keeps your fan reliable and ready to use anytime.
Reassembling the Fan
Once all the fan components are completely dry, you can start putting everything back together. Using proper fan assembly techniques guarantees your fan runs smoothly and lasts longer. Take your time aligning parts correctly, and remember, fan maintenance tips emphasize patience and precision for freedom from frequent repairs.
| Step | Tip |
|---|---|
| Blade Attachment | Secure blades evenly |
| Guard Placement | Align guard clips precisely |
| Motor Housing | Tighten screws firmly |
| Power Cord | Check for damage |
| Final Check | Confirm no loose parts |
Following these steps ensures a solid reassembly. Enjoy the satisfaction of a clean, free-flowing breeze powered by your careful work. Reassembling is your last hands-on step before the fan brings comfort back into your space.
Testing the Fan After Cleaning
Now that your fan is fully reassembled, it’s time to test its operation. Turn it on and watch for smooth, consistent airflow while listening for any unusual noises. If you notice anything off, it might need another quick cleaning or adjustment.
Inspect Fan Operation
How do you know if your fan is working correctly after a thorough cleaning? To guarantee your fan’s performance and operational efficiency are back to peak levels, you need to inspect its operation carefully. Here’s how you can do it:
- Turn the fan on at different speeds and observe if the blades move smoothly without wobbling or hesitation.
- Check if the airflow feels consistent and strong, indicating that dust and grime no longer hinder performance.
- Watch for any unusual resistance or sluggishness when adjusting the fan’s settings, which might signal lingering issues.
Check Noise Levels
After confirming your fan operates smoothly and delivers strong airflow, the next step is to listen closely for any unusual noises. Sound is a key indicator of how well your fan is functioning and reflects the success of your noise reduction efforts. Turn your fan on and pay attention to any rattling, buzzing, or grinding sounds. These could signal loose parts or debris still trapped inside. Quiet operation means your fan maintenance has been effective, giving you the freedom to enjoy a peaceful environment. If you detect persistent noise, it’s a sign to revisit cleaning or tighten components. Regularly checking noise levels guarantees your fan runs efficiently, prolonging its lifespan and maintaining a tranquil space without interruptions.
Frequently Asked Questions
How Often Should I Deep Clean My Fan for Optimal Performance?
You don’t want your fan working harder than a marathon runner in the Sahara! For ideal performance, you should stick to fan maintenance tips like deep cleaning every 1-3 months, depending on usage and dust levels. Adjust your cleaning frequency if you notice dust buildup or reduced airflow. Keeping your fan clean lets you enjoy cool breezes without feeling trapped by dirt, giving you the freedom to relax in a clean, invigorating space.
Can I Use a Vacuum Cleaner Instead of Wiping the Fan Blades?
You can use a vacuum cleaner for fan maintenance, but it’s not always the most effective method for deep cleaning. Vacuum cleaner effectiveness depends on your vacuum’s suction and brush attachment, which might miss stubborn dust on fan blades. For best fan maintenance tips, combine vacuuming with gentle wiping to guarantee you remove grime without damaging parts. This way, you keep your fan running smoothly and enjoy the freedom of clean, fresh airflow.
Are There Eco-Friendly Cleaning Solutions Safe for Fan Components?
You can definitely choose natural cleaners with safe ingredients to keep your fan components fresh without harming the environment. Look for eco-friendly options like vinegar diluted with water or a mix of baking soda and water—both work wonders and won’t damage your fan. These natural cleaners let you enjoy a clean fan while staying free from harsh chemicals, giving you peace of mind and a healthier home.
How Do I Prevent Dust Buildup on My Fan After Cleaning?
To prevent dust buildup on your fan after cleaning, you’ll want to use dust barriers like mesh covers that let air flow but block particles. Also, consider adjusting the airflow direction—point it so dust isn’t drawn in from dirty areas. Keeping your space well-ventilated and dust-free helps too. These simple steps give you freedom from constant cleaning and keep your fan running smoothly longer.
Is It Necessary to Oil the Fan Motor After Cleaning?
You don’t always need to oil the fan motor after cleaning, but it depends on the type of fan you have. Some motors are sealed and don’t require lubrication, while others benefit from it. Understanding motor lubrication importance is key to fan maintenance tips that keep your fan running smoothly and extend its life. Check your fan’s manual to see if oiling is recommended, so you can enjoy hassle-free airflow without extra fuss.