How to Clean and Deodorize Your Keyboard
To clean and deodorize your keyboard, first unplug it and shake out loose debris. Use compressed air and a soft brush to remove dust between keys. Wipe the surface with a mild isopropyl alcohol solution, avoiding excess moisture. For deodorizing, place a small baking soda sachet nearby or add essential oil drops under keycaps. Let it dry completely before reconnecting. Keeping your keyboard fresh is simple, and with a few extra tips, you can maintain its cleanliness and longevity effortlessly.
Gather the Necessary Cleaning Supplies
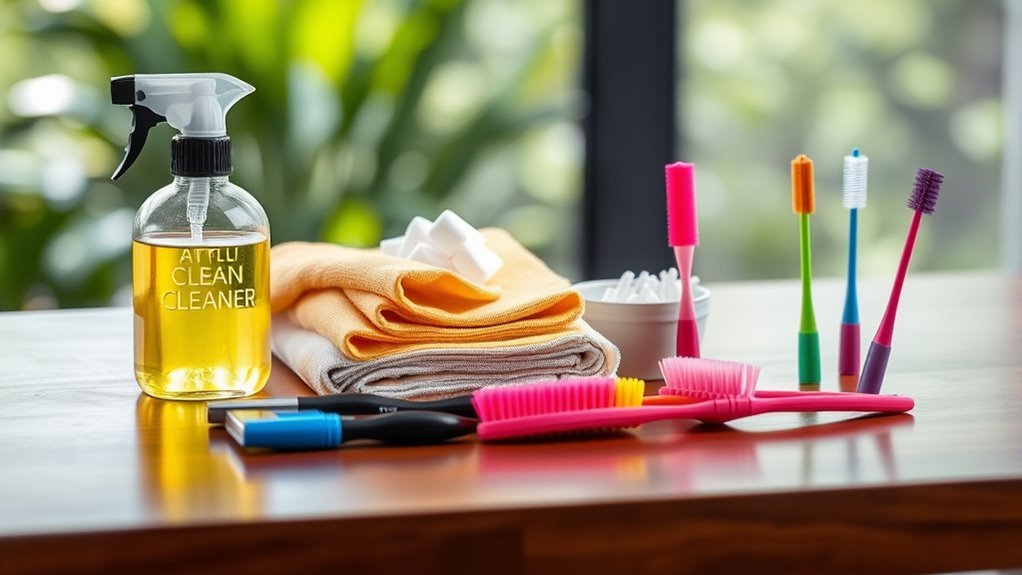
Before you begin cleaning your keyboard, you’ll need to gather a few essential supplies to make the job easier and more effective. Freedom starts with having the right tools at your fingertips. Grab some essential tools like a soft microfiber cloth, a small brush, and cotton swabs to reach those tight spaces. You’ll also want to have cleaning solutions that are safe for electronics—avoid anything harsh that could damage your keyboard. Isopropyl alcohol mixed with water works well for disinfecting and deodorizing. Having these supplies ready means you won’t be interrupted mid-cleaning, letting you take control of your workspace’s hygiene with ease. With the right cleaning solutions and essential tools, you’re set to restore your keyboard’s freshness and reclaim your freedom from grime.
Power Down and Unplug Your Keyboard
Before you start cleaning, make certain to power down your keyboard to avoid any electrical issues. Unplug it carefully from your computer or laptop to prevent damage to the cables or ports. Taking these safety steps guarantees a smooth and safe cleaning process.
Safety First Steps
Although it might seem obvious, you should always power down and unplug your keyboard before cleaning it to avoid any risk of electrical shock or accidental key presses. Taking these safety first steps protects you from keyboard hazards and keeps your freedom intact. Don’t forget to wear safety gear like gloves or a mask if you’re sensitive to dust or cleaning agents.
| Safety Step | Reason | Tip |
|---|---|---|
| Power Down | Prevents accidental inputs | Use shut down, not sleep |
| Unplug Keyboard | Avoids electrical shock | Pull from plug, not cable |
| Wear Safety Gear | Protects skin and lungs | Gloves and mask recommended |
Stay safe, and enjoy a clean, hazard-free keyboard!
Disconnect Properly
Since your safety depends on it, always power down your device completely rather than putting it to sleep, and unplug your keyboard by pulling the plug—not the cable—to avoid damage or electrical hazards. Proper disconnection is essential to maintain your keyboard’s longevity and guarantee safe handling. Whether your keyboard relies on USB, Bluetooth, or another method of keyboard connectivity, disconnect it carefully. For wireless keyboards, turn them off first before detaching any receivers. This approach prevents unexpected power surges or data loss. Taking these simple precautions gives you the freedom to clean confidently without risking harm to your device or yourself. Remember, proper disconnection isn’t just about safety—it’s about respecting your tools and preserving their function for the long haul.
Remove Loose Debris and Dust

Dust and crumbs can quickly accumulate between your keyboard keys, affecting both performance and hygiene. To keep your device running smoothly and feeling fresh, start your keyboard maintenance by gently turning it upside down and giving it a light shake. This simple motion helps dislodge loose debris trapped in hard-to-reach spots without causing damage. You can also tap the back lightly to encourage dust accumulation to fall out. If you prefer, use a soft brush or a microfiber cloth to sweep away visible particles on and around the keys. These quick steps prevent buildup that can interfere with key responsiveness and keep your workspace cleaner, giving you the freedom to enjoy a more efficient and pleasant typing experience.
Clean Between the Keys With Compressed Air
To get rid of stubborn crumbs and dust stuck between your keys, using compressed air is a smart choice. Make sure you hold the can upright and spray in short bursts to avoid moisture buildup. Also, always follow safety instructions to keep both your keyboard and yourself safe.
Choosing Compressed Air
One effective way to clean between your keyboard keys is by using compressed air. When choosing compressed air, you want a product that’s powerful yet safe for electronics. There are several compressed air types—some come in cans with a straw for precision, while others have a brush attachment for extra control. Look for the best brands like Falcon, Dust-Off, or Endust; they’re trusted for their quality and reliability. Avoid cheaper options that might spray liquid or leave residue, which can damage your keyboard. Selecting the right compressed air gives you the freedom to maintain your keyboard effortlessly, keeping it clean without risking harm. Make sure to pick a product that fits your needs and supports your goal of a fresh, debris-free workspace.
Proper Usage Techniques
Although using compressed air might seem straightforward, knowing the right technique guarantees you clean effectively without damaging your keyboard. Hold the can upright and use short bursts to avoid moisture buildup between the keys. Aim the nozzle at an angle, allowing the air to dislodge dust and debris trapped in tight spaces. Maintaining good hand positioning while doing this prevents strain and supports ergonomic typing habits. You’re not just cleaning—you’re protecting your keyboard and your hands. Take your time moving across the keyboard row by row, ensuring every crevice gets attention. This method frees your keyboard from grime while keeping your fingers relaxed and ready for smooth typing. With these proper usage techniques, you enjoy both a cleaner device and a healthier typing experience.
Safety Precautions
While compressed air is a great tool for cleaning between your keyboard keys, you should handle it carefully to avoid damage. First, always hold the can upright to prevent moisture from spraying onto your keyboard materials, which could cause corrosion or sticky keys. Avoid shaking the can before use, as this can release liquid propellant. Use short bursts rather than a continuous spray to keep your cleaning method controlled and effective. Make sure your keyboard is unplugged or turned off to prevent accidental inputs or electrical issues. Also, check your keyboard’s manufacturer guidelines, since some materials may be more sensitive to compressed air. Following these safety precautions lets you clean thoroughly without compromising your freedom to maintain your device’s longevity and performance.
Use a Soft Brush to Dislodge Stubborn Dirt
Grab a soft brush to reach the dirt and dust trapped between your keyboard keys. A soft bristle brush is perfect for this task because it can gently dislodge stubborn grime without damaging your keyboard. You want to free yourself from buildup that slows down your typing and harbors germs. Move the brush in small, deliberate motions, focusing on areas where dirt tends to accumulate the most. Don’t rush—take your time to guarantee you loosen particles hiding deep in crevices. Using a soft bristle brush gives you control and precision, letting you reclaim a cleaner, fresher keyboard quickly. This simple tool breaks through grime where wipes can’t reach, empowering you to maintain your device’s cleanliness and keep your workspace feeling open and free.
Wipe the Surface With a Mild Cleaning Solution
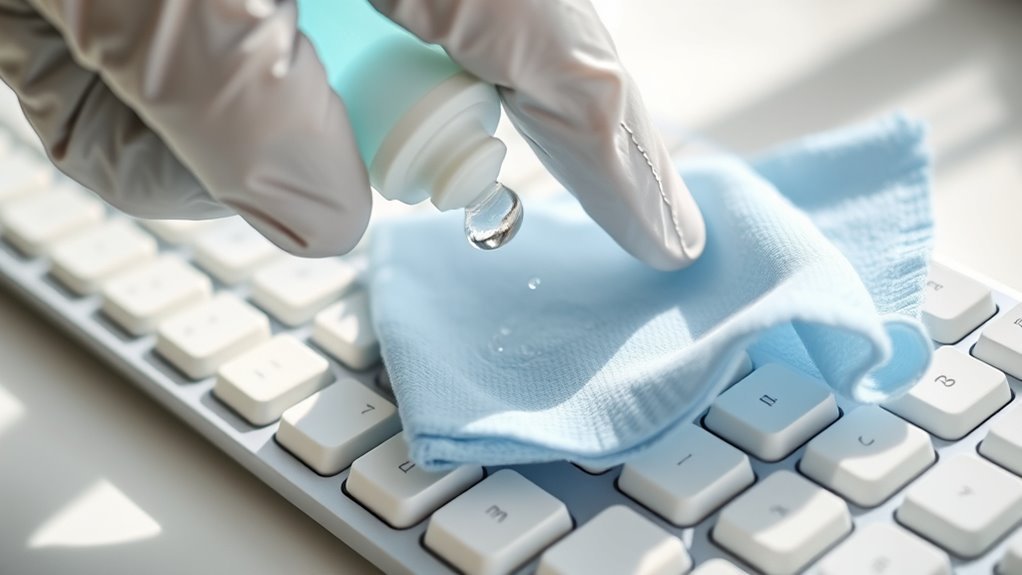
Before you start wiping, make sure you’ve unplugged your keyboard or turned off your wireless connection to prevent any accidental key presses. Now, grab your preferred keyboard cleaning solutions—ideally mild disinfectant wipes or a gentle mixture of water and isopropyl alcohol. Here’s how to proceed:
- Lightly dampen a microfiber cloth or use mild disinfectant wipes.
- Avoid soaking the cloth; excess moisture can damage electronics.
- Wipe all surfaces thoroughly, including keys and edges.
- Pay attention to frequently touched areas for better hygiene.
- Let the keyboard air dry completely before reconnecting.
This step frees your keyboard from oils and grime, keeping it fresh while protecting its internal parts. With proper care, you’ll enjoy a cleaner workspace and the freedom to type confidently.
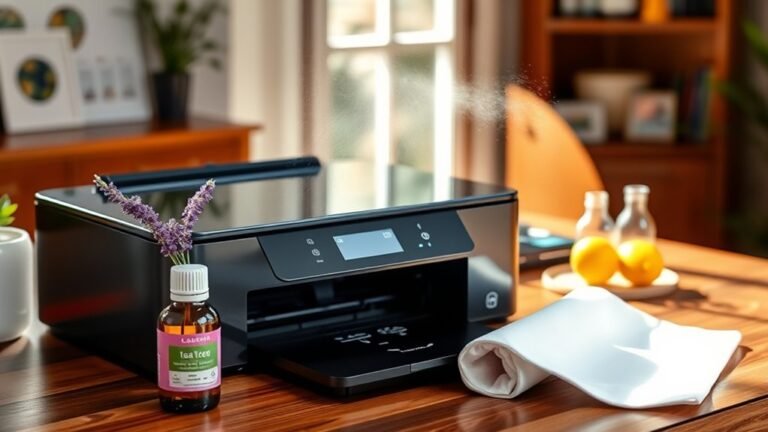
Deodorize Your Keyboard Naturally
A clean keyboard can still hold onto unpleasant odors, but you don’t need harsh chemicals to revitalize it. You can easily use natural deodorizing methods that keep your space healthy and free from synthetic scents. One simple approach is placing a small sachet of baking soda under your keyboard—it absorbs odors effortlessly. Another great choice is essential oil options like lavender, tea tree, or eucalyptus. Just add a few drops to a cotton ball or piece of cloth, then tuck it near your keyboard vents or under the keys (if removable). These oils not only neutralize smells but also bring a subtle, invigorating aroma. By choosing natural deodorizing methods, you stay in control of your environment without compromising on freshness or freedom.
Dry Your Keyboard Thoroughly Before Use
After deodorizing your keyboard, make certain it’s completely dry before plugging it back in or using it. Moisture left inside can cause damage or sticky keys, so mastering keyboard drying techniques is key. To keep your device safe and extend its freedom from malfunction, follow these moisture prevention tips:
- Turn your keyboard upside down to let excess liquid drain out.
- Use a soft, lint-free cloth to absorb surface moisture gently.
- Place it in a warm, dry area away from direct sunlight.
- Use compressed air to blow out moisture trapped between keys.
- Allow at least 24 hours of air drying before reconnecting.
Taking these steps guarantees your keyboard stays in top shape, ready for your next adventure without worry.
Maintain Cleanliness With Regular Care
Even if your keyboard looks clean, regular care is crucial to keep it functioning smoothly and free from buildup. By adopting simple keyboard hygiene tips, you’ll prevent dust, crumbs, and oils from accumulating, which can impair performance and harbor germs. Make it a habit to gently wipe your keys with a microfiber cloth dampened with a mild cleaner weekly. Removing keycaps occasionally for a deeper clean can also be beneficial. The regular maintenance benefits include extending your keyboard’s lifespan, improving typing comfort, and maintaining a fresh workspace. Staying consistent with these steps guarantees your keyboard stays reliable and pleasant to use, giving you the freedom to focus on what matters without interruptions caused by a dirty or malfunctioning keyboard.
Frequently Asked Questions
Can I Use Alcohol Wipes on My Mechanical Keyboard?
Sure, savvy cleaning with alcohol wipes can be a smart step in mechanical keyboard maintenance. You’ll want to carefully swipe surfaces, as alcohol wipes are effective at eliminating germs and grime without harming your keys. Just don’t drench your keyboard—too much moisture can cause damage. Using wipes gives you quick, convenient cleaning freedom, keeping your setup fresh and functional without complicated steps or restrictions. So yes, go ahead and wipe wisely!
How Often Should I Deep Clean My Keyboard?
You should deep clean your keyboard every 3 to 6 months to keep it in top shape—this aligns with common keyboard maintenance tips. However, if you eat at your desk or share your keyboard, consider cleaning it more often. Cleaning frequency recommendations vary based on your lifestyle, so listen to your needs and go with what feels right. Staying consistent lets you enjoy a fresh, functional keyboard without feeling tied down.
Is It Safe to Remove Keys for Cleaning?
Removing keys for cleaning can feel like defusing a bomb, but it’s usually safe if you’re careful! Just make sure you know your keyboard model—some keys pop off easily, others don’t. Use gentle key removal tools and follow proper cleaning techniques to avoid damage. This freedom lets you reach grime hiding beneath keys, making your keyboard feel brand new. So, go ahead and liberate those keys for a thorough clean!
What Causes Keyboard Odors Besides Dirt?
Besides dirt, keyboard odors often come from food particles trapped between keys and moisture buildup from sweat or spills. When you eat at your desk, those crumbs get stuck and start to smell over time. Plus, moisture creates a perfect environment for bacteria, making odors worse. To keep your keyboard fresh, try to avoid eating near it and clean it regularly, so you stay free from funky smells and grime buildup.
Can Keyboard Cleaning Affect Warranty Coverage?
Imagine your keyboard as a delicate treasure chest—cleaning it can either polish its shine or crack its glaze. When you immerse yourself in scrubbing, remember that warranty policies often have strict rules about what cleaning products you use. Harsh chemicals or liquids might void your coverage, limiting your freedom to fix issues later. So, always check those guidelines first to keep both your keyboard and your warranty intact, letting you clean with confidence.