Essential Tools for Cleaning Washer
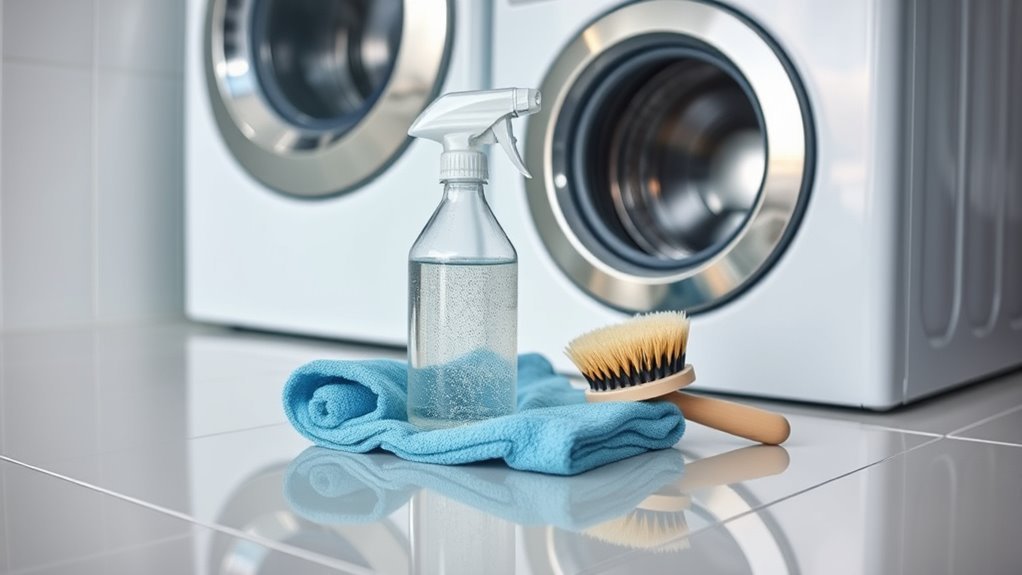
To clean your washer effectively, you’ll want microfiber cloths for gentle wiping and a soft-bristled brush to scrub without scratching. Use white vinegar to deodorize and baking soda to tackle stains. An old toothbrush helps reach tight spots. Measuring cups guarantee accurate cleaning solutions, while a spray bottle applies them evenly. Don’t forget rubber gloves to protect your hands. With these tools, your washer can stay fresh and efficient—there’s plenty more to explore for deep cleaning tips.
Microfiber Cloths for Gentle Wiping
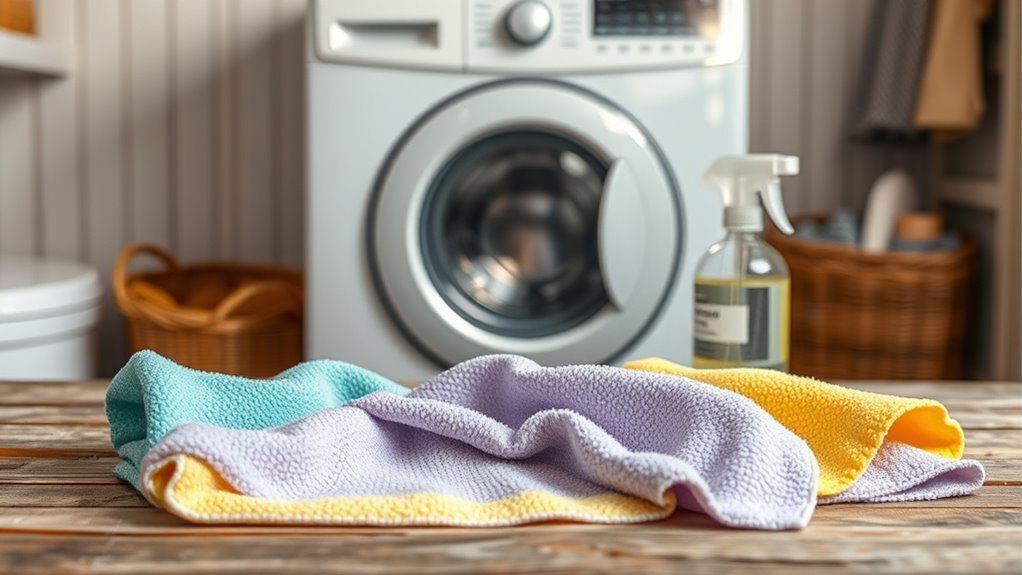
When cleaning your washer, microfiber cloths are your best friend for gentle wiping. Their unique fibers grab dirt and grime effortlessly, giving you the microfiber advantages of thorough cleaning without harsh scrubbing. You’ll appreciate how they protect your washer’s surfaces, keeping them scratch-free while freeing you from stubborn residues.
To keep enjoying these benefits, proper cloth maintenance is key. Always rinse your microfiber cloths after use and avoid fabric softeners—they clog the fibers, reducing effectiveness. Air drying or low-heat machine drying preserves their texture and durability, so you can rely on them for every cleaning session.
Choosing microfiber cloths means embracing freedom from harsh chemicals and rough cleaning tools, making your washer care simple, efficient, and eco-friendly.
Soft-Bristled Brush for Scrubbing
You’ll want to pick a soft-bristled brush that’s gentle enough to avoid damaging your washer’s surfaces but sturdy enough to remove grime. Soft bristles help scrub away dirt without scratching, making your cleaning more effective. Using the right scrubbing techniques with this brush guarantees you get every nook and cranny spotless.
Choosing the Right Brush
Anyone tackling washer cleaning knows that choosing the right brush makes a big difference. You want a tool that’s effective yet gentle, letting you clean thoroughly without damaging surfaces. When selecting your brush, consider brush materials—opt for soft bristles made from nylon or natural fibers to avoid scratches. Also, think about brush sizes; a smaller brush helps you reach tight corners and crevices, while a medium-sized one covers larger areas efficiently. Picking the right combination of materials and sizes gives you the freedom to tackle every nook of your washer with confidence. With the right brush in hand, you’re set to make your cleaning routine easier and more effective, helping your washer stay fresh without any hassle.
Benefits of Soft Bristles
Although it might seem easier to reach for a stiff brush, soft bristles are actually your best bet for scrubbing your washer effectively. They offer gentle cleaning that won’t damage delicate surfaces inside your machine. With soft bristles, you can confidently remove grime and residue without worrying about scratches or wear. This freedom allows you to maintain your washer’s performance and appearance over time. Plus, soft bristles reach tricky spots and crevices more easily, ensuring a thorough clean. Choosing a soft-bristled brush means you’re protecting your appliance while still getting it spotless. So, by opting for soft bristles, you embrace a cleaning method that’s both effective and kind to your washer’s components, making your maintenance routine smoother and hassle-free.
Proper Scrubbing Techniques
When cleaning your washer, using a soft-bristled brush correctly makes all the difference in removing buildup without causing damage. To get the best results, focus on gentle scrubbing patterns that follow the washer’s contours. Circular motions work well on stubborn spots, while sweeping strokes can clear away loose grime. Keep your movements effective but light to avoid wearing down surfaces. Don’t rush—take your time to cover every nook evenly. Remember, the goal is to loosen dirt without scratching or harming seals and coatings. By mastering these scrubbing patterns and effective movements, you’ll maintain your washer’s freedom from grime and guarantee it stays in top shape longer. With the right technique, cleaning becomes simple, efficient, and totally under your control.
White Vinegar for Deodorizing
You’ll want to use white vinegar because it naturally eliminates odors and breaks down residue inside your washer. To deodorize, just run a hot cycle with vinegar instead of detergent. This simple step helps keep your washer fresh and extends its lifespan.
Why Use White Vinegar
Since washers can develop unpleasant odors over time, using white vinegar is a simple and effective way to deodorize them. You’ll appreciate how vinegar benefits your routine by naturally breaking down residue without harsh chemicals. Vinegar solutions are safe, affordable, and eco-friendly, giving you freedom from expensive, toxic cleaners while keeping your washer pleasant and clean.
| Benefit | Feeling It Brings |
|---|---|
| Natural deodorizer | Invigorating freedom |
| Non-toxic cleaning | Peace of mind |
| Affordable | Financial relief |
| Easy to use | Empowerment |
| Eco-friendly | Connection with nature |
Choosing white vinegar lets you reclaim control over your cleaning, freeing you from worries about harmful residues and odors.
Deodorizing Process Steps
To keep your washer smelling fresh, follow a straightforward deodorizing process using white vinegar. This natural deodorizing agent not only eliminates odors but also supports effective washer maintenance. Here’s how you can do it:
- Pour 2 cups of white vinegar directly into the drum.
- Run a hot water cycle without any laundry to let the vinegar break down buildup and neutralize smells.
- After the cycle, leave the washer door open to air dry, preventing moisture buildup and lingering odors.
Using white vinegar as your go-to deodorizing agent gives you freedom from harsh chemicals and keeps your washer fresh and ready. Regularly following these steps guarantees your washer stays clean and odor-free with minimal effort.
Benefits for Washer Cleanliness
When you use white vinegar for deodorizing, it not only removes unpleasant smells but also helps break down mineral deposits and soap scum inside your washer. This simple step can dramatically improve your washer’s performance and prevent buildup that causes odors and inefficiency. Incorporating white vinegar into your maintenance routine supports washer longevity by keeping internal parts clean and free from grime. You’ll enjoy fresher laundry and fewer repairs, giving you more freedom from costly maintenance hassles. Plus, it’s an easy, natural solution that fits seamlessly into your regular cleaning habits. By committing to this practice, you’re actively protecting your washer’s health, ensuring it runs smoothly for years to come without the need for harsh chemicals or complicated procedures.
Baking Soda for Stain Removal
Although it might seem simple, baking soda is one of the most effective tools you can use for removing stains in your washer. It’s a natural, affordable choice that frees you from harsh chemicals and complicated routines. Here’s why you’ll want to keep baking soda handy for stain removal:
- Neutralizes odors – Baking soda breaks down stubborn smells trapped in your washer, giving your clothes a fresher wash.
- Loosens residue – It helps dissolve detergent buildup and grime that cause stains and affect washer performance.
- Gentle but powerful – Unlike abrasive cleaners, baking soda won’t damage your machine, ensuring long-lasting stain removal.
Using baking soda lets you take control of your washer’s cleanliness with a simple, effective solution that keeps your laundry fresh and stain-free.
Old Toothbrush for Hard-to-Reach Areas

A single old toothbrush can make a big difference in cleaning those tight spots your washer’s regular cleaning tools can’t reach. The old toothbrush benefits include precision and flexibility, perfect for hard to reach cleaning in crevices, around seals, and inside detergent dispensers. Using this simple tool, you gain freedom from stubborn grime and buildup without extra expense.
| Area | Why Use Old Toothbrush? | Benefit |
|---|---|---|
| Door Seals | Narrow grooves | Removes mold and dirt |
| Detergent Dispenser | Small compartments | Clears residue for better washing |
| Filter and Drain | Tight spaces | Prevents clogs and odors |
| Control Panel Edges | Delicate, confined areas | Avoids damage, keeps clean |
This tool offers you control and efficiency for a truly clean washer.
Measuring Cup for Accurate Cleaning Solutions
Cleaning those hard-to-reach areas with an old toothbrush helps tackle grime, but getting your cleaning solutions just right is equally important. Using a measuring cup guarantees you nail the perfect cleaning ratios every time, giving you control and freedom from guesswork. Here’s why a measuring cup is essential:
- Precision: Accurate measuring techniques prevent overuse or waste of cleaning agents.
- Consistency: You can replicate effective cleaning mixes without second-guessing.
- Efficiency: Saves time by avoiding trial and error with solution strength.
With a reliable measuring cup, you take charge of your cleaning routine, mixing solutions precisely to keep your washer spotless without unnecessary hassle. It’s a simple tool that empowers you to clean smarter, not harder.
Spray Bottle for Applying Cleaners
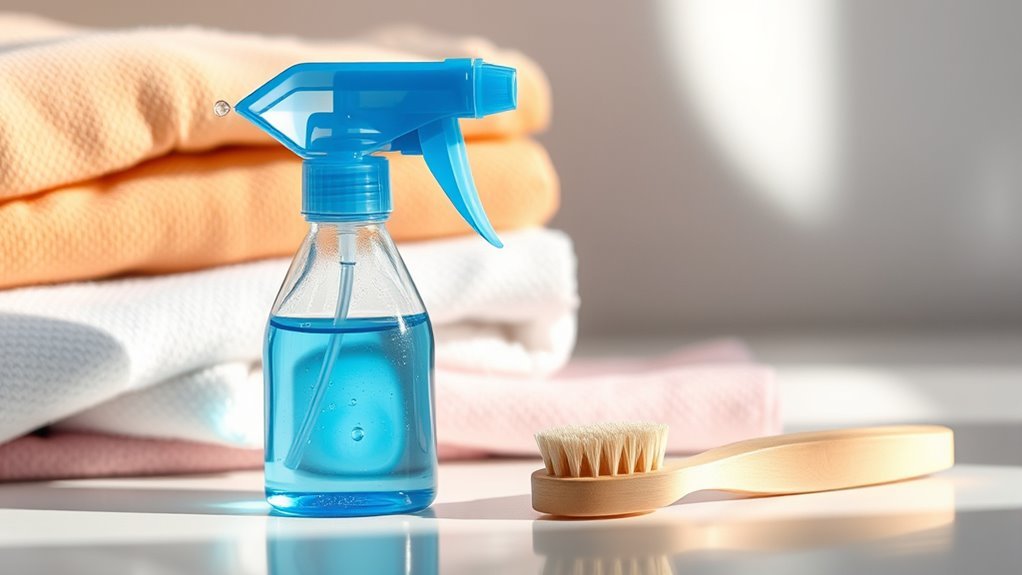
When you want an even, controlled application of your cleaning solutions, a spray bottle becomes your best friend. It lets you target tough spots inside your washer without wasting product or making a mess. You can mix your own cleaning solutions precisely and adjust the spray nozzle for different spray techniques—from a fine mist to a steady stream—giving you full control over how you apply them. This freedom means you can tackle every nook and cranny efficiently, ensuring no residue is left behind. Plus, a spray bottle helps you avoid over-saturating areas, which can cause damage or lingering odors. Investing in a sturdy, easy-to-use spray bottle simplifies your washer cleaning routine while maximizing the power of your cleaning solutions.
Rubber Gloves to Protect Your Hands
While applying cleaning solutions with a spray bottle helps you reach every corner of your washer, protecting your hands during the process is just as important. Rubber gloves are your best ally for hand protection and cleaning safety. They shield your skin from harsh chemicals and prevent irritation or allergic reactions, letting you clean freely without worry.
Here’s why you shouldn’t skip gloves:
- Chemical Barrier: Gloves keep harmful cleaners off your skin, ensuring safe contact.
- Grip and Control: They improve your hold on slippery surfaces, making cleaning easier.
- Hygiene: Gloves stop germs and dirt from transferring, keeping your hands clean and healthy.
Wearing rubber gloves lets you focus on a spotless washer without compromising your freedom or skin health.
Frequently Asked Questions
How Often Should I Clean My Washer?
How often should you really be cleaning your washer? To keep things running smoothly and avoid funky smells, regular cleaning frequency is key. You don’t want to get stuck with a broken machine, right? For ideal washer maintenance, aim to clean it at least once a month. This simple habit frees you from unexpected repairs and keeps your laundry fresh, giving you more freedom to enjoy life without worrying about your washer.
Can I Use Bleach Instead of Vinegar for Cleaning?
You can use bleach instead of vinegar, but it’s not always the best choice for your washer maintenance. Bleach is powerful but can be harsh on some machine parts, so many people prefer bleach alternatives like vinegar or baking soda for a gentler clean. If you want to keep your washer running freely and avoid damage, consider these alternatives—they’re effective and won’t risk harming your appliance over time.
Is It Safe to Clean a Washer While It’s Running?
Imagine trying to fix a bike while it’s speeding downhill—dangerous, right? Cleaning your washer while it’s running isn’t safe either. You want to enjoy freedom from hassle, so prioritize washer safety by waiting until the cycle finishes. Running maintenance during operation risks injury and damage. Instead, schedule cleaning during downtime to keep your washer efficient and yourself safe, ensuring your freedom to relax without unexpected laundry troubles.
What Causes Mold Buildup in Washers?
Mold buildup in your washer happens because moisture and detergent residue create the perfect environment for mold to grow. If you don’t keep up with regular washer maintenance, it can get worse. To avoid this, follow mold prevention tips like leaving the door open after use to let it dry, wiping down seals, and running cleaning cycles. These simple steps help you keep your washer fresh and mold-free, giving you more freedom from constant cleaning worries.
How Do I Maintain a Front-Load Washer?
Imagine coming home to your favorite hoodie smelling fresh every time—front load maintenance makes that possible. To keep your washer running smoothly, you’ll want to leave the door ajar after cycles to prevent mold and wipe down seals regularly. Following simple washer tips like monthly cleaning cycles with vinegar can save you from costly repairs. With these easy habits, you’ll enjoy freedom from worries and fresh laundry every day.


