Common Mistakes When Cleaning Window
When cleaning windows, don’t use harsh cleaners like ammonia, which can damage glass coatings or cause streaks. Avoid cleaning them in direct sunlight, as it causes fast drying and streaking. Also, don’t forget to clean frames and sills to prevent mold buildup. Using abrasive tools can scratch your glass, so stick to soft microfiber cloths. Proper drying from top to bottom helps prevent water spots. Keep these in mind to get sparkling windows, and explore further tips to improve your routine.
Using the Wrong Cleaning Solution

Although it might seem convenient to grab any household cleaner, using the wrong cleaning solution can actually damage your windows or leave streaks behind. Many common cleaners contain harsh chemicals that trigger chemical reactions harmful to your glass coatings, leading to etching or cloudiness. You want the freedom to enjoy clear, flawless windows without worrying about damage. Avoid cleaners with ammonia or bleach, as these can degrade protective coatings over time. Instead, choose gentle, pH-neutral solutions designed specifically for glass. This way, you preserve your windows’ integrity and maintain that crisp, streak-free shine you’re after. Remember, the right cleaning solution respects both your windows and your desire for effortless, worry-free maintenance.
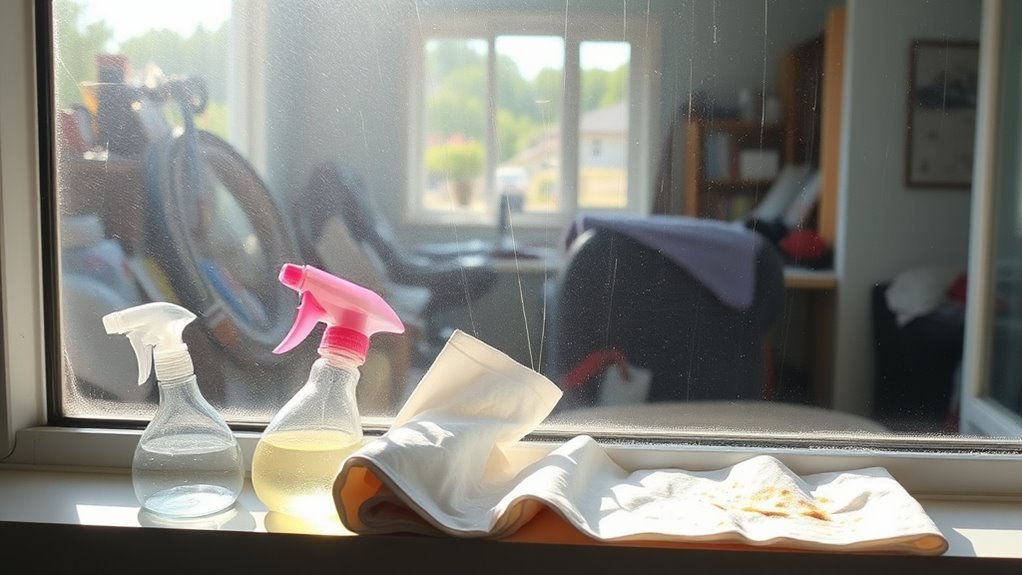
Cleaning Windows in Direct Sunlight
Choosing the right cleaning solution is just one part of getting your windows spotless. When you clean windows in direct sunlight, you face challenges like sunlight glare and temperature effects that can ruin your efforts. Here’s what you should keep in mind:
- Avoid cleaning during peak sunlight to prevent streaks caused by rapid drying
- Use a microfiber cloth to minimize glare reflections while you work
- Wipe in one direction to reduce smudges intensified by sunlight
- Work quickly but thoroughly to counteract heat speeding up evaporation
- Consider early mornings or late afternoons for gentler light and cooler temps
Ignoring the Window Frame and Sills

You might focus on the glass and forget the frames and sills, but dirt often builds up there too. Ignoring these areas can lead to mold, mildew, and even damage the materials over time. Paying attention to the whole window guarantees a thorough clean and protects your investment.
Neglecting Dirt Buildup
When cleaning windows, it’s easy to focus solely on the glass and overlook the frames and sills. But dirt accumulation here can quickly spoil your window’s look and function. Neglecting these areas during seasonal maintenance limits your freedom to enjoy crystal-clear views and smooth operation. To avoid this common mistake, remember to:
- Remove dust and debris from frames and sills regularly
- Use a soft brush or vacuum attachment for tight spots
- Wipe down with a damp cloth and mild detergent
- Check for trapped dirt that can cause damage over time
- Include frames and sills in your routine seasonal maintenance
Overlooking Mold and Mildew
Although it might seem less obvious than dirt, mold and mildew on window frames and sills can quickly damage your home’s structure and affect indoor air quality. You might be tempted to focus solely on the glass, but ignoring these areas leaves you vulnerable to hidden buildup. To protect your freedom from costly repairs and health issues, you need effective mold prevention strategies. Regularly inspect and clean the frames and sills using proven mildew removal techniques like vinegar solutions or commercial cleaners designed for mold. Keeping these spots dry and well-ventilated also helps stop mold before it starts. Don’t let mold sneak in unnoticed—addressing it early guarantees your home stays fresh, safe, and under your control.
Damaging Frame Materials
While focusing on sparkling glass panes is important, neglecting the window frames and sills can cause serious damage over time. If you want to preserve your windows’ integrity and enjoy freedom from costly repairs, you’ve got to prioritize frame protection. Here’s what to watch out for:
- Using harsh cleaners that aren’t compatible with your frame material
- Ignoring dirt buildup that traps moisture and leads to rot or rust
- Scrubbing too hard, scratching delicate surfaces like wood or vinyl
- Forgetting to dry frames thoroughly after cleaning to prevent mold growth
- Applying inappropriate sealants or paints that degrade your frame’s finish
Using Abrasive Tools or Materials

Scrubbing your windows with rough sponges or steel wool might seem like a quick fix, but it can actually cause permanent scratches. When you’re choosing your cleaning approach, keep in mind that abrasive materials often do more harm than good. Your tool selection is essential—opt for soft microfiber cloths or non-abrasive sponges that protect the glass surface while effectively removing grime. Using harsh tools not only damages your windows but also limits your freedom to enjoy a clear, streak-free view. By avoiding abrasive materials, you preserve the integrity of your windows and save yourself from costly repairs or replacements. So, take a moment to pick the right tools—you’ll thank yourself later when your windows stay spotless and scratch-free.
Neglecting to Remove Dust and Dirt First
Choosing the right tools is only part of the equation when cleaning your windows. If you skip dust removal techniques, you’ll trap dirt and grime, making your windows look worse. To enjoy crystal-clear views and prevent future buildup, start by removing dust and dirt first. Here’s how to take control of dirt accumulation prevention:
- Use a soft brush or microfiber cloth to gently sweep away loose dust.
- Vacuum window sills and frames to catch hidden debris.
- Employ compressed air for hard-to-reach corners.
- Avoid wet cleaning before dust removal to prevent smearing.
- Regularly clean screens to reduce dirt transfer.
Overlooking the Importance of Proper Drying
Even if you clean your windows thoroughly, neglecting proper drying can leave streaks and water spots that ruin your efforts. To keep your windows crystal clear, pay close attention to drying techniques. Using the right drying materials, like a microfiber cloth or a squeegee, makes a huge difference. Avoid using rough or dirty towels that can scratch or leave lint behind. Start drying from the top and work your way down in smooth, consistent strokes to prevent drips. Quick and efficient drying not only preserves the shine but also saves you time and frustration later. Remember, mastering these drying techniques gives you the freedom to enjoy spotless windows without constantly re-cleaning or battling those annoying streaks. Don’t overlook this vital step!
Cleaning Windows Only From the Inside
Proper drying helps keep your windows spotless, but cleaning only from the inside can still leave them looking dull. When you focus just on interior visibility, you miss the stubborn exterior grime that dulls your view and blocks sunlight. To truly enjoy the freedom of clear, bright windows, you need a full approach.
Here’s what happens when you skip exterior cleaning:
- Exterior grime accumulates unnoticed
- Glass loses its sparkle
- Reflections appear hazy
- Dirt and dust reduce natural light
- The overall window look feels neglected
Don’t limit yourself to just one side. Embrace cleaning both inside and out to release the full clarity and freedom your windows can offer.
Using Paper Towels Instead of Microfiber Cloths
One of the biggest mistakes you can make when cleaning windows is using paper towels instead of microfiber cloths. Paper towels may seem convenient, but they come with several drawbacks—they often leave lint and streaks behind, making your windows look worse than before. Plus, they can tear easily, wasting both time and money. On the other hand, microfiber cloths offer clear benefits. Their dense fibers trap dirt and absorb moisture efficiently, letting you clean faster and with less effort. They’re reusable and durable, giving you the freedom to clean without constantly buying new supplies. Choosing microfiber cloths means you get spotless windows without the hassle or waste, so embrace these microfiber benefits and ditch those paper towel drawbacks to enjoy a truly free and effective cleaning experience.
Frequently Asked Questions
How Often Should I Clean My Windows for Best Results?
You’ll want to follow frequency guidelines that suit your lifestyle and environment. For most, cleaning schedules every three to six months work best to keep windows sparkling without feeling like a chore. If you live somewhere dusty or rainy, you might clean more often, while cleaner air means less frequent washing. Ultimately, you’ve got the freedom to set a routine that fits your pace and keeps your view crystal clear.
Can Vinegar Damage Window Tint or Coatings?
You might wonder if vinegar effects can harm your window tint or coatings. While vinegar is a natural cleaner, it’s acidic and can damage window tint over time by breaking down adhesives or causing discoloration. To keep your freedom intact and enjoy clear views, it’s best to avoid vinegar on tinted windows. Instead, use a cleaner specifically designed for window tint to protect your investment and maintain that sleek look.
What Is the Best Time of Year for Window Cleaning?
Cleaning your windows during spring cleaning feels like revealing the sun itself! You’ll want to time it right—spring is ideal because it’s not too hot, which prevents streaks, and seasonal considerations like pollen and rain are easing up. This timing lets you enjoy clearer views and a refreshing atmosphere, freeing you from winter’s grime. So, grab your squeegee and embrace the freedom of sparkling windows in spring!
Should I Use Warm or Cold Water for Cleaning Windows?
You’ll want to use warm water when cleaning windows because it helps dissolve dirt and grease more effectively than cold water. Pairing warm water with the right cleaning solutions makes your job easier and streak-free. Avoid extremely hot water, though, as it can damage some surfaces. Using warm water gives you the freedom to clean efficiently, leaving your windows sparkling without the hassle of stubborn grime hanging around.
How Do I Safely Clean Windows on Upper Floors?
Did you know that over 80% of ladder accidents happen because people don’t set them up correctly? When cleaning windows on upper floors, ladder safety is key—always place your ladder on stable ground and don’t overreach. Use lightweight cleaning tools with extendable handles so you can reach high spots without risking your balance. By working smart and safe, you’ll enjoy the freedom of sparkling windows without any worries.