Deep Cleaning Checklist for Keyboard
To deep clean your keyboard, first gather soft cloths, cotton swabs, isopropyl alcohol, and a small brush. Power off and unplug it to stay safe. Use compressed air to remove debris. Carefully detach keycaps and soak them in soapy water, scrubbing gently. Clean the surface and between keys with alcohol and a brush. After drying thoroughly, reassemble and test keys for function. Keep a regular cleaning routine to maintain performance. Understanding these basics sets you up for more detailed care tips.
Gather Necessary Cleaning Supplies

Before you begin cleaning your keyboard, make certain you’ve gathered all the necessary supplies. Having the right cleaning supplies on hand guarantees you won’t be interrupted or forced to improvise, which can compromise your keyboard’s condition. Essential tools include a soft microfiber cloth for wiping surfaces, cotton swabs for tight spaces, and a gentle cleaning solution—preferably isopropyl alcohol diluted with water. You’ll also want a small brush or compressed air canister to remove dust and debris lodged between the keys. Avoid harsh chemicals or abrasive materials that could damage your keyboard’s finish. By preparing your cleaning supplies thoughtfully, you maintain control over the process and protect your freedom to enjoy a clean, fully functional keyboard without hassle or risk.
Power Off and Unplug Your Keyboard
Since cleaning your keyboard involves liquids and small particles, you should always power it off and unplug it first. This simple step is one of the most important safety precautions to protect both you and your device. Whether you’re using a wired, wireless, or mechanical keyboard, disconnecting power reduces the risk of electric shock and prevents accidental key presses that could interrupt your work or damage software. For wireless keyboard types, remove batteries to guarantee total power disconnection. Taking these precautions grants you the freedom to clean thoroughly without worry. Remember, skipping this step can lead to short circuits or permanent damage, so power off and unplug your keyboard every time before starting your deep cleaning. It’s a small act that safeguards your tech freedom.
Remove Loose Debris With Compressed Air
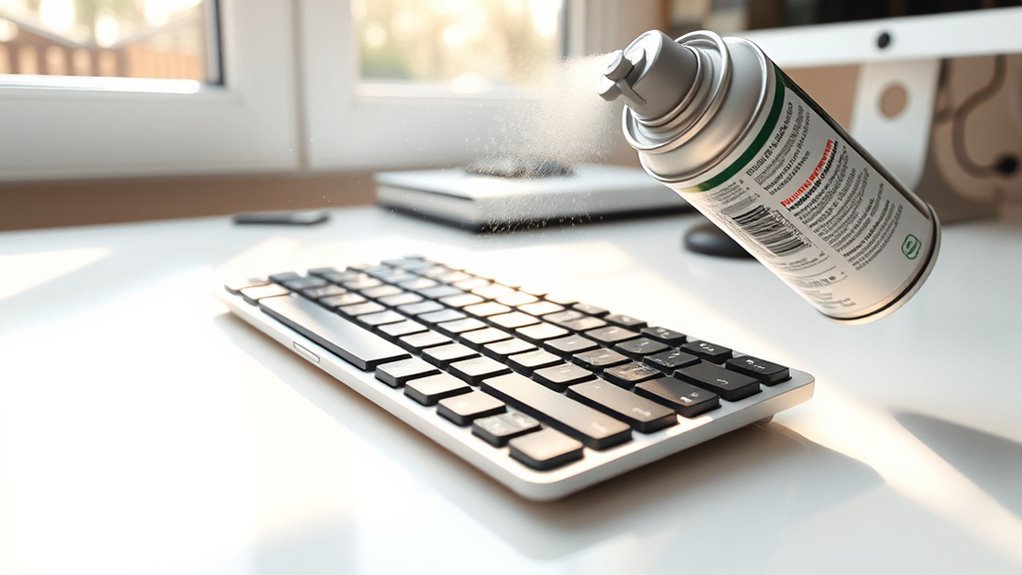
One effective way to clear out dust and crumbs from your keyboard is by using compressed air. This tool offers quick, efficient cleaning without dismantling your device, a key compressed air benefit. Just hold the can upright and spray between keys in short bursts to avoid moisture buildup. It’s a top keyboard maintenance tip for keeping your setup free from debris and functioning smoothly. Here’s a simple guide:
| Step | Action | Purpose |
|---|---|---|
| 1 | Power off & unplug | Safety first |
| 2 | Hold can upright | Prevents liquid spray |
| 3 | Spray between keys | Dislodge dirt and crumbs |
| 4 | Repeat if necessary | Guarantee thorough cleaning |
Using compressed air lets you maintain freedom from sticky keys and clutter.
Detach Keycaps for Thorough Cleaning
To clean your keyboard thoroughly, you’ll need to remove the keycaps using a keycap puller tool. Once detached, you can soak and scrub the keycaps to get rid of grime and dirt. This step guarantees every nook and cranny is properly cleaned.
Keycap Removal Tools
Removing keycaps is essential for a deep keyboard clean, and having the right tools makes the process easier and safer. To avoid damage, especially with different keycap materials like ABS or PBT, you’ll want a proper keycap puller. Wire pullers are ideal for delicate keycap styles, offering gentle grip without scratching. Plastic pullers are budget-friendly but can sometimes slip or scratch if you’re not careful. Some enthusiasts prefer ergonomic designs that give you better control, reducing the risk of bending stems or breaking stabilizers. Choosing the right removal tool lets you confidently detach keycaps without fear, freeing you to clean thoroughly and maintain your keyboard’s longevity. So, invest in a quality keycap puller that suits your keycap style and material to keep your setup in top shape.
Cleaning Keycap Techniques
A deep clean starts with detaching your keycaps, giving you access to the grime that builds up underneath. Carefully remove each keycap using your chosen tool, being mindful of different keycap materials like ABS or PBT, as some may be more delicate. Once removed, soak the keycaps in warm soapy water to loosen dirt and oils. For stubborn residue, gently scrub with a soft brush, paying attention to intricate keycap designs that might trap debris. After rinsing, let them dry completely on a towel before reattaching. This process frees your keyboard from hidden buildup and preserves the lifespan of your keycaps. By mastering these cleaning keycap techniques, you regain control over your keyboard’s hygiene, ensuring every press feels fresh and smooth.
Clean Keycaps Using Soapy Water

Start by carefully popping off the keycaps from your keyboard, making sure you keep track of their original positions. Different keycap materials like ABS or PBT respond well to soapy water, but avoid harsh detergents that might damage them. Fill a bowl with warm water and a mild dish soap, then soak the keycaps for about 15-20 minutes. This loosens dirt and oils, giving you a fresh start. After soaking, gently scrub each keycap with a soft brush or cloth, paying attention to stubborn grime. Rinse them thoroughly under clean water and let them air dry completely before reassembling. Depending on your usage and environment, adjust your cleaning frequency—once every few months keeps things smooth and hygienic, freeing you to type without worry.
Wipe Down Keyboard Surface With Isopropyl Alcohol
When wiping down your keyboard, it’s best to use isopropyl alcohol with at least 70% concentration for effective cleaning without damage. Make sure to apply the alcohol to a microfiber cloth rather than directly on the keyboard to avoid moisture buildup. Gently wipe the surface and keys to remove grime and disinfect safely.
Choosing Isopropyl Alcohol
Although there are many cleaning solutions available, choosing isopropyl alcohol is your best bet for safely wiping down your keyboard surface. It offers powerful disinfecting properties without leaving residue, making it ideal for delicate electronics. One of the biggest isopropyl alcohol benefits is its quick evaporation, which reduces moisture damage risk. When choosing concentration, aim for around 70%—this balance guarantees effective germ-killing while preventing surface harm. Higher concentrations evaporate too fast and lose cleaning power, while lower ones might not disinfect thoroughly. By selecting the right concentration, you maintain your freedom to clean confidently and efficiently, keeping your keyboard both spotless and functional. Remember, the right product choice sets the foundation for a deep clean that respects your device’s sensitivity.
Proper Cleaning Technique
Grab a lint-free cloth lightly dampened with 70% isopropyl alcohol to gently wipe down your keyboard surface. Avoid soaking the cloth; excess liquid can damage internal components. Focus on high-contact areas like keys and edges where dirt accumulates. Follow keyboard maintenance tips by regularly cleaning to keep grime and germs at bay. Stick to cleaning frequency recommendations—ideally once every one to two weeks if you use your keyboard daily. For a deeper clean, power off your device first and remove keycaps if possible. This method guarantees thorough sanitation without risking moisture damage. Keeping this routine not only prolongs your keyboard’s lifespan but also grants you the freedom to work or play without distractions from sticky keys or buildup. Consistency is key to effortless upkeep.
Clean Between Keys With a Soft Brush
A soft brush is one of your best tools for reaching the tiny spaces between your keyboard keys. Using gentle, deliberate soft brush techniques, you can easily dislodge dust, crumbs, and debris without damaging delicate components. Choose a brush with fine bristles to sweep away particles trapped in those hard-to-reach crevices. As part of your keyboard maintenance tips, make it a habit to brush between keys regularly; this prevents buildup that can affect typing performance and prolongs your keyboard’s lifespan. You’re in control here—no need for harsh sprays or risky tools. Just a simple, soft brush keeps your keyboard clean and responsive, giving you the freedom to focus on your work without distractions from a grimy keyboard.
Dry Keycaps and Keyboard Completely
After cleaning, make sure you dry your keycaps and keyboard completely using a microfiber cloth to avoid scratches. Let everything air dry thoroughly before reassembling to prevent moisture buildup inside. Taking these steps helps keep your keyboard safe and functioning well.
Use Microfiber Cloth
To guarantee your keyboard is fully dry, you’ll want to use a microfiber cloth to gently wipe down the keycaps and surface. Microfiber benefits include its ability to absorb moisture without scratching, making it perfect for delicate electronics. This cleaning technique guarantees no residue or lint is left behind, preserving your keyboard’s look and function. Here’s a quick guide to maximize your microfiber cloth use:
| Task | Technique | Benefit |
|---|---|---|
| Wipe keycaps | Light circular swipes | Removes surface dust |
| Clean keyboard base | Straight strokes | Avoids key damage |
| Dry after cleaning | Gentle pressing | Absorbs moisture |
| Final polish | Soft buffing | Leaves no streaks |
Air Dry Thoroughly
Three to four hours of air drying guarantees your keyboard and keycaps are completely dry before reassembly or use. This step is essential for maintaining excellent keyboard hygiene and preventing any lingering moisture that could harm your device. Find a well-ventilated area with good air circulation to speed up the drying process. Avoid stuffing your keyboard or keycaps into tight spaces; instead, let them breathe freely. Remember, rushing this step can lead to trapped moisture, risking damage or sticky keys. By patiently allowing your keyboard and keycaps to air dry thoroughly, you regain control over your workspace’s cleanliness and functionality. This simple habit keeps your gear in top shape, letting you type away freely without worry.
Avoid Moisture Buildup
Once your keyboard and keycaps are fully air-dried, the next step is to ascertain no moisture remains trapped inside. Moisture control is vital for keyboard protection and guarantees your device stays free from corrosion or damage. To avoid moisture buildup, don’t rush the drying process. Use a soft cloth to gently wipe any remaining damp spots, and consider placing your keyboard in a warm, dry area with good airflow. Here’s a quick moisture control checklist:
| Step | Action | Tip |
|---|---|---|
| 1. Air Dry | Leave keycaps & keyboard open | Avoid direct sunlight |
| 2. Wipe Gently | Use microfiber cloth | Prevent scratches |
| 3. Check Crevices | Inspect for trapped moisture | Use compressed air |
| 4. Final Check | Confirm dryness before use | Protects internal circuits |
Stick to these steps to keep your keyboard free and clear of moisture!
Reassemble Keyboard and Test Functionality
Now that all components are clean and dry, you can start reassembling your keyboard. Carefully align each keycap and component back into place, making sure everything clicks securely. Don’t rush this step—precision here prevents future issues. Once assembled, plug your keyboard in and begin keyboard testing to verify every key responds correctly. Conduct a thorough functionality check by typing out sentences or using online keyboard testing tools to confirm all inputs register without delay or error. If anything feels off, double-check the reassembly or clean any missed spots. Taking the time to complete a proper functionality check guarantees your keyboard’s freedom from glitches and assures it performs smoothly, letting you enjoy hassle-free typing once again.
Establish a Regular Cleaning Schedule
Although deep cleaning your keyboard can fix most issues, keeping it in good shape means you’ll need to clean it regularly. Establishing a consistent cleaning frequency helps prevent dirt buildup and keeps your device functioning smoothly. Consider setting a weekly quick-clean routine for surface dirt and a monthly deep-clean session to tackle stubborn grime. Developing maintenance habits, like wiping your keyboard after use and avoiding eating nearby, saves you from time-consuming repairs later. By sticking to this schedule, you free yourself from unexpected malfunctions and enjoy a keyboard that feels fresh and responsive. Remember, a little effort at regular intervals goes a long way, giving you the freedom to focus on work or play without interruptions caused by a neglected keyboard.
Frequently Asked Questions
Can I Use Vinegar Instead of Isopropyl Alcohol for Cleaning?
You can consider vinegar benefits as a cleaning alternative, but it’s not the best choice for keyboards. Vinegar’s acidity can help break down grime and has antibacterial properties, but it might damage sensitive electronic components or leave residue. Isopropyl alcohol is safer because it evaporates quickly and doesn’t harm electronics. If you want freedom in your cleaning routine, just be cautious and avoid soaking your keyboard with vinegar to prevent damage.
How Often Should I Deep Clean a Keyboard Used Daily?
You should deep clean your keyboard every 1 to 3 months, even if you do daily cleaning to keep things tidy. Daily cleaning helps prevent dust and grime buildup, but keyboard maintenance through deeper cleaning guarantees better performance and longevity. If you want your keyboard to stay fresh and feel great to use, don’t skip those thorough cleanings. It’s a small effort that gives you freedom from sticky keys and annoying dirt.
Is It Safe to Put Keycaps in a Dishwasher?
You might wonder about dishwasher safety for your keycaps, but it’s tricky because it depends on keycap materials. Most keycaps, especially ABS or PBT plastics, can warp or fade in a dishwasher’s heat and detergent. To keep your freedom to clean without damage, hand-washing with mild soap and warm water is safer. That way, you avoid risking your keycaps getting ruined, preserving your keyboard’s look and feel for the long haul.
What if My Keyboard Has Non-Removable Keycaps?
Did you know that keyboards can harbor up to 400 times more bacteria than a toilet seat? If your keyboard has non-removable keycaps, keycap removal isn’t an option, so focus on regular maintenance tips instead. Use compressed air to blow out debris, and gently wipe the surface with a damp cloth and mild cleaner. This way, you keep your keyboard fresh without risking damage—giving you freedom from grime without hassle.
Can Cleaning Damage the Backlighting or Switches?
You might worry that cleaning could harm your keyboard’s backlighting durability or switches, but if you’re careful, it won’t. Avoid harsh chemicals and excessive moisture to protect switch protection and keep those lights glowing strong. Using gentle tools and proper techniques lets you maintain freedom over your keyboard’s performance without risking damage. So, clean confidently—just remember to treat your keyboard with care to keep everything working perfectly.