Disinfecting High-Touch Areas in Sink
To disinfect high-touch areas around your sink, focus on faucet handles, soap dispensers, and sink edges since these spots collect germs quickly. Use disinfectants safe for your sink’s materials, like chrome or plastic, and let them sit for their recommended time before wiping clean. Don’t forget to clean surrounding surfaces, like countertops, regularly to prevent germ spread. Keep a consistent schedule, especially for busy sinks. If you want tips on selecting disinfectants or cleaning techniques, you’ll find helpful guidance ahead.
Identifying High-Touch Surfaces Around the Sink
When you’re looking to disinfect high-touch areas around the sink, you’ll want to focus on surfaces you interact with most often. Think about faucet handles, soap dispensers, and the sink basin itself—these spots accumulate germs quickly. Don’t forget light switches and countertop edges near the sink, either. To maintain your freedom and peace of mind, set a cleaning frequency that matches your lifestyle—daily if you use the sink often, or every few days if not. Always follow safety precautions: wear gloves and guarantee proper ventilation to protect yourself while disinfecting. By pinpointing these key surfaces and cleaning them regularly, you’ll keep your space hygienic without feeling restricted by complicated routines. This approach lets you enjoy your environment, knowing you’re in control.
Choosing the Right Disinfectants for Sink Areas
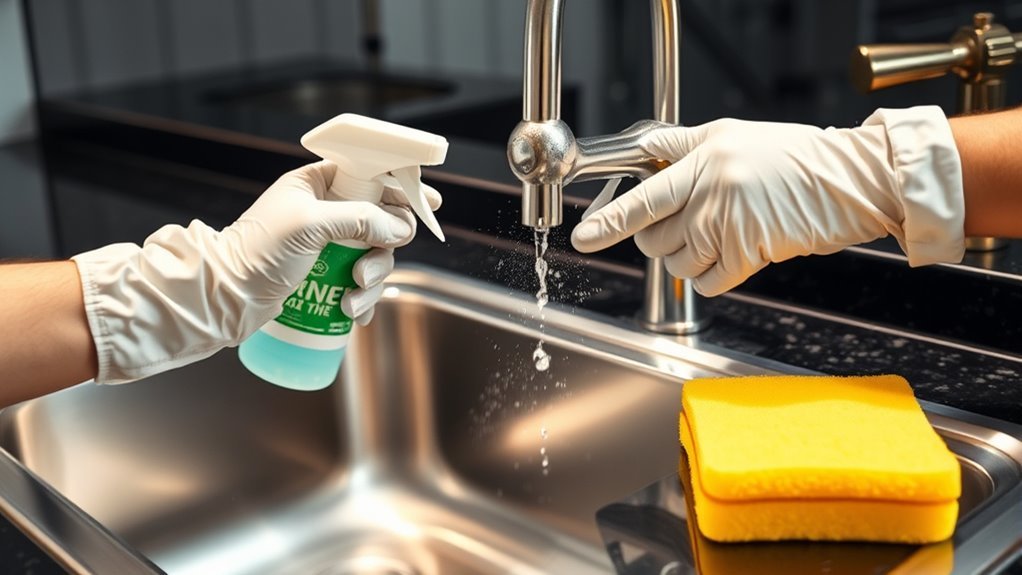
After identifying which surfaces around your sink need regular cleaning, the next step is picking the right disinfectants to tackle germs effectively. Your disinfectant selection should prioritize products proven to kill a broad spectrum of bacteria and viruses. But don’t forget surface compatibility—some disinfectants can damage materials like stainless steel, chrome, or natural stone. Always check labels to confirm the product is safe for your sink’s surfaces. Choosing a disinfectant that’s both effective and gentle lets you maintain cleanliness without sacrificing the integrity of your fixtures. By focusing on these factors, you’re free to keep your sink area hygienic without worrying about wear or discoloration. This smart approach makes disinfecting straightforward and reliable.
Step-by-Step Guide to Cleaning Faucet Handles
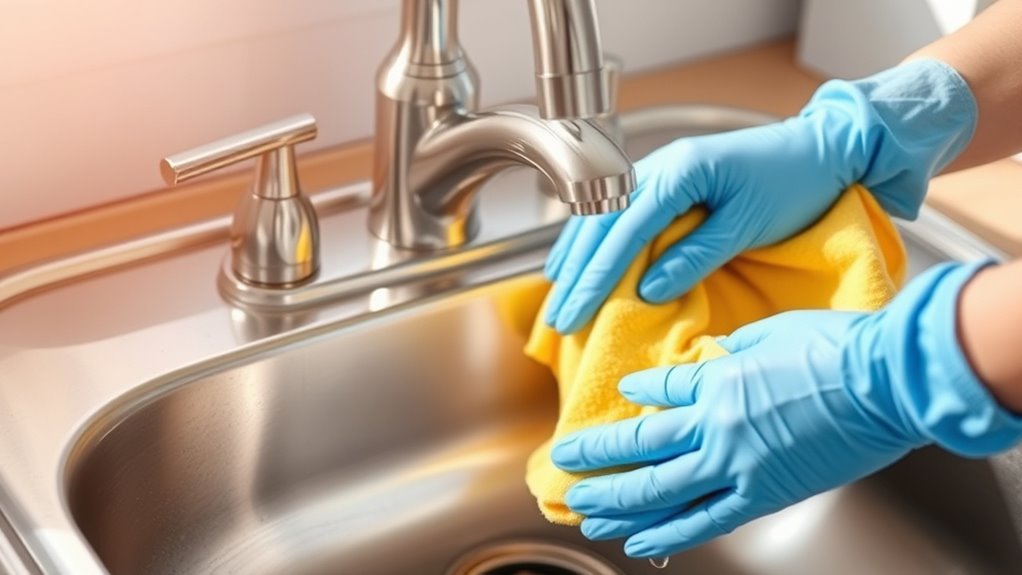
Before you start cleaning your faucet handles, make certain you have all the necessary materials like gloves, disinfectant wipes, and a clean cloth. You’ll want to follow proper disinfection techniques to guarantee germs are effectively removed. Let’s walk through the steps to make your faucet handles spotless and safe.
Gather Cleaning Materials
To clean faucet handles effectively, you’ll need just a few essential materials that are easy to find around your home. Start by gathering your cleaning tools: a soft cloth or sponge, a small brush for tight spots, and a pair of gloves if you prefer. Disinfectant wipes are a great choice for this task because they simplify the process and minimize mess. Make sure the wipes you select are suitable for the faucet material to avoid damage. Having everything ready before you start lets you move swiftly and confidently through the cleaning process. With these materials in hand, you’re all set to restore shine and hygiene to your faucet handles without hassle or delay. Freedom in cleaning means having the right tools on hand.
Proper Disinfection Techniques
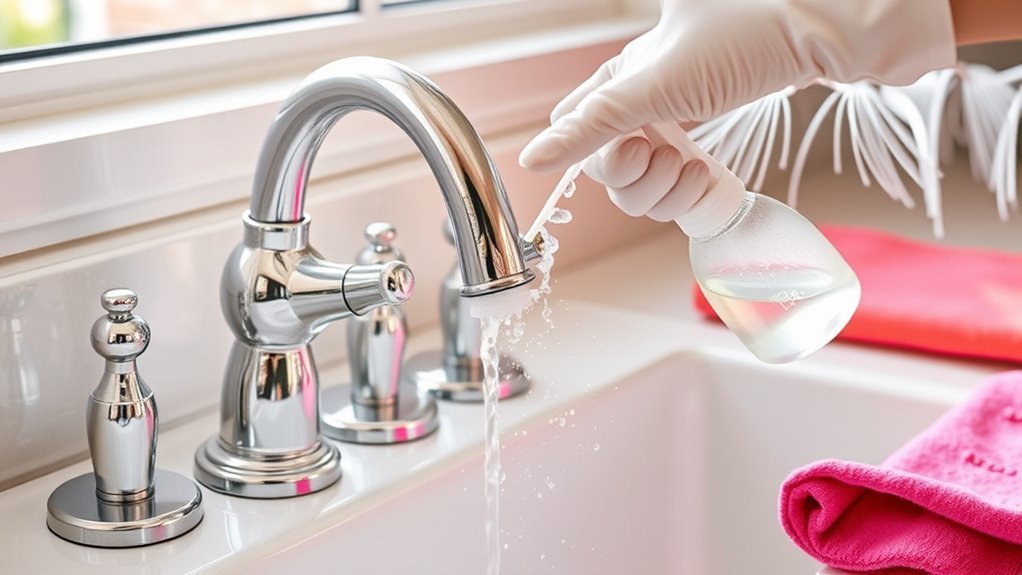
While disinfecting faucet handles might seem straightforward, following a clear step-by-step method guarantees you get the best results without damaging the surface. First, identify the surface materials of your faucet handles—whether chrome, brass, or plastic—as this impacts which disinfectant to use. Next, apply a suitable disinfectant, avoiding harsh chemicals on delicate finishes. Let it sit for the recommended contact time to verify effective germ elimination. Afterward, wipe thoroughly with a clean cloth to remove residue. Remember, maintaining an appropriate disinfection frequency is key; high-touch areas like faucet handles benefit from daily cleaning to reduce contamination risks. By sticking to these proper disinfection techniques, you maintain both hygiene and the longevity of your fixtures, giving you freedom from worry and clean, safe spaces.
Effective Methods for Sanitizing Sink Edges and Basins
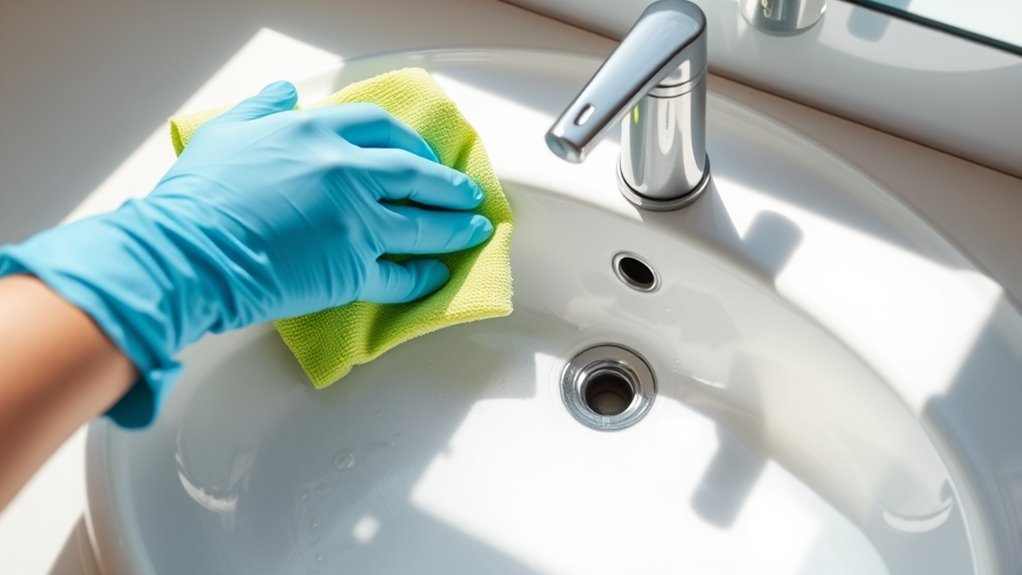
Although sink edges and basins are constantly exposed to water and soap, they can still harbor bacteria and grime that regular rinsing won’t remove. To maintain true cleanliness, you need effective sink sanitation techniques. Start by scrubbing with a brush to loosen debris, then apply a disinfectant proven for high disinfectant effectiveness on bathroom surfaces. Let it sit for the recommended time to guarantee germs are killed. Avoid shortcuts—simply wiping down won’t cut it. Focus on edges and basins where moisture attracts harmful microbes. Rinsing thoroughly after disinfecting prevents residue buildup, keeping your sink fresh and safe. By mastering these methods, you reclaim control over your space, assuring your sink remains a clean, hygienic area without compromising your freedom to choose what works best.
Maintaining Hygiene on Soap Dispensers and Surrounding Areas
You’ll want to regularly clean soap dispensers to prevent buildup and germs. Don’t forget to sanitize the surrounding surfaces too, since they often get touched just as much. Keeping these areas spotless helps reduce the spread of bacteria effectively.
Soap Dispenser Cleaning Tips
Because soap dispensers are touched frequently, they can quickly become hotspots for germs if not cleaned regularly. To keep your soap dispenser and its area hygienic, consider these tips:
- Identify your soap dispenser types—manual or automatic—since each needs a different cleaning approach to avoid damage and guarantee effectiveness.
- Clean the dispenser surface daily with a mild disinfectant, paying special attention to the pump or sensor area where germs accumulate.
- Think about soap dispenser placement; avoid spots near sinks where splashes could cause soap buildup or mold growth, and choose locations that encourage easy access without overcrowding.
Sanitizing Surrounding Surfaces
When you clean soap dispensers, it’s just as important to sanitize the surrounding surfaces to prevent germs from spreading. Different surface types around your sink—like metal, ceramic, and plastic—require specific cleaners to avoid damage while effectively eliminating bacteria. Pay close attention to high-touch areas such as faucet handles, countertops, and splash zones where water and soap residue build up. Setting a consistent cleaning frequency is key; ideally, sanitize these surfaces daily in busy areas or at least several times a week in quieter spaces. This routine not only keeps your sink area hygienic but also gives you the freedom to trust your environment without worry. Taking control over these details means you’re actively creating a cleaner, safer space for yourself and those around you.
Best Practices for Regular Disinfection and Prevention
Maintaining a consistent schedule for disinfecting high-touch areas is essential to reducing the spread of germs and keeping your environment safe. To enjoy the freedom of a clean space without the hassle, focus on these best practices for regular disinfection and prevention:
- Set clear disinfection frequency: Identify how often each area needs cleaning based on usage—high-traffic spots might require daily attention, while others could be weekly.
- Develop practical cleaning schedules: Create routines that fit your lifestyle, ensuring you never skip essential disinfection without feeling overwhelmed.
- Use effective products and techniques: Choose disinfectants proven to kill germs quickly, and apply them properly to maximize protection.
Frequently Asked Questions
How Often Should Disinfecting Supplies Be Replaced Near the Sink?
You should keep an eye on your disinfecting frequency to make sure supplies stay effective. Replace them regularly, especially if they look old or contaminated. Proper supply storage is key—keep them sealed and in a cool, dry spot to maintain their power. Staying on top of this gives you the freedom to trust your space is clean without constant worry about germs lurking around.
Can Natural Disinfectants Be Used Safely Around Kitchen Sinks?
You can definitely use natural alternatives around your kitchen sink, but you’ll want to balance effectiveness with kitchen safety. Ingredients like vinegar, baking soda, and lemon juice work well for everyday cleaning and are less harsh than chemicals. Just remember, some natural disinfectants aren’t as strong against certain germs, so it’s smart to test them out and guarantee they’re safe for your surfaces. This way, you keep your kitchen clean while enjoying more freedom with what you use.
What Are the Risks of Using Bleach on Stainless Steel Sinks?
Using bleach on your stainless steel sink can cause corrosion and dull its finish, which messes with stainless steel care. It’s harsh and may leave harmful residues, so you might want to skip it. Instead, try bleach alternatives like vinegar or baking soda—they’re gentler and still get the job done. This way, you maintain your sink’s look and keep your cleaning routine safe and eco-friendly.
How to Prevent Mold Growth Under the Sink Area?
Imagine opening your cabinet and seeing fresh air instead of damp darkness. To keep mold at bay under your sink, focus on mold prevention by controlling moisture. Fix leaks promptly and use a dehumidifier or vent to let humidity escape. You can even place moisture-absorbing packets inside the cabinet. This way, you won’t feel trapped by mold worries, and your space stays fresh and free, giving you the freedom to enjoy your home.
Are UV Sanitizers Effective for Disinfecting Sink Faucets?
You might wonder about UV effectiveness for faucet cleanliness. UV sanitizers can be pretty good at killing bacteria and viruses on faucet surfaces, but they only work when the light directly hits the area. So, if you want freedom from harsh chemicals, UV can help, but it’s not foolproof—shadows or grime can block the light. Combining UV with regular cleaning gives you the best chance at a truly clean faucet.


