DIY Cleaner for Car Surfaces
You can make a simple, effective DIY cleaner for your car surfaces using just vinegar, baking soda, mild dish soap, and water. This combination cuts grease, removes dirt, and freshens without harsh chemicals. Mix one cup of water, two tablespoons of vinegar, and a teaspoon of dish soap, then apply with a spray bottle. It’s eco-friendly, budget-wise, and gentle on surfaces. Keep exploring for tips on tough stains, maintenance, and avoiding common cleaning errors.
Benefits of Using a DIY Car Surface Cleaner
While commercial cleaners can be convenient, making your own DIY car surface cleaner offers several benefits you’ll appreciate. You gain control over what goes into your cleaner, reducing your environmental impact by avoiding harsh chemicals that can harm ecosystems. This choice aligns perfectly with your desire for freedom—freedom from relying on mass-produced products and their unknown additives. Plus, DIY solutions are incredibly cost-effective. Instead of spending on expensive commercial brands, you use simple, affordable ingredients you might already have at home. Not only does this save you money, but it also lets you tailor the cleaner to your specific needs, ensuring your car surfaces get the care they deserve. Embracing DIY cleaning means you’re choosing independence, sustainability, and smart savings all at once.
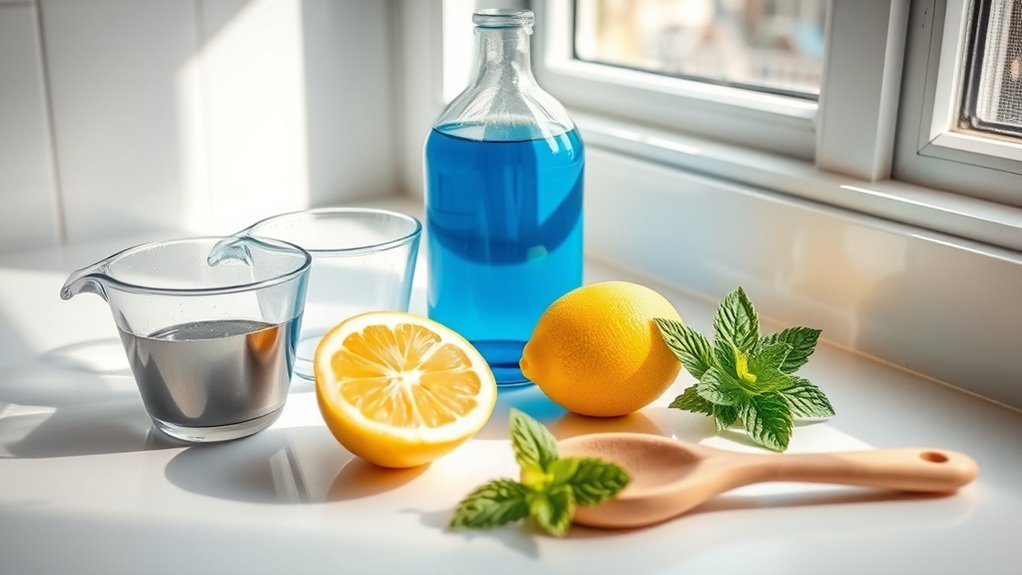
Essential Ingredients for Homemade Car Cleaner
When making your own car cleaner, you’ll want to choose ingredients that are effective yet safe for your surfaces. You can pick from common household items or opt for natural alternatives, depending on your preference. Just be sure to take into account ingredient safety to protect both your car and yourself.
Common Cleaning Ingredients
A few common ingredients can make your homemade car cleaner both effective and safe. Vinegar uses extend beyond the kitchen; it’s brilliant for cutting grease and removing odors. Baking soda acts as a gentle abrasive, perfect for scrubbing without scratching surfaces. Together, they offer a natural, budget-friendly solution. Here’s a quick look at some essentials:
| Ingredient | Purpose | Benefits |
|---|---|---|
| Vinegar | Grease cutter, deodorizer | Natural, non-toxic |
| Baking soda | Mild abrasive, deodorizer | Safe, effective cleaning |
| Dish soap | Removes dirt and grime | Cuts through oils easily |
| Water | Dilutes and rinses | Readily available, safe |
Using these lets you clean your car freely, without harsh chemicals holding you back.
Natural vs. Chemical Options
You’ve seen how common ingredients like vinegar and baking soda can keep your car clean without harsh chemicals. When choosing between natural cleaners and chemical cleaners, it’s all about what fits your lifestyle and values. Natural cleaners offer freedom from toxins, making them a safer choice for you and the environment. They’re gentle yet effective, perfect for routine cleaning and those who want peace of mind. Chemical cleaners, meanwhile, can pack a powerful punch, tackling tough stains quickly. But they often come with strong scents and potentially harmful ingredients. If you want control over what touches your car’s surfaces, natural cleaners give you that freedom. However, if speed and heavy-duty action matter most, chemical cleaners might be your go-to. Either way, knowing your options helps you clean smart.
Ingredient Safety Tips
Although homemade car cleaners use simple ingredients, handling them with care is key to keeping both you and your vehicle safe. When choosing your components, prioritize safe ingredient sourcing to avoid contaminants that could damage surfaces or harm your health. Opt for natural ingredient benefits like vinegar, baking soda, or essential oils—they’re effective, eco-friendly, and gentle on finishes. Always test your mixture on a small, hidden area first to prevent unwanted reactions. Store your cleaner in clearly labeled containers, away from children and pets. Wearing gloves during application helps protect your skin, especially if you’re using stronger natural acids like lemon juice. By respecting these safety steps, you maintain your freedom to craft your own cleaner while ensuring your car and environment stay protected.
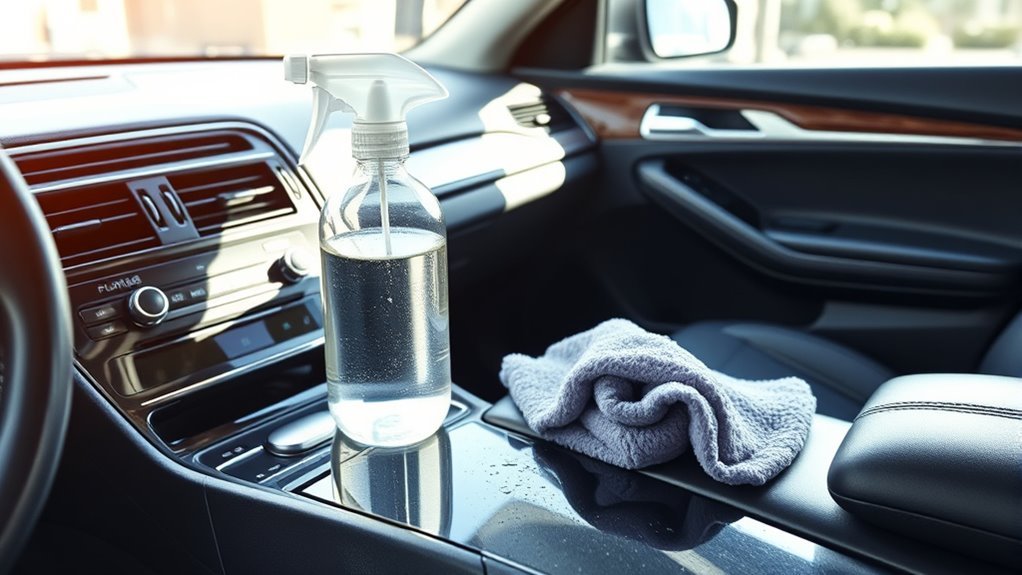
Tools Needed to Prepare and Apply the Cleaner
Before mixing your DIY cleaner, gather the essential tools to make the process smooth and effective. You’ll need basic cleaning tools like microfiber cloths, soft brushes, and spray bottles to apply your solution evenly without damaging surfaces. Having a funnel and measuring cups helps you mix ingredients accurately, avoiding spills and waste.
Choosing the right application methods lets you control how the cleaner interacts with different car surfaces. Spray bottles provide an even mist, perfect for dashboards and seats, while brushes reach into crevices. Microfiber cloths guarantee gentle wiping without scratching paint or leather.
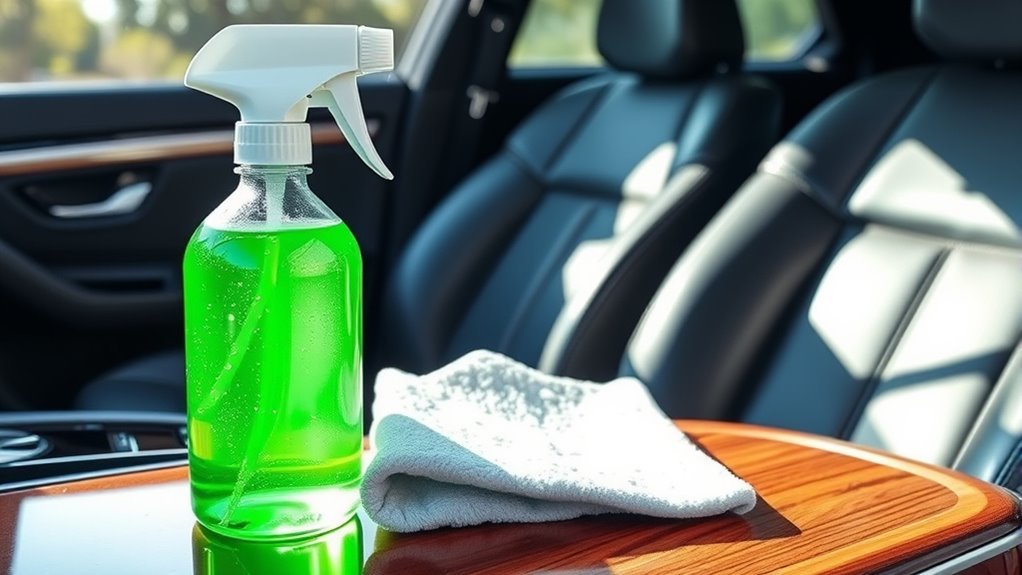
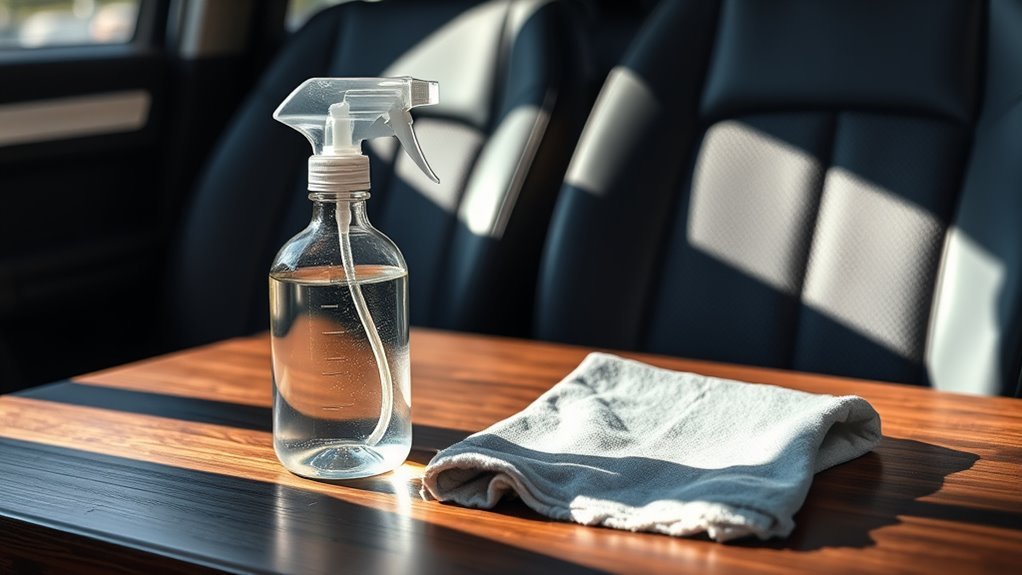
Step-by-Step Guide to Mixing Your DIY Cleaner
Once you’ve gathered all your tools and ingredients, mixing your DIY cleaner becomes a straightforward task that anyone can handle. Start by measuring a cup of distilled water as your base. Add two tablespoons of white vinegar for natural disinfecting power, then mix in a teaspoon of mild dish soap to cut through dirt without harming delicate surfaces. Stir gently to combine, avoiding bubbles. Depending on your car’s surface types—leather, vinyl, or plastic—you might adjust ingredients slightly, but this basic mix suits most. Store your cleaner in a spray bottle for easy use. Remember, adjusting your cleaning frequency according to surface wear and exposure keeps your car fresh without overdoing it. This simple recipe gives you control, freedom, and a spotless ride.
How to Clean Dashboard and Plastic Surfaces
Cleaning your car’s dashboard and plastic surfaces is easier than you might think with the right approach. Different dashboard materials like vinyl, plastic, or rubber need gentle care, so knowing your surface helps. Stick to a regular cleaning frequency—once every two weeks keeps dirt and grime at bay without effort.
To get started, gather:
- A soft microfiber cloth to avoid scratches
- Your DIY cleaner prepared earlier
- A soft-bristle brush for tight spots
- A spray bottle for even application
Spray your cleaner lightly, wipe gently in circular motions, and use the brush for vents or grooves. This simple routine frees you from harsh chemicals and keeps your car feeling fresh and vibrant.
Tips for Safely Cleaning Leather and Fabric Seats
When cleaning your car’s leather and fabric seats, it’s important to pick products that won’t cause damage or discoloration. You’ll want to use gentle techniques to avoid wearing out the material, and make sure the seats dry properly to prevent mold or stiffness. Conditioning leather afterward helps keep it soft and protected for the long run.
Choosing Suitable Cleaning Products
Anyone looking to maintain their car’s interior should be careful about the products they choose for leather and fabric seats. Product selection is key to avoid damage and keep surfaces looking fresh. Always check surface compatibility to prevent fading or cracking. You want products that clean effectively without stripping natural oils or harshly affecting fibers.
Look for these qualities when choosing your cleaner:
- pH-balanced formulas safe for both leather and fabric
- Natural ingredients that won’t leave residues
- Non-abrasive agents to protect delicate surfaces
- Quick-drying solutions to avoid moisture damage
Gentle Cleaning Techniques
Because leather and fabric require different care, you’ll want to use gentle techniques tailored to each material to avoid damage. For leather seats, dampen soft cloths with your DIY cleaner and apply gentle scrubbing in circular motions. Avoid harsh brushes or excessive moisture, which can harm the leather’s natural oils. When dealing with fabric seats, lightly mist the cleaner and use a soft-bristled brush for gentle scrubbing, focusing on stains without soaking the material. Always test your cleaner on a hidden spot first to verify it won’t discolor or weaken the fabric. By sticking to soft cloths and careful scrubbing, you’ll preserve your car’s interior while enjoying the freedom to maintain it yourself without risking costly repairs.
Drying and Conditioning Tips
After gently cleaning your leather or fabric seats, the next step is to guarantee they dry properly and receive the right conditioning. Proper drying techniques are essential to prevent mildew and maintain material integrity. For leather, avoid direct sunlight; instead, let it air dry naturally. Fabric seats benefit from a fan or open windows to speed up drying without harsh heat. Once dry, apply conditioning products designed for your seat type to keep them supple and protected. Here’s what you can do:
- Pat leather seats with a soft cloth to remove excess moisture
- Use a microfiber towel on fabric to absorb lingering dampness
- Apply a leather conditioner evenly, avoiding over-saturation
- Spray a fabric protector to fend off future stains and wear
These steps keep your seats fresh and free, ready for your next adventure.
Removing Tough Stains From Car Interiors
Stubborn stains on your car’s interior can be frustrating, but with the right approach, you can restore your surfaces effectively. Start by identifying the stain type—oil, ink, or food residue require different stain removal techniques. Use a gentle DIY cleaner made from equal parts water and vinegar or a mild dish soap solution. Apply it sparingly to avoid soaking your upholstery. Blot, don’t rub, to lift the stain without spreading it. Detailing tips like using a soft-bristled brush help to agitate the stain gently. For tougher spots, a paste of baking soda and water can work wonders. Always test your cleaner on a hidden area first. With patience and the right method, you’ll free your car’s interior from even the most stubborn stains, keeping it fresh and inviting.
Best Practices for Maintaining Clean Car Surfaces
To keep your car surfaces looking their best, regular cleaning and proper care are essential. Sticking to consistent cleaning schedules not only preserves your car’s appearance but also extends its life. You’ll want to focus on surface protection to prevent damage from dirt, UV rays, and spills.
Try these best practices:
- Wipe down surfaces weekly with a gentle DIY cleaner
- Use microfiber cloths to avoid scratches
- Apply a protective coating or wax monthly
- Park in shaded areas to reduce sun damage
Eco-Friendly Advantages of Homemade Cleaners
While you might think commercial cleaners are the easiest option, homemade cleaners offer significant eco-friendly benefits that are hard to ignore. By choosing DIY solutions, you embrace sustainability practices that reduce harmful chemicals and plastic waste. This freedom lets you control ingredients, ensuring safer, biodegradable options for your car and the planet.
| Eco Friendly Benefits | Sustainability Practices | Your Advantage |
|---|---|---|
| Non-toxic ingredients | Reduced plastic usage | Safer for family |
| Biodegradable | Minimal environmental impact | Cost-effective |
| Customizable | Supports zero waste | Tailored cleaning |
| Less chemical runoff | Uses natural resources | Healthier car surfaces |
| Reduced carbon footprint | Encourages mindful consumption | Empowers you |
Switching to homemade cleaners helps you protect your ride and the Earth, all while enjoying the freedom to choose what’s best.
Common Mistakes to Avoid When Cleaning Your Car
Three common mistakes can quickly ruin your car’s finish and interior if you’re not careful during cleaning. Sticking to a consistent cleaning schedule is essential—skipping it leads to stubborn grime buildup. Also, never mix products without checking product compatibility, as harmful reactions can damage surfaces. Here are key pitfalls to avoid:
Avoid common car cleaning mistakes by maintaining a schedule and never mixing incompatible products.
- Using harsh chemicals that strip protective coatings
- Cleaning in direct sunlight, causing streaks and spots
- Ignoring the difference between interior and exterior cleaners
- Rushing the drying process, leaving water spots or mold
Frequently Asked Questions
Can DIY Cleaners Damage Car Paint or Exterior Surfaces?
Imagine your car’s paint as a delicate flower petal under the sun. If you’re not careful, DIY cleaners can be like harsh winds, stripping away the natural glow. Without proper car wax or surface protection, your freedom to customize might cost you damage. So, while you’re chasing that independent spirit, make sure your cleaner’s gentle enough to protect what you cherish, keeping your ride radiant and ready for any adventure.
How Long Can I Store Homemade Car Cleaner Safely?
You can safely store homemade car cleaner for about one to two weeks, depending on the ingredients. To extend its shelf life, keep it in a cool, dark place and use airtight containers—these storage tips help maintain its effectiveness. Avoid exposure to heat or sunlight, which can break down the solution faster. Remember, mixing fresh batches often gives you the best results and keeps your car looking great without any hassle.
Are DIY Car Cleaners Safe for Pet Allergies?
Worried about using cleaners around your furry friends? You shouldn’t be if you choose pet friendly ingredients that avoid harsh chemicals. Allergy safe solutions often include natural elements like vinegar, baking soda, or essential oils, which reduce irritation risks. Don’t you want freedom to clean without fear? Just test any DIY cleaner in a small spot first to verify it’s truly safe for your pets and their sensitive noses.
Can I Use DIY Cleaner on Tinted Windows?
Yes, you can use DIY cleaner on tinted windows, but you’ve got to be careful with the cleaning products you choose. Some harsh chemicals or ammonia-based cleaners can damage the tint film, causing it to peel or bubble. To keep your freedom to customize and maintain your ride, opt for gentle, ammonia-free solutions like diluted vinegar or mild soap. This way, your tinted windows stay protected while you enjoy your DIY approach.
What Is the Best Frequency for Using DIY Car Cleaner?
If you cleaned your car every hour, it’d look like a mirror, but you’d drive yourself crazy! Instead, set a cleaning schedule that fits your lifestyle and surface types. For frequent drivers, once a week keeps paint and interiors fresh without overdoing it. If you love freedom and spontaneity, aim for every two weeks, adjusting for dirt or weather. That way, you keep your ride shining without feeling chained to chores.


