DIY Cleaner for Mold
You can tackle mold with natural DIY cleaners using vinegar, baking soda, or lemon juice, all of which have antifungal properties safe for indoor use. Mix equal parts vinegar and water, or dissolve baking soda in water to spray affected areas, then scrub after letting it sit. Lemon juice also disrupts mold growth effectively. Always guarantee proper ventilation and wear gloves to protect yourself. If mold persists or returns, understanding deeper prevention and when to seek expert help becomes essential.
Understanding the Causes of Mold Growth
Although mold can appear unexpectedly, understanding its causes can help you prevent its growth effectively. Mold spores are microscopic and always present in the air around you. They only become problematic when they land on surfaces with adequate moisture sources, such as leaks, condensation, or high humidity. These moisture sources provide the ideal environment for mold spores to germinate and multiply. By identifying and controlling these moisture sources in your living space, you limit mold’s ability to thrive. Remember, even small amounts of dampness can support mold growth, so vigilance is key. You have the freedom to create a healthier environment by regularly inspecting areas prone to moisture, ensuring proper ventilation, and promptly addressing water issues before mold spores establish colonies. Proper airflow and the use of exhaust fans are essential preventive measures to reduce moisture buildup and inhibit mold growth.
Essential Ingredients for Homemade Mold Cleaners
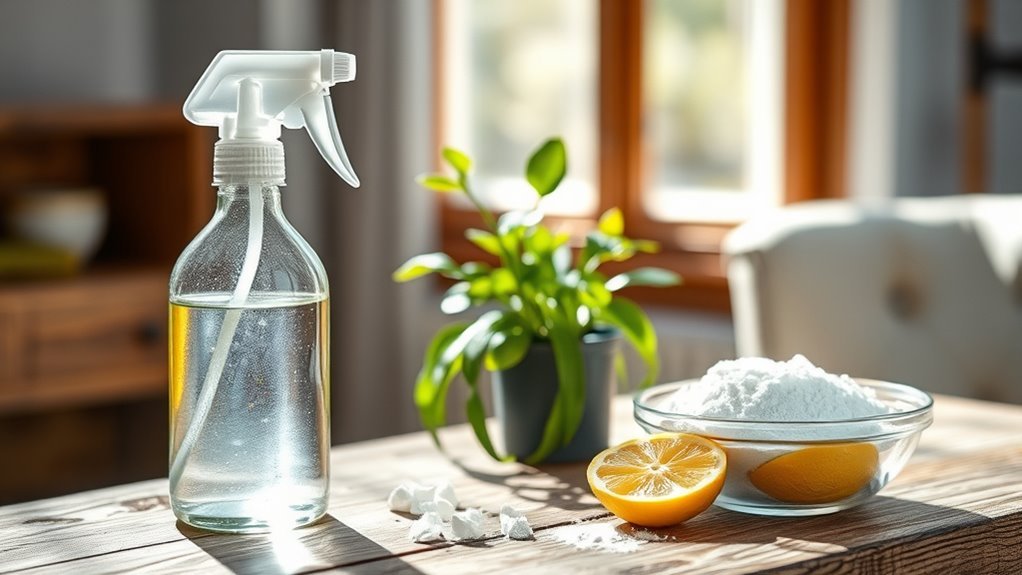
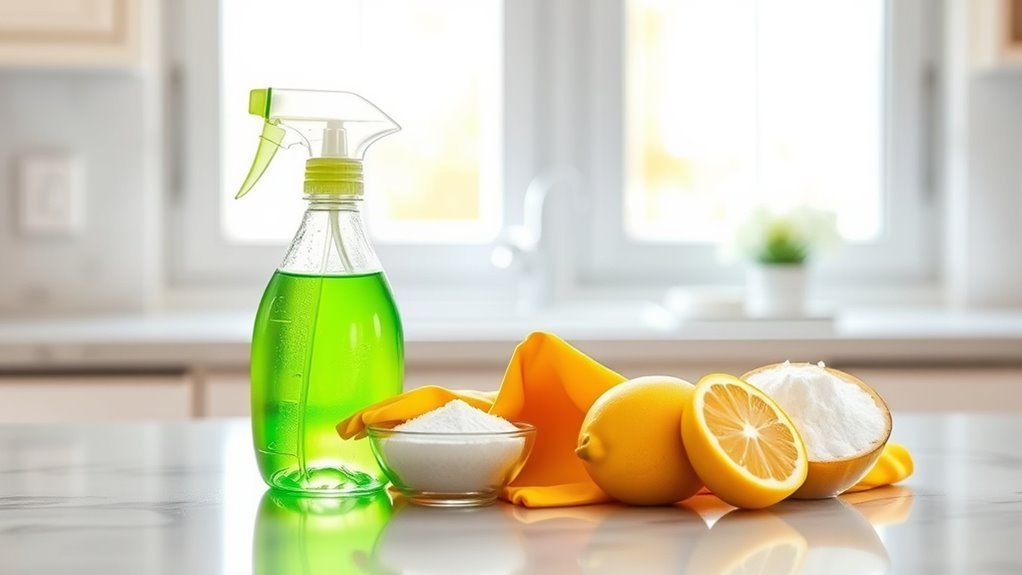
When creating your own mold cleaner, you’ll want to focus on ingredients known for their effective antifungal properties, like vinegar, baking soda, and hydrogen peroxide. These safe household substances disrupt mold growth without harsh chemicals, making them ideal for indoor use. Always measure and combine them carefully to guarantee both safety and maximum efficacy. It is also important to wear protective gear such as gloves and a mask while cleaning to ensure your safety.
Common Natural Mold Removers
Since mold thrives in damp environments, selecting the right natural ingredients for your homemade cleaner is crucial to effectively inhibit its growth and eliminate spores. You’ll find that baking soda neutralizes odors and gently scrubs surfaces without harsh chemicals. Essential oils, like tea tree and lavender, possess antifungal properties that disrupt mold’s cellular structure. These natural agents let you maintain control over your environment safely.
| Ingredient | Function |
|---|---|
| Baking Soda | Odor neutralizer, mild abrasive |
| Tea Tree Oil | Antifungal, antimicrobial agent |
| Vinegar | Low pH disrupts mold growth |
| Lavender Oil | Antifungal, fresh scent |
Using these components guarantees you harness nature’s power with precision and freedom, keeping mold at bay effectively and responsibly.
Safe Household Ingredients
Because effective mold removal relies on disrupting fungal growth without introducing harmful chemicals, you’ll want to choose household ingredients that are both safe and scientifically proven. Common household items like white vinegar and baking soda offer eco friendly solutions, acting as mild acids and abrasives respectively, which help detach mold without toxic residues. Hydrogen peroxide, another safe option, provides oxidation that targets mold spores while remaining environmentally benign. Tea tree oil, though natural, should be used sparingly due to potential allergens. When selecting your ingredients, make sure they’re compatible and used in appropriate concentrations to avoid surface damage or health risks. By relying on these tested household items, you maintain control over your environment, making certain mold is addressed safely and effectively without compromising your freedom or well-being.
Effective Antifungal Properties
Choosing safe household ingredients is only part of the equation; understanding their antifungal properties guarantees you target mold effectively. When selecting components for your DIY mold cleaner, focus on substances like vinegar, tea tree oil, and hydrogen peroxide, all known for their potent antifungal properties. These ingredients disrupt mold cell structures, preventing growth and aiding mold prevention. For example, vinegar’s acetic acid penetrates porous surfaces, while tea tree oil inhibits fungal enzymes, reducing mold spores’ viability. Hydrogen peroxide acts as a strong oxidizer, breaking down mold components safely. By combining these ingredients thoughtfully, you ascertain a cleaner that not only removes visible mold but also inhibits regrowth. Remember, precise concentrations and application methods matter to maximize antifungal effectiveness while maintaining safety and freedom from harsh chemicals.
How to Make a Vinegar-Based Mold Cleaner
One effective way to combat mold is by using a vinegar-based cleaner, which harnesses acetic acid’s natural antifungal properties. To prepare your own solution, follow these steps carefully to maximize vinegar benefits and support mold prevention:
Using a vinegar-based cleaner taps into acetic acid’s natural antifungal power to effectively fight mold.
- Mix equal parts of white distilled vinegar and water in a spray bottle to guarantee ideal dilution for safety and efficacy.
- Shake the bottle gently to blend the solution evenly, maintaining consistent antifungal action.
- Test a small area before full application to avoid surface damage.
- Spray directly onto mold-affected areas, allowing the solution to sit for at least one hour before wiping clean with a damp cloth.
Using such natural ingredients helps reduce chemical footprints and supports healthier indoor air quality.
Using Baking Soda to Combat Mold Effectively

Although vinegar is effective against mold, baking soda offers a complementary approach due to its alkaline nature and abrasive texture. When you apply baking soda, its mild alkalinity disrupts mold’s acidic environment, reducing growth. Its fine granules physically scrub surfaces, lifting spores without harsh chemicals. For maximum baking soda effectiveness, dissolve two tablespoons in a spray bottle with water, shake well, and spray affected areas. Let it sit for 10 minutes before scrubbing and rinsing. This method not only removes mold but also helps absorb moisture, a key factor in mold prevention. Remember to wear gloves and maintain good ventilation while cleaning. Using baking soda empowers you with a safe, eco-friendly option to maintain mold-free spaces, giving you freedom from toxic products. Incorporating plant-based cleaners like baking soda supports healthier indoor air quality and reduces exposure to harmful chemicals.
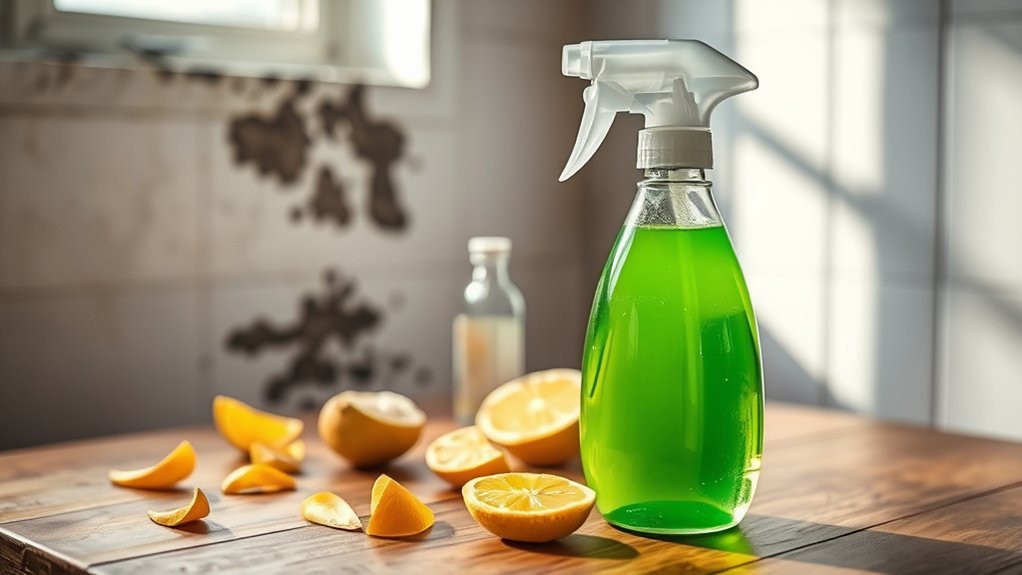
Lemon Juice as a Natural Mold Remover
You can use lemon juice as a natural mold remover due to its antimicrobial properties, which help inhibit mold growth. To apply, squeeze fresh lemon juice directly onto the affected area and let it sit for at least 10 minutes before scrubbing and rinsing thoroughly. Remember to wear gloves and guarantee proper ventilation, as the acidity can irritate your skin and respiratory system. Proper ventilation is important when cleaning with natural solutions to avoid respiratory irritation and ensure safety while using essential oils for mold.
Antimicrobial Properties
Several studies have demonstrated that lemon juice contains citric acid and natural antimicrobial compounds capable of inhibiting mold growth on various surfaces. When you use lemon juice as a DIY cleaner, you’re relying on its antimicrobial agents to reduce mold resistance effectively. Keep in mind:
- Citric acid lowers pH, creating an environment unfavorable for mold proliferation.
- Natural flavonoids in lemon juice exhibit antifungal properties, disrupting mold cell membranes.
- The volatile oils contribute additional antimicrobial effects, enhancing mold resistance.
- Regular application may prevent mold spores from establishing colonies, but it’s not a guaranteed fungicide.
While lemon juice offers a natural alternative, you should still exercise caution and avoid relying solely on it for severe mold infestations. Understanding these antimicrobial properties empowers you to make informed, freedom-respecting cleaning choices.
Application Methods
Building on the antimicrobial qualities of lemon juice, its effectiveness largely depends on how you apply it to mold-affected areas. For broad surfaces, consider using a spray application: fill a spray bottle with fresh lemon juice, then evenly mist the moldy area. This method guarantees thorough coverage and allows the juice’s acidity to penetrate the mold colonies. Alternatively, the sponge method offers precision for tighter spaces or stubborn spots. Dip a clean sponge into lemon juice and gently scrub the mold, allowing the juice to saturate the surface. Both techniques require you to let the lemon juice sit for at least 10 minutes to maximize its antifungal impact. Remember, consistent application enhances results, so repeat as necessary for persistent mold. This approach supports your freedom to maintain a natural, effective mold treatment.
Safety and Precautions
When using lemon juice as a natural mold remover, it’s important to take into account three key safety precautions to protect both your health and surfaces. First, always wear appropriate protective gear, including gloves and eye protection, to prevent skin irritation and eye contact. Second, guarantee adequate ventilation in the cleaning area; the ventilation importance cannot be overstated, as lemon juice fumes, while mild, can aggravate respiratory issues. Third, test the lemon juice on a small, inconspicuous surface to avoid discoloration or damage, since its acidity may harm certain materials. Fourth, avoid mixing lemon juice with other cleaning agents, as unpredictable chemical reactions could occur. By following these steps carefully, you maintain safety while effectively harnessing lemon juice’s mold-removing properties.
Combining Tea Tree Oil and Water for Mold Treatment
Although tea tree oil is a potent natural antifungal agent, you need to dilute it properly with water to secure safe and effective mold treatment. Typically, mixing one teaspoon of tea tree oil with one cup of water creates an ideal solution, preserving the tea tree benefits while reducing potential skin irritation and respiratory issues. This dilution maintains efficacy in mold prevention by disrupting mold spores’ growth without harsh chemicals. When you spray this mixture on affected areas, let it sit without rinsing to maximize antifungal action. Proper dilution also guarantees you can freely apply the solution across various surfaces, including wood and fabric, without damage. By combining tea tree oil and water thoughtfully, you harness a safe, natural mold treatment that respects your desire for chemical-free living. Additionally, identifying sources of mold, such as leaks and damp areas, is crucial for prevention and control.
Safety Tips When Cleaning Mold Naturally
Anyone tackling mold removal naturally should prioritize safety to prevent health risks and guarantee effective cleaning. Mold spores can trigger mold allergies and respiratory issues, so taking precautions is essential. Here are key safety tips:
- Wear appropriate protective gear, including gloves, goggles, and an N95 mask, to minimize exposure to mold spores and irritants.
- Ascertain proper ventilation by opening windows and using fans to reduce airborne spores during cleaning.
- Avoid mixing natural cleaners with other chemicals to prevent hazardous reactions.
- Dispose of contaminated materials in sealed bags to prevent spore spread.
Additionally, maintaining proper ventilation during cleaning helps control moisture and reduces mold growth risks.
How to Apply DIY Mold Cleaners for Best Results
Since mold can penetrate porous surfaces, you’ll need to apply your DIY cleaner thoroughly and methodically to guarantee effective removal. Start with proper surface preparation: clean away dust and debris to enhance the cleaner’s contact with mold colonies. Use mold removal techniques like spraying the solution generously, ensuring it saturates affected areas. Allow the cleaner to sit for at least 10-15 minutes to disrupt mold’s structure. Then, scrub with a stiff brush to physically remove mold from pores and crevices. Rinse with clean water and dry the surface completely to prevent moisture retention. Repeat the process if mold persists. Following these precise steps maximizes your DIY cleaner’s efficacy, giving you control over mold eradication while preserving your freedom to maintain a healthy environment. Remember to wear protective gear such as gloves and masks throughout the process to ensure safety.
Preventative Measures to Inhibit Mold Recurrence
To effectively prevent mold from returning, you’ll need to control indoor humidity by keeping it below 60%, ideally between 30-50%. Enhancing ventilation systems guarantees proper air exchange, reducing moisture buildup in enclosed spaces. These steps create an environment that’s less hospitable to mold growth, protecting your home long-term.
Control Indoor Humidity
Although mold thrives in damp environments, you can greatly reduce its growth by carefully managing indoor humidity levels. Effective humidity control and moisture management are essential to prevent mold recurrence. Here’s how you can maintain ideal conditions:
- Monitor Humidity: Use a hygrometer to keep indoor humidity between 30-50%, limiting mold’s ability to grow.
- Fix Leaks Promptly: Address any plumbing or roof leaks to prevent excess moisture buildup.
- Use Dehumidifiers: In damp areas like basements, dehumidifiers help maintain consistent humidity levels.
- Dry Wet Areas Quickly: After spills or water intrusion, dry surfaces within 24-48 hours to inhibit mold spores.
Improve Ventilation Systems
When you enhance your home’s ventilation systems, you greatly reduce the risk of mold development by controlling moisture and improving air circulation. Focus on airflow improvements by installing or upgrading exhaust fans in high-humidity areas like bathrooms and kitchens. Proper ventilation prevents stagnant air pockets where mold thrives. Regular duct cleaning is essential; accumulated dust and debris in ducts can trap moisture and spores, creating ideal mold habitats. Verify your ducts are inspected and cleaned at least annually. Additionally, consider incorporating energy recovery ventilators (ERVs) or heat recovery ventilators (HRVs) to exchange indoor and outdoor air efficiently without sacrificing energy. These measures collectively maintain balanced humidity and airflow, providing a healthier environment and freedom from mold recurrence. Prioritize these steps to safeguard your living space effectively.
When to Seek Professional Mold Remediation
How do you know if your mold problem requires professional remediation? It’s vital to assess the situation carefully to protect your health and property. Consider these indicators:
- Extent of Infestation: If mold covers more than 10 square feet, a professional mold inspection is advisable.
- Hidden Mold: Mold inside walls, HVAC systems, or under flooring often requires expert detection and removal.
- Health Risks: Persistent respiratory issues, allergies, or immune system vulnerabilities in occupants suggest professional intervention.
- Recurring Mold: If mold reappears despite thorough cleaning, underlying moisture problems may need expert assessment.
Regular cleaning and controlling dirt buildup can significantly reduce mold growth, but professional help is necessary when these measures are insufficient due to dirt accumulation.
Addressing mold yourself is empowering, but knowing when to seek professional help guarantees thorough remediation, minimizing health risks and structural damage. Always prioritize safety and informed decision-making.
Frequently Asked Questions
Can DIY Mold Cleaners Damage Certain Surfaces?
Oh sure, go ahead and slather that mystery concoction everywhere—what could possibly go wrong? In reality, you’ve got to evaluate surface compatibility seriously; not every cleaner suits every material. Some DIY solutions boast cleaner effectiveness but can wreak havoc on delicate finishes or porous surfaces. To keep your freedom intact, test small areas first, and understand ingredient interactions. Science advises caution: mismatched cleaners might cause discoloration or deterioration, defeating your mold-fighting mission.
How Long Does It Take for Homemade Mold Cleaners to Work?
You’ll find that the cleaning effectiveness of homemade mold cleaners depends largely on the time frame you allow. Typically, these solutions need to sit on the affected area for at least 10 to 30 minutes to break down mold spores effectively. However, some stubborn mold may require longer contact time or multiple applications. Remember, patience is key to ensuring thorough removal without damaging surfaces, so always test first and follow safety guidelines.
Are DIY Mold Cleaners Safe for Pets and Children?
When it comes to pet safety and child safety, think of your home as a delicate ecosystem. DIY mold cleaners can be safe if you carefully choose non-toxic ingredients like vinegar or baking soda, but some homemade solutions might irritate sensitive noses or skin. Always ventilate areas well and store cleaners out of reach. Testing a small spot first helps guarantee your loved ones stay protected while you maintain freedom in your cleaning choices.
Can Mold Return Faster After Using Natural Cleaners?
Yes, mold can return faster after using natural cleaners because these solutions often don’t kill all mold spores completely. If some spores survive, they can quickly regrow, especially in damp environments. You’ll need to increase cleaning frequency to keep mold at bay. While natural cleaners are safer, they might require more consistent application and proper ventilation to prevent mold from coming back too soon.
What Is the Shelf Life of Homemade Mold Cleaning Solutions?
You should know that the shelf stability of homemade mold cleaning solutions varies widely, often lasting from a few days up to a week. Proper storage conditions—like a cool, dark place in an airtight container—can extend their effectiveness. Because these solutions lack preservatives, their potency diminishes over time, so it’s best to mix small batches and use them promptly to maintain maximum cleaning power while ensuring safety and freedom from harmful buildup.


