DIY Cleaner for Mold Surfaces
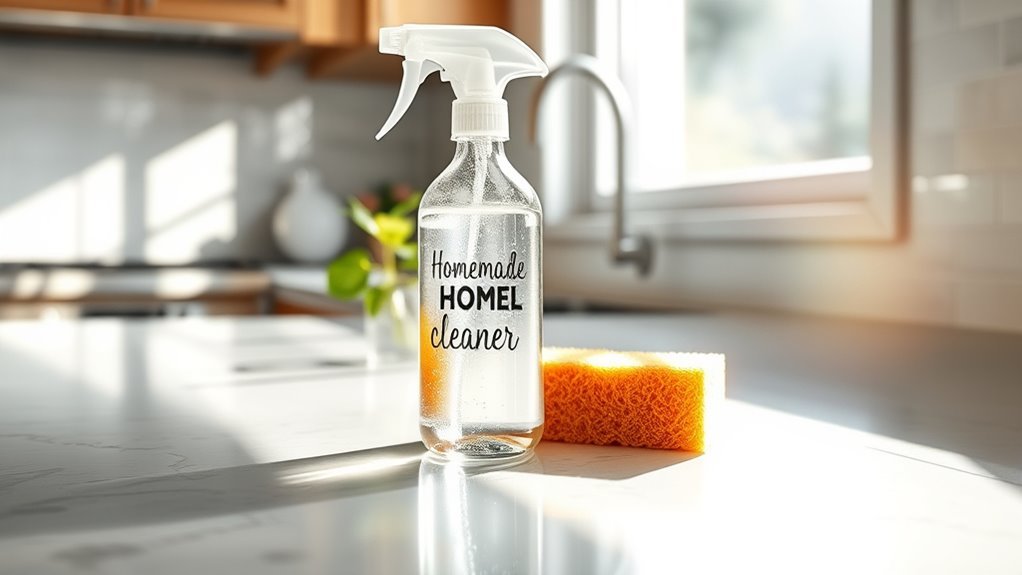
You can make an effective DIY cleaner for mold using common household ingredients like white vinegar, baking soda, hydrogen peroxide, or essential oils. Vinegar’s acetic acid disrupts mold cells, while baking soda neutralizes spores and deodorizes. Hydrogen peroxide oxidizes mold structures safely, and oils like tea tree have antifungal properties. These solutions work best with proper application and safety. Managing moisture and ventilation is also vital for prevention. To fully understand application methods and tips, keep exploring these approaches.
Understanding Mold and Its Impact
Although mold is a common household issue, many people don’t fully understand its nature and effects. You should know that mold types vary widely, including black mold (Stachybotrys), Aspergillus, and Penicillium, each with distinct growth conditions and potential hazards. Recognizing these types is essential because exposure can pose significant health risks. Mold releases spores that may cause allergic reactions, respiratory problems, and in some cases, toxic effects. If you’re sensitive or have weakened immunity, these risks increase. Understanding mold’s biology helps you identify affected areas and take informed action to protect your health and freedom from contamination. Proper knowledge empowers you to address mold precisely, avoiding unnecessary exposure and ensuring a safer living environment. Mold typically grows in areas with high moisture, such as bathrooms and basements, making moisture control a key factor in prevention.
Common Household Ingredients for Mold Cleaning
When tackling mold removal, you don’t necessarily need specialized chemicals; several common household ingredients are effective and safe for cleaning mold. Ingredients like white vinegar, baking soda, hydrogen peroxide, and tea tree oil are frequently used due to their antifungal properties and accessibility. White vinegar, with its acetic acid content, disrupts mold cell membranes, while baking soda’s alkaline nature neutralizes mold spores. Hydrogen peroxide acts as a strong oxidizer, breaking down mold structures efficiently. Tea tree oil provides a natural antifungal effect, suitable for sensitive areas. Combining these common ingredients in effective mixtures enhances their mold-removal capabilities without harsh chemicals. By selecting the right concentrations and application methods, you maintain control over the cleaning process, ensuring mold is eliminated while preserving your environment’s safety and integrity. Wearing N95 respirators during mold cleaning further enhances safety by filtering airborne spores effectively.
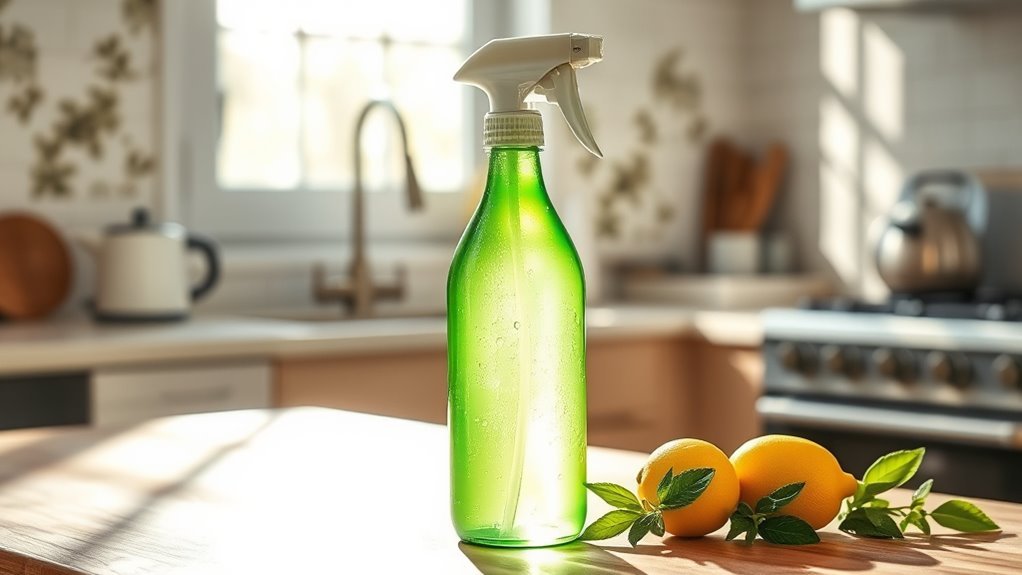
How to Make a Vinegar-Based Mold Cleaner

To make a vinegar-based mold cleaner, you’ll need distilled white vinegar and water as your primary ingredients. Mix them in a spray bottle using a ratio of one part vinegar to one part water for effective mold removal. Apply the solution directly to the affected area, let it sit for at least an hour, then scrub and rinse thoroughly. Always wear protective gear to ensure safe mold removal during the cleaning process.
Ingredients Needed
Several basic ingredients are required to create an effective vinegar-based mold cleaner. By using natural ingredients, you guarantee high cleaning effectiveness while minimizing exposure to harsh chemicals.
Here’s what you’ll need:
- White distilled vinegar (5% acidity) – the core natural ingredient known for its antimicrobial properties.
- Water – to dilute the vinegar, balancing potency and safety.
- Baking soda – enhances scrubbing power and neutralizes odors.
- Essential oils (optional) – such as tea tree or eucalyptus, which add antifungal benefits and a fresh scent.
Each component plays a precise role in mold removal, allowing you to maintain control over ingredient quality and concentration. This approach supports your freedom to customize the cleaner according to your preferences and specific cleaning needs.
Mixing Instructions
Now that you have all the ingredients prepared, combining them correctly guarantees the cleaner’s effectiveness and safety. Start by measuring white distilled vinegar and water using precise mixing ratios—typically, a 1:1 ratio works well for general mold cleaning. Pour equal parts vinegar and water into a clean spray bottle. Avoid diluting vinegar too much, as this reduces its antifungal power. Seal the bottle tightly to prevent evaporation and contamination. Label the container clearly, noting the contents and date mixed. Store the solution in a cool, dark place away from direct sunlight to maintain potency. Always use a spray bottle designed for acidic liquids to prevent chemical reactions. Following these mixing ratios and safe storage practices assures your DIY mold cleaner remains effective and easy to use whenever needed.
Application Tips
Although vinegar-based cleaners are effective against mold, applying them correctly guarantees peak results and safety. Proper application techniques and thorough surface preparation are essential to confirm the cleaner works efficiently.
- Surface Preparation: Clean loose debris and dust from the moldy area using a brush or vacuum to improve vinegar contact.
- Ventilation: Work in a well-ventilated space to avoid inhaling fumes.
- Application Techniques: Use a spray bottle for even coverage, saturating the mold-affected surface without over-wetting.
- Dwell Time: Let the vinegar sit for at least one hour to penetrate and kill mold spores before wiping or rinsing.
Following these steps confirms your DIY mold cleaner performs at its best, providing a safer, mold-free environment.
Baking Soda Solution for Mold Removal
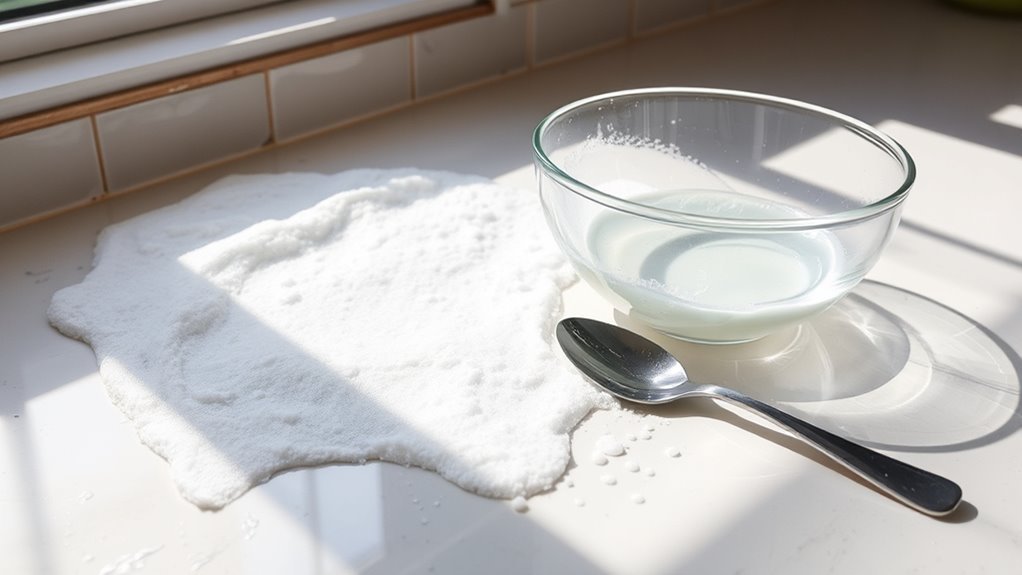
You’ll find baking soda effective for mold removal due to its mild alkalinity and abrasive properties. To prepare the solution, dissolve two tablespoons of baking soda in two cups of water, then transfer it into a spray bottle for easy application. Apply the mixture directly to moldy areas, scrub gently, and rinse to remove residues without damaging surfaces. Using baking soda also helps to neutralize odors commonly associated with mold growth.
Baking Soda Benefits
Baking soda’s alkaline properties make it an effective agent for mold removal by disrupting mold spores’ pH balance, preventing their growth. When you use baking soda, you benefit from:
- Non-toxicity: Safe for you and the environment, enabling freedom from harsh chemicals.
- Deodorizing effect: Neutralizes musty odors caused by mold without masking them.
- Mild abrasiveness: Helps physically remove mold from surfaces without damage.
- Moisture absorption: Reduces dampness, limiting mold’s ability to thrive.
Mixing the Solution
To prepare an effective baking soda solution for mold removal, combine two tablespoons of baking soda with two cups of water in a spray bottle. This 1:16 ratio balances cleaning power and safety, guaranteeing you eliminate mold without harsh chemicals. When mixing, add baking soda gradually while shaking the bottle gently to avoid clumps and guarantee full dissolution. Proper mixing techniques prevent residue buildup, which can reduce the solution’s efficacy. Once combined, label your spray bottle clearly and store it in a cool, dry place to maintain potency. Stick to these precise solution ratios and mixing methods to create a reliable DIY cleaner that empowers you to tackle mold independently and efficiently. This controlled approach maximizes both performance and your freedom from commercial products.
Application Tips
Three critical steps guarantee the baking soda solution effectively removes mold without spreading spores. Proper surface preparation guarantees the moldy area is dry and free of loose debris. Next, precise application techniques maximize contact between the solution and mold colonies. Follow these steps:
- Ventilate the area to reduce spore inhalation risk.
- Wear protective gloves and a mask for safety.
- Apply the baking soda solution evenly using a spray bottle, guaranteeing full coverage.
- Let the solution sit for 10 minutes before scrubbing with a stiff brush, then rinse with water.
Using Hydrogen Peroxide to Combat Mold
Although many cleaning agents can address mold, hydrogen peroxide stands out due to its strong antifungal properties and ability to penetrate porous surfaces. When you apply hydrogen peroxide to mold-infested areas, it releases oxygen that breaks down mold spores, effectively neutralizing them. Use a 3% hydrogen peroxide solution in a spray bottle, saturating the affected surface and allowing it to sit for 10-15 minutes. This contact time guarantees the chemical disrupts the cellular structure of mold spores, preventing regrowth. Afterward, scrub the area with a brush to remove residues and rinse with water. Hydrogen peroxide is non-toxic and leaves no harmful residues, making it ideal for those who want effective mold removal without hazardous chemicals. Always wear gloves and guarantee proper ventilation during application. Combining hydrogen peroxide use with effective moisture control greatly enhances mold prevention efforts.
Essential Oils That Help Fight Mold
Hydrogen peroxide’s effectiveness highlights the importance of targeting mold at a microbial level, but you can also harness natural compounds with antifungal properties. Essential oils like tea tree and lavender oil disrupt mold cell membranes and inhibit spore germination. Here are four potent options to contemplate:
- Tea Tree Oil – Contains terpinen-4-ol, a compound proven to eradicate mold spores effectively.
- Lavender Oil – Exhibits antimicrobial activity, reducing mold growth while adding a pleasant scent.
- Eucalyptus Oil – Offers strong antifungal properties, suitable for surface application.
- Clove Oil – Contains eugenol, a natural antifungal agent that combats mold colonies.
Incorporate these oils into your DIY cleaner by diluting them properly to maximize efficacy while maintaining safety. This approach empowers you to control mold naturally and effectively. Using such natural ingredients also helps minimize environmental impact and avoids the health risks associated with harsh chemicals.
Tips for Preventing Mold Growth at Home
Since mold thrives in damp, poorly ventilated environments, controlling moisture and airflow is crucial to preventing its growth at home. You can achieve effective mold prevention by managing humidity control and maintaining cleanliness. Use dehumidifiers in high-humidity areas, guarantee proper ventilation, and promptly fix leaks. Regularly inspect vulnerable spots to nip mold growth in the bud. Additionally, using biodegradable cleaning products can minimize environmental impact while effectively removing mold.
| Tip | Action | Benefit |
|---|---|---|
| Humidity Control | Use dehumidifiers, fans | Maintains dry environment |
| Proper Ventilation | Open windows, exhaust fans | Reduces moisture buildup |
| Leak Repair | Fix plumbing and roofing issues | Eliminates water sources |
| Regular Cleaning | Clean surfaces with mold cleaner | Removes spores early |
Frequently Asked Questions
Can Mold Remove Damage to Wood or Drywall?
Did you know that mold can degrade wood strength by up to 50%? When evaluating mold impact, you should understand that mold itself doesn’t remove damage to wood or drywall; instead, it accelerates deterioration by breaking down organic materials. Your restoration process must address both mold removal and structural repairs. Simply cleaning mold won’t restore damaged surfaces—you’ll need to replace or reinforce compromised materials to reclaim your space’s integrity and freedom.
Is Mold Removal Safe for Pets and Children?
When handling mold removal, you should prioritize pet safety and child safety by ensuring the treated area is well-ventilated and inaccessible during and after cleaning. Many mold removal products contain chemicals that can irritate respiratory systems or skin. To protect your loved ones, use non-toxic, pet-safe cleaners and wear protective gear. Allow sufficient drying time before allowing pets and children back into the space, minimizing exposure to harmful spores and residues.
How Long Does Mold Take to Grow on Surfaces?
Think of mold growth as a tiny army waiting for the perfect battlefield—damp, warm surfaces. Under ideal surface conditions, mold can start to appear within 24 to 48 hours. You’ll notice it quicker on porous materials like wood or drywall, where moisture lingers. Understanding how fast mold colonizes helps you act swiftly, preserving your space’s freedom from decay and health risks. Keep surfaces dry and ventilated to halt its advance.
Can Mold Cause Allergic Reactions or Health Issues?
Yes, mold can cause allergic reactions and various health risks. If you’re exposed to mold, you might experience mold symptoms like sneezing, coughing, itchy eyes, or skin irritation. For some, prolonged exposure can lead to respiratory issues or worsen asthma. It’s important to address mold growth promptly to minimize these health risks and maintain a safe environment where you’re free from potential allergic reactions.
Are Commercial Mold Cleaners More Effective Than DIY Solutions?
When comparing commercial efficacy to DIY alternatives, you’ll find commercial mold cleaners often contain stronger, specialized chemicals designed for faster, more thorough mold removal. However, DIY solutions can be effective for minor mold issues and offer greater freedom in ingredient choice, avoiding harsh chemicals. Your decision depends on the mold severity and your comfort level with chemicals; commercial products provide consistent results, but DIY methods can be safer and more customizable for light tasks.


