DIY Cleaner for Oven
You can easily make an effective DIY oven cleaner using common ingredients like baking soda, white vinegar, and lemon juice. Baking soda gently scrubs grime, while vinegar cuts grease and neutralizes odors. Mix into a paste or spray, apply evenly, and let it sit 15–30 minutes before wiping with a damp cloth. Remember to wear gloves and guarantee good ventilation for safety. Keep following for practical tips on tackling tough stains and maintaining your oven’s shine.
Why Choose a Homemade Oven Cleaner
Although commercial oven cleaners might seem convenient, choosing a homemade oven cleaner allows you to control the ingredients, ensuring a non-toxic and environmentally friendly solution that’s safe for your family and pets. The homemade advantages extend beyond safety; you gain the freedom to customize your cleaner to suit your preferences and avoid harsh chemicals often found in store-bought options. Additionally, making your own cleaner is remarkably cost-effective—you’ll use simple, affordable ingredients that you likely already have at home, eliminating the need for expensive, specialized products. This approach not only saves money but also reduces waste from packaging. By opting for a DIY oven cleaner, you embrace a practical, sustainable lifestyle, maintaining your oven’s cleanliness without compromising your health, budget, or environmental values. Using natural ingredients like baking soda and vinegar helps break down grease and grime effectively while avoiding toxic cleaners.
Essential Ingredients for Your DIY Cleaner
When making your own oven cleaner, you’ll want to focus on natural ingredients like baking soda and vinegar, which effectively break down grease without harsh chemicals. You can find these common household supplies easily, so there’s no need for specialized products. Understanding how these ingredients work together will help you create a powerful, safe cleaner right at home. Establishing an oven cleaning schedule can help maintain your oven’s cleanliness and prevent buildup over time.
Natural Cleaning Ingredients
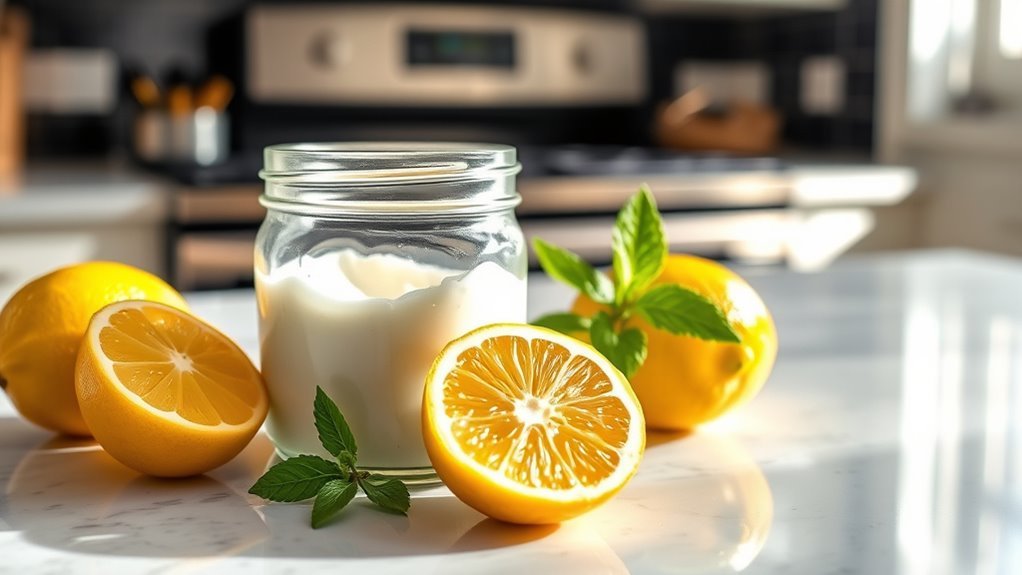
Three natural ingredients stand out as the foundation for an effective DIY oven cleaner: baking soda, white vinegar, and lemon juice. Baking soda acts as a gentle abrasive that loosens grime without harsh chemicals, making it a go-to natural alternative. White vinegar’s acidity cuts through grease and neutralizes odors, offering an eco friendly solution that’s safe and powerful. Lemon juice not only adds a fresh scent but also contains natural acids that enhance grease breakdown. Using these ingredients together lets you create a potent, non-toxic cleaner that respects your health and the environment. By choosing these natural alternatives, you avoid the hazards of commercial cleaners while maintaining your oven’s shine and cleanliness. This approach gives you freedom from chemical exposure and supports sustainable living.
Common Household Supplies
Building on the natural ingredients that make a DIY oven cleaner effective, you’ll find that many of the supplies needed are already in your home. Common household items like baking soda, white vinegar, and lemon juice serve as powerful agents for grease removal, boosting cleaning efficiency without harsh chemicals. You’ll also want a spray bottle for easy application and a sturdy scrub brush or sponge to tackle stubborn grime. These eco friendly alternatives not only protect your indoor air quality but also reduce environmental impact. Using what’s readily available gives you freedom from commercial cleaners loaded with toxins, letting you customize your cleaner to fit your needs. With these essentials, you’re equipped to restore your oven’s shine responsibly and effectively.
Step-by-Step Guide to Mixing Your Cleaner

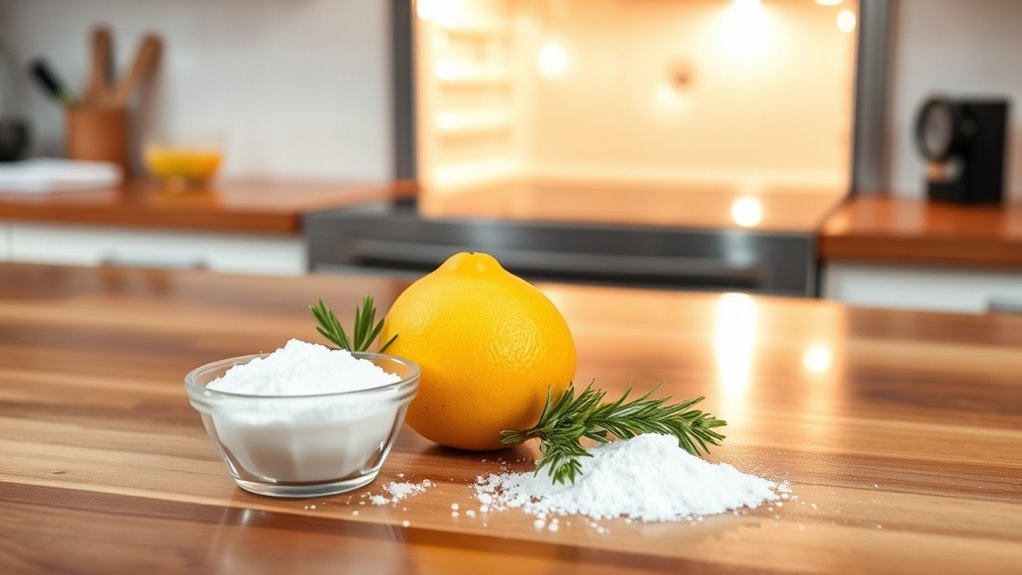
Before you start mixing your oven cleaner, make sure you have all the necessary ingredients and tools at hand to guarantee a smooth process. Begin by measuring your components carefully—common cleaner ratios include ½ cup baking soda to 2 tablespoons water for a paste. Use a non-metallic bowl to avoid reactions. Gradually add water to baking soda while stirring continuously to achieve the right consistency—not too runny or thick. Employ steady mixing techniques, such as folding and gentle stirring, to guarantee an even blend without lumps. If you want to enhance the cleaner’s strength, you can add a splash of white vinegar, but mix it only right before application to avoid premature fizzing. Following these steps lets you create an effective, customizable cleaner that suits your oven’s needs. Using non-abrasive cleaners helps protect your oven’s surfaces while ensuring effective cleaning.
How to Apply the Cleaner for Best Results
Applying your homemade oven cleaner correctly is crucial to achieving the finest results without damaging your appliance. Mastering application techniques guarantees even coverage and maximizes grime removal. Start by removing oven racks and wiping loose debris. Then, follow these steps:
Proper application of homemade oven cleaner ensures effective grime removal without harming your appliance.
- Use a sponge or spray bottle for even application on all surfaces.
- Avoid applying cleaner near heating elements to prevent damage.
- Allow the cleaner to sit for 15-30 minutes to break down grease effectively.
- Wipe off with a damp cloth, using circular motions for stubborn spots.
- Let the oven air dry completely for ideal drying before use.
Regularly cleaning your oven and surrounding areas helps prevent grease buildup and keeps your kitchen fresh.
Tips for Tackling Stubborn Oven Stains
When dealing with stubborn oven stains, there are three key strategies you can use to boost your cleaner’s effectiveness. First, let your DIY cleaner sit longer on tough spots; patience enhances oven stain removal by softening baked-on grime. Second, apply gentle scrubbing with a non-abrasive sponge or brush—this avoids damage while breaking down residues. Third, reapply your cleaner as needed, targeting persistent stains with focused attention. For added efficiency, try cleaning hacks like using a paste of baking soda and water or a splash of vinegar to reactivate your solution. These tactics help you regain freedom from scrubbing frustration and restore your oven’s shine without harsh chemicals. With these practical approaches, tackling stubborn oven stains becomes manageable and effective every time. Always remember to wear gloves required to protect your hands during cleaning.
Safety Precautions When Cleaning Your Oven
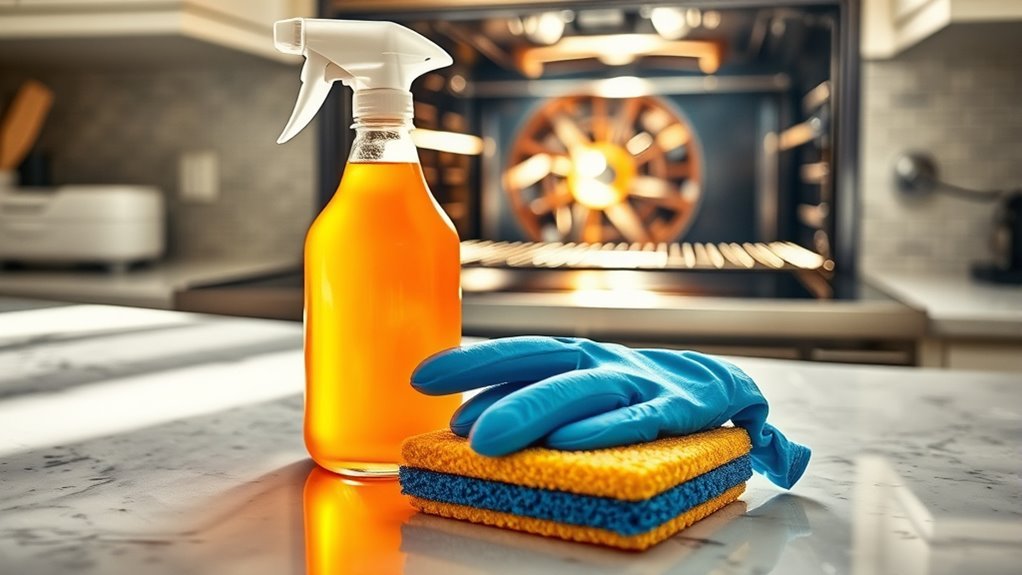
Before you start scrubbing, make sure you’re wearing gloves and eye protection to shield yourself from harsh chemicals and grime. Keep your kitchen well-ventilated by opening windows or turning on fans to avoid inhaling fumes. These simple steps will help keep you safe while you tackle your oven cleaning. Additionally, using non-toxic cleaning methods can further reduce exposure to harmful substances during the process.
Wear Protective Gear
Gloves and goggles are essential tools you’ll want to have on hand to protect your skin and eyes from harsh cleaning agents and stubborn grime. When you’re tackling oven cleaning, wearing protective gloves helps prevent chemical burns and skin irritation, while safety goggles shield your eyes from splashes. Here’s what you should keep in mind:
- Choose durable protective gloves resistant to chemicals and heat
- Wear safety goggles that fit snugly to block fumes and splatters
- Avoid using cotton gloves, which absorb liquids and reduce protection
- Check gloves and goggles for damage before each use
- Dispose of or thoroughly clean gear after every session to maintain safety
Ensure Proper Ventilation
Proper ventilation is essential to guarantee your safety while cleaning your oven, as many cleaning agents release strong fumes that can irritate your respiratory system. To maintain cleaning safety, open windows and doors, and turn on exhaust fans to confirm fresh air circulates. This ventilation importance protects your lungs and prevents dizziness or headaches. Avoid sealing the space, so fumes don’t accumulate.
| Feeling | Action |
|---|---|
| Relief | Open windows & doors |
| Confidence | Use exhaust fans |
| Freedom | Breathe fresh air safely |
Maintaining Your Oven’s Cleanliness Between Deep Cleans
Regular upkeep is key to keeping your oven in good shape between deep cleans. Sticking to a consistent cleaning schedule prevents grime buildup and extends your oven’s lifespan. Here are practical oven maintenance tips to make your routine easier and more effective:
- Wipe spills immediately with a damp cloth to avoid stubborn stains.
- Clean oven racks weekly using warm soapy water to prevent grease accumulation.
- Use a vinegar and water spray for quick daily freshening.
- Avoid harsh chemicals; opt for DIY cleaners to protect oven surfaces.
- Check and replace oven light bulbs as needed for clear visibility.
- Additionally, using oven liners can catch drips and crumbs, simplifying cleanup and protecting oven surfaces.
Frequently Asked Questions
Can I Use This DIY Cleaner on Gas Ovens?
You’ve got to tread carefully like walking on eggshells when cleaning your gas oven. Gas oven safety is vital, so avoid anything too abrasive or flammable. A DIY cleaner can work well if it’s gentle yet effective, ensuring you don’t damage burners or seals. For cleaning effectiveness, test a small area first and always ventilate the space. This way, you keep your oven sparkling without risking your freedom or safety.
How Long Should I Wait Before Using the Oven After Cleaning?
After oven cleaning, you should wait at least 30 minutes to an hour before using it. This allows any residual cleaner or moisture to evaporate, guaranteeing safety precautions are met. If you used a DIY cleaner, ventilation is key—keep windows open to avoid fumes. Being patient helps protect your oven’s components and your health, so don’t rush. Waiting guarantees your cooking freedom stays safe and enjoyable.
Will the Cleaner Damage Oven Racks or Trays?
You’ll want to evaluate the oven rack materials before using any cleaner, as some harsh formulas can damage coatings or metal finishes. For example, aluminum racks are more sensitive than stainless steel ones. The cleaner effectiveness depends on matching the product to your rack type; gentle, non-abrasive cleaners usually work well without harming the surface. Always test a small area first, and rinse thoroughly to maintain your racks’ longevity and your freedom to cook worry-free.
Can This Cleaner Remove Burnt-On Cheese or Sugary Spills?
You’ll find that this cleaner works well on burnt cheese and sugary spills, breaking down stubborn residues without harsh chemicals. Just apply it generously, let it sit for 15-20 minutes to soften the burnt-on mess, then scrub gently with a non-abrasive sponge. It’s designed to tackle tough stains while preserving your oven’s surfaces, giving you the freedom to clean efficiently without worrying about damage or toxic fumes.
Is the DIY Cleaner Safe for Self-Cleaning Ovens?
You’ll want to be cautious using any cleaner with self-cleaning features, as the high heat triggers chemical reactions that might interact poorly with residues from DIY cleaners. While these features are designed to handle tough grime alone, leftover cleaner could cause smoke or damage. It’s best to avoid applying homemade solutions before running the self-clean cycle. Instead, clean manually first, then use the self-cleaning function for a safe, thorough result.


