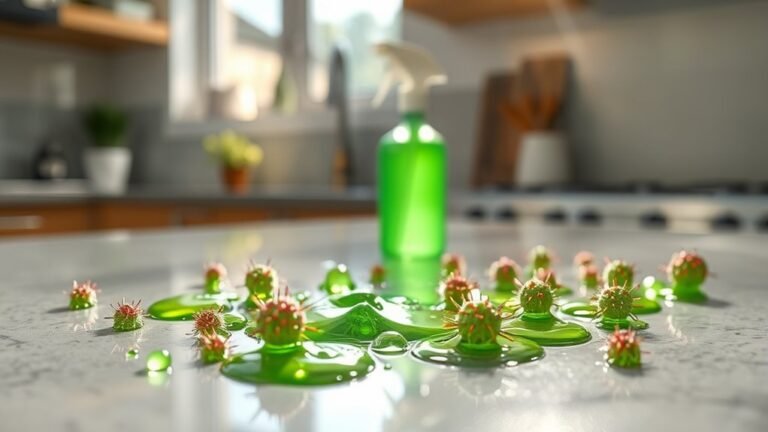
DIY Cleaner for Remote
You can make a safe, effective DIY cleaner for your remote by mixing equal parts 70% isopropyl alcohol and distilled water in a small spray bottle. Power off and remove batteries first, then lightly dampen a microfiber cloth or cotton swab to clean surfaces and buttons without letting liquid seep inside. Use a soft brush to dislodge debris. Let it dry fully before reinserting batteries. Establish a regular cleaning routine to maintain function and hygiene. Learn how to optimize cleaning steps and prevention tips next.
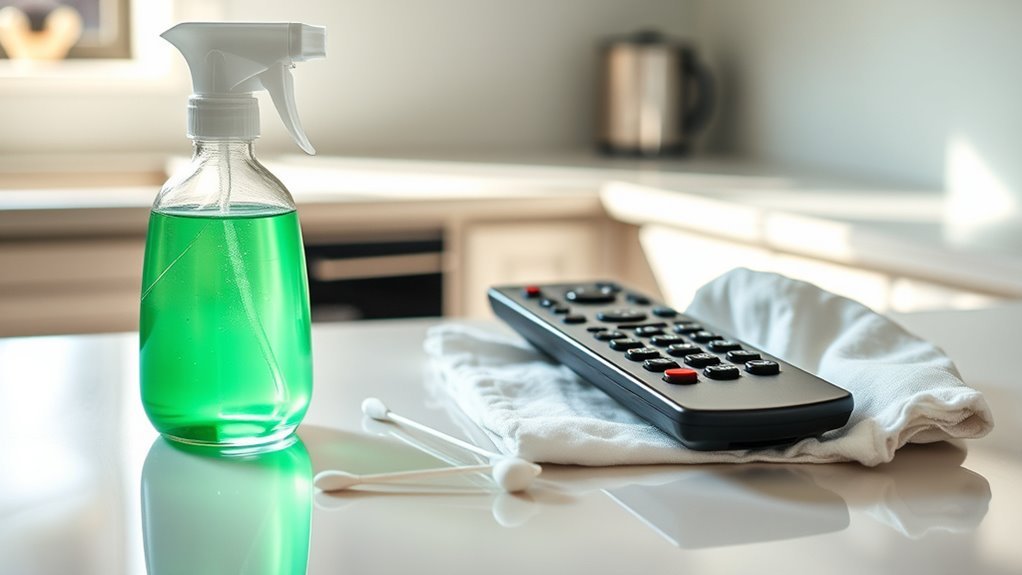
Materials Needed for DIY Remote Cleaner

To make an effective DIY cleaner for your remote, you’ll need a few essential materials. Start by gathering basic cleaning supplies: isopropyl alcohol (70% or higher), cotton swabs, microfiber cloths, and a small spray bottle. These items provide precision and control, vital for remote care. Avoid harsh chemicals that could damage plastic components or seep into electronics. Additionally, have a soft-bristle brush ready to dislodge debris from crevices. Using appropriate materials guarantees you maintain your remote’s functionality without risking damage. This selection supports thorough cleaning while respecting the device’s delicate nature. By preparing these targeted cleaning supplies, you’ll create a reliable foundation for your remote care routine, granting you the freedom to clean efficiently and safely whenever needed. Regular cleaning prevents dirt buildup on buttons, which helps maintain the remote’s responsiveness.
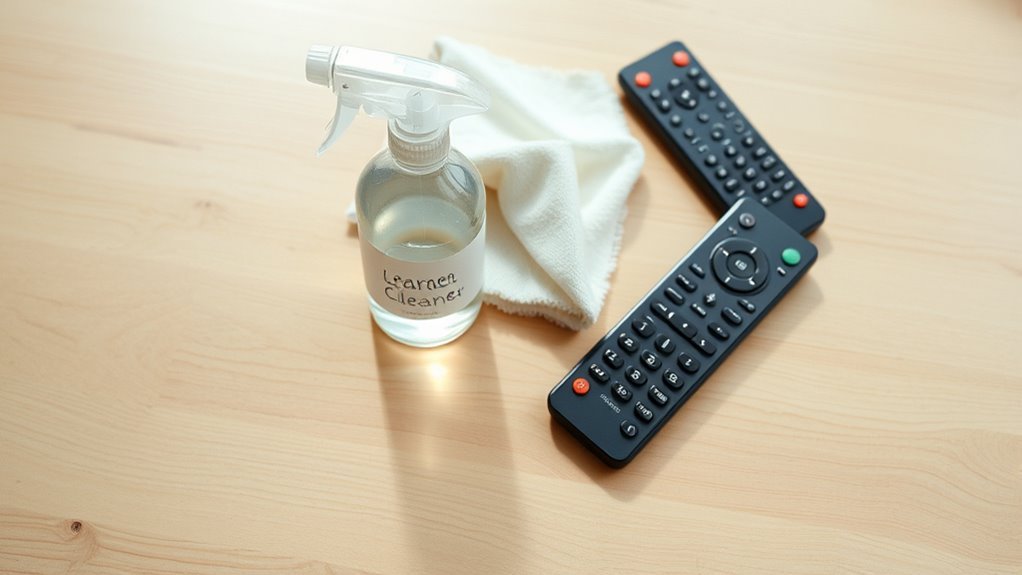
Preparing the Cleaning Solution
Start by mixing a solution of 70% isopropyl alcohol with distilled water in a 1:1 ratio inside a small spray bottle. This precise blend balances effective disinfection with safety for your remote’s surface. Using distilled water prevents mineral deposits, ensuring your cleaning agents work effectively. Avoid stronger concentrations; higher alcohol percentages can damage plastics or strip coatings. The 1:1 solution ratio maintains potency while minimizing risk. Shake the bottle gently to homogenize the mixture. Label the bottle clearly to prevent misuse. This methodical preparation maximizes cleaning efficiency and extends your remote’s lifespan. By controlling cleaning agents and solution ratios, you confidently create a DIY cleaner that’s both powerful and safe—giving you freedom from harsh chemicals and costly replacements. Regular cleaning helps break the cycle of contamination and promotes well-being.
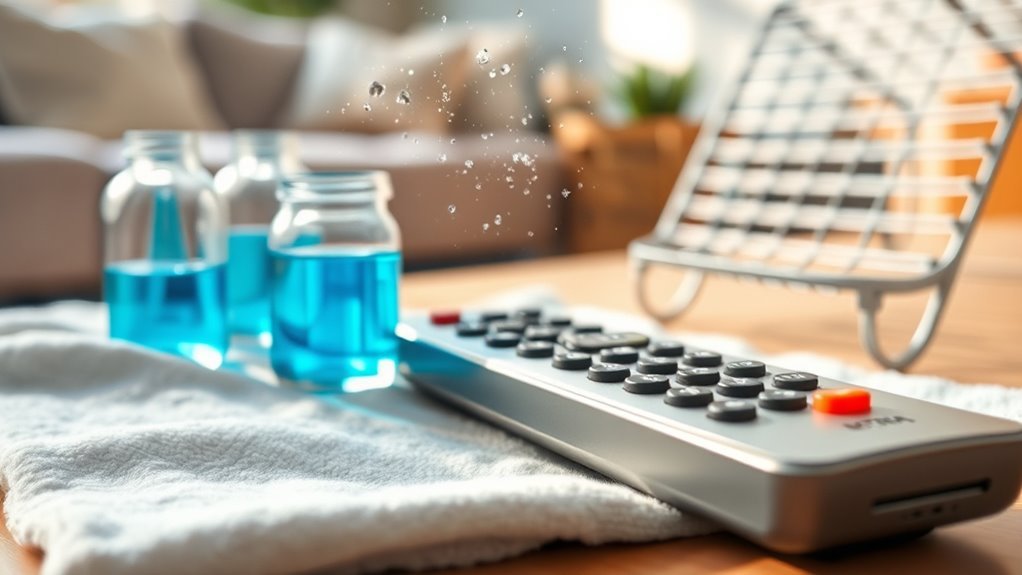
Step-by-Step Cleaning Process
Begin by powering off your remote and removing any batteries to prevent damage during cleaning. Use a soft cloth lightly dampened with your prepared cleaning solution to wipe the remote’s outer surface systematically. Avoid excess moisture near openings. For stubborn grime, gently apply a cotton swab dipped in the solution to crevices, ensuring no liquid seeps inside. Let the remote air dry completely before reinserting batteries. Establish a cleaning frequency based on usage intensity—weekly if used heavily, monthly otherwise—to maintain peak remote performance. Regular remote maintenance prevents buildup that can impair button response and sensor functionality. Following this methodical process grants you control over your device’s cleanliness without relying on commercial products, supporting your desire for practical, independent upkeep. Remember to use isopropyl alcohol at concentrations of at least 70% for effective disinfecting without damaging the remote.
Tips for Cleaning Remote Buttons
Although remote buttons may seem straightforward to clean, their small size and frequent use require careful handling to avoid damage. Proper button sanitization is key to effective remote maintenance, ensuring longevity and hygiene without impairing functionality. Follow these tips:
Cleaning remote buttons demands careful handling to maintain hygiene and functionality without causing damage.
- Use a soft-bristled brush to dislodge debris between buttons.
- Apply a small amount of isopropyl alcohol on a microfiber cloth for gentle wiping.
- Avoid excess liquid to prevent seepage under buttons.
- Employ cotton swabs for precision cleaning around button edges.
- Additionally, wearing personal protective equipment such as gloves can help prevent cross-contamination during cleaning.
How to Dry Your Remote Safely
One key step after cleaning your remote is ensuring it dries completely to prevent internal damage. Start by wiping excess moisture with a lint-free cloth. Avoid heat sources like hairdryers, which can warp plastic or damage circuits. Instead, use air drying techniques: place the remote in a well-ventilated area, preferably upright to allow water to drain away from the internal components. You can also use silica gel packets nearby to absorb residual moisture efficiently. If disassembled, dry each part separately, ensuring no water remains in crevices. Patience is essential; rushing the drying process risks short circuits and compromises remote safety. Using microfiber cloths to wipe down the remote before drying can help trap any remaining oils and dust, ensuring a cleaner surface. By applying these precise drying techniques, you maintain your device’s longevity and functionality, giving you freedom from frequent replacements or repairs.
Preventing Dirt Build-Up on Your Remote
Since dirt buildup can impair your remote’s functionality, implementing regular preventive measures is essential. To maintain peak remote performance and extend its lifespan, consider these remote maintenance steps:
- Establish a cleaning frequency: Wipe your remote weekly with a microfiber cloth to avoid grime accumulation.
- Keep hands clean: Wash your hands before using the remote to reduce oil and dirt transfer.
- Store properly: Place your remote on a clean, dust-free surface or use a protective cover when not in use.
- Avoid eating near it: Prevent food particles and sticky residues by not using the remote during meals.
Additionally, using safe cleaning techniques can prevent moisture damage and preserve your remote’s functionality over time.
When to Replace Your Remote Instead
Keeping your remote clean can prolong its usability, but there comes a point when maintenance isn’t enough. You should recognize the signs replacement is necessary to avoid frustration and wasted time. Common signs include unresponsive buttons despite thorough cleaning, physical damage to the casing or circuit board, and persistent connectivity issues. The typical remote lifespan varies by model and usage, but heavy use can shorten it considerably. If your remote frequently fails to communicate with your device or requires constant battery changes, it’s more efficient to replace it rather than invest further effort in repairs. Prioritizing functionality and freedom means knowing when to let go of a worn-out remote and switch to a reliable replacement, ensuring seamless control without interruptions. Adopting simple maintenance habits can help extend the life of your remote before replacement becomes necessary.
Frequently Asked Questions
Can I Use Alcohol-Based Cleaners on All Types of Remotes?
Imagine your remote is a delicate bridge, built from various materials that respond differently to stress. You can use alcohol-based cleaners, but you must mind the alcohol concentration—ideally around 70%. Higher concentrations might damage certain plastics or coatings. Always check your remote materials first; some surfaces may degrade or discolor. To keep your remote bridge strong and functional, use minimal liquid, apply with a soft cloth, and avoid soaking.
How Often Should I Clean My Remote Control?
You should perform remote maintenance by cleaning your remote control at least once every two weeks to prevent germs and dirt buildup. If you use it frequently or share it with others, increasing the cleaning frequency to once a week is wise. Regularly wiping down the surface with a gentle, alcohol-based cleaner helps maintain functionality and hygiene without damaging components, giving you freedom from sticky buttons or malfunctioning controls.
Is It Safe to Use Compressed Air to Clean My Remote?
Yes, compressed air safety is vital when using it for remote cleaning techniques. You can safely use compressed air to blow out dust and debris from crevices, but avoid holding the can upside down to prevent liquid propellant discharge, which may damage electronics. Use short bursts at a distance to protect internal components. Always confirm the remote is powered off and remove batteries before cleaning to maintain device integrity while enjoying your freedom to clean effectively.
Can DIY Cleaning Damage the Remote’S Internal Components?
You might find that some cleaning adventures can be a bit too spirited for your remote’s delicate internal world. Since remote materials vary widely, choosing gentle cleaning methods is key to avoid unintentional harm. Harsh chemicals or excessive moisture can seep inside and disrupt circuits. To keep your freedom intact, opt for soft cloths and mild solutions, ensuring you respect the device’s design without compromising its performance or longevity.
What Should I Do if My Remote Stops Working After Cleaning?
If your remote stops working after cleaning, start with troubleshooting steps: check the batteries and verify they’re properly seated; inspect for moisture or residue inside the battery compartment; let the remote dry completely if damp. If these steps don’t restore function, try resetting the remote by removing batteries for a few minutes. Should problems persist, consider a remote replacement to regain full control without hassle, preserving your freedom to operate devices seamlessly.