DIY Cleaner for Windowsills
You can make an effective DIY cleaner for your windowsills using simple ingredients like white vinegar, baking soda, and water. Just mix vinegar with water in a spray bottle and sprinkle baking soda on stubborn spots for extra scrubbing power. Use a soft cloth to gently clean, taking care not to scrub too hard to avoid damage. This natural solution is eco-friendly and budget-friendly. Keep going to find helpful tips for safe use and ongoing maintenance.
Ingredients Needed for the DIY Cleaner
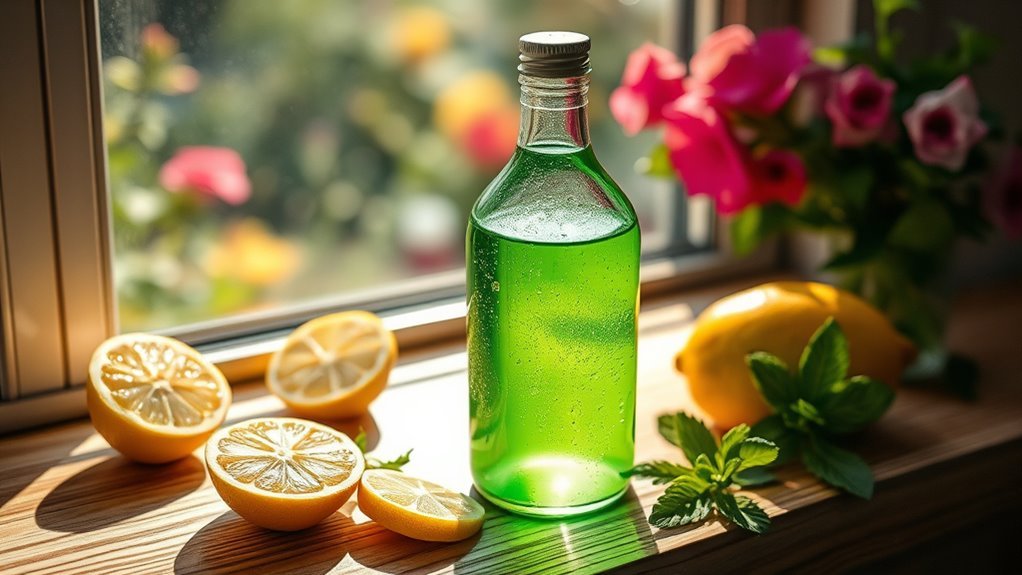
Before you begin, you’ll need a few simple ingredients to make your DIY windowsill cleaner effective and safe. Opt for natural ingredients like white vinegar, baking soda, and lemon juice—each offers powerful cleaning solutions without harsh chemicals. These ingredients not only clean but also deodorize, leaving your windowsills fresh and spotless. Adding a few drops of essential oils can enhance the scent and provide extra antibacterial properties. By choosing these natural cleaning solutions, you’re taking control of what touches your home, avoiding unnecessary toxins, and embracing freedom from commercial products. These basic ingredients are affordable, easy to find, and versatile, giving you the power to maintain your windowsills with a simple, eco-friendly approach that aligns perfectly with your desire for independence and purity in your cleaning routine.
Step-by-Step Preparation Guide
Before you start, make sure you’ve gathered all the cleaning ingredients listed earlier. Next, assemble the necessary tools like a spray bottle, cloth, and gloves. Having everything ready will make the preparation smooth and efficient.
Gather Cleaning Ingredients
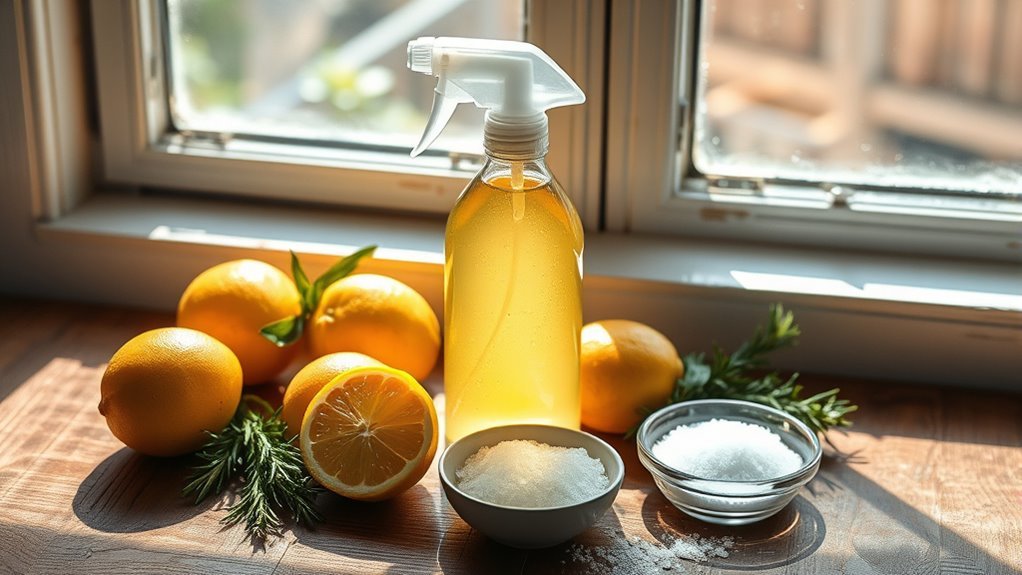
To make your DIY cleaner for windowsills, you’ll need just a few simple ingredients that you likely have at home. These cleaning alternatives are not only effective but also eco friendly solutions, letting you clean with freedom and peace of mind.
| Ingredient | Purpose | Quantity Needed |
|---|---|---|
| White Vinegar | Disinfectant & shines | 1 cup |
| Water | Dilutes vinegar | 1 cup |
| Baking Soda | Scrubbing agent | 2 tablespoons |
| Essential Oil (optional) | Adds fresh scent | 5-10 drops |
Grab these ingredients to mix your powerful, natural cleaner and embrace a toxin-free way to freshen up your windowsills!
Assemble Cleaning Tools
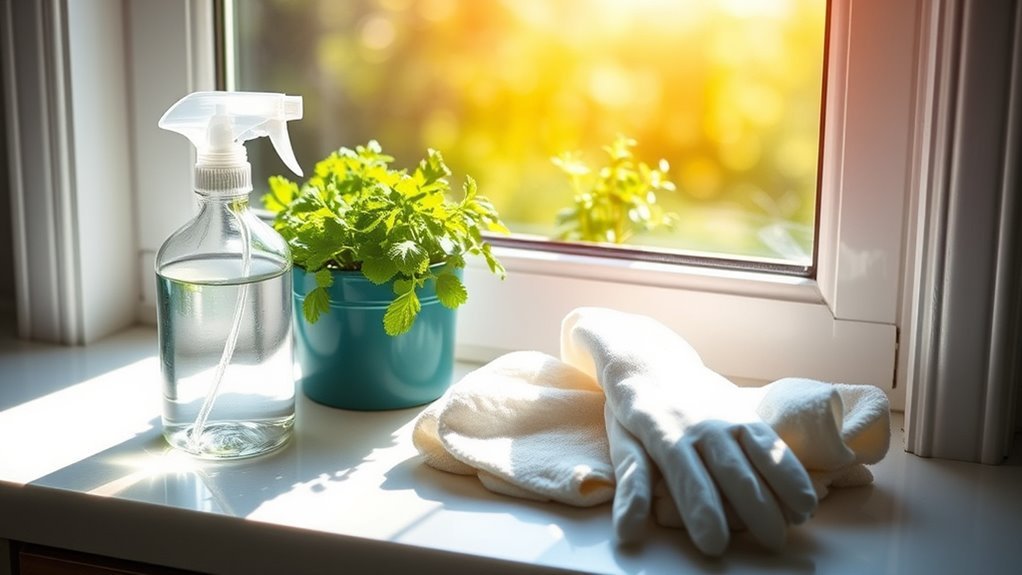
Now that you’ve gathered your natural cleaning ingredients, it’s time to get your tools ready. Start by collecting essential cleaning supplies like a soft cloth, a scrub brush, a spray bottle, and gloves. Having these on hand lets you move freely without interruptions. Next, organize your tools in a portable caddy or basket—this keeps everything within reach and prevents clutter. When you’re assembling your cleaning tools, think about efficiency and ease; choose items that won’t weigh you down or limit your movement. By organizing tools thoughtfully, you create a streamlined setup that matches your desire for freedom and flexibility during cleaning. With your supplies and tools assembled, you’re ready to tackle those windowsills confidently and efficiently.
How to Safely Use the Cleaner on Windowsills
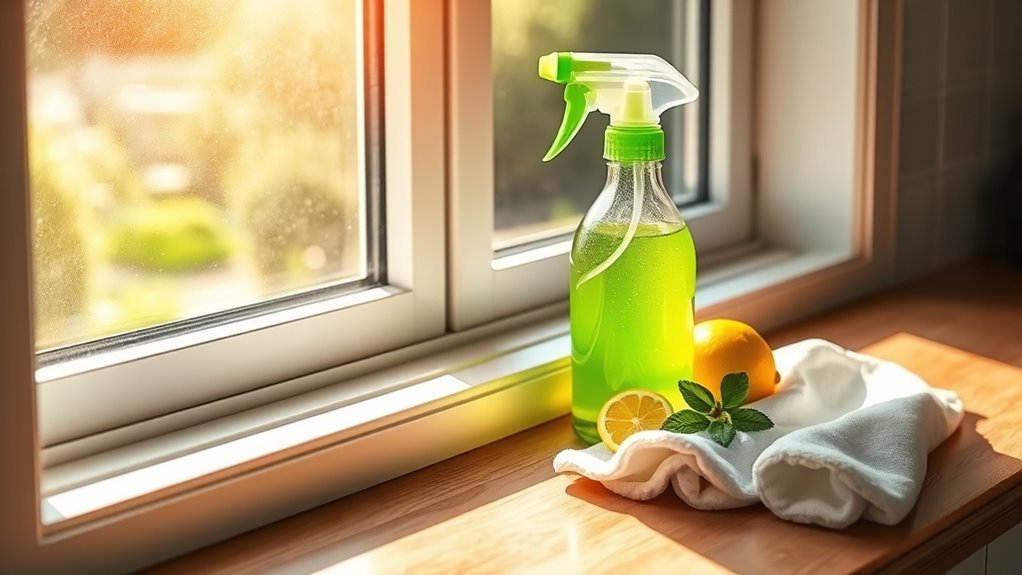
Although the DIY cleaner is gentle, you’ll want to test it on a small, hidden area of your windowsill first to confirm it doesn’t cause any discoloration or damage. This safety precaution guarantees your freedom to clean confidently without unintended effects. When using the cleaner, apply it sparingly with a soft cloth or sponge to avoid oversaturation. Use gentle cleaning techniques—light, circular motions work best for lifting dirt without harming surfaces. Avoid harsh scrubbing, which can wear down paint or wood finishes. After cleaning, wipe the area with a damp cloth to remove any residue, then dry thoroughly to prevent moisture buildup. By following these safety precautions and cleaning techniques, you’ll effectively refresh your windowsills while protecting their integrity.
Tips for Maintaining Clean Windowsills
Keeping your windowsills clean requires regular attention, but with a few simple habits, you can prevent buildup and maintain their appearance effortlessly. Start by setting a cleaning frequency that suits your environment—dust and dirt accumulate faster in some areas. For most, a quick wipe every one to two weeks works well. Always consider your window materials; wooden sills need gentle care and less water, while vinyl or metal can handle more vigorous cleaning. Use your DIY cleaner sparingly on sensitive surfaces to avoid damage. Don’t forget to remove debris from corners and crevices to stop grime from settling. By sticking to these straightforward tips, you’ll keep your windowsills looking fresh without spending too much time or effort. Freedom in upkeep means less stress and more enjoyment of your space.
Benefits of Using Homemade Cleaners
When you choose homemade cleaners, you’re not only saving money but also reducing your exposure to harsh chemicals. These eco friendly options give you control over what touches your home, promoting a healthier environment. Plus, they’re cost effective solutions that let you clean without breaking the bank.
| Benefit | Why It Matters | How It Helps You |
|---|---|---|
| Eco Friendly | No toxic ingredients | Safer for family, pets |
| Cost Effective | Uses common household items | Saves money on products |
| Customizable | Adjust recipes as needed | Fits your cleaning style |
| Convenient | Easy to make anytime | Always ready when needed |
Troubleshooting Common Cleaning Challenges
Homemade cleaners offer many advantages, but you might still face some common cleaning challenges along the way. For a streak free finish, avoid using too much liquid; a lightly damp cloth works best. If you notice stubborn stains on your windowsills, don’t give up—apply a paste made from baking soda and water, let it sit for a few minutes, then gently scrub. Also, make sure to dry the surface thoroughly after cleaning to prevent water marks and streaks. If residue remains, try wiping with a microfiber cloth in circular motions. Remember, patience is key. With a bit of practice and the right techniques, you’ll enjoy a sparkling, clean windowsill without harsh chemicals or extra effort. Freedom in cleaning is all about simple, effective solutions.
Frequently Asked Questions
Can This Cleaner Be Used on Other Surfaces Besides Windowsills?
You’re probably wondering if this cleaner works on alternative surfaces beyond windowsills. Good news—you’re not limited! This cleaner’s versatility lets you confidently tackle grime on various materials like countertops, shelves, and even some furniture. Just test a small spot first to be safe. Embracing cleaner versatility means you have the freedom to simplify your cleaning routine without juggling multiple products, making your life easier and more efficient.
How Long Does the DIY Cleaner Stay Effective Once Mixed?
Imagine a fresh breeze that slowly fades away—that’s how long your cleaner stays potent. Once mixed, its shelf life is usually about one to two weeks. To keep that freedom of a ready-to-use cleaner, store it in a sealed container, away from sunlight and heat. This way, you’ll have a reliable, fresh solution whenever you want, without feeling tied down by constant remakes or wasted product.
Are There Any Safety Precautions for Children or Pets?
When using homemade cleaners, you’ll want to keep child safety and pet safety top of mind. Always store your mixtures out of reach, so curious hands and paws don’t get into them. Avoid harsh ingredients like bleach or ammonia that can harm little ones or pets. You’re free to clean confidently by choosing natural, non-toxic components and airing out the area well after use to keep everyone safe and happy.
Can This Cleaner Remove Tough Stains Like Mold or Mildew?
You’ll find that this cleaner works well for mold removal and mildew treatment, especially on less stubborn stains. While it’s great for regular upkeep and preventing buildup, really tough mold or mildew might need something stronger or a repeated application. Don’t hesitate to let it sit a bit longer on those stubborn spots. This approach gives you the freedom to tackle grime effectively without harsh chemicals.
Is This Homemade Cleaner Environmentally Friendly Compared to Store-Bought Options?
You’ll find that using eco friendly ingredients in your homemade cleaner gives you more control over what goes into your home and the environment. Compared to store bought options, which often contain harsh chemicals, your DIY mix is gentler and biodegradable. This freedom to choose natural components means you’re reducing pollution and waste, making it a smarter, greener choice. Plus, you avoid the toxins that typical products might leave behind.


