How Long for 2k Clear Coat to Dry
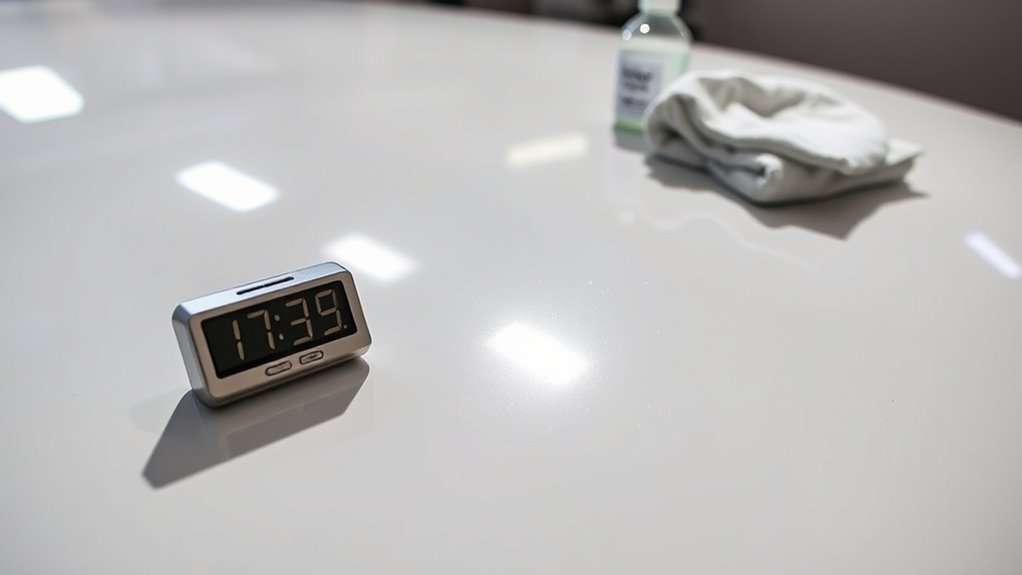
2K clear coat usually dries to the touch in about 30 to 60 minutes. However, full curing can take several days, depending on the specific product formulation and environmental conditions like temperature and humidity. During this time, it’s essential to guarantee your workspace has adequate ventilation and safety measures in place. For a flawless finish and ideal results, understanding the application process further might be beneficial.
Preparation For Cleaning
Before you begin applying a 2k clear coat, it’s essential to prepare the surface properly to guarantee ideal adhesion and finish. Start by selecting effective cleaning techniques to remove dust, grease, and contaminants. A thorough wash using a pH-neutral detergent will eliminate any surface grime. After rinsing, wipe down with a clean microfiber cloth to confirm no residues remain. Next, inspect for imperfections; sanding may be necessary to achieve a smooth surface. Use a suitable grit for sanding, making sure you’ve feathered the edges to avoid noticeable shifts. Finally, wipe the surface with a solvent-based cleaner to remove any lingering oils and confirm optimal surface preparation. This meticulous approach will set the stage for a flawless 2k clear coat application.
Tools and Chemical Required
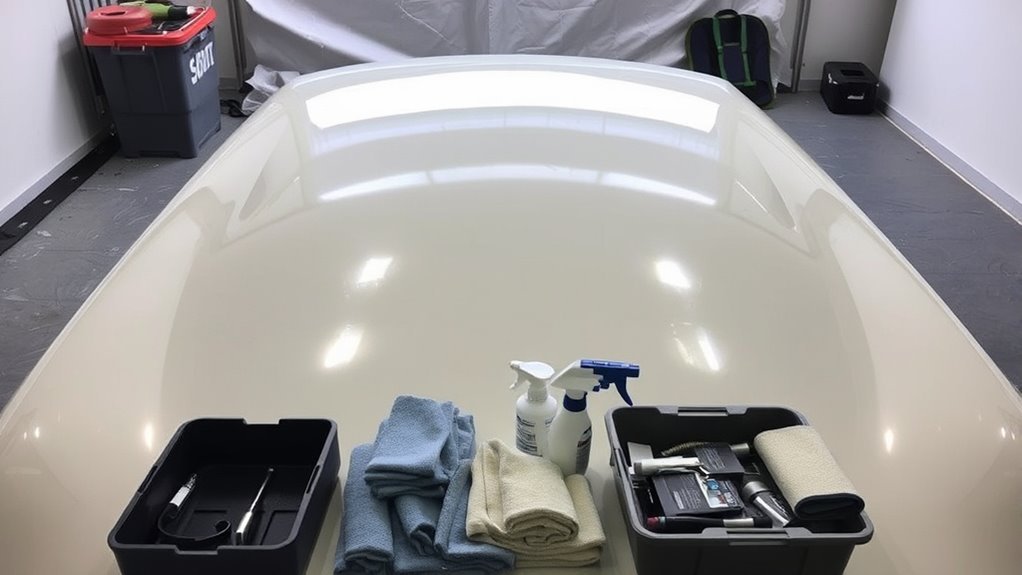
To achieve the best results when applying a 2k clear coat, you’ll need a set of essential tools and chemicals. A high-quality spray gun is critical for a smooth finish. You’ll also require the clear coat itself, hardener, and a solvent for cleanup. Confirm you follow the proper mixing ratio for ideal results, typically 2:1 for the clear coat and hardener.
Here’s a quick reference table for your setup:
| Tool/Chemical | Purpose | Notes |
|---|---|---|
| Spray Gun | Application of clear coat | Choose a HVLP model |
| 2k Clear Coat | Final finish | Select based on color |
| Hardener | Cures the clear coat | Check manufacturer specs |
| Solvent | Cleanup | Use appropriate type |
| Mixing Container | Mixing materials | Confirm it’s clean |
How to Clean:
Step 1: Gather Necessary Supplies
- Solvent: Check the paint manufacturer’s recommendations for the appropriate cleaning solvent.
- Lint-free Cloth: This will help avoid leaving any fibers on your tools or surfaces.
- Cleaning Brush: A small brush can assist in cleaning hard-to-reach areas.
- Container for Solvent: Use a container that can safely hold the solvent for rinsing brushes or sprayers.
- Protective Gear: Wear gloves and goggles to protect yourself from chemicals during the cleaning process.
Step 2: Clean Brushes
- Immediate Rinsing: As soon as you finish applying the 2k clear coat, rinse the brushes in the recommended solvent to prevent the clear coat from hardening in the bristles.
- Swirl and Shake: Swirl the brush in the solvent and shake it gently to remove excess paint.
- Use Cleaning Brush: If necessary, use a cleaning brush to help remove any stubborn residue from the bristles.
- Final Rinse: Rinse the brush again in clean solvent to ensure all paint is removed.
- Drying: Shake out any excess solvent and lay the brush flat or hang it to dry.
Step 3: Clean Sprayers
- Disassemble the Sprayer: Carefully take apart all components of the sprayer, including the cup, nozzle, and needle.
- Rinse Each Component: Submerge each part in the recommended solvent and rinse thoroughly to remove any paint residue.
- Use a Cleaning Brush: For small or intricate components, use a cleaning brush to ensure no paint remains in hard-to-reach areas.
- Inspect for Residue: After rinsing, inspect each part for any remaining residue and clean as necessary.
- Dry Components: Allow each component to air dry completely before reassembling.
Step 4: Clean Surfaces
- Wipe Down Contaminated Areas: After application, use a lint-free cloth to wipe down any surfaces that may have been contaminated by the clear coat.
- Apply Cleaning Solution: Use a suitable cleaning solution to clean the surfaces thoroughly, ensuring you remove all potential contaminants.
- Final Wipe: After applying the cleaning solution, use a clean section of the lint-free cloth to wipe down surfaces, ensuring no cleaning solution remains.
Step 5: Regular Maintenance
- Establish a Routine: Make cleaning your tools a regular part of your workflow to maintain their performance and longevity.
- Store Tools Properly: After cleaning, store your tools in a dry place to prevent any moisture damage.
- Inspect Tools Regularly: Regularly check your tools for wear and tear, and clean them after each use to ensure they remain in prime condition for future projects.
Safety Consideration
When working with 2k clear coat, it is essential to prioritize safety due to the potentially hazardous chemicals involved. Make sure you set up adequate ventilation safety measures in your workspace. Open windows and use fans to create airflow, reducing the risk of inhaling toxic fumes. Always wear appropriate protective gear, including a respirator, gloves, and goggles, to shield yourself from harmful substances. These precautions are important not just for your immediate safety, but also for long-term health. If you’re working in a confined space, consider using a fume extraction system to further minimize exposure. By taking these steps, you can enjoy the freedom to work efficiently while keeping safety as your top priority.
Frequently Asked Questions
What Factors Affect the Drying Time of 2k Clear Coat?
Humidity levels, paint thickness, airflow circulation, substrate material, and application technique all impact the drying time of 2K clear coat. High humidity can slow drying, while ideal airflow enhances it. If you apply a thicker coat, it’ll take longer to cure. Different substrate materials absorb moisture differently, affecting drying times as well. Finally, your application technique—whether you spray or roll—will also influence how quickly the clear coat sets.
Can Temperature Influence the Drying Process of 2k Clear Coat?
Yes, temperature greatly influences the drying process of 2k clear coat. Higher temperatures can accelerate chemical reactions, reducing drying times and improving adhesion. Conversely, low temperatures can slow curing, leading to extended drying conditions. Ideally, aim for a controlled environment where temperatures are between 65°F to 75°F (18°C to 24°C). This range guarantees ideal temperature effects, allowing your clear coat to dry evenly and achieve a flawless finish.
Is It Okay to Apply a Second Coat Before Drying Fully?
You shouldn’t apply a second coat before the first one’s fully dried. Rushing this step can lead to issues like bubbling or poor adhesion, which might ruin your finish. The drying time is essential; it guarantees the first layer sets properly, allowing the second coat to bond effectively. If you’re keen for that perfect look, be patient and give it the time it needs. Your final result will be worth the wait!
How Can I Tell if the Clear Coat Is Fully Cured?
To tell if the clear coat is fully cured, you should check the surface for a hard, glossy finish. Cure time can vary, but typically, a firm touch test will suffice. If it feels tacky or soft, it hasn’t fully cured yet. Additionally, look for any imperfections or cloudiness. If the surface is smooth and clear, you’re likely good to go. Always guarantee proper ventilation and temperature for ideal curing conditions.
What Happens if I Rush the Drying Time of 2k Clear Coat?
Rushing the drying time of 2k clear coat can lead to significant risks involved, such as poor adhesion and surface imperfections. Would you want to invest time and effort only to end up with a subpar finish? If the coat isn’t fully cured, it might trap solvents, causing bubbling or peeling later on. It’s essential to allow adequate drying time to guarantee a durable, flawless surface that enhances your project’s overall quality.


