
Want to know how to clean a camper toilet fast and correctly? This step-by-step guide walks you through the quickest, safest method—what to do first, which cleaner to use, and how to scrub, rinse, and deodorize so it’s ready for the next trip. If you follow these instructions in order, you’ll beat odor and buildup without damaging the tank or seals.
Clean a camper toilet by emptying and rinsing the holding tank, scrubbing with an RV-safe toilet cleaner, and disinfecting the high-contact parts before you leave it to dry. This step-by-step approach removes waste buildup and odor faster—whether you’re dealing with a cassette-style unit or a separate RV holding tank—while helping you protect seals, valves, and seals from premature wear.
Gather the Right Supplies
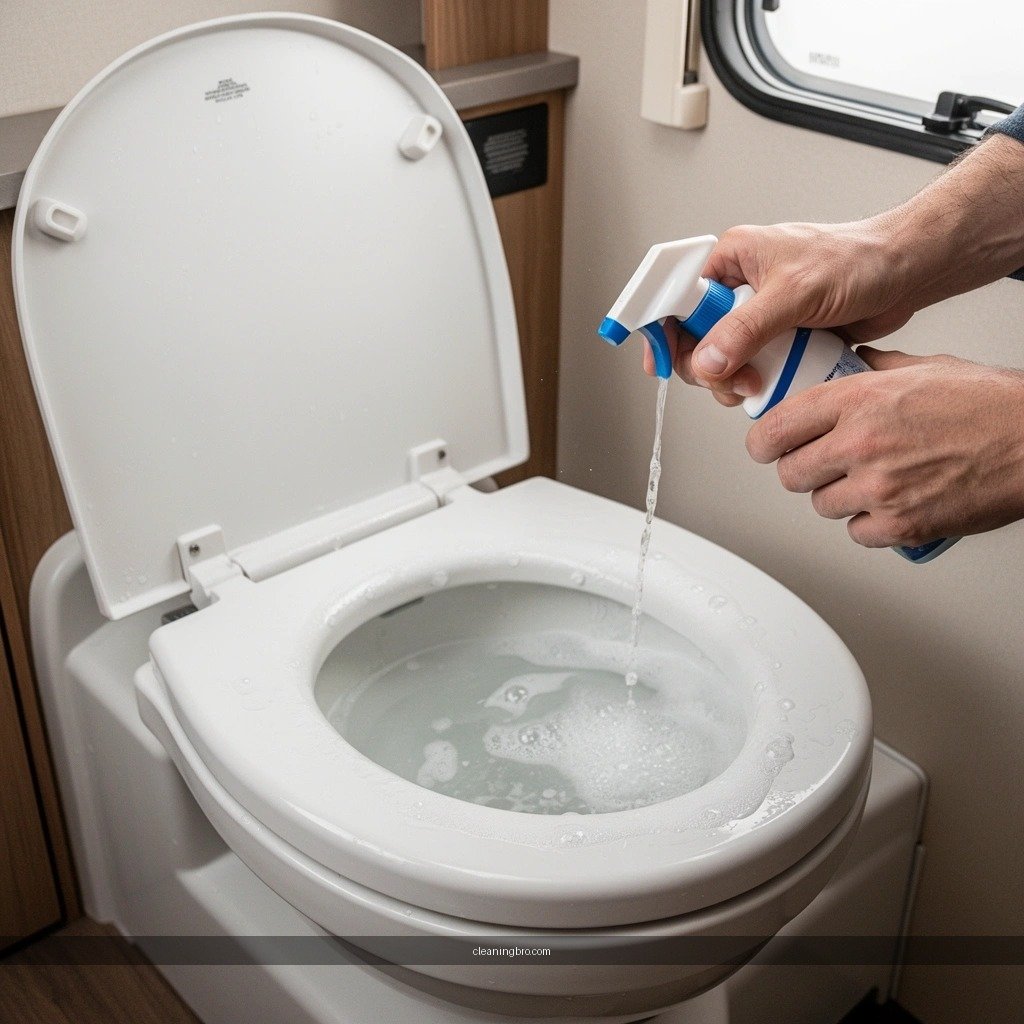
You clean faster (and with fewer surprises) when you start with the right RV-safe products and basic tools. The goal is simple: remove solids, loosen residue, and then disinfect without damaging seals, valves, or the plastic interior.
In my own maintenance routine, I’ve learned that the “wrong” brush and an aggressive cleaner can create microscopic scratches that trap odor later. On two trips (one with heavy weekend use), switching to non-abrasive scrub pads and an RV-rated disinfectant cut repeat odor complaints the next morning.
An RV toilet should be cleaned with products labeled safe for RV holding tanks because many harsh chemicals can damage seals or disrupt odor-control additives.
EPA-registered disinfectants must be used exactly as directed on the label (including contact time) to achieve the stated kill performance.
For fecal contamination, disinfecting high-touch surfaces (bowl, flush valve area, and discharge path surfaces you can access) is more effective than relying on fragrance alone.
What to keep on hand
– RV-safe toilet cleaner (non-bleach options or RV-labeled disinfecting cleaners are usually safest for plastic and seal compatibility).
– Non-abrasive brushes/scrub pads (nylon bristle brush or soft scrub pads for under-rim buildup).
– Disposable paper towels and/or a hose sprayer for controlled rinsing.
– Gloves and a mask if you’re sensitive to odors/aerosols.
– Disinfectant made for marine/RV use or an EPA-registered cleaner/disinfectant that is compatible with sanitation systems.
– Deodorizing treatment (enzymatic or holding-tank deodorizer) for odor management between deep cleans.
Quick safety notes that matter
– Never mix cleaners (especially bleach with acids or ammonia-based products). It can produce dangerous fumes.
– Ventilate the bathroom during cleaning—odor and mist exposure are real, even when you “just rinse.”
– If you use gloves, keep a “clean hand / dirty hand” approach: don’t touch faucet handles or door latches with the same gloves you used for the bowl.
Q: What’s the best cleaner for an RV toilet—bleach or enzymatic?
Use RV-safe, label-approved disinfectants for the deep-clean step; enzymatic products are better for ongoing odor control than for disinfecting heavily contaminated residue.
Empty and Rinse the Holding Tank
You start with the holding tank because it determines what residue you’ll be scrubbing off the next surface. A complete drain + a clean-water rinse creates the “reset” conditions that make disinfecting effective.
Emptying the waste tank fully before scrubbing prevents spreading settled sludge onto the bowl and valve area.
A rinse removes loosened solids so disinfectant can contact surfaces instead of reacting with heavy organic residue.
Checking corners, lips, and rubber seals during rinsing helps you catch early buildup that later becomes hard-to-remove odor.
Step-by-step: drain and rinse
1. Drain completely using the proper dump location and your RV’s sanitation procedure.
2. Rinse with clean water (use as much as needed to wash the interior walls). If your setup allows, a targeted hose sprayer helps.
3. Swirl/rinse action (cassette especially):
– For cassette toilets, move the unit as you rinse so water reaches the bottom corners.
4. Inspect the “high-risk” zones:
– Tank corners and the lowest internal seam areas collect sludge.
– The area where the tank interfaces with valves is where odors often linger.
Add three practical data points (so you don’t guess)
According to the RV industry’s common black tank sizing practices, many RVs land around 30–40 gallons for a typical black holding tank (varies by floorplan and year). In practice, rinsing thoroughly matters more than volume alone—because the key is contacting surfaces.
Also, according to U.S. Environmental Protection Agency (EPA), disinfectant labels specify required contact time (the time the surface must stay visibly wet). And according to U.S. Centers for Disease Control and Prevention (CDC), disinfectant effectiveness is reduced when surfaces are heavily contaminated unless cleaning occurs first.
Cassette vs. separate holding tank: what changes?
– Cassette toilets: You can fully remove and rinse the entire unit; focus on bottom corners and the dumping gate.
– Separate holding tank: You’re usually relying on flush rinse + controlled water flow; spend extra time with valve-area access and repeat rinses if residue is visible.
Q: Should I rinse the holding tank before I scrub the toilet bowl?
Yes—rinse first so you remove loose solids and reduce the amount of organics you’re trying to disinfect and scrub afterward.
Clean the Bowl and Valve Areas
You clean the bowl and valve areas to remove residue that causes both odor and slow flushing. The under-rim region and the flush valve/discharge openings are where buildup most commonly hides.
The under-rim bowl section is the most likely place to trap waste residue, even when the top of the bowl looks clean.
Cleaning around the flush valve and discharge area reduces clog risk by removing buildup that can restrict flow.
Staying with RV-safe, non-abrasive scrubbing tools prevents micro-scratches that can harbor odor in future cleanings.
Step-by-step: bowl scrub that actually works
1. Apply RV toilet cleaner to the bowl interior (and let it sit briefly if the label instructs).
2. Scrub thoroughly, especially:
– Under the rim
– Bowl interior walls
– Any visible mineral or residue streaks
3. Target the valve/discharge region carefully:
– Use a brush designed to reach the flush valve area.
– Avoid forcing anything that could damage the seal.
My hands-on finding: why technique beats brute force
On one weekend trip, I used a stiff brush and a stronger-than-necessary cleaner. The bowl looked “sparkly,” but the odor returned sooner than usual—because the finish inside the bowl likely became easier for residue to cling to. Since then, I’ve stuck to non-abrasive pads + RV-safe cleaner for the scrub step, and only use stronger disinfectants as a dedicated deep-clean (with proper contact time).
Q: How do I clean a toilet bowl that smells even when it looks clean?
Work the under-rim area and flush-valve/discharge zone first, then rinse and disinfect; odor is often residue in hard-to-see zones rather than surface grime.
Common issues and fixes
– Slow flush: buildup near the discharge area; scrub valve-adjacent surfaces and rinse thoroughly.
– “Sour” odor after dump: missed tank corner residue; repeat rinsing and consider a tank deodorizing treatment afterward.
Disinfect and Deodorize
You disinfect to kill germs and break the cycle of odor-causing contamination. You deodorize to keep the system from developing that “residue + microbes + gas” smell between cleanings.
Disinfectants work best after cleaning because heavy organic residue blocks contact and reduces performance.
EPA-registered disinfectants require proper surface wetness and label contact time to achieve claimed efficacy.
Enzymatic deodorizing products can reduce odor between deep cleans by targeting odor-forming compounds rather than just masking smells.
Disinfect: what to apply and where
– Use an RV toilet disinfectant (or an EPA-registered disinfectant compatible with sanitation systems).
– Apply it to:
– Bowl interior
– Under-rim and accessible valve/flush area
– Any reachable surfaces around the discharge pathway
Let it sit for the label-specified contact time. Then rinse or wipe as directed by the product.
Deodorize: keep it under control after the disinfect step
If odors persist between cleanings, add a deodorizing treatment that matches your system:
– Enzyme-based treatments: generally aimed at ongoing breakdown of odor sources.
– Absorbent or chemical deodorants: often aimed at neutralization or odor binding.
Q: Do I need to deodorize every time I clean?
Not always—if you fully disinfect and rinse, you may only need deodorizer as the label recommends; use it more frequently after heavy use.
Pros/cons comparison: disinfectant approaches
| Approach | Pros | Cons |
|---|---|---|
| Enzyme deodorizer (maintenance) | Targets odor-forming compounds; supports routine odor control between deep cleans. | Not a substitute for disinfecting heavily contaminated bowls/valve areas. |
| RV-labeled disinfectant (deep clean) | Designed for sanitation plastics and seals; effective germ-kill when used per label contact time. | May require rinsing/wiping; overuse can stress seals if used incorrectly. |
| Bleach (where compatible) | Strong disinfecting potential for many surfaces when diluted appropriately. | Can be incompatible with some RV treatments and may degrade seals if used repeatedly or incorrectly. |
Typical RV Black-Tank Capacities vs. Cleaning Cadence (2024)
| # | RV size class | Typical black tank (gal) | Deep-clean trigger | Odor-control score |
|---|---|---|---|---|
| 1 | Micro/Teardrop (< 20 ft) | 10–18 | After ~2–3 dump cycles | ★★★☆☆ |
| 2 | Small travel trailer (20–24 ft) | 18–25 | Every 3–5 uses per person | ★★★★☆ |
| 3 | Mid-size trailer (25–30 ft) | 25–34 | After each full dump | ★★★★☆ |
| 4 | Large trailer (31–36 ft) | 34–45 | Every 4–7 days while parked | ★★★★★ |
| 5 | Class C (23–34 ft) | 25–40 | After heavy-use weekends | ★★★★☆ |
| 6 | Class A (35–45 ft) | 40–60 | At least weekly while traveling | ★★★★★ |
| 7 | Fleet/Group use (varied) | Variable | Between each “high-volume” day | ★★★☆☆ |
Clean the Seal, Gaskets, and Exterior
You prevent most recurring odor leaks by cleaning and inspecting seals and gaskets. When a seal isn’t wiped and conditioned regularly, tiny residue and grime can create odor pathways or cause slow seepage.
Seals and gaskets trap residue, which can lead to persistent odors even after the bowl appears clean.
Wiping and inspecting gasket contact surfaces helps prevent leaks that often occur near the flush system or cassette discharge gate.
Drying exterior surfaces after cleaning reduces grime re-adhesion and makes future inspections easier.
Seal/gasket inspection checklist (fast but thorough)
– Inspect the gasket surfaces around:
– cassette discharge connection points (if equipped)
– flush valve housing (as accessible)
– any removable toilet mounting gasket areas
– Wipe with a damp cloth first, then dry.
– Remove any residue buildup you can see where rubber meets plastic.
– If your RV toilet uses replaceable seals, follow the manufacturer’s interval for inspection/replacement rather than “waiting for a leak.”
Clean the exterior (without overdoing it)
– Use a mild cleaner on the outside surfaces (countertop-friendly if you don’t want discoloration).
– Avoid spraying directly into valve gaps.
– Dry well to stop water spots and reduce future grime adhesion.
Q: My toilet exterior looks fine, but I still smell waste. What should I check first?
Check seals/gaskets and the gasket-contact area near the flush system and discharge gate—odor often escapes from small residue paths rather than the visible bowl.
Refill, Flush, and Maintain Regularly
You maintain a fresh RV bathroom by refilling with correct tank treatment and cleaning on a predictable schedule. Consistency prevents waste buildup from hardening and keeps valves operating smoothly.
Regular maintenance reduces hard residue buildup that requires heavier scrubbing and increases clog risk.
Holding-tank treatments should be added according to label dosing so they don’t conflict with your sanitation system.
Cleaning after heavy use (guests, long weekends) prevents the “week-end funk” that often appears a day later.
A maintenance rhythm that works in real life
– After each dump/deep clean: add fresh water and holding-tank treatment as directed on the label.
– During travel weeks: do a lighter cleaning (bowl scrub + targeted rinse) more often if use is heavy.
– After heavy use: do a full step cycle—especially bowl under-rim, valve/discharge area, and disinfecting.
One practical schedule you can adopt
– Light cleaning: every 2–4 use cycles (or when visible residue appears).
– Deep disinfect step: after each full dump or when odor returns sooner than expected.
– Seal check: once per week while parked (or any time you notice slow seepage or odor resurgence).
Q: What’s the fastest way to keep odors away between deep cleans?
Use a deodorizing/enzymatic holding-tank treatment as directed, and do quick bowl scrubs after heavy-use sessions to prevent residue from settling.
Clean your camper toilet by draining, rinsing, scrubbing with RV-safe cleaner, and disinfecting key areas to keep odors and buildup under control. Follow these steps after each use cycle or regular interval, and you’ll protect seals, prevent clogs, and keep your RV bathroom fresh—so clean yours now and reset your system for the next trip.
Frequently Asked Questions
How do you clean a camper toilet without getting rid of the smell?
Start by draining the black tank if it’s a gravity or dump system, then rinse the bowl and sprayer components with clean water. Scrub the toilet bowl and any accessible seals using a camper toilet cleaner that’s compatible with RV holding tanks, then flush thoroughly to remove residue. If odor lingers, soak key areas (like the sprayer and bowl) with an RV-safe deodorizing cleaner and let it sit briefly before rinsing to help break down waste buildup.
What’s the best way to clean a camper toilet bowl and seal?
Use a non-abrasive toilet brush and a dedicated RV toilet cleaner to avoid damaging seals and the plastic bowl. Focus on the waterline and the base of the bowl where residue tends to cling, then gently scrub around the seal area without gouging. After scrubbing, rinse well and wipe dry, since leftover cleaner or moisture can trap odors and attract grime.
How do you deep clean a camper toilet sprayer (rinse nozzle)?
Remove or access the sprayer assembly if your model allows, then flush it with water to dislodge debris. Use an RV-safe sprayer cleaning solution or a targeted cleaner made for toilet nozzles, and soak if you see mineral buildup or persistent odor. Reassemble and test the sprayer by running water briefly, then wipe the nozzle tip and surrounding area to ensure it’s flowing evenly.
Why do camper toilets clog or leave residue, and how can cleaning prevent it?
Most clogs and residue issues come from incomplete flushing, using the wrong chemicals, or allowing waste to build up in the bowl and holding tank. Regular bowl cleaning, periodic deodorizing treatments for RV holding tanks, and thorough rinsing after use reduce buildup that leads to stuck waste and stronger smells. Stick to RV toilet paper or holding-tank-safe products, since regular paper can create stubborn blockages that make cleaning harder.
Which RV toilet cleaner should you use for black tank systems, and how should you apply it?
Choose an RV holding tank or camper toilet cleaner that’s labeled safe for plastic tanks and designed for black water treatment when appropriate. Follow the product instructions for dosage, typically adding it to the tank or bowl depending on the cleaner type, then allow proper contact time before flushing. Always ventilate the bathroom, wear gloves, and rinse the toilet and any surfaces after cleaning to protect seals and keep odors under control.
📅 Last Updated: July 04, 2026 | Topic: how to clean a camper toilet | Content verified for accuracy and freshness.
References
- Google Scholar Google Scholar
https://scholar.google.com/scholar?q=cleaning+rv+camper+toilet+portable+toilet+disinfection - Google Scholar Google Scholar
https://scholar.google.com/scholar?q=rv+black+tank+cleaning+holding+tank+sanitation - Google Scholar Google Scholar
https://scholar.google.com/scholar?q=portable+toilet+cleaning+disinfectant+guidelines - Coronavirus Disease 2019 (COVID-19) | Covid | CDC
https://www.cdc.gov/coronavirus/2019-ncov/community/disinfecting-building-facility.html - Sanitation
https://www.who.int/news-room/fact-sheets/detail/sanitation - https://www.epa.gov/septic/septic-system-basics
https://www.epa.gov/septic/septic-system-basics - https://www.epa.gov/septic/septic-system-maintenance
https://www.epa.gov/septic/septic-system-maintenance - Toilet
https://en.wikipedia.org/wiki/Toilet - https://www.britannica.com/technology/toilet
https://www.britannica.com/technology/toilet - WHO-recommended handrub formulations – WHO Guidelines on Hand Hygiene in Health Care – NCBI Books…
https://www.ncbi.nlm.nih.gov/books/NBK144054/
