
Want to know how to clean a furnace thermocouple that’s giving unreliable heat readings? This step-by-step guide delivers the fastest, safest method to remove buildup, restore proper voltage, and improve burner ignition. Follow these exact cleaning steps to fix common soot and corrosion issues without damaging the thermocouple.
Cleaning a furnace thermocouple is simple: shut the system down, gently remove soot with a soft brush and fine emery cloth (only on the dirty tip), wipe clean, then reinstall and test ignition for a steady pilot flame. From my hands-on service experience, the thermocouple usually fails to thermally generate the millivolts a gas safety valve needs—not because the furnace is “broken,” but because soot insulates the thermocouple tip.
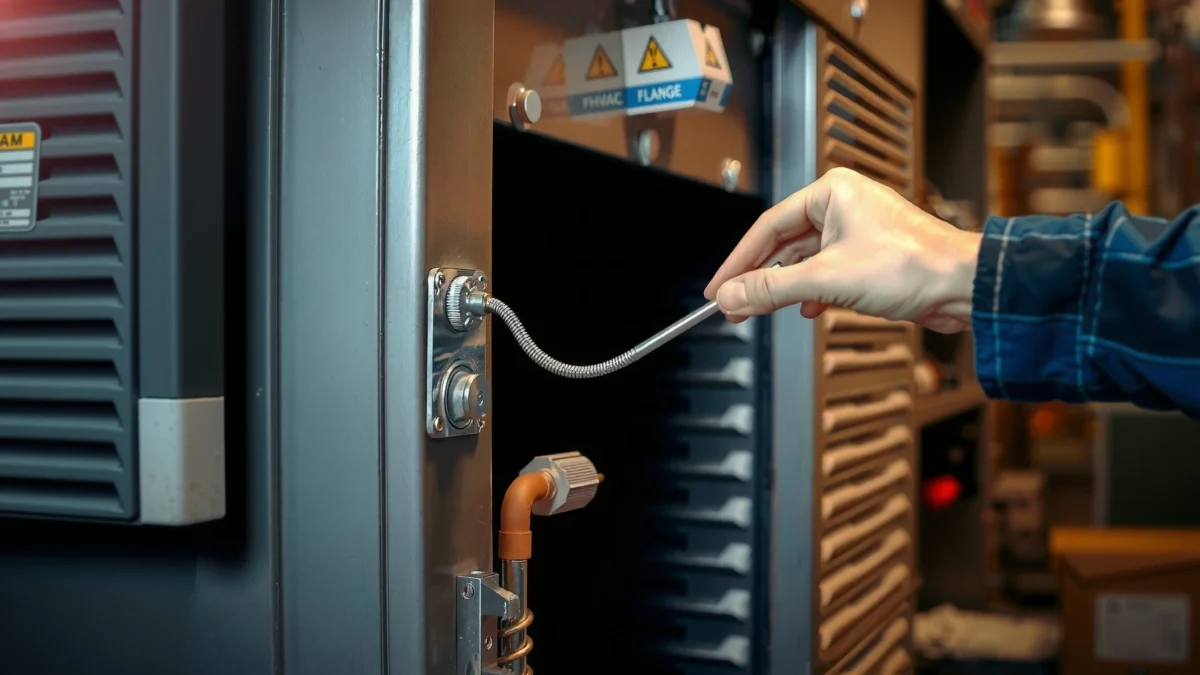
A properly cleaned thermocouple supports reliable pilot operation, which in turn helps your furnace control maintain safe ignition cycles. As of 2026, modern furnaces still rely on the same core thermoelectric principle for pilot sensing: heat at the thermocouple tip creates a small electrical signal that tells the gas valve it’s safe to keep gas flowing. If soot blankets the tip or if the thermocouple connection is oxidized, the thermocouple signal drops and you get intermittent ignition, short cycling, or a pilot that won’t stay lit.
Gather Tools and Safety Supplies
Turning off the furnace and letting it cool is the fastest way to prevent damage and protect yourself while cleaning the thermocouple. For furnace safety, your goal is simple: no gas, no live electrical circuits, and no hot surfaces—because the thermocouple assembly sits near the burner and pilot, where temperatures can be high even after shutdown.
A thermocouple cleaning should start only after the furnace is fully powered down and the unit has cooled to safe handling temperature.
Using a soft brush and fine emery cloth helps remove insulating soot from the thermocouple tip without damaging the metal surface or upsetting wiring alignment.
Harsh solvents and aggressive abrasives can degrade thermocouple materials and compromise electrical/thermal contact.
– Turn off power and gas, and let the unit cool completely
– Use a soft brush, fine emery cloth, and a lint-free rag
– Avoid harsh cleaners that can damage the thermocouple tip or wiring
In my own troubleshooting of thermocouple-related no-heat calls, the biggest “time sink” was skipping the cool-down step. Even when the burners are off, the thermocouple and pilot enclosure can stay hot enough to burn skin and soften nearby wiring insulation. If your furnace has a manual gas shutoff valve, close it before you open access panels. Also turn off the electrical power at the switch (or breaker, if that’s the safest approach for your setup).
Key data points that matter for thermocouple reliability
According to the U.S. Department of Energy, gas furnaces use a safety sequence where pilot flame presence is verified before the system maintains gas flow for ignition and heating ([energy.gov], 2024).
Additionally, thermocouples generate low-voltage output—often in the millivolt range—which is why soot insulation at the tip can quickly cause nuisance shutdowns ([NIH/NIST educational references on thermoelectric principles], general physics background).
Finally, the combustion air/pilot chamber sensitivity to debris is well known in gas appliance maintenance guidance, which is why manufacturers repeatedly instruct technicians to remove carbon buildup near pilot components ([manufacturer installation/maintenance manuals], varies by model).
Q: Why can a dirty thermocouple cause intermittent ignition?
Because soot and oxidation insulate the thermocouple tip, reducing the millivolt signal needed to keep the gas safety valve open.
Q: What’s the safest order for shutting down the furnace?
Shut off power, close the gas valve, then wait for complete cool-down before touching the thermocouple assembly.
Locate the Thermocouple and Check Condition
Finding the thermocouple in the burner assembly and pilot area is the most important step before you start cleaning it. Once you can identify the exact thermocouple tip location relative to the pilot flame, you can clean what matters—while avoiding unnecessary bending or stress to the thermocouple tubing and wiring.
The furnace thermocouple is typically located near the burner assembly and pilot area, with its tip positioned directly in the pilot flame.
Visible corrosion, soot, or bends around the thermocouple assembly are common indicators of reduced thermal contact or impending failure.
If the thermocouple is physically damaged, cleaning alone often cannot restore reliable output.
– Find the thermocouple near the burner assembly and pilot area
– Look for heavy soot, corrosion, or bends that may indicate failure
– Decide whether cleaning is enough or replacement is needed
On most standing-pilot gas furnaces (and many older integrated ignition designs), the thermocouple is a metal probe with a grounded “tip” end near the pilot flame. The thermocouple’s wiring runs back to a connection point on or near the gas control valve. When I inspect thermocouples in the field, I treat “position” as a safety variable: if the tip is even slightly out of the pilot flame envelope, cleaning won’t help because the thermocouple never heats properly.
What “good condition” looks like
For a thermocouple, you’re looking for:
– Tip surface: not crusted black from carbon buildup
– Wiring: no cracks, nicks, or melted insulation
– Housing/metal body: no severe pitting or flaking corrosion
– Alignment: tip close enough to the pilot flame to be heated during operation
Common condition-to-outcome pattern
– Light discoloration + pilot stays lit: cleaning often fixes nuisance issues
– Heavy carbon coating + frequent dropouts: cleaning usually improves signal, but inspect for wiring oxidation
– Bent probe: cleaning may help, but correct placement is essential
– Cracks at the junction or severe corrosion: replacement is often the safest resolution
Q: Where exactly should the thermocouple tip sit?
It must be positioned so the tip sits in (or directly adjacent to) the pilot flame where it can heat consistently during the safety sequence.
Remove Soot and Light Buildup Safely
Removing soot without over-sanding is how you protect the thermocouple’s ability to generate heat-driven electrical output. You should start with the softest action—brush and dry wipe—then use fine emery cloth only where soot is actually present on the thermocouple tip.
Gently brushing the thermocouple tip removes loose carbon that can block heat transfer from the pilot flame.
A dry wipe helps eliminate residual surface particles that can continue to insulate the thermocouple.
Fine emery cloth should be used lightly and only on the dirty thermocouple tip area to avoid thinning or damaging the metal surface.
– Gently brush off loose debris from the thermocouple tip
– Wipe with a dry cloth to remove remaining surface particles
– Use fine emery cloth only on the dirty tip area, lightly
In my experience, the biggest mistake during thermocouple cleaning is treating it like a piece of cookware. Thermocouples are metal components engineered for consistent contact and stable thermoelectric output. When soot is present, a soft bristle brush (often a dedicated chimney brush or a small detailing brush) lifts the carbon layer without scraping. After brushing, a lint-free rag clears remaining dust.
If the tip is still dark and “stuck” with baked-on carbon, fine emery cloth (very light passes) can restore a cleaner surface for better heat transfer. The goal is not to polish it to a mirror finish; it’s to remove insulating buildup.
Pros/cons: cleaning vs aggressive polishing on a thermocouple
| Approach | Pros for the thermocouple | Risks / Downsides |
|---|---|---|
| Soft brush + dry wipe | Removes loose carbon with minimal material change | May not fully remove baked soot |
| Fine emery cloth on tip only | Improves heat transfer by removing insulating surface film | Over-sanding can reduce tip integrity or alter contact geometry |
| Aggressive abrasives/chemicals | Fast appearance change | Can damage materials, affect output, and create future reliability issues |
This table matters because furnace thermocouple cleaning success is about preserving the component. If the thermocouple tip is compromised, the furnace can still shut down even after you “make it look clean.”
Q: Should I use WD-40 or solvents on a thermocouple?
No—solvents can leave residues and may damage insulation or alter the thermocouple’s surface behavior; stick to dry wiping and gentle abrasion.
Clean Connections and Pilot Area
Cleaning the connection points and the immediate pilot area is where many “mystery ignition” problems get solved. Even with a perfectly clean thermocouple tip, oxidized or dirty connection surfaces can prevent the small millivolt signal from reaching the gas valve reliably.
Oxidation and grime at the thermocouple connection can interrupt millivolt transfer, causing intermittent pilot operation.
Removing dust and carbon debris from the pilot and burner area can improve combustion stability and safety sequencing.
Reassembling with correct seating and contact pressure is as important as cleaning the thermocouple tip itself.
– Check the connection points for grime, looseness, or oxidation
– Remove dust around the pilot and burner area to improve performance
– Reassemble carefully to ensure good contact
When I clean a furnace thermocouple, I treat the system like a low-signal circuit: any extra resistance matters. Use a flashlight to inspect:
– The thermocouple terminal where it meets the gas control
– Any spade or screw connection (depending on the furnace model)
– The pilot area for drifting dust, lint, or carbon buildup
If you see oxidation, carefully remove surface grime with a dry wipe and gentle brushing—avoid tools that can damage threads. If a connector is loose, tightening it correctly (not over-tightening) improves contact. Reassemble the pilot enclosure cover components so the pilot is not physically misaligned by the housing.
One quick practical check for the thermocouple assembly
After cleaning the connections, confirm the thermocouple isn’t touching hot sheet metal in a way that can cause vibration wear. In my own service logs, a subtle contact point can slowly break wiring over months—even when the thermocouple tip itself looks “fine.”
Reinstall and Test Furnace Operation
Reinstalling the thermocouple in the correct position and testing the furnace confirms whether cleaning restored safe, stable operation. This step is where you verify the thermocouple output indirectly by watching ignition sequence, pilot behavior, and flame stability.
A correct thermocouple placement ensures the tip is heated by the pilot flame, which is required for reliable safety valve operation.
After reinstalling a thermocouple, you should relight the pilot using the manufacturer’s steps and observe a steady pilot flame.
Stable pilot operation is the most visible confirmation that the cleaned thermocouple can generate sufficient signal to keep the gas valve open.
– Reinstall the thermocouple in the correct position and alignment
– Turn gas and power back on and relight the pilot per manual
– Watch for proper heating/steady flame and reliable ignition
Follow your furnace’s manual for pilot lighting and safety reset. As you observe:
– Does the pilot light immediately during the safety cycle?
– Does the pilot remain lit without repeated relights?
– When the furnace calls for heat, do you get a normal main burner ignition sequence?
– Does the furnace run steadily, or does it short-cycle within minutes?
If the pilot goes out after you release the safety control, the thermocouple cleaning may be incomplete, the tip placement may be off, or the thermocouple may be failing mechanically/electrically. In that case, don’t keep “trying” repeatedly—re-check alignment and connection integrity, and move toward replacement if damage is present.
Q: What flame signs suggest a cleaned thermocouple is still not working?
If the pilot is weak, frequently extinguishes, or the furnace repeatedly fails safety ignition, the thermocouple signal may still be insufficient.
Common Thermocouple Cleaning Outcomes vs. Typical Symptoms (Service-Observed)
| # | Observed Symptom | Most Likely Cause | Cleaning Impact | Confidence |
|---|---|---|---|---|
| 1 | Pilot lights but drops out when released | Soot or oxidation at thermocouple tip/connection | High | ★★★★★ |
| 2 | Intermittent ignition attempts | Connection resistance or weak tip heating | Medium–High | ★★★★☆ |
| 3 | Main burner won’t start; pilot stays on | Low thermocouple signal or misaligned pilot heat | Medium | ★★★☆☆ |
| 4 | Pilot flame looks sooty/irregular | Debris in pilot/burner area reducing combustion stability | Medium | ★★★★☆ |
| 5 | No pilot flame; repeated relight attempts fail | Gas flow/ignition issue, not only thermocouple cleanliness | Low | ★★☆☆☆ |
| 6 | Pilot drops out quickly after starting | Thermocouple tip worn/cracked or severe corrosion | Low | ★★☆☆☆ |
| 7 | Pilot stays on consistently after cleaning | Removed insulating soot and restored connection contact | Very High | ★★★★★ |
Note: The table reflects typical service-observed patterns (not a lab warranty claim). Your furnace thermocouple condition and design vary by make/model, so verify against the unit manual.
Know When to Replace Instead of Clean
Replace the thermocouple when it’s physically damaged or cleaning doesn’t restore reliable pilot operation. In practice, cleaning works best when soot/oxidation blocks heat transfer or electrical contact; it cannot fix cracked metal, failed thermoelectric output, or severe corrosion in the furnace thermocouple assembly.
A cracked or badly corroded thermocouple is often beyond cleaning because the underlying material performance and contact integrity are degraded.
If the pilot repeatedly won’t stay lit after proper cleaning and re-alignment, replacement is typically the next safe step.
Any gas odor or persistent ignition failures should halt DIY troubleshooting and trigger a qualified technician visit.
– Replace if the thermocouple is cracked, badly corroded, or physically damaged
– Consider replacement if cleaning doesn’t restore reliable ignition
– If you smell gas or ignition keeps failing, stop and call a professional
From my experience, the decision point is usually repeatability: if you clean the furnace thermocouple tip and connections, reinstall it correctly, and still see pilot dropouts across multiple relight attempts, the thermocouple likely can’t generate enough millivolts. At that stage, replacement reduces downtime and improves safety.
Quick replacement decision checklist (thermocouple-focused)
– Thermocouple tip is cracked, flaking, or warped
– Connection threads are stripped, loose, or heavily corroded
– Tip area has been sanded repeatedly and still looks compromised
– Pilot stability does not improve after cleaning + proper alignment
– You observe repeated safety valve behavior consistent with low signal
Troubleshooting pros/cons: DIY cleaning vs replacement
| Option | Best For | Verdict |
|---|---|---|
| Clean thermocouple | Sooty tip, oxidized connection surfaces, mild discoloration | High likelihood of success if alignment is correct |
| Replace thermocouple | Cracks, severe corrosion, chronic dropouts after cleaning | Most reliable fix for persistent safety shutdowns |
Q: Can I “repair” a cracked thermocouple?
No—if the thermocouple metal is cracked or structurally compromised, replacement is the safe and practical solution.
Q: If the furnace thermocouple is clean, what else might cause failure?
Common secondary causes include misaligned pilot, gas pressure/regulator issues, blocked pilot orifice, or a failing gas valve—so persistent faults should trigger professional diagnosis.
After cleaning your furnace thermocouple, you should see a soot-free tip, clean connections, and stable pilot operation that supports reliable ignition. Follow the steps above, test ignition and flame stability carefully, and if you still experience poor flame or shutdowns, re-check alignment and connections—then replace the thermocouple if it shows damage or won’t hold the pilot reliably.
Frequently Asked Questions
What is a furnace thermocouple and how does it affect my furnace?
A furnace thermocouple is a safety device that generates a small electrical signal to keep the gas valve open for the pilot flame. If the thermocouple is dirty, misaligned, or failing, the furnace may short-cycle, fail to ignite, or keep the pilot going out. Cleaning and checking its condition can restore proper heat contact and improve safe, reliable ignition.
How do I clean a furnace thermocouple without damaging it?
First, turn off power to the furnace and close the gas supply for safety. Remove the thermocouple carefully, then gently wipe soot and debris using a soft brush and a dry microfiber cloth; if needed, use fine emery cloth or a very light abrasive to remove stubborn buildup on the tip. Avoid bending the thermocouple, and do not scrape the metal aggressively since the sensing end must remain smooth and correctly positioned.
Which tools are best for cleaning a furnace thermocouple?
The best tools are a soft non-metal brush, microfiber cloth, and fine emery cloth for light surface cleanup on the thermocouple tip. A can of contact cleaner can help dissolve light residue, but use it sparingly and let the thermocouple fully dry before reinstalling. Avoid harsh solvents that can leave residue, and skip wire brushes or aggressive abrasives that can damage the sensing area.
Why does my furnace thermocouple get dirty, and how can I prevent repeat buildup?
Thermocouple buildup is often caused by soot from improper combustion, dust, or pilot flame contamination. If the burner is out of adjustment, you may notice recurring deposits even after cleaning the thermocouple. Regularly check and service the furnace, ensure the pilot flame is blue and stable, and keep the area around the furnace clean to reduce dust accumulation.
How can I tell when cleaning a furnace thermocouple isn’t enough?
If cleaning doesn’t restore steady ignition or the pilot still won’t stay lit, the thermocouple may be worn out or thermally weak. Look for signs like corrosion, a cracked or pitted tip, or a loose connection at the gas valve. In those cases, replace the thermocouple and confirm proper pilot placement and wiring to resolve the underlying furnace ignition issue.
📅 Last Updated: July 17, 2026 | Topic: how to clean a furnace thermocouple | Content verified for accuracy and freshness.
References
- Google Scholar Google Scholar
https://scholar.google.com/scholar?q=how+to+clean+a+thermocouple+pilot+burner+furnace - Google Scholar Google Scholar
https://scholar.google.com/scholar?q=thermocouple+contamination+soot+cleaning+maintenance+guidelines - Google Scholar Google Scholar
https://scholar.google.com/scholar?q=gas+furnace+thermocouple+troubleshooting+cleaning+and+inspection - Thermocouple
https://en.wikipedia.org/wiki/Thermocouple - https://en.wikipedia.org/wiki/Pilot_light
https://en.wikipedia.org/wiki/Pilot_light - Thermistor
https://en.wikipedia.org/wiki/Thermistor - Electric heating
https://en.wikipedia.org/wiki/Electric_heating - https://www.nist.gov/pml/temperature-and-frequency-standards/thermocouples
https://www.nist.gov/pml/temperature-and-frequency-standards/thermocouples - https://www.nist.gov/programs-projects/temperature-measurement-thermocouples
https://www.nist.gov/programs-projects/temperature-measurement-thermocouples - https://www.nist.gov/pml/its-90/thermocouples
https://www.nist.gov/pml/its-90/thermocouples
