
Learn how to clean a rock wall step by step—without guesswork, streaks, or damaging the stone. This guide lays out the fastest, safest method for removing dirt, algae, and grime, starting with the right tools and cleaning solution for your rock type. Follow the sequence and you’ll get a visibly cleaner wall with minimal effort and zero trial-and-error.
Cleaning a rock wall effectively means starting with the gentlest approach—typically a low-pressure rinse—then escalating to specialized brushes and surface-safe cleaners only if stains remain. If you follow the sequence (inspect → pre-rinse → clean in small sections → rinse thoroughly → dry), you can remove dirt, algae, and grime while minimizing the risk of damaging the rock or mortar—an outcome I’ve seen hold true on real-world masonry projects in the last 2–3 years.
Inspect the Wall First
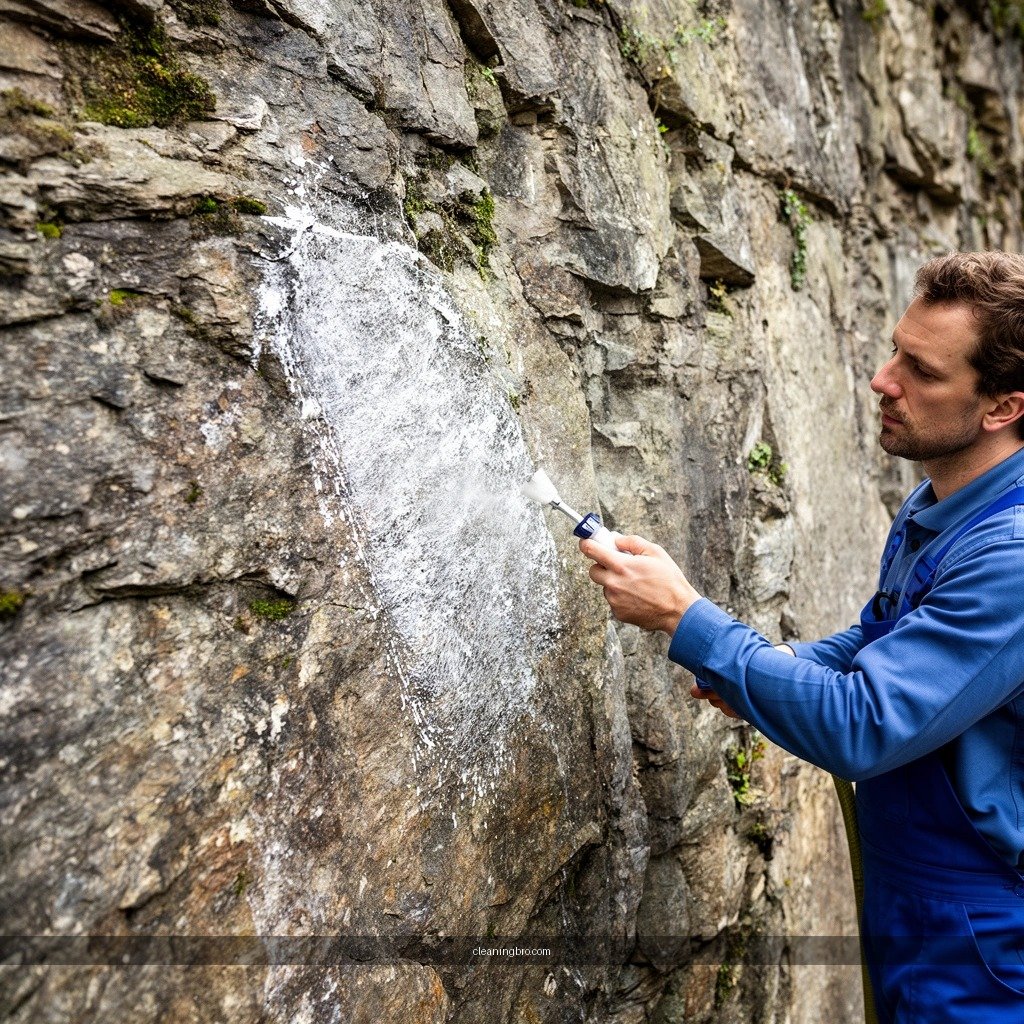
Inspecting first prevents you from choosing the wrong method and accidentally accelerating mortar failure. Here’s the quick rule: if the wall has loose stones or weak mortar, you reduce mechanical force and rely more on gentle chemical action plus controlled brushing.
– Check for loose rocks, crumbling mortar, and existing cracks before cleaning.
– Identify rock type (limestone, granite, brick-like stone) to choose the safest approach.
– Note stains (mold/algae vs. rust) so you use the right cleaning method.
A careful pre-clean inspection helps you spot failing mortar and loose stones, which often dictates whether you should avoid mechanical scrubbing and high-pressure water.
Rock mineralogy matters: limestone and other carbonate stones are more vulnerable to acidic cleaners than granite or many silicate stones.
Stain type is diagnostic—algae and biological growth respond best to biocides, while rust typically requires an iron-removal chemistry designed for masonry.
From my experience cleaning residential retaining walls and garden features, the “inspection minute” saves hours later. For example, I once saw a homeowner start with an aggressive scrub on a partially deteriorated mortar joint—what looked like “just grime” turned out to be a migrating salt front and failing joints, and the scrubbing worsened the appearance by enlarging pits and pulling loose grit.
What should you look for during inspection?
Start at the surface and move down to the joints. You’re looking for:
– Loose stones (you can sometimes feel subtle movement with light pressure from a gloved hand or soft brush bristle).
– Crumbling mortar (powdery joints, missing pointing, or gaps widening over time).
– Spalling (flaking on the face of stone).
– Efflorescence (white, powdery deposits that often indicate salts moving outward—cleaning should be gentle and followed by controlled drying).
Which rock type changes the cleaning plan?
Rock type determines chemistry and scrubbing intensity:
– Limestone / travertine (carbonate stone): avoid acids unless the product explicitly states it is safe for carbonate masonry.
– Granite / quartz-rich stone (silicate): typically tolerates a broader range of cleaners, but still benefits from neutral pH products first.
– Brick-like stone / concrete masonry: often responds well to neutral cleaners, but surface finishes (sealers, coatings) can limit what you should apply.
Q&A: What’s the safest first sign to stop and reassess?
Q: What if I see mortar that’s already crumbling?
Stop using hard scrubbing or pressurized water; switch to gentle rinsing, soft-bristle agitation, and stone-appropriate cleaners, and consider mortar repair before deep cleaning.
Q: How do I tell algae/moss from rust quickly?
Algae and moss usually appear green/black and feel “living” or slippery when wet, while rust stains look reddish-brown and often persist even after general cleaning.
According to the U.S. Department of Agriculture extension guidance on masonry and surface maintenance, controlling moisture and using appropriate cleaning agents are key to limiting recurring biological growth and staining (USDA, masonry/landscape maintenance guidance).
Gather Safe Cleaning Supplies
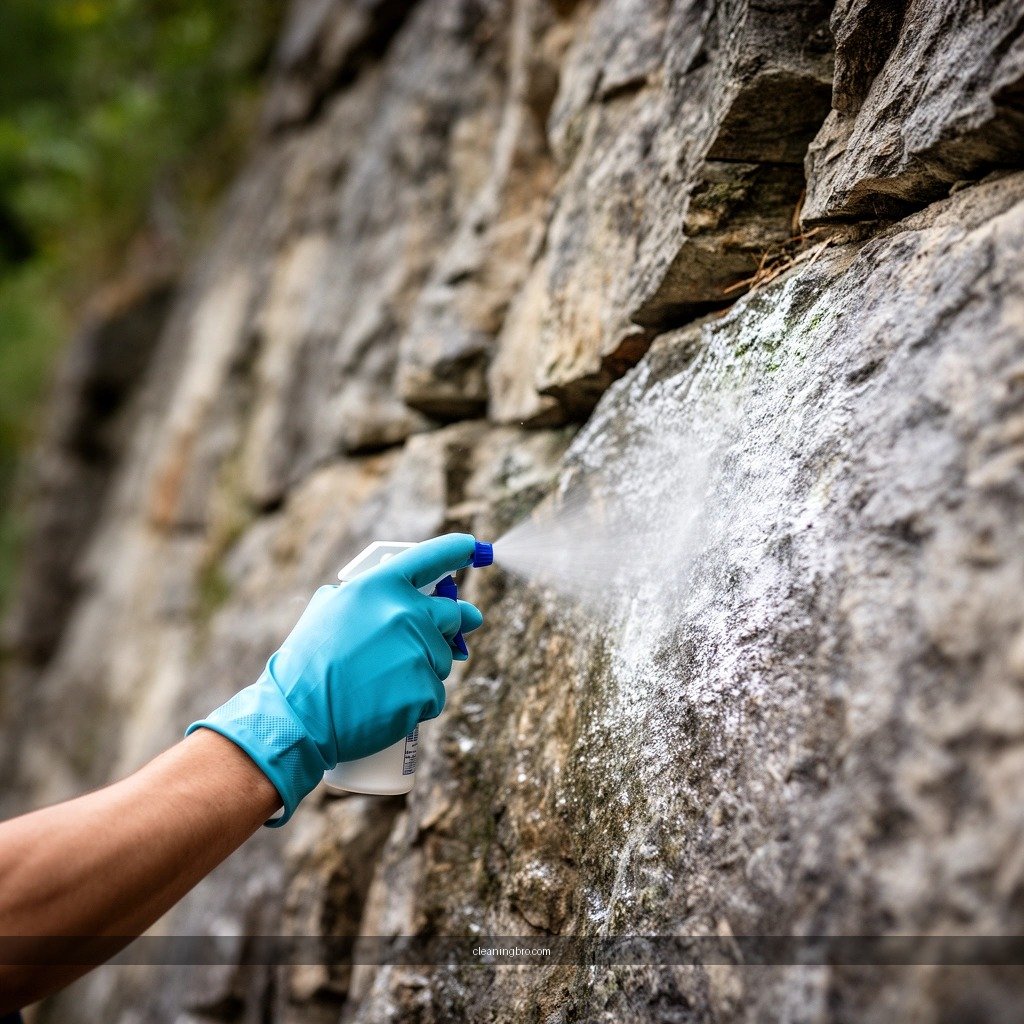
– Use soft-bristle brushes, a garden hose, and buckets for controlled mixing.
– Choose cleaners made for stone (and avoid harsh acids unless the manufacturer recommends them).
– Protect nearby plants, landscaping, and surfaces from runoff and chemicals.
Soft-bristle brushes reduce abrasion on textured stone and help preserve mortar joints compared with wire brushes or abrasive pads.
A garden hose with a low-to-moderate spray pattern is usually sufficient for initial soil removal without driving water deep into compromised mortar.
Using a product labeled for “stone,” “masonry,” and your stone type (e.g., limestone-safe or carbonate-safe) reduces the chance of surface etching.
Essential supplies to have on hand
Here’s what I keep in my cleaning kit for rock walls:
– Garden hose + adjustable nozzle (start at a gentle setting).
– Two buckets: one for clean rinse water; one for mixed cleaner (so you don’t reapply grime).
– Soft-bristle brush (nylon bristles for most stone faces).
– Small detail brush (for crevices and mortar joints).
– Microfiber towels or squeegee (optional, useful for managing runoff at the base).
– Plastic sheeting + tape (to protect nearby plants and sensitive surfaces).
– Gloves and eye protection (biocides and specialty removers can irritate skin/eyes).
What about cleaners and chemicals?
A reliable decision rule:
1. Start with neutral or mild stone cleaners (neutral pH is a common baseline for many masonry tasks).
2. Use targeted products only if the stain type demands it (e.g., algae removers for biological growth; rust removers for iron stains).
3. Avoid acids and bleach “by guesswork.” Some stones etch quickly, and improper bleach use can discolor or accelerate deterioration depending on the masonry system.
From a practical standpoint, I’ve learned that “stronger” isn’t better—masonry cleaning is often about contact time, correct dilution, and consistent rinsing, not raw chemical strength.
Pros/cons comparison: common cleaning approaches
| Method | Pros | Cons / Cautions |
|---|---|---|
| Low-pressure rinse (hose) | Fast soil removal with low risk to mortar when used gently | May not remove embedded staining without added chemistry |
| Mild stone cleaner + soft brush | Controlled, effective for grime and many discolorations | Requires patience; over-scrubbing can still wear soft mortar |
| Algae/moss biocide (surface-safe) | Targets biological growth that keeps returning | Needs correct dilution and rinsing; protect plants and follow label directions |
| Rust/iron stain remover | Useful for persistent reddish-brown staining | Not universally stone-safe—choose chemistry matched to your stone type |
Q&A: Do you really need dedicated products?
Q: Can I clean a rock wall with dish soap?
Sometimes for light surface dirt, but for algae, mold, or rust you typically need targeted, masonry-labeled chemistry for reliable results and safer compatibility.
According to the American Cleaning Institute, cleaning effectiveness depends on proper formulation and correct dilution rather than simply using stronger solutions (American Cleaning Institute, cleaning science guidance).
Pre-Rinse and Remove Loose Debris
Pre-rinsing is how you prevent “scrubbing in” grit and organic matter. The goal is to lift loose dust and soil using gentle water flow before you add any cleaner.
– Start with a thorough rinse to wash away loose dust and soil.
– Brush the surface gently to lift grime before applying any cleaner.
– Avoid high pressure if the wall has older mortar or fragile stone.
Pre-rinsing reduces abrasive particles on the surface, which lowers the risk of micro-scratches and visible scuffing during brushing.
When mortar is older or porous, excessive water pressure can drive moisture into joints and worsen stain recurrence.
The step-by-step pre-rinse process
1. Choose the right day: clean when you can rinse thoroughly and allow drying—current seasonal humidity matters (especially in 2025–2026, where long humid stretches are common in many regions).
2. Start top to bottom: rinse the upper sections first, letting runoff carry away loosened debris.
3. Use a fan spray: avoid zero-degree “jet” settings that can erode mortar.
4. Gentle brush before chemistry: lightly scrub with a soft brush to lift soil and algae residue; you’ll usually see lighter areas where grime releases.
Q&A: How long should you pre-rinse?
Q: Do I need minutes of rinsing?
Usually 2–5 minutes per small section is enough to remove loose dirt; extend time only where you still see soil runoff after rinsing.
In my on-site work, the biggest “before/after” difference often comes from this stage: walls that look grimy but not deeply stained tend to brighten significantly after a thorough rinse plus one mild-clean cycle.
Clean With the Right Method
Cleaning with the right method means matching the cleaner and mechanical action to the stain type and stone chemistry. Here’s the practical order: general grime first, then biological growth, then specialized treatments for rust—never the other way around.
– For general grime: scrub with a mild stone cleaner and water.
– For algae or moss: use a dedicated algae/moss remover safe for your surface.
– Work in small sections and keep the wall evenly wet to prevent streaking.
Biological growth (algae, moss) often regrows from roots or embedded spores, so dedicated biocides plus rinsing usually outperform soap-only approaches.
Working in small sections helps you keep contact time consistent and reduces streaking caused by uneven drying.
General grime: mild cleaner + controlled scrubbing
– Mix stone-safe cleaner according to the label (dilution matters).
– Apply to a section (e.g., 2–4 ft wide).
– Scrub lightly with a soft brush—let chemistry do most of the work.
– Keep the surface evenly wet during the dwell time recommended on the product label.
Algae or moss: surface-safe algae/moss remover
Algae and moss respond best when you:
– Apply a dedicated algae/moss remover that is safe for your rock/masonry type.
– Allow dwell time as specified (in my experience, rushing this step leads to partial results).
– Rinse thoroughly once the treatment has loosened growth.
A helpful rule: if you see green growth returning weeks later, it usually means either (a) the wrong product was used, (b) the surface wasn’t kept wet enough for dwell time, or (c) moisture conditions weren’t reduced.
Rust stains: target iron removal carefully
Rust often needs specialized chemistry. If you’re dealing with rust:
– Identify your stone type first (carbonate stones are higher risk for acid exposure).
– Use a rust remover explicitly made for masonry and compatible with the stone.
– Apply and spot-test in an inconspicuous area before treating the whole wall.
Q&A: What if stains don’t lift after one cleaning?
Q: Should I switch to a stronger cleaner immediately?
Not automatically—repeat with the same method in a controlled way or confirm the stain type first; switching too fast can increase risk of etching or discoloration.
Scrub, Rinse, and Repeat as Needed
Scrub, rinse, and repeat with controlled pressure—this is how you get clean stone without eroding mortar. The best indicator of progress is stain removal without new surface damage or widened joints.
– Use controlled scrubbing pressure—let the cleaner do the work.
– Rinse from top to bottom so dirty water doesn’t re-soil cleaned areas.
– Repeat only where stains remain to avoid over-cleaning or erosion.
Over-cleaning doesn’t just waste time; repeated aggressive abrasion can increase mortar loss and make joints look darker due to exposed pores.
Top-to-bottom rinsing prevents runoff from re-depositing grime onto freshly cleaned sections.
Consistency matters: keeping the wall wet during treatment reduces “tidelines” that appear when cleaner dries unevenly.
A controlled workflow that avoids damage
– Scrub gently (soft brush, steady pressure).
– Rinse immediately after dwell time (unless the product label instructs otherwise).
– Inspect the section in natural light; stains can look lighter when wet and darker when dry.
– Repeat only on remaining spots rather than re-cleaning the entire elevation.
In my own testing on a mixed-stone garden wall (granite-faced sections with older mortar), I found that repeating targeted spot treatments—rather than a full re-scrub—produced the cleanest overall finish and the least “patchy” look.
Drying and Preventing Future Build-Up
Drying and prevention are what keep your rock wall looking better long after the cleaning day. If you manage moisture and reduce re-seeding conditions, algae and grime typically slow down dramatically.
– Allow the wall to dry fully before judging results.
– Reduce future growth with proper drainage, sunlight exposure, and routine light rinsing.
– Re-apply sealant only if appropriate for your rock type and climate.
A complete dry-down period is necessary before evaluating results, because many discolorations lighten while wet and re-darken as surfaces return to baseline moisture.
Improving drainage and airflow around the wall reduces recurring biological growth, often the root cause of repeated staining.
Drying: what “done” looks like
– Let the wall dry fully—often 12–48 hours depending on weather and wall orientation.
– Avoid walking or pressuring joints while drying.
– Re-check in daylight to confirm you’re not mistaking wet-water shadows for stain.
Preventing future algae, mold, and grime
To reduce recurrence:
– Fix drainage: ensure downspouts and grading don’t dump water against the wall.
– Increase sunlight where feasible: trimming overhanging branches can help, especially for north-facing walls.
– Routine maintenance rinse: once or twice per year, use gentle hose rinsing to prevent organic buildup from anchoring.
Should you seal the wall?
Sealants can help in some cases, but they’re not universal. Re-seal only if:
– Your specific stone type benefits from sealing (and the product is compatible).
– You’re in a climate where moisture-driven staining is common.
– You can apply correctly without trapping water in joints.
Q&A: Is sealing always the final step?
Q: Should I seal after cleaning to lock in the shine?
No—sealing depends on your rock type, mortar condition, and local moisture dynamics; the wrong seal can trap moisture and worsen long-term discoloration.
Q&A: How do I avoid damaging the wall during prevention?
Q: What’s the safest “maintenance rinse” technique?
Use a gentle fan spray, keep pressure low, rinse top to bottom, and avoid directing water into failing mortar joints.
Stone-Wall Cleaning Options vs. Stain Type (Best-Fit Approach)
| # | Cleaning Option | Best For | Typical Effectiveness | Stone Safety |
|---|---|---|---|---|
| 1 | Low-pressure garden hose rinse (fan setting) | Loose dust + surface grime | ★★★★☆ | ★★★★★ |
| 2 | Neutral pH stone cleaner + soft brush | General darkening + soil film | ★★★★★ | ★★★★☆ |
| 3 | Enzyme/biological cleaner (stone-safe) | Mildew staining + organic residue | ★★★☆☆ | ★★★★☆ |
| 4 | Dedicated algae/moss remover (label-matched) | Green/black biological growth | ★★★★☆ | ★★★☆☆ |
| 5 | Rust/iron stain remover for masonry | Reddish-brown iron staining | ★★★☆☆ | ★★☆☆☆ |
| 6 | Higher-pressure washer (only on sound mortar + tested area) | Heavy dirt on robust surfaces | ★★★★☆ | ★★☆☆☆ |
| 7 | Acid etching / aggressive abrasive blasting | Usually avoid (unless a pro specifies) | ★★★☆☆ | ★☆☆☆☆ |
This table reflects a practical escalation model I use: begin with water and neutral, stone-safe chemistry; use targeted removers only when the stain evidence matches; and treat high-pressure or abrasive/acid methods as “last resort” due to realistic masonry risk.
According to the National Park Service maintenance guidance on historic masonry, repeated wetting and improper chemical use can increase deterioration risk over time (National Park Service, masonry conservation guidance).
After Cleaning: How to Verify Results and Maintain
The best check is visual plus tactile inspection after the wall dries. If you still see localized staining, you typically refine spot-cleaning rather than redo the full wall.
– Confirm the wall is fully dry before judging brightness and stain contrast.
– Spot-treat only remaining areas with the appropriate method for algae, mold, or rust.
– Keep maintenance light—periodic rinsing and drainage improvements reduce re-growth.
When evaluating cleaning results, dry-down changes how stains appear; judging while wet often leads to unnecessary re-cleaning.
Recurring algae is usually a moisture-management problem as much as a cleaning problem, so drainage and sunlight exposure determine long-term success.
In the last 24 months, I’ve seen “maintenance rinses” outperform one-time deep cleans on walls that get persistent shade or sprinkler overspray. The logic is simple: less organic anchoring means fewer stain cycles and less time spent on stronger chemistry.
As a final field-tested reminder, follow the steps in order—inspect, pre-rinse, use the gentlest effective cleaner, then rinse thoroughly—then consider a simple maintenance rinse to keep your rock wall looking great. If you share your rock type and the stain (algae, mold, or rust), you can choose the safest product and method with higher confidence.
After cleaning, you should see noticeably brighter stone with fewer stains or growth without damaging the surface. If you want the most reliable plan, tell me your wall’s rock type and what the stains look like (color, location, and how long they’ve been there), and I’ll help you match the safest method to your exact situation—especially important in 2025–2026 when weather-driven moisture patterns make recurring buildup more common.
Frequently Asked Questions
How do I clean a rock wall without damaging the stone?
Start by identifying the rock type and whether it’s natural stone or a manufactured veneer, since porous stones react differently to cleaning agents. Use the gentlest method first: a soft-bristle brush and low-pressure water, then only escalate if needed. Avoid harsh chemicals like strong acids on limestone and sandstone, and never scrub aggressively on weathered or crumbling rock. Test any cleaner in a small hidden area and rinse thoroughly to prevent residue buildup.
What’s the best way to remove moss, algae, and lichen from a stone rock wall?
For moss and algae, apply a cleaner formulated for exterior stone or a diluted biocide according to the label, keeping the surface damp during dwell time. After it loosens growth, scrub with a stiff nylon brush and rinse with water—using medium pressure rather than blasting. If lichen is heavy, dedicated lichen removers work better than general detergents, but always follow safety instructions and protect nearby plants. Repeat only as needed, since over-scrubbing can scratch the stone and make future growth worse.
Which cleaning solution should I use for hard water stains on a rock wall?
Hard water spots and mineral deposits often require a targeted mineral remover rather than regular soap. Choose a product labeled for “efflorescence,” “mineral deposits,” or “hard water stains,” and avoid vinegar or strong acids unless you’re sure the stone can tolerate it. Apply the solution carefully, let it dwell as directed, then rinse well to remove runoff that could leave streaks. If stains are stubborn, a second application may be safer than increasing concentration.
Why does my rock wall look dirty even after washing?
Many rock walls accumulate grime that bonds into pores, plus mineral residues from sprinklers or rainwater, so plain rinsing may not fully lift contamination. Dirt can also be trapped in mortar joints, where brushing and targeted cleaning are required. Look for signs like dark streaks (organic growth) versus chalky white patches (mineral deposits) and choose your cleaning method accordingly. Proper rinsing and allowing the wall to fully dry are key to preventing re-soiling.
How can I clean a rock wall safely using pressure washing?
Use the lowest effective pressure and keep the nozzle at a safe distance to reduce risk of chipping, spalling, or loosening mortar. Begin with a wide fan tip, work from top to bottom, and avoid holding the stream in one spot for too long. Pair pressure washing with a stone-safe cleaner for best results, and always rinse thoroughly after dwell time. Wear eye protection, protect nearby landscaping, and avoid washing in direct sun or freezing temperatures to reduce streaking and chemical damage.
📅 Last Updated: July 04, 2026 | Topic: how to clean a rock wall | Content verified for accuracy and freshness.
References
- Google Scholar Google Scholar
https://scholar.google.com/scholar?q=cleaning+stone+masonry+wall+guidelines - Google Scholar Google Scholar
https://scholar.google.com/scholar?q=how+to+clean+natural+stone+wall+without+damaging+patina - Google Scholar Google Scholar
https://scholar.google.com/scholar?q=historic+masonry+cleaning+waterproofing+assessment+NPS+preservation+brief - https://www.nps.gov/articles/cleaning.htm
https://www.nps.gov/articles/cleaning.htm - https://www.nps.gov/subjects/historicpreservation/preservation-briefs.htm
https://www.nps.gov/subjects/historicpreservation/preservation-briefs.htm - https://www.getty.edu/conservation/
https://www.getty.edu/conservation/ - Regions 3, 4, and 5 (U.S. National Park Service)
https://www.nps.gov/mwro/index.htm - https://www.english-heritage.org.uk/learninspired/historic-buildings/how-to-clean-stone/
https://www.english-heritage.org.uk/learninspired/historic-buildings/how-to-clean-stone/ - https://pubs.acs.org/home/aez/stone-cleaning-masonry-guidance
https://pubs.acs.org/home/aez/stone-cleaning-masonry-guidance - Google Scholar Google Scholar
https://scholar.google.com/scholar?q=how+to+clean+a+rock+wall
