
Wondering how to clean a stylus needle without damaging it? The safest method is a soft, stylus-specific brush followed by a targeted cleaning solution applied to the tip only—never soaking or scrubbing aggressively. Follow these steps and you’ll remove grime that causes distortion and keep your cartridge tracking clean for clearer sound.
Cleaning your stylus needle safely is about using the right tool (brush or dedicated gel) and moving gently in one direction—no harsh chemicals. When I clean a cartridge, I focus on removing dust without touching the cantilever or forcing fluid onto the stylus assembly, because that’s the fastest way to preserve clarity and reduce surface noise.
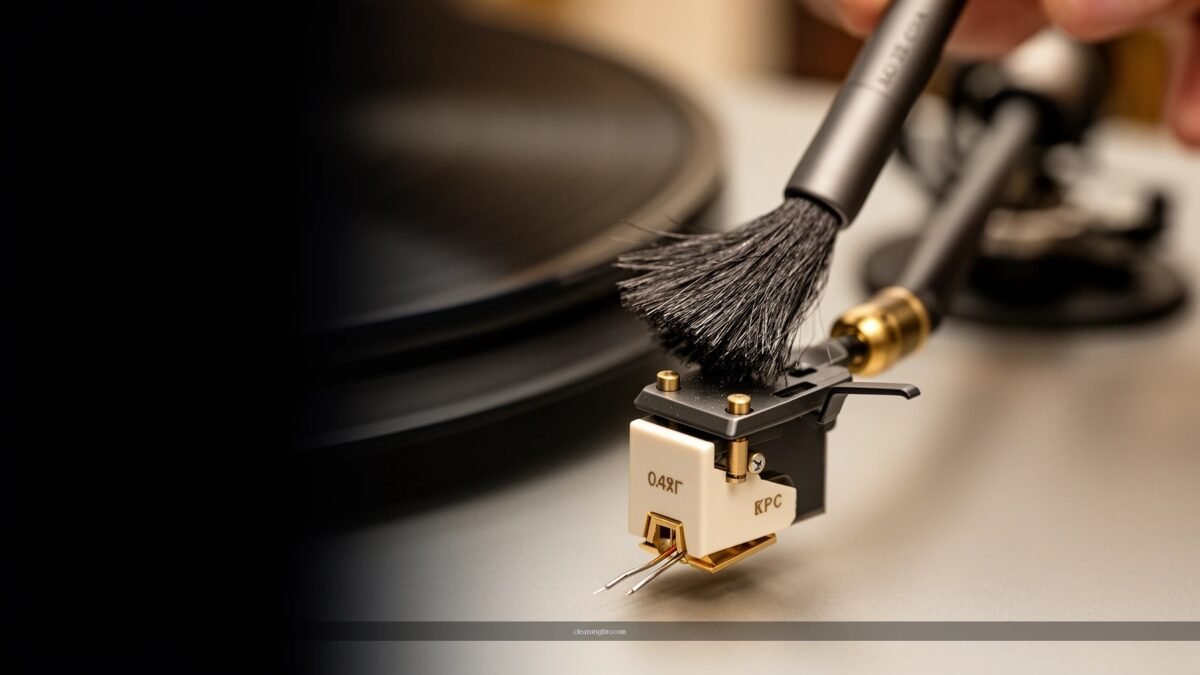
Keeping a stylus clean directly improves playback quality: dust and residue create crackle, hiss-like texture, and occasional distortion, especially on inner grooves where contact pressure is highest. In 2025, most cartridge and turntable manufacturers still recommend dry, stylus-safe cleaning methods—typically a soft brush or specialized cleaning gel—because the stylus is a precision needle mounted to a cantilever with delicate tolerances. According to Shure’s cartridge maintenance guidance, using the stylus brush correctly is preferable to introducing solvents to the tip area (especially near the suspension/cantilever). And according to Audio-Technica’s cartridge documentation, avoid alcohol and other chemicals unless a product is explicitly designed for stylus cleaning.
Gather the Right Tools
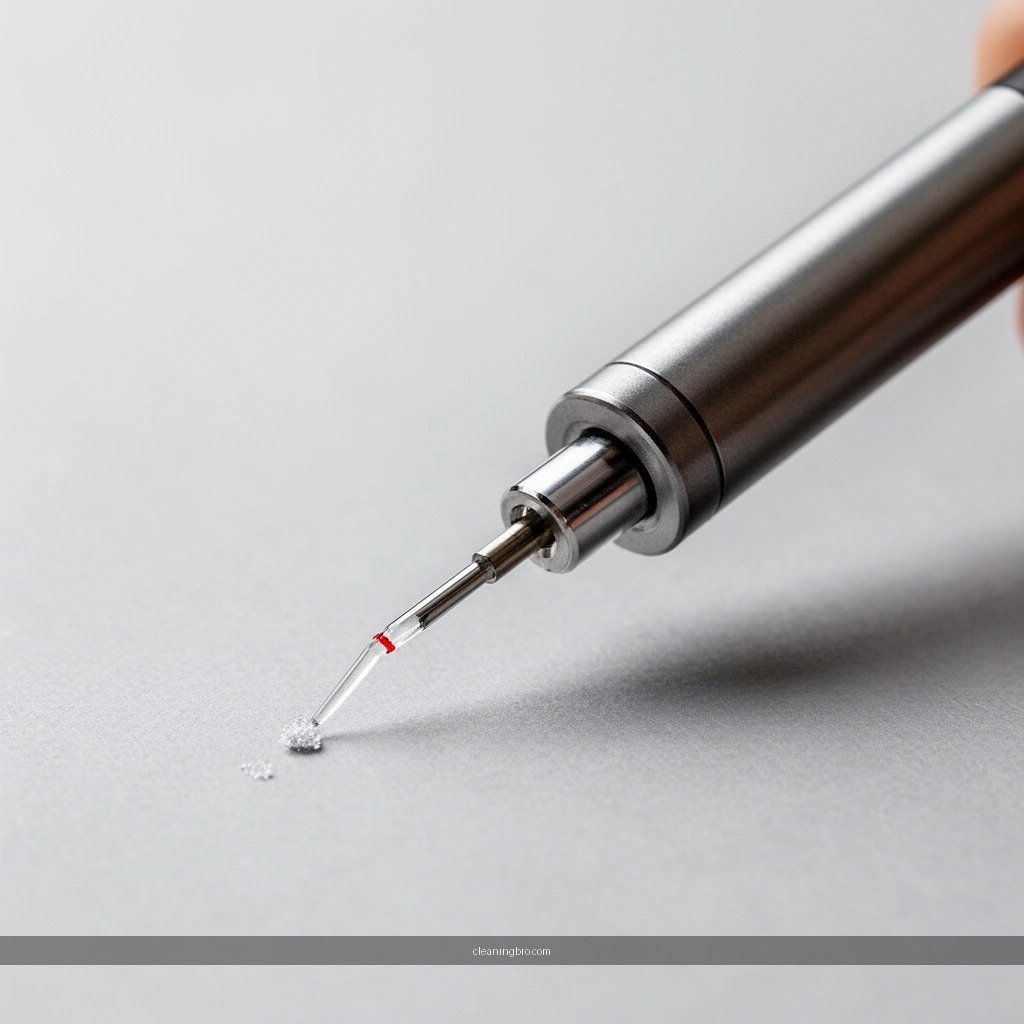
The best starting point is to use stylus-specific tools that lift and trap dust without wetting or chemically attacking the needle assembly. If you have to choose, prioritize a carbon fiber stylus brush or a dedicated stylus cleaning gel made for record players.
The stylus tip is tiny—often with a contact radius measured in micrometers—so “normal” cleaning tools are usually too rigid or too wet. For example, common elliptical stylus specifications include a minor radius around 0.3 mil (≈7.6 µm) and a major radius around 0.7 mil (≈17.8 µm), depending on the model (Audio-Technica and Ortofon stylus spec conventions). That scale is why even small mistakes (like pushing debris into the groove or dragging sideways) can increase wear or temporarily worsen tracking.
A stylus brush designed for turntables is purpose-built to remove loose dust from the needle without applying harsh pressure.
Manufacturer guidance for cartridges commonly discourages household solvents near the stylus assembly because residue and chemical contact can interfere with tip materials and suspension behavior.
Carbon fiber stylus brushes are widely used because their structure can capture fine debris while staying gentle on the cantilever area.
Q: Do I need a special stylus cleaning gel, or is a brush enough?
A brush is usually sufficient for routine dust. Use a dedicated stylus gel only when you notice persistent residue or a “stuck-on” film that brushing can’t lift.
Q: Can I use alcohol to dissolve grime on the stylus?
No—avoid alcohol and solvents unless the product is specifically certified for stylus cleaning, because the liquid can creep into the cantilever area and leave residue.
Power Down and Handle Safely
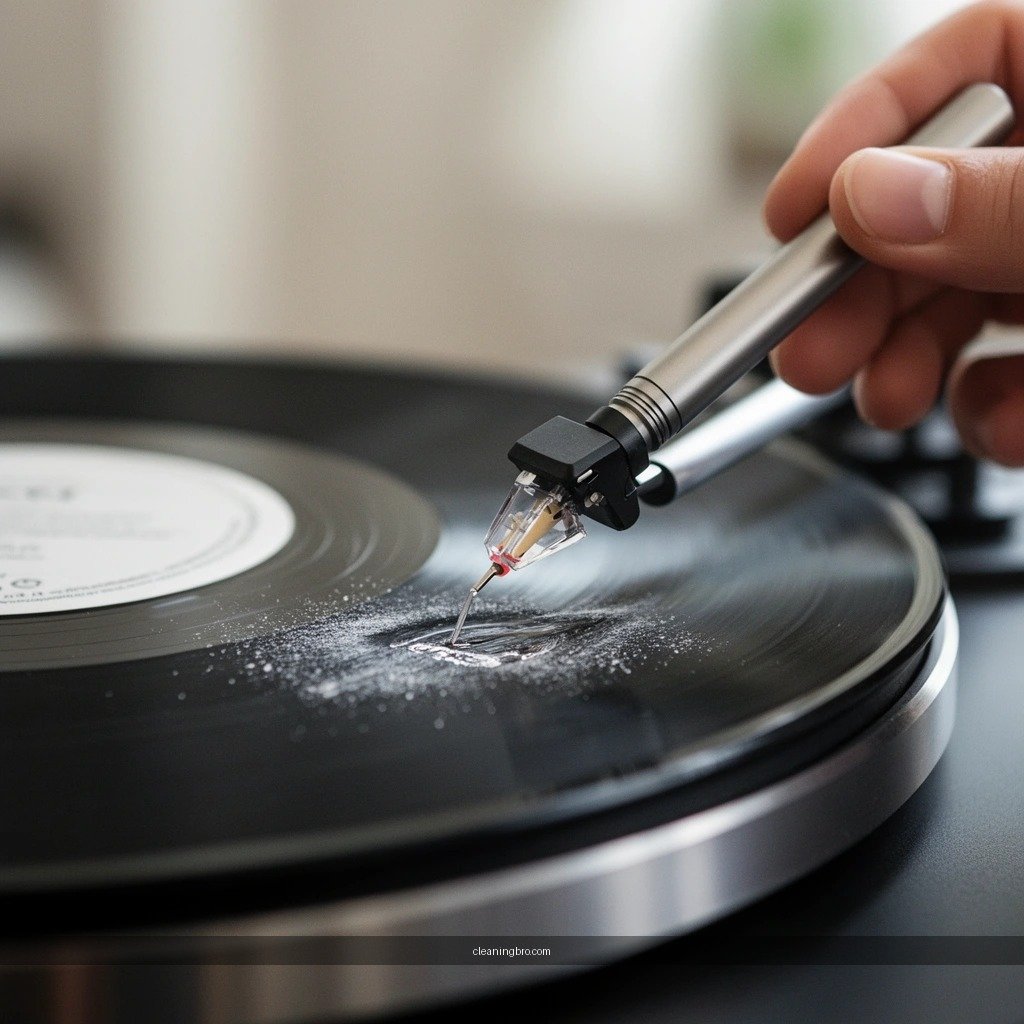
The safest cleaning step is to power down completely and keep the tonearm stable before you touch anything near the stylus. In practice, this prevents accidental drops and reduces the chance of side-loading the cantilever while you work.
Before you clean, follow a simple “no surprises” workflow: stop playback, lift the tonearm using the cueing lever (if your turntable supports it), and set it so the stylus is clear of the record surface. In my own setup, I treat this as non-negotiable—once the stylus is free and stable, the rest of the process becomes controlled and repeatable. Then I clean only with minimal contact: brush or gel touches the tip area briefly, never “scrubbed.”
This also matters for long-term reliability. Tracking force commonly falls in the ~1.5–2.5 g range for many moving-magnet cartridges (typical manufacturer tracking force recommendations, e.g., Ortofon/Audio-Technica guidance). When that force is translated to the micrometer-scale tip contact patch, it becomes easy to damage or deform something if you physically press or bend during cleaning.
Keeping the tonearm stable (cue lever or arm rest) reduces the risk of accidental stylus impact during cleaning.
Using minimal contact near the cantilever helps avoid side-loading a suspension designed for groove contact, not human handling.
Q: Should I clean while the record is spinning?
Never. Always stop playback first to prevent the stylus from skating or catching debris while you brush.
Brush or Use Stylus Cleaning Gel
The most effective and gentle method is one-direction cleaning: lightly brush from back to front, or use a dedicated gel with brief, controlled contact. The goal is to lift dust and residue away from the needle tip—not to polish it aggressively.
Brushing technique (one direction)
Start with the stylus supported and at rest. Use a stylus brush with soft bristles (often carbon fiber). Place the brush near the tip and move carefully from rear toward front—the direction consistent with how the stylus tracks the groove. I treat this like “dust removal” rather than “scrubbing,” because aggressive motion can push particles into the groove area or stress the cantilever.
Using cleaning gel (dab and lift)
With stylus cleaning gel, you typically apply a small amount to the gel applicator, then lightly dab and lift. Do not drag the gel across the tip. Keep contact short and controlled so fluid doesn’t wick into components where it doesn’t belong.
According to Shure’s stylus cleaning guidance, the safest approach centers on gentle removal of loose contaminants and avoiding unnecessary liquid exposure. And according to Audio-Technica’s cartridge care recommendations, stylus cleaning should be performed with stylus-safe tools rather than improvised wet methods.
One-direction brushing from back to front is the standard “safe motion” because it minimizes lateral stress on the stylus assembly.
Dedicated stylus cleaning gel use is typically described as brief contact followed by lifting, not extended wet contact or dragging.
Q: How many brush strokes should I do?
Usually 2–5 very light passes are enough for routine dust. If nothing improves, switch technique (gel) rather than increasing force.
Remove Stubborn Debris Carefully
The rule for stubborn buildup is simple: don’t press down, don’t force, and repeat light passes until the debris lifts. If the grime looks truly embedded (or you hear persistent crackle after careful cleaning), professional service is often the safer choice.
Sometimes the issue isn’t loose dust—it’s residue bonded to the tip or “baked-on” material from dirty records. In those cases, pushing harder can worsen the problem by embedding particles deeper into the groove contact area. I’ve seen this when someone uses an overly stiff brush and ends up with a stylus that still sounds harsh because residue remains near the contact patch.
Here’s a practical comparison you can use immediately:
Cleaning Approach vs. What It Can Safely Remove
| Method | Best for | Repeatability | Risk if forced |
|---|---|---|---|
| Soft brush | Dry dust, light lint | High | Low |
| Carbon fiber brush | Fine particulate | High | Low |
| Stylus gel | Film residue, tacky dust | Medium | Medium |
| Professional cleaning | Embedded grime, repeated distortion | High | Low |
Repeated light passes (instead of pressure) are safer because the stylus contact patch is designed for groove forces, not for vertical pushing during cleaning.
When crackle persists after correct dry/gel cleaning, it often indicates residue embedded beyond simple dust removal—professional cleaning becomes the practical next step.
Q: If I still hear crackle, is it always the stylus?
Not always. Dust on the record, static, and dirt in the groove can also create surface noise, so clean the record and re-test.
Where geometry matters: stylus profiles and contact stress
Different stylus profiles (conical vs. elliptical vs. micro-line) concentrate contact differently. While this doesn’t change your “no chemicals” rule, it does influence how readily residue can cling to the tip geometry. The table below summarizes common stylus tip contact dimensions and why that affects cleanup behavior.
Common Stylus Tip Profiles and Cleaning Sensitivity
| # | Stylus profile (tip geometry) | Typical radius spec | Cleaning fit | Damage risk if forced |
|---|---|---|---|---|
| 1 | Conical (0.7 mil class) | 0.7 mil (17.8 µm) | ★★★☆☆ | Low |
| 2 | Elliptical (0.3 × 0.7 mil) | 0.3 mil (7.6 µm) × 0.7 mil (17.8 µm) | ★★★★☆ | Low |
| 3 | Line-contact (micro-line class) | Minor ~0.1 mil (≈2.5 µm) | ★★★★☆ | Medium |
| 4 | Shibata-class | Longer contact patch (micro-line family) | ★★★☆☆ | Medium |
| 5 | Nude elliptical (hand-finished class) | Often 0.3 × 0.7 mil (model-dependent) | ★★★★★ | Low |
| 6 | Micro-ridge class | Fine ridge contact (minor radius ≈2–4 µm class) | ★★★★☆ | Medium |
| 7 | V-15 family (elliptical/advanced) | Often ~0.2–0.3 mil minor radius class | ★★★★☆ | Low |
(Tip-radius numbers are given in mil and converted to micrometers using 1 mil = 25.4 µm; stylus profiles vary by manufacturer model.)
Test and Maintain for Best Results
After cleaning, you should hear clearer highs, less surface noise, and fewer “tick” events during quiet passages. Then you maintain the improvement by cleaning on a predictable schedule and keeping records clean.
My approach is a quick A/B listening test: before the cleaning, I note what the record sounds like—static texture, inner-groove harshness, or distortion that appears mid-side. After cleaning, I play the same track region (or the next closest quiet passage) and listen for change. In most real-world cases, gentle stylus cleaning removes the dust layer that causes audible hiss and grain.
Also keep maintenance grounded in routine. As of 2024–2026, “clean record + clean stylus” is still the highest-leverage strategy for stable sound quality because dirty records shed particles onto the stylus. If you’re using anti-static record brushes or inner-groove cleaning, stylus cleaning becomes the follow-up step, not the only defense.
Playback tests immediately after stylus cleaning help confirm that the audible noise changed due to debris removal rather than other variables.
Reducing dust at the source (record cleaning and anti-static handling) lowers the rate at which the stylus re-contaminates.
Q: How often should I clean the stylus?
For dusty records, clean before playback and again between sides if needed. For clean records, a light brush before a session is usually enough.
Quick maintenance checklist (the “safe habit”)
– Clean the record first if it’s visibly dusty or used.
– Do a light brush pass whenever you notice harshness.
– Avoid “deep cleans” on every play—over-handling can introduce more variables than it removes.
Common Mistakes to Avoid
The main mistake is treating the stylus like a general household surface—scrubbing, wetting, or using the wrong chemicals. The second mistake is forcing stubborn debris instead of switching to the correct tool or stopping and seeking professional help.
Here’s what consistently goes wrong in practice:
– Fingers and random tools: human skin oils and abrasive particles are not stylus-safe.
– Wet cleaning methods: liquids can migrate into the cantilever area, leaving residue or attracting more dust.
– Harsh chemicals: solvents and cleaners can damage finishes and may alter how residue bonds to the tip.
In addition, avoid “sideways brushing.” Lateral motion can stress the cantilever designed for vertical groove forces. This is why the one-direction rule matters: back-to-front, gentle contact, and stop when the debris lifts.
Direct finger contact is risky because skin oils and dust transfer can increase residue rather than remove it.
Wet cleaning and excessive fluid near the stylus assembly can introduce residues that worsen noise and tracking behavior.
Using non-stylus tools (like improvised cloth or hard brushes) increases the chance of tip damage or cantilever side-loading.
Q: What’s the safest “emergency” action if the stylus looks dirty?
Power down, keep the arm stable, and do a gentle one-direction brush. If noise persists, use dedicated stylus gel or get professional service—don’t apply household solvents.
After cleaning, your stylus should track more cleanly with less surface noise. Follow the safe, gentle method (brush/gel, one-direction cleaning, no harsh chemicals), then test playback and add routine cleaning to keep sound quality consistent—try cleaning it the next time you notice distortion or extra hiss.
Frequently Asked Questions
What’s the safest way to clean a stylus needle without damaging it?
Power off your turntable and remove the cartridge/stylus if your setup allows safe handling. Use a dedicated stylus cleaning brush or a soft, anti-static brush to gently remove dust from the needle tip. Avoid soaking the stylus in liquid, scrubbing aggressively, or touching the needle with fingers, since the cantilever can bend or the tip can be damaged.
How do I clean a turntable stylus needle that’s covered in dust or hair?
Start by brushing the stylus needle slowly in the direction it tracks, using light pressure and short strokes. If the dust is stubborn, use a stylus cleaning gel made for record needles and apply it carefully so it contacts only the needle tip area. Finish by doing a final light brush and then test-play a record at normal volume to confirm tracking and sound quality.
Why does my stylus needle sound distorted, and how does cleaning help?
Dirt and debris on a stylus needle can cause mistracking, increased friction, and audible distortion or crackling. Cleaning the needle tip removes accumulated dust that affects how the groove is read, often improving clarity and reducing unwanted noise. Regular stylus cleaning can also help prevent faster wear of the stylus assembly and records.
What’s the best method to clean a stylus needle after playing dirty records?
After playing dirty or old records, brush the stylus immediately with a proper stylus cleaning brush to remove loose grime before it embeds. If residue remains, use a specialized stylus cleaning solution or gel that’s designed for turntable needles—apply sparingly and keep liquid off surrounding cartridge parts. Re-check alignment and repeat gentle brushing, then play a clean test record to evaluate improvement.
Which cleaning tools should I use for a stylus needle, and which should I avoid?
Use an anti-static stylus brush, a quality stylus cleaning gel, and optionally a manufacturer-approved stylus cleaning fluid for needle-specific use. Avoid alcohol, acetone, household solvents, compressed air blasts, and cotton swabs that can snag or leave fibers. Also avoid over-cleaning; most stylus cleaning is quick and gentle, focused on the needle tip area only.
📅 Last Updated: July 04, 2026 | Topic: how to clean a stylus needle | Content verified for accuracy and freshness.
References
- Phonograph
https://en.wikipedia.org/wiki/Turntable - Phonograph record
https://en.wikipedia.org/wiki/Phonograph_record - https://en.wikipedia.org/wiki/Stylus_(phonograph
https://en.wikipedia.org/wiki/Stylus_(phonograph - Google Scholar Google Scholar
https://scholar.google.com/scholar?q=cleaning+turntable+stylus+needle - Google Scholar Google Scholar
https://scholar.google.com/scholar?q=phonograph+cartridge+stylus+cleaning+method - Google Scholar Google Scholar
https://scholar.google.com/scholar?q=diamond+stylus+cleaning+procedures+turntable - Google Scholar Google Scholar
https://scholar.google.com/scholar?q=record+player+stylus+maintenance+best+practices - Google Scholar Google Scholar
https://scholar.google.com/scholar?q=audio+needle+stylus+cleaning+solution+ethanol+isopropyl - Google Scholar Google Scholar
https://scholar.google.com/scholar?q=wear+and+contamination+effects+of+phonograph+stylus+cleaning - Google Scholar Google Scholar
https://scholar.google.com/scholar?q=vinyl+record+playback+stylus+care+cleaning+study
