How to Clean Air Fryer Floors
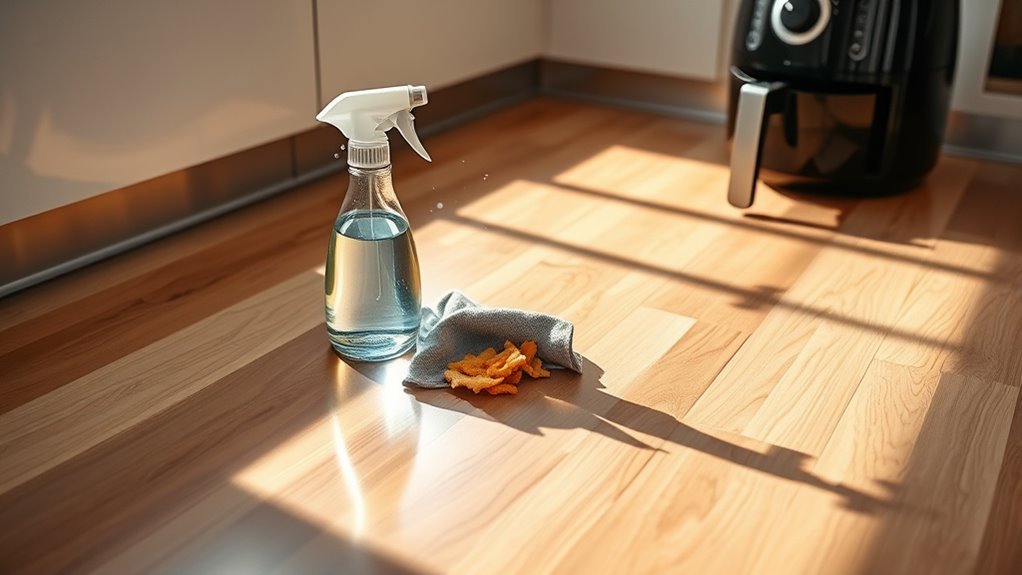
Start by unplugging and cooling your air fryer, then carefully move it to access the floor beneath. Gather a microfiber cloth, mild detergent diluted in warm water, and a soft sponge. Sweep or vacuum loose crumbs first. Use the damp cloth with detergent solution to gently scrub grease and stains, focusing on corners. Rinse with a clean damp cloth, then dry thoroughly to prevent slips. Finish by cleaning the air fryer’s exterior and replacing it properly. You can explore detailed steps for maintaining both appliance and floor effectively.
Gather the Necessary Cleaning Supplies
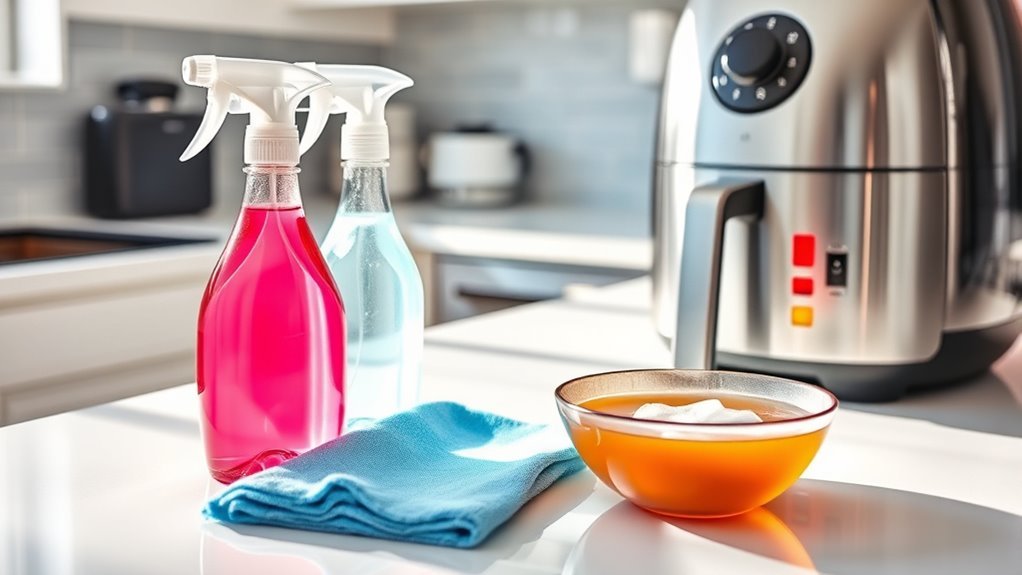
Before you begin cleaning your air fryer floors, you’ll need to assemble all the necessary supplies to guarantee an efficient process. Start by selecting appropriate cleaning supplies such as a soft microfiber cloth, a non-abrasive sponge, a mild detergent, and warm water. Avoid harsh chemicals that could damage the floor’s finish. Depending on the cleaning methods you plan to use, you may also require a small brush for crevices and a bucket for mixing solutions. Prepare your workspace by ensuring good ventilation and easy access to a power outlet if needed for any electrical cleaning tools. Having all cleaning supplies on hand before starting will streamline the process, giving you the freedom to clean thoroughly without interruptions or wasted time.
Unplug and Cool Down Your Air Fryer
Before you start cleaning, make certain to unplug your air fryer to cut off all power sources. Wait until the appliance has completely cooled down to prevent burns or damage. This guarantees a safe and effective cleaning process.
Safety First Steps
While cleaning your air fryer floors, you’ll want to confirm the appliance is unplugged and completely cooled down to prevent electrical hazards and burns. These safety precautions are essential to avoid fire hazards during maintenance. Always disconnect the power source before starting—this eliminates any risk of accidental activation or electric shock. Allow sufficient time for the air fryer to cool; residual heat can cause burns or ignite nearby flammable materials. Use a thermometer if needed to confirm the temperature is safe. Keep the cleaning area well-ventilated and free from clutter to reduce potential fire hazards. Adhering strictly to these steps guarantees your cleaning process is both safe and effective, granting you the freedom to maintain your appliance without risk.
Power Off Completely
Since your safety depends on it, always assure your air fryer is completely powered off by unplugging it from the electrical outlet before cleaning. This step is critical for power safety and appliance maintenance. Disconnecting power prevents electrical hazards and protects internal components from damage during cleaning.
| Step | Action | Reason |
|---|---|---|
| 1. Unplug | Remove plug from outlet | Assures no current flows |
| 2. Verify Power Off | Check indicator lights | Confirms complete shutdown |
| 3. Prepare Cleaning | Wait for no power input | Protects appliance integrity |
Allow Thorough Cooling
After confirming your air fryer is completely powered off and unplugged, the next step is to let it cool down thoroughly. This cooling period is essential for safe handling and effective air fryer maintenance. Avoid touching any hot surfaces immediately; use cooling tips like placing the appliance in a well-ventilated area to accelerate heat dissipation. Allow at least 30 minutes or until the exterior temperature returns to room level before proceeding. This prevents burns and protects internal components from damage during cleaning. Thorough cooling also confirms any residual steam inside the unit has dissipated, reducing moisture-related issues on your air fryer floors. Following these precise steps empowers you to maintain your appliance efficiently while keeping safety and freedom from hazards a priority.
Remove the Air Fryer From Its Spot
Before you begin cleaning, you’ll need to carefully unplug the air fryer and slide it away from its usual spot to access the floor beneath. Verify you disconnect the power cord without tugging to avoid damage. When moving the unit, maintain a steady grip to prevent accidental drops or scratches. Pay attention to air fryer placement; it’s essential to position it on a surface that offers stability and adequate floor protection during use. Once removed, inspect the floor area for any protective mats or pads designed to shield your flooring from heat or spills. Temporarily relocating the air fryer provides unrestricted access to clean beneath it thoroughly. After cleaning, return the air fryer to a well-ventilated, secure area that supports safe operation and preserves your floor’s integrity. Also, remember to store air fryer in a dry place to prevent damage when not in use.
Clear Loose Debris and Crumbs

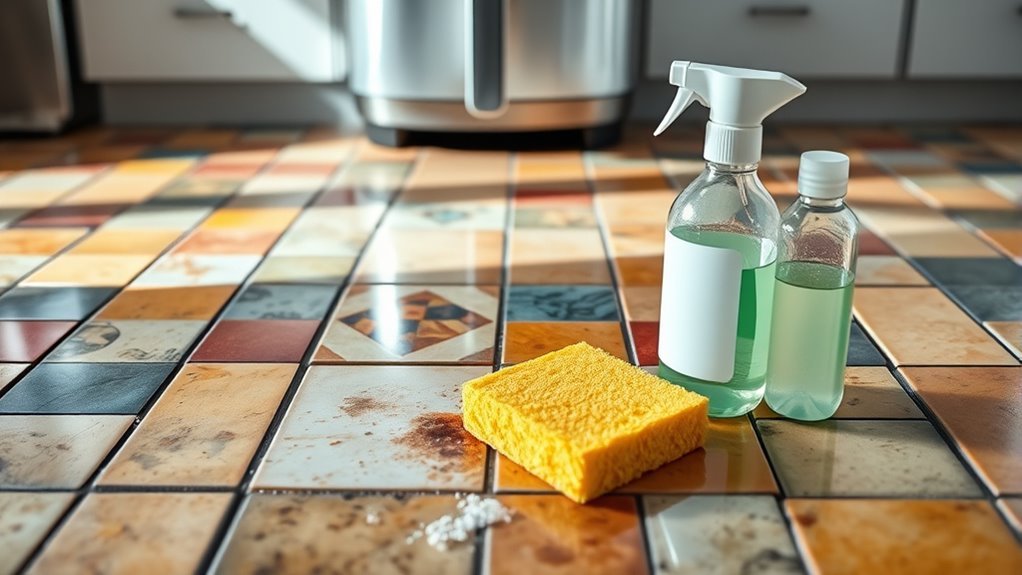
With the air fryer moved aside, you can now focus on clearing the loose debris and crumbs that tend to accumulate on the floor beneath it. Effective debris collection and crumb removal prevent buildup that could attract pests or cause stains.
Clear loose debris beneath the air fryer to prevent stains and deter pests effectively.
Follow these steps:
- Use a handheld vacuum or broom to gather all visible loose particles efficiently.
- Pay special attention to corners and edges where debris collection is often overlooked.
- Dispose of the collected crumbs and debris immediately to avoid redistribution.
Wipe Down the Air Fryer Base and Surrounding Floor
To effectively maintain cleanliness, you’ll want to wipe down the air fryer base and the surrounding floor using a damp microfiber cloth or sponge. Start by verifying the appliance is unplugged and cool to prevent accidents. Gently run the cloth over the base to remove any grease or residue, focusing on corners where buildup often occurs. Next, clean the floor area around the air fryer, as spills and crumbs can compromise kitchen hygiene. Use firm, consistent strokes to lift particles without spreading them. This routine supports ideal air fryer maintenance, preventing grime accumulation that might interfere with appliance function or floor integrity. Regularly performing this step guarantees a safe, clean cooking environment, giving you the freedom to enjoy your kitchen without worry. Additionally, using eco-friendly cleaners can protect both your air fryer’s surface and the environment during cleaning.
Use Mild Detergent for Stubborn Stains
When tackling stubborn stains on your air fryer floor, choose a mild detergent that’s safe for the surface material. Prepare a diluted solution according to the detergent’s instructions to avoid damage. Apply the solution directly to the stain, allowing it to sit briefly before gently scrubbing with a soft cloth.
Choosing the Right Detergent
Although tougher stains on your air fryer floors might tempt you to reach for harsh chemicals, opting for a mild detergent is more effective and safer. When choosing the right detergent, consider these factors to maximize cleaning effectiveness while preserving your appliance’s surface:
- Detergent types: Select mild detergents formulated for delicate surfaces, such as dish soap or gentle all-purpose cleaners, to prevent damage.
- Stain compatibility: Match the detergent to the stain type—grease responds well to mild degreasers, while protein-based stains need enzymatic cleaners.
- Residue impact: Avoid detergents that leave residues, which can attract dirt or interfere with air fryer performance.
Preparing Detergent Solution
Start by mixing one to two teaspoons of your chosen mild detergent with a cup of warm water to create an effective cleaning solution. Selecting the correct detergent types guarantees you tackle stubborn stains without damaging your air fryer floors. Maintaining proper solution ratios is essential to balancing cleaning power and surface safety.
| Detergent Type | Recommended Solution Ratio |
|---|---|
| Mild Dish Soap | 1-2 tsp per 1 cup warm water |
| Enzyme-Based Cleaner | 1 tsp per 1 cup warm water |
| Plant-Based Detergent | 1.5 tsp per 1 cup warm water |
| Neutral pH Cleaner | 2 tsp per 1 cup warm water |
Application Tips for Stains
After preparing your detergent solution, focus on applying it effectively to stubborn stains on your air fryer floors. For ideal stain removal, use mild detergent and follow these cleaning techniques precisely:
- Apply Sparingly: Use a soft cloth or sponge dampened with the solution to target the stain directly, avoiding excess moisture that can damage the floor.
- Gentle Agitation: Rub the stained area gently in circular motions to lift the residue without abrading the surface.
- Rinse and Dry: Wipe the area with a clean, damp cloth to remove detergent residue, then dry thoroughly to prevent streaks or water damage.
Dry the Floor Thoroughly to Prevent Slipping
Because moisture can create hazardous conditions, you need to dry the floor thoroughly once cleaning is complete. Effective slip prevention depends on removing all residual water to eliminate slick surfaces. Start by using a highly absorbent microfiber mop or towel to soak up excess liquid immediately after washing. Follow with a dry mop to guarantee no moisture remains in crevices or grout lines. Employ cross-directional drying techniques—move horizontally and vertically—to target all areas evenly. If possible, increase ventilation by opening windows or using fans to accelerate evaporation. Avoid walking on the floor until it’s fully dry to maintain safety. Consistently applying these drying techniques will safeguard your freedom to move confidently without fear of slips or falls after cleaning your air fryer floor. Wearing gloves to protect hands during cleaning can also help maintain safety.
Clean the Air Fryer’s Exterior and Accessories
Cleaning the air fryer’s exterior and accessories requires careful attention to avoid damaging sensitive components. For effective exterior cleaning and accessory maintenance, follow these steps:
- Unplug the unit and allow it to cool completely to guarantee safety.
- Use a soft, damp cloth with mild detergent to wipe the exterior; avoid abrasive materials that could scratch or damage the surface.
- Remove accessories like baskets and trays, soaking them in warm soapy water. Gently scrub with a non-abrasive sponge, rinse thoroughly, and dry completely before reassembling.
Regular exterior cleaning maintains appearance and function and contributes to the smooth operation of the appliance.
Replace the Air Fryer and Maintain Regular Cleaning Schedule
While regular upkeep extends your air fryer’s lifespan, recognizing when to replace it guarantees safety and peak performance. Monitor your appliance for signs like inconsistent heating, unusual noises, or damaged components. If these issues persist despite thorough cleaning and maintenance, consider an air fryer replacement to avoid hazards and maintain efficiency.
Adhere strictly to a cleaning schedule by setting specific intervals—weekly for heavy use, monthly for lighter use. Consistently clean floors beneath and around the air fryer to prevent grease buildup, which can affect both appliance function and floor integrity. Document your cleaning activities to track maintenance and anticipate potential wear. This disciplined approach gives you freedom from unexpected breakdowns and maintains a safe, hygienic cooking environment. Remember to unplug and allow your air fryer to cool down before cleaning to ensure safety during cleaning.
Frequently Asked Questions
Can I Use Vinegar to Clean Air Fryer Floors?
Imagine tackling stubborn grime with a simple, natural solution—can you use vinegar to clean air fryer floors? Absolutely, vinegar benefits include its antibacterial properties and natural degreasing power, making it a smart choice. Mix equal parts water and vinegar, apply gently, and avoid harsh scrubbing to protect surfaces. If vinegar’s scent isn’t your style, consider baking soda or mild detergent as effective cleaning alternatives that keep your space fresh and free.
How Often Should I Deep Clean Under the Air Fryer?
You should set a cleaning frequency that suits your cooking habits—deep cleaning under the air fryer is best done every 1 to 2 weeks if you use it frequently. This prevents grease buildup and maintains appliance efficiency. If usage is light, monthly deep cleaning is sufficient. Always unplug the device first, then remove crumbs and residue thoroughly to keep your cooking space fresh and free, giving you more freedom to enjoy hassle-free meals.
Are There Specific Floor Types to Avoid When Using an Air Fryer?
Oh sure, placing your air fryer on delicate surfaces is a brilliant idea—if you enjoy stress! You should avoid laminate flooring since heat and moisture from the fryer can cause warping or bubbling. Ceramic tiles handle heat well but can crack if you drop the fryer or its accessories. For freedom in kitchen placement, use a sturdy, heat-resistant mat or trivet beneath your air fryer, protecting delicate floors while keeping your cooking adventures worry-free.
What if My Air Fryer Floor Is Stained With Grease?
If your air fryer floor is stained with grease, start with prompt grease removal to prevent permanent damage. Use a degreasing agent or a mixture of warm water and dish soap, applying it with a soft cloth or sponge. Scrub gently to avoid surface damage. After cleaning, dry thoroughly to prevent slip hazards. For stain prevention, clean spills immediately and consider applying a protective sealant compatible with your floor type to maintain freedom from stubborn stains.
Can Air Fryer Steam Damage Wooden Floors?
You might worry that steam from your air fryer could ruin your wooden floors, but with proper care, you can avoid steam damage. Air fryer steam contains moisture that, if excessive and prolonged, poses potential risks like warping or discoloration to wooden floors. To protect your floors, always place your air fryer on a heat-resistant mat or tray, and promptly wipe up any condensation. This way, you keep your freedom to cook without damaging your flooring.


