How to Clean and Deodorize Your Walls
To clean and deodorize your walls, first identify their material and paint type to choose the right cleaning method. Remove dust with a soft cloth or vacuum, then gently wash with mild soap and water or a tested solution for tougher stains. Use vinegar or activated charcoal to neutralize odors. Protect surfaces during cleaning, and maintain regular dusting to prevent buildup. Follow these steps, and you’ll find effective ways to keep your walls fresh and well-cared for.
Assessing Wall Material and Paint Type
Before you begin cleaning, it’s important to identify the type of wall material and paint you’re dealing with, as different surfaces require specific methods and products. Start by determining if your walls are drywall, plaster, wood paneling, or another material. Each reacts differently to moisture and cleaning agents. Next, check the paint finish—flat, eggshell, satin, semi-gloss, or gloss—since some finishes handle scrubbing better than others. Flat paints are delicate and need gentle cleaning, while semi-gloss and gloss finishes tolerate more vigorous wiping. Knowing these details allows you to choose the safest, most effective cleaning approach, protecting your walls while freeing you from worry about damage. This initial assessment guarantees your cleaning effort is both efficient and respectful of your wall materials and paint finishes. Proper wall preparation enhances cleaning effectiveness and sets a solid foundation for a fresh, vibrant space by starting with removing dust and cobwebs.
Gathering Necessary Cleaning Supplies
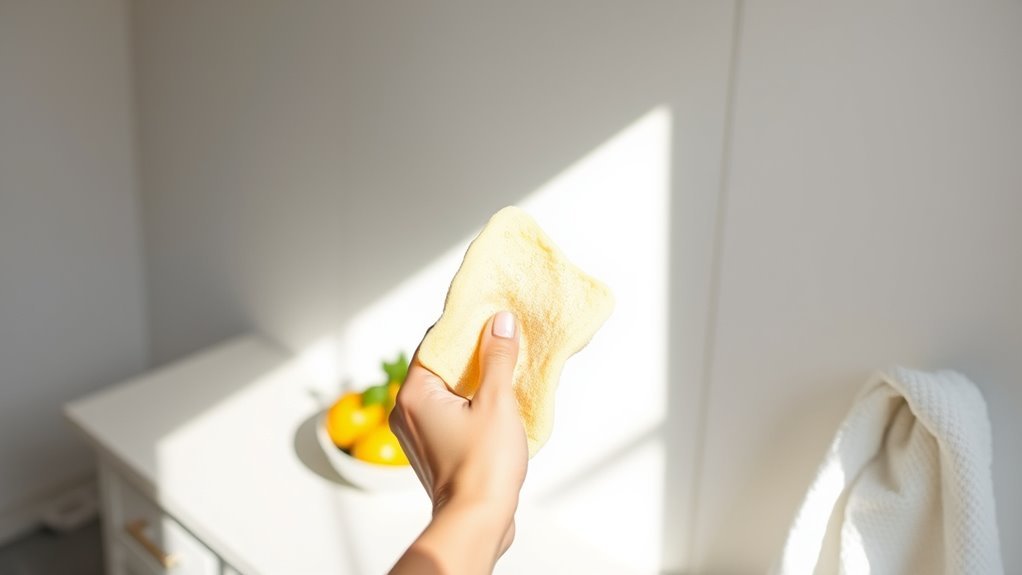
Knowing your wall material and paint type helps you select the right cleaning supplies that won’t cause damage. For painted drywall or plaster, gather mild dish soap, warm water, a soft sponge, and microfiber cloths. Avoid harsh chemicals on delicate surfaces like wallpaper or textured walls. For tougher stains or odor issues, consider white vinegar or baking soda, but always test in a small area first. You’ll also need a bucket for mixing solutions and gloves to protect your hands. If you have high walls, a sturdy ladder or step stool is essential for safe reach. Choosing appropriate cleaning supplies based on your wall materials guarantees effective cleaning without compromising your freedom to maintain your space on your own terms. Using gentle products helps avoid scratching or dulling delicate surfaces during cleaning.
Preparing the Wall Surface

Before you start cleaning, clear the wall area of any furniture or decorations. Next, remove dust and debris using a dry cloth or vacuum with a brush attachment. This guarantees the surface is ready for effective cleaning and deodorizing. Using microfiber cloths for gentle cleaning helps trap dust and dirt without damaging the wall surface.
Clear Wall Area
Start by removing at least three feet of furniture and decorations from the wall to give yourself ample space to work. Clearing the wall area guarantees you can clean thoroughly without damaging your wall decor or missing spots, especially if your cleaning frequency is low. Follow these steps:
- Take down framed pictures, shelves, or any hanging items carefully.
- Move larger furniture pieces like sofas or tables away from the wall.
- Protect the floor with a drop cloth or old towels to catch drips.
- Keep cleaning tools and supplies within easy reach but off the floor.
This methodical clearing preps your space for efficient wall cleaning, letting you maintain your freedom to refresh your home environment without hassle.
Dust and Debris Removal
Although it might seem simple, removing dust and debris is an essential step to guarantee your cleaning solutions work effectively on your walls. Start by using a microfiber cloth or a soft-bristle brush to gently sweep away dust accumulation. This prevents dirt from mixing with cleaning agents and creating streaks or residue. For higher walls, use an extendable duster to reach all areas without strain. Next, tackle debris management by vacuuming corners and baseboards where particles tend to gather. Be thorough but gentle to avoid damaging the paint or wallpaper. By systematically eliminating dust and debris, you create a clean surface that allows your cleaning and deodorizing products to penetrate better, ensuring a fresher, more vibrant wall finish. This simple prep step saves time and effort in the long run.
Removing Dust and Loose Dirt
Since dust and loose dirt can accumulate unnoticed over time, you’ll want to remove them carefully to prevent scratching or damaging the wall surface during cleaning. The right cleaning tools and awareness of your wall materials are essential for a gentle yet effective process.
Careful removal of dust is key to protecting your walls from scratches and damage during cleaning.
- Start with a soft-bristle brush or microfiber duster to loosen surface dust without abrasion.
- Use a vacuum cleaner with a brush attachment to gently lift dirt, especially on textured or fabric-covered walls.
- For painted or wallpapered walls, wipe down with a dry or slightly damp microfiber cloth to capture remaining particles.
- Always test your cleaning tools on a small, inconspicuous area to ascertain compatibility with your wall materials.
- Incorporating simple tools like microfiber cloths and soft brushes can help maintain wall cleanliness effectively without risk of damage.
Tackling Stubborn Stains and Marks

When you encounter stubborn stains and marks on your walls, start by identifying the type of stain to choose the right cleaning method. Grease, ink, and crayon each require different approaches to avoid damage. Using targeted techniques guarantees you remove stains effectively without harming the paint or surface. Understanding the unique properties of grease can help tailor your cleaning approach for better results.
Identifying Stain Types
How can you effectively tackle stubborn stains and marks on your walls? Start with proper stain identification—it’s essential for successful stain removal. Knowing what you’re dealing with lets you choose the right approach without damaging your walls.
Here are four common stain types to identify:
- Grease and oil – shiny, dark, and slippery to touch
- Ink and marker – vivid colors, often from pens or permanent markers
- Water stains – discolored patches, usually yellow or brown
- Mold and mildew – fuzzy, black or green spots with a musty odor
Recognizing these helps you target stain removal methods precisely, preserving your walls’ finish and freeing you from lingering marks.
Effective Cleaning Techniques
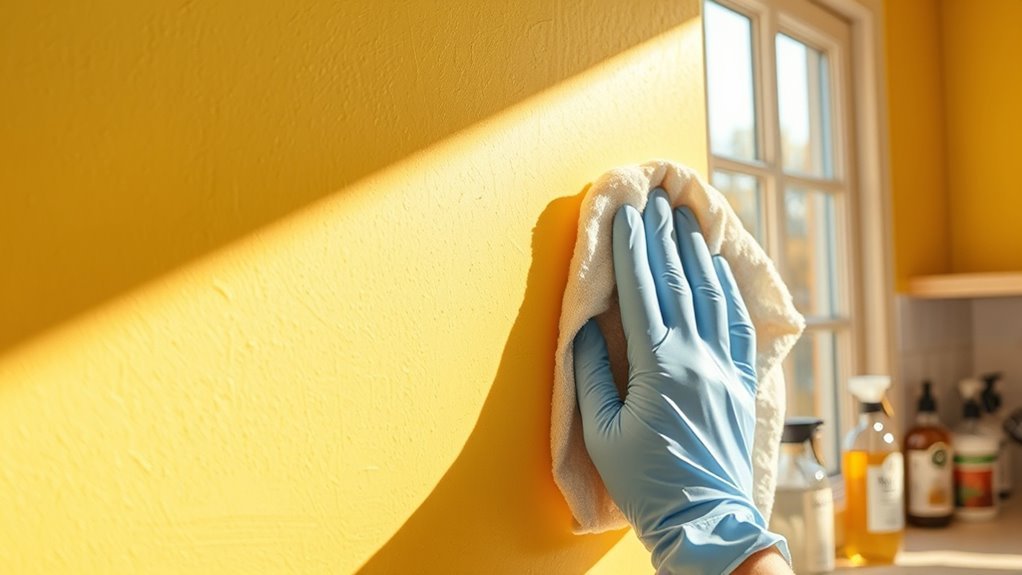
Although some stains might seem impossible to remove, you can tackle them effectively by using the right cleaning techniques tailored to each stain type. Start by selecting appropriate cleaning solutions based on your wall materials—latex paint, wallpaper, and wood all require different care. For washable painted walls, a mild detergent mixed with water often works well. Stubborn marks like crayon or grease may need a stronger solution, such as baking soda paste or vinegar diluted with water. Always test your chosen cleaning solution on a small, hidden area first to avoid damage. Use gentle, circular motions with a soft cloth or sponge, avoiding excessive scrubbing that can harm the surface. By matching cleaning methods to your wall materials and stains, you regain control and keep your walls fresh without hassle.
Deodorizing Techniques for Walls
Several effective deodorizing techniques can help eliminate unpleasant odors from your walls, restoring a fresh atmosphere to your space. You can achieve natural deodorizing by using simple, eco-friendly methods that won’t restrict your freedom to breathe freely. Try these approaches:
- Baking Soda Paste: Mix baking soda with water, apply to walls, and let sit before wiping away odors.
- Vinegar Spray: Use a diluted vinegar solution to neutralize smells without harsh chemicals.
- Essential Oil Diffusers: Add wall fragrances like lavender or eucalyptus to subtly freshen the air.
- Activated Charcoal: Place charcoal near walls to absorb lingering odors naturally.
Each method supports a cleaner, fresher environment without compromising your space’s air quality or your freedom to choose natural solutions. Using gentle, non-abrasive cleaners ensures that your walls remain fresh without damage while deodorizing effectively.
Preventative Measures to Maintain Clean Walls
To keep your walls clean and fresh over time, you’ll want to adopt preventative measures that minimize dirt buildup and odors. Start with regular dusting using a microfiber cloth to catch dust before it settles. Implement preventative cleaning by promptly wiping smudges or spills with a gentle cleaner suitable for your wall type. Consider using washable paint or applying a protective sealant to simplify wall maintenance. Avoid hanging items that trap moisture or cause scratches. Ventilate rooms well to reduce humidity, preventing mold and mildew growth. By sticking to these straightforward habits, you maintain your walls’ appearance and extend the intervals between deep cleanings. Taking these steps gives you freedom from constant worry about wall cleanliness while preserving a pleasant living environment. Regular dusting with a soft brush or vacuuming can prevent deeper debris embedding and protect your walls’ surface.
When to Seek Professional Cleaning Services
If your walls have stubborn stains, extensive damage, or persistent odors that home cleaning can’t fix, it’s time to contemplate professional cleaning services. Recognizing the signs needing professional help guarantees your walls regain their freshness without unnecessary effort.
When home cleaning falls short, professional wall cleaning ensures lasting freshness and restores your space effortlessly.
Look for these clear indicators:
- Stains that don’t budge after multiple cleanings.
- Visible mold or mildew growth spreading across surfaces.
- Lingering odors despite thorough deodorizing attempts.
- Structural damage like peeling paint or crumbling drywall.
When you notice these signs needing professional help, calling experts saves time and prevents further harm. Professionals use specialized tools and eco-friendly products to restore your walls efficiently. Don’t let stubborn wall issues limit your freedom; seek professional cleaning services to maintain a healthy, vibrant living space effortlessly. Proper ventilation and moisture control are also crucial to prevent mold and mildew removal issues from recurring.
Frequently Asked Questions
Can I Use Vinegar to Clean Wallpaper?
When it comes to cleaning wallpaper, vinegar benefits can be a double-edged sword, so you’ll want to tread carefully. Vinegar’s natural acidity helps break down grime and deodorize, making it great for wallpaper care if diluted properly. Mix one part vinegar with four parts water, test on a small hidden spot first, and gently wipe with a soft cloth. This way, you keep your walls fresh without risking damage—better safe than sorry.
How Often Should I Clean Painted Walls?
You should set a cleaning frequency for your painted walls based on their exposure to dirt and grime. Generally, cleaning them every 3 to 6 months works well for wall maintenance, helping keep surfaces fresh without overdoing it. High-traffic areas might need more frequent attention, while less-used rooms can go longer. Regular upkeep not only preserves your walls’ appearance but also gives you the freedom to enjoy a cleaner, healthier home environment.
Will Cleaning Walls Remove Lead Paint Hazards?
Cleaning walls can help reduce dust and dirt but won’t fully remove lead paint hazards. If your walls have lead paint, you need specialized methods to guarantee wall safety, like professional removal or encapsulation. Simply washing won’t eliminate the risk of lead exposure, which can be harmful, especially to children. For your safety and freedom from lead risks, consider consulting experts who can properly handle and test your walls.
Can Scented Candles Affect Wall Odors?
Imagine your room’s atmosphere as a canvas, where scented candles paint temporary fragrances over wall odor. You’ll find that scented candles can mask wall odors but don’t eliminate the source. They add pleasant scents, creating a sense of freedom from unwanted smells, yet for lasting freshness, you’ll need to clean or treat the walls themselves. So, while candles help, they’re just a fragrant layer, not a permanent fix.
Is It Safe to Use Bleach on Bathroom Walls?
You can use bleach on bathroom walls, but you’ve got to prioritize bleach safety. Make certain the area’s well-ventilated and wear gloves to protect your skin. Dilute the bleach properly—never apply it full strength—to avoid damaging paint or surfaces. When doing bathroom cleaning, test a small spot first to ascertain it won’t cause discoloration. Following these steps helps you clean effectively without risking harm to yourself or your walls.


