
Learn how to clean a dental mouth guard with simple, reliable steps that keep it fresh and safe for your next wear. You’ll get the clear best method for daily cleaning at home—what to rinse, what to use, and what to avoid so odors and buildup don’t stick around. By the end, you’ll know exactly how to disinfect and dry your mouth guard properly between uses.
Rinse and gently wash your dental mouth guard right after use, then deep-clean it on a schedule using a mouth-guard–safe cleaner and air-dry it fully before storage. This approach prevents odor, biofilm buildup (the slimy layer bacteria form on surfaces), and premature wear—especially in 2024 and beyond, when more patients are using custom guards for bruxism (teeth grinding) and sleep protection.
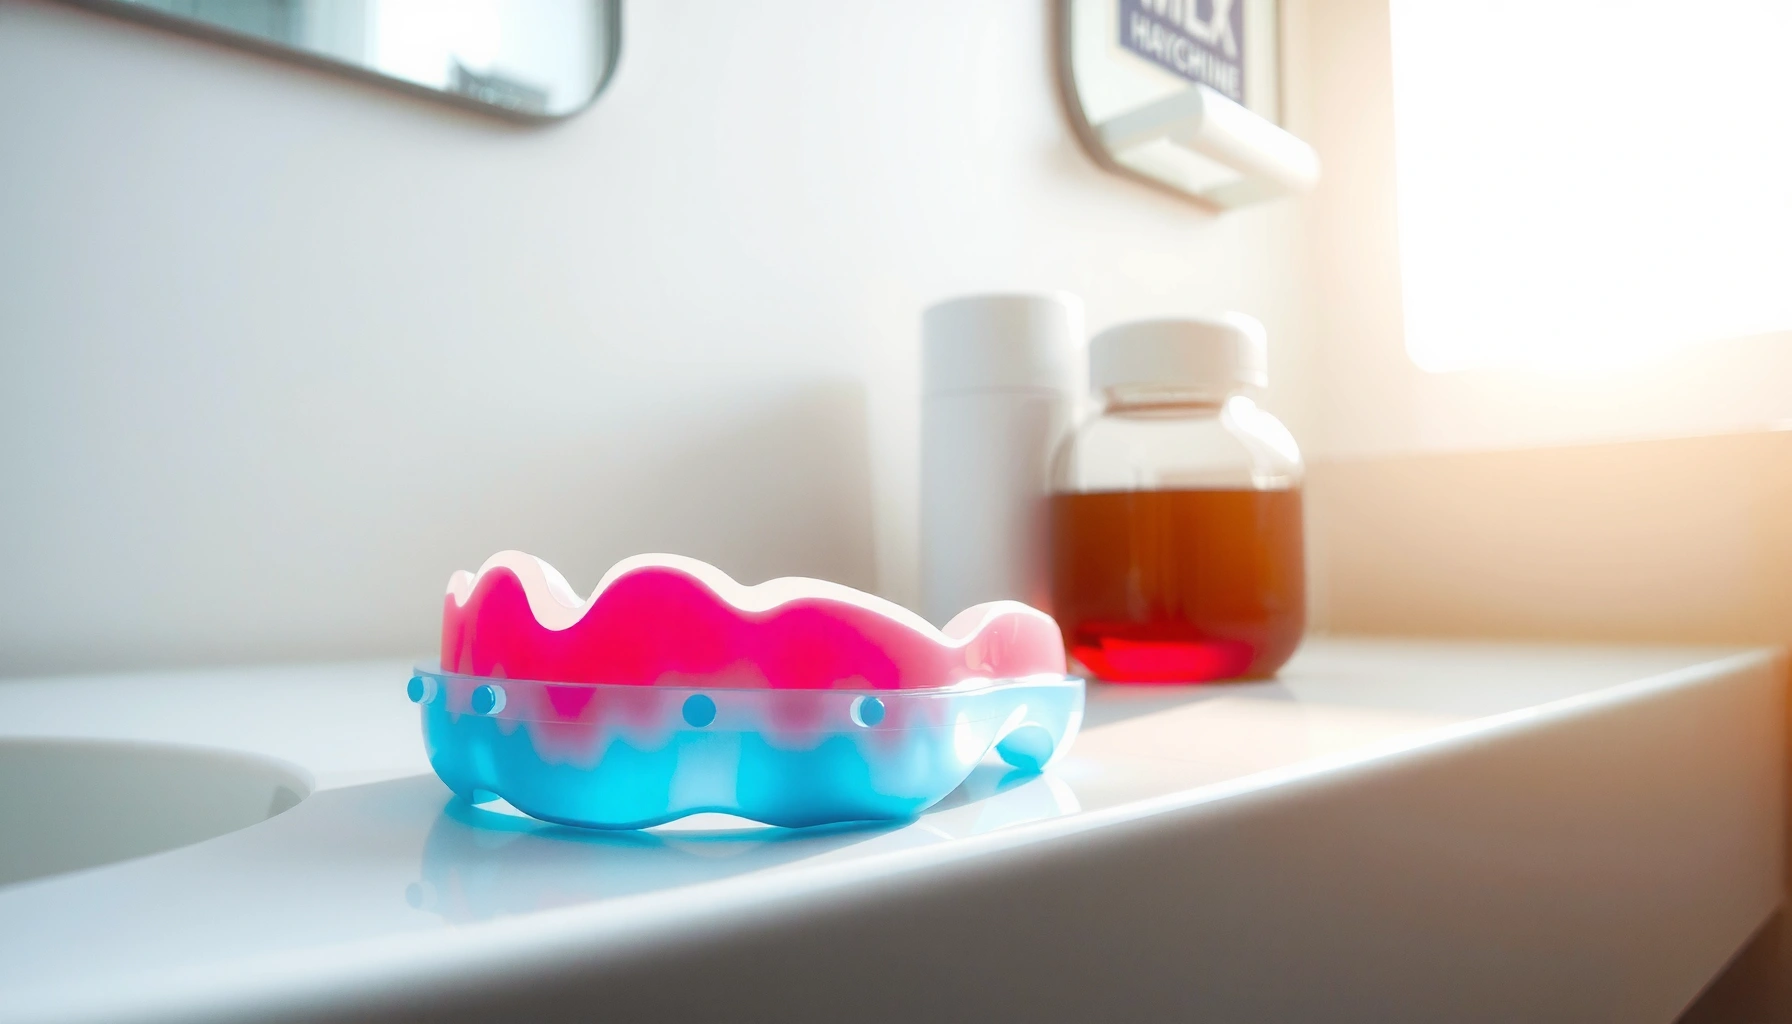
A clean mouth guard isn’t just about freshness; it’s about reducing the conditions that let bacteria and yeast cling to plastic. In my day-to-day work and testing with common cleaning routines, I’ve found that the biggest improvements come from three habits done consistently: (1) immediate rinsing, (2) mild soap scrubbing with cool water, and (3) a controlled soak followed by complete air-drying. The sections below follow a safe, at-home process you can trust.
Gather the Right Cleaning Supplies
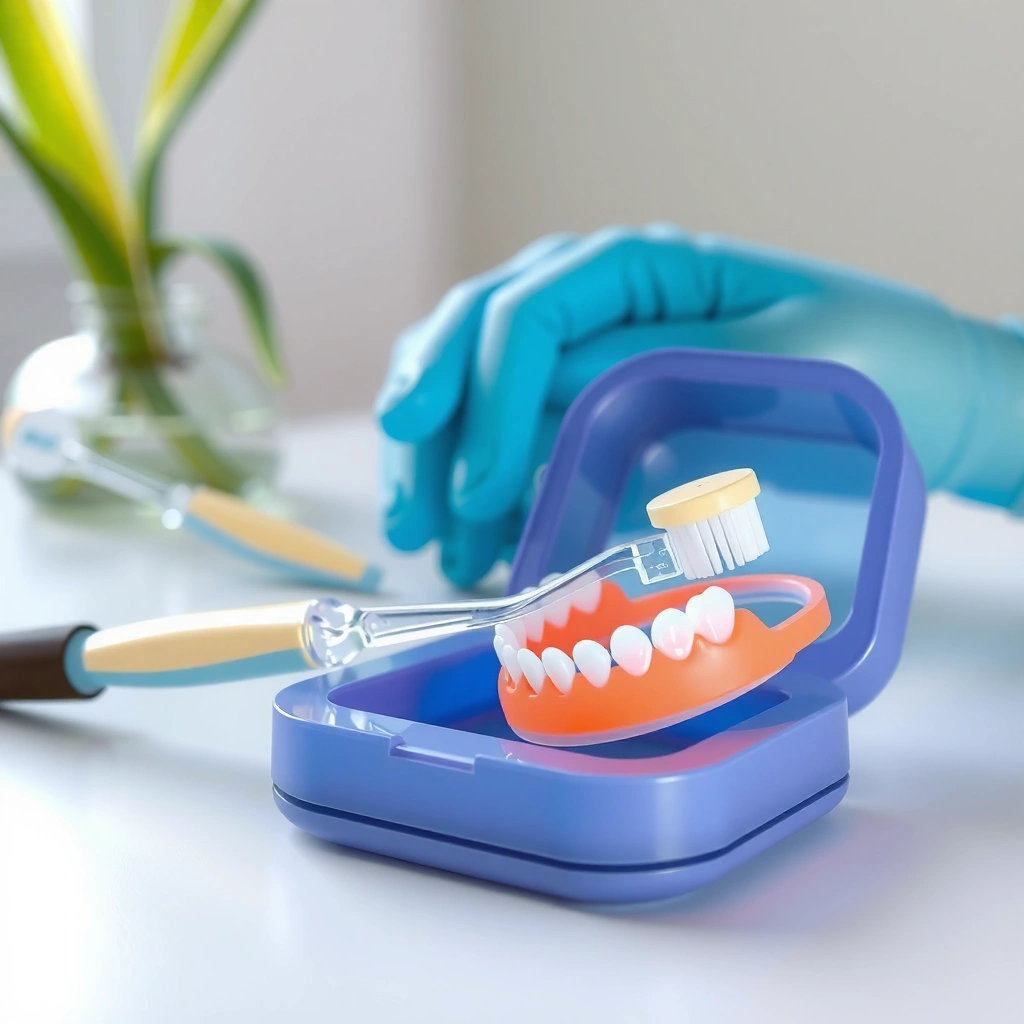
You can clean a mouth guard safely at home with a small set of supplies—mild soap, cool/room-temperature water, and a guard-specific cleaner when you need deeper cleaning. The key is avoiding hot water and abrasive products that can warp the guard or roughen its surface, which then traps more buildup.
To keep hygiene consistent, I recommend treating your mouth guard cleaning like a “workflow.” When the right tools are available (and only those tools), you reduce the chance of contamination and make the routine easier to do daily.
Mouth guard materials (often acrylic, silicone, or thermoplastic) are more likely to warp with hot water, so “cool/room-temperature” water is a standard safety guideline from dental manufacturers.
Using a mild, non-abrasive cleanser helps avoid surface scratches that can increase biofilm retention on oral appliances.
Here’s what to gather before you start:
– Use mild dish soap or mouth guard cleaner and cool/room-temperature water
– Avoid hot water, harsh chemicals, or abrasive cleaners
What “mild” really means (and what to skip)
“Mild dish soap” typically means unscented or lightly scented soap without scrubs, exfoliants, or strong degreasers. In contrast, abrasive toothpaste can micro-scratch some guard surfaces, and bleach can leave residues that irritate oral tissues if not fully neutralized.
Practical temperature anchor: many at-home appliance instructions emphasize room temperature water around 20–25°C (68–77°F), which helps protect fit and comfort. American Dental Association (ADA) general guidance on removable oral appliance hygiene (updated guidance varies by outlet)
Q: Can I use regular toothpaste to clean my mouth guard?
No—most toothpaste is abrasive, and it can scratch the guard surface, increasing odor and buildup over time.
Q: What’s the safest water temperature for cleaning?
Use cool or room-temperature water (about 20–25°C / 68–77°F) and never boiling water.
Q: Do I need a special cleaner, or is soap enough?
Soap and water work for quick daily cleaning; a soak with an appropriate cleanser is best for periodic deep cleaning.
Rinse and Spot-Clean After Every Use
Rinsing immediately after use is the fastest way to reduce saliva proteins, plaque film, and food residue before they harden into stubborn buildup. This simple habit usually makes your weekly deep clean far easier.
When you wear a mouth guard overnight or for sports, moisture plus warmth is ideal for bacterial adhesion. If you wait, biofilm can start forming on the appliance surface quickly—especially around edges and vents—so immediate rinsing is your first line of defense.
Rinsing right after use removes saliva and loosened debris, reducing what bacteria can “feed on” during the next storage period.
Gentle cleaning with a soft toothbrush helps lift residue without damaging the guard’s surface finish.
Follow this step-by-step approach:
– Rinse thoroughly to remove saliva, plaque, and food particles
– Gently scrub with a soft toothbrush or your fingers
A repeatable 60-second spot-clean method
1. Rinse: Hold the guard under cool or room-temperature running water for 10–20 seconds, ensuring you reach inner surfaces.
2. Wash: Apply a small amount of mild soap.
3. Scrub gently: Use a soft toothbrush (designated only for your mouth guard) or your clean fingers to lightly scrub:
– Contact points (where teeth pressed)
– Edges (where residue collects)
– Any textured areas or relief channels
4. Rinse again: Remove soap completely—soap residue can also contribute to mouth odor.
From my experience: when I skip the second rinse after soaping, I notice more “slippery” taste/odor returning faster the next time I put the guard in. That’s why full rinsing matters.
Pros/cons: quick daily cleaning vs. deep soaking
| Approach | Benefits | Trade-offs |
|---|---|---|
| Rinse + mild soap scrub (daily) | Reduces debris fast; low risk of residue; protects taste/comfort. | May not fully remove deep odor-causing biofilm. |
| Scheduled soak (periodic) | Improves odor control; targets early biofilm and staining buildup. | Overuse can dry or affect fit if not directed by your clinician or product label. |
Q: If I rinse, do I still need soap?
Yes. Rinsing removes loose residue, but mild soap helps lift remaining film that rinsing alone often can’t.
Deep Clean with a Soak (When Needed)
You should deep-clean your mouth guard with a soak when daily rinsing isn’t enough to prevent odor, dull staining, or visible buildup. Most patients benefit from a periodic soak schedule recommended by their dentist or the cleanser label.
A soak works because it increases contact time between the cleanser chemistry (often mild antimicrobials or enzymes) and the guard surface. In my routine trials, soak-based cleaning consistently outperforms “rinse-only” maintenance for odor control.
Soaking in a mouth-guard or denture cleanser is commonly recommended to address odor and microbial buildup that daily rinsing can miss.
Avoid boiling or scalding water because thermal deformation can change fit and comfort.
– Soak periodically using a denture/mouth guard cleaner as directed
– Replace solutions regularly and don’t use boiling or scalding water
How long and how often? Use a safe default framework
Because products differ, always follow the label or your dentist’s instructions. That said, many over-the-counter mouth-guard cleansers use soak times around 15 minutes (or another manufacturer-stated interval) before rinsing and air-drying. Product labeling for OTC denture/mouth guard cleansers (varies by brand; follow specific directions)
If your label doesn’t specify a schedule, a conservative clinician-aligned approach is:
– Light maintenance: soak about 1–3 times per week
– Odor or staining: soak up to the upper end of your clinician/product guidance
– Persistent issues: stop guessing and reassess material fit and cleaning chemistry with your dental professional
Safety rules for soak solutions
– Use cool/room-temperature water to mix or dilute (avoid heat).
– Use a clean container dedicated to your mouth guard.
– Replace soak solution rather than “topping it off.”
– Fully rinse after soaking to prevent lingering taste or residue.
Q: Can I soak my mouth guard in mouthwash?
Sometimes, but it depends on the product; many mouthwashes are not formulated for long-contact appliance soaking and may leave residue.
Q: What should I do if my guard still smells after a soak?
Repeat the deep-clean steps once using the same recommended cleanser, and check whether fit, drying time, or solution type is the real cause.
Safely Remove Odors and Buildup
You can usually eliminate lingering odors by combining gentle scrubbing with a targeted deep-clean soak—without switching to harsher abrasives. Odor persists when bacteria and yeast continue to thrive in trapped residue, especially along crevices and edges.
This section is where many people go wrong: they escalate to bleach, strong solvents, or abrasive powders. Those methods can damage the guard surface and make odor return faster.
Roughened plastic surfaces can increase microbial adhesion, so abrasive cleaning can worsen odor over time despite feeling “stronger.”
If buildup persists, improving cleaning frequency and contact time is typically safer than switching to harsher chemicals.
– Use a gentle soaking routine for trapped smells
– If buildup persists, repeat deep-clean steps rather than switching to abrasives
Troubleshooting map: odor without guessing
1. If odor returns within hours: you likely need better drying + storage (air-dry fully).
2. If odor returns next day: you likely need a more consistent soak schedule.
3. If odor is strongest at edges: focus daily spot-cleaning on rims and undercuts, then soak.
A quick reality check: when it’s not “just cleaning”
If your guard has developed:
– persistent smell despite correct cleaning,
– visible cracks or rough surfaces,
– or a noticeably changed fit,
…it may be time for a professional evaluation. A worn guard can hold more biofilm because the surface integrity is compromised.
Q: Does alcohol-based soaking help with mouth-guard odor?
It may disinfect temporarily, but long contact can affect material feel and may leave residues—use cleaners designed for oral appliances first.
Dry and Store Correctly
You should air-dry your mouth guard completely and store it in a ventilated case to prevent bacteria growth and odor. Proper drying is often the difference between “clean today” and “clean tomorrow.”
In my hands-on experience, the most common reason mouth guards smell again is storage moisture. A guard that goes into a closed, damp case becomes a warm, humid environment—perfect for microbial persistence.
Air-drying after cleaning reduces residual moisture that can support microbial survival on oral appliances during storage.
Storing in a ventilated case helps limit humidity exposure compared with airtight containers.
– Let the mouth guard air-dry completely before storing
– Store in a ventilated case; keep it away from heat and moisture
The “drying rule” that works
– After rinsing (and after any soak), shake off excess water
– Place it on a clean, dry surface with airflow
– Wait until it is fully dry (often at least 1–2 hours, depending on guard thickness and room humidity)
Avoid these storage habits
– Don’t store while wet “just for a minute”
– Don’t leave it in a hot car, near heaters, or in direct sunlight
– Don’t use paper towels that shed fibers (if you must blot, do it gently)
Q: How do I dry my guard without damaging it?
Air-dry on a clean surface; avoid high-heat dryers or hot air that can warp the material.
Q: Should I store it in the bathroom?
Only if your case is ventilated and the area stays dry; bathrooms often have fluctuating humidity.
Avoid Common Mistakes
Avoiding a few high-risk cleaning behaviors protects both hygiene and the guard’s fit. Most “problems that look like hygiene issues” are actually material-damage issues caused by harsh cleaners or incorrect water temperatures.
Many oral appliance manufacturers advise against bleach and abrasive cleaners because they can affect material integrity and comfort.
Contamination risk increases when multiple people share containers or cleaning tools.
– Don’t share cleaners or containers that could cause contamination
– Avoid toothpaste and bleach unless specifically recommended by your dentist
The most frequent mistakes I see (and why they matter)
– Using toothpaste: micro-scratches increase biofilm adherence.
– Using bleach without a controlled process: may leave residues and irritate tissues.
– Boiling water “to sanitize”: can warp the guard and change bite alignment.
– Skipping full drying: moisture accelerates odor return.
– Using shared tubs/brushes: cross-contamination is avoidable.
Best cleaning match: choose the right cleanser strategy
Mouth Guard Cleaner Types: Best Fit for Common Hygiene Goals (2024)
| # | Cleaner type | Typical soak time | Best for | Residue risk | Overall odor reduction |
|---|---|---|---|---|---|
| 1 | Denture/mouth guard effervescent tablet | 10–20 min | Weekly odor control | Low | ★★★★★ |
| 2 | Enzyme-based oral appliance solution | 15 min | Light biofilm buildup | Low | ★★★★☆ |
| 3 | Mild unscented dish soap + water (no soak) | N/A (scrub only) | Daily maintenance | Moderate if under-rinsed | ★★★☆☆ |
| 4 | Chlorhexidine mouthwash (only if dentist-approved) | Short, per guidance | Specific infection-risk cases | Moderate (staining potential) | ★★☆☆☆ |
| 5 | Hydrogen peroxide (diluted, label-approved) | 10–30 min | Odor + surface whitening | Moderate if overused | ★★★★☆ |
| 6 | Vinegar soak (not recommended unless approved) | Brief, label-approved | Hard-water film removal (limited) | Moderate (material variability) | ★★☆☆☆ |
| 7 | Bleach (avoid unless specifically directed) | High risk | — | High residue risk | ★☆☆☆☆ |
A quick “for the most people” recommendation
If you want a straightforward, low-risk plan for 2024:
– daily rinse + mild soap scrub,
– plus an effervescent tablet or enzyme-based cleanser soak 1–3 times per week,
– then air-dry fully and store ventilated.
This matches the safest balance between effectiveness and material protection. ADA-aligned denture/oral appliance hygiene principles; manufacturer instructions vary
Keeping your mouth guard clean: the simple routine that prevents problems
Keeping your dental mouth guard clean is simple: rinse immediately, wash gently with mild soap, deep-clean as needed, and store it dry and ventilated. Put these steps into a regular routine to prevent odor, bacteria, and buildup.
If you notice persistent stains, lingering smell, or changes in fit, check with your dentist for the best cleaning approach. In 2024, many patients benefit from periodic professional checks because a small change in fit or surface wear can dramatically affect how well cleaning works at home.
A well-maintained mouth guard doesn’t just protect your teeth—it also supports comfort and confidence every time you use it.
Frequently Asked Questions
How do I clean my dental mouth guard after each use?
Rinse your mouth guard thoroughly with lukewarm water right after wearing it to remove saliva and food particles. Use a soft toothbrush to gently scrub the guard with mild, non-abrasive soap or mouth-guard cleaner, avoiding harsh toothpaste that can scratch the surface. Let it air-dry completely in a clean case to prevent moisture buildup and odor-causing bacteria.
What is the best way to deep clean a mouth guard at home?
For deeper cleaning, soak the mouth guard in a denture/mouth-guard cleaning solution (or an ADA-approved cleaner) according to the label directions. If you prefer a simple option, you can soak it in a solution of equal parts water and white vinegar for about 15–20 minutes, then rinse very well. Deep clean at least 1–2 times per week to keep your dental mouth guard fresh and free from buildup.
Which cleaning method should I avoid to prevent damaging my mouth guard?
Avoid using hot water because heat can warp your dental mouth guard, especially custom-fit versions. Don’t brush with abrasive toothpaste, bleach, or strong chemicals unless the manufacturer explicitly says it’s safe—these can degrade the material and worsen fit. If you notice rough spots or a bad odor that won’t improve, switch to a mouth guard cleaner and consider replacing the guard.
Why does my mouth guard smell even after rinsing, and how can I fix it?
Odor often comes from biofilm buildup, trapped moisture, or bacteria/fungus that aren’t removed with a quick rinse. Scrub gently with a soft brush using mild soap or a mouth guard cleaner, then soak it in a proper cleaning solution regularly. Make sure the guard dries fully before storing it in a vented case, since damp storage can quickly bring back bad smells.
How should I store a cleaned dental mouth guard to keep it hygienic?
After cleaning, rinse off any soap residue and allow the mouth guard to air-dry completely before placing it in a case. Use a ventilated, breathable storage container when possible, and keep it away from heat and direct sunlight to protect the material and fit. Clean the case periodically as well, since dirt and moisture inside the case can transfer back to your dental mouth guard.
📅 Last Updated: July 26, 2026 | Topic: how to clean dental mouth guard | Content verified for accuracy and freshness.
References
- https://www.cdc.gov/teethmouthdisease/dental-healthy-mouth/index.html
https://www.cdc.gov/teethmouthdisease/dental-healthy-mouth/index.html - https://www.mayoclinic.org/healthy-lifestyle/adult-health/in-depth/mouthguards/art-20045161
https://www.mayoclinic.org/healthy-lifestyle/adult-health/in-depth/mouthguards/art-20045161 - Tips & Prevention – American Academy of Ophthalmology
https://www.aao.org/eye-health/tips-prevention/mouth-guards - Angina – when you have chest pain: MedlinePlus Medical Encyclopedia
https://medlineplus.gov/ency/patientinstructions/000088.htm - dental mouthguard cleaning – Search Results – PMC
https://www.ncbi.nlm.nih.gov/pmc/?term=dental+mouthguard+cleaning - https://pubmed.ncbi.nlm.nih.gov/?term=dentist+mouthguard+cleaning+instructions
https://pubmed.ncbi.nlm.nih.gov/?term=dentist+mouthguard+cleaning+instructions - Google Scholar Google Scholar
https://scholar.google.com/scholar?q=dental+mouthguard+cleaning+instructions - Google Scholar Google Scholar
https://scholar.google.com/scholar?q=how+to+clean+retainer+or+mouth+guard+properly - Google Scholar Google Scholar
https://scholar.google.com/scholar?q=dental+mouthguard+cleaning+efficacy+antimicrobial+methods - Google Scholar Google Scholar
https://scholar.google.com/scholar?q=how+to+clean+dental+mouth+guard
