How to Clean Earasers
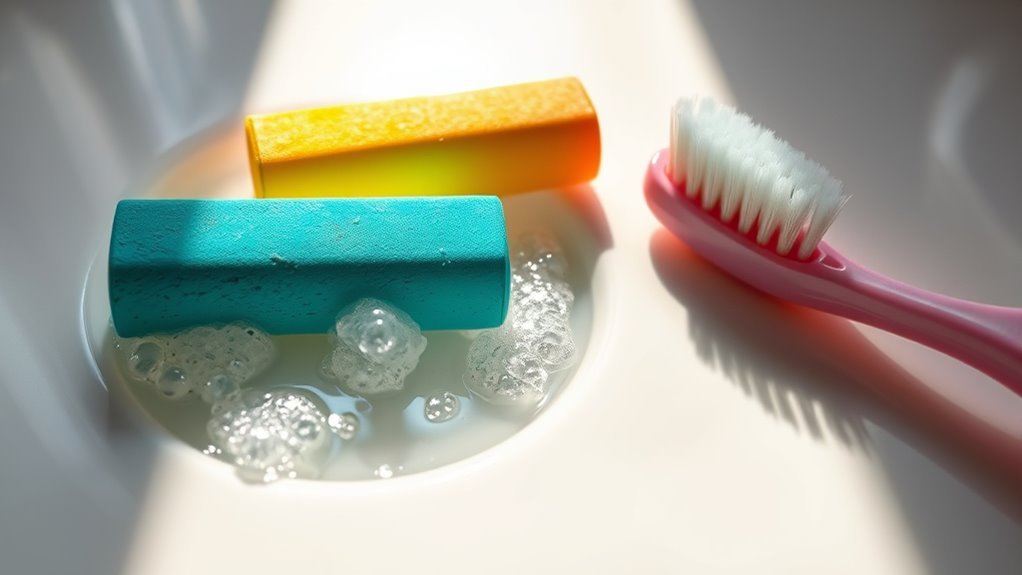
To clean erasers, gather soft cloths, mild detergent, and water. Mix the detergent with lukewarm water to create a cleaning solution. Dampen the cloth without soaking it, then gently wipe the eraser to remove grime. Rinse the cloth frequently to avoid residue. Make certain your workspace is dry and organized for safety. Regular cleaning keeps your erasers in top shape, and there are more tips to extend their lifespan waiting for you.
##
If you’re looking to keep your erasers in top shape, this article will guide you through the best cleaning methods for different types of erasers. Understanding that rubber and vinyl erasers require distinct care techniques is essential for maintaining their effectiveness and longevity. You’ll learn simple yet effective cleaning strategies, from using sandpaper for rubber erasers to employing a damp cloth or mild soap for vinyl ones. By following these tips, you can ensure that your erasers remain clean and functional, enhancing your writing experience.
Preparation For Cleaning
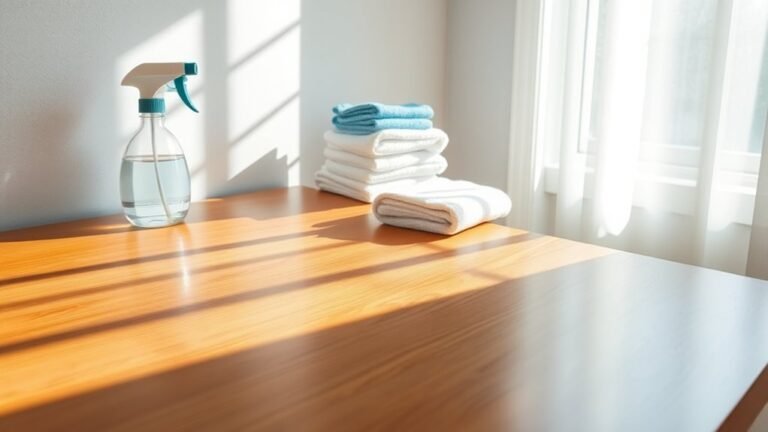
Before diving into the cleaning process, it’s essential to gather the right materials. Start by deciding on your preferred cleaning methods; whether you opt for a gentle soap solution or a specialized cleaner, make sure you have everything at hand. You’ll want to collect soft cloths or brushes for effective scrubbing, as well as a bowl for the cleaning solution. If your erasers have stubborn ear wax residue, consider keeping a cotton swab handy for those hard-to-reach areas. Double-check that you have a clean, dry workspace to avoid any mess. By preparing thoroughly, you’ll set yourself up for a successful cleaning experience, allowing you to restore your erasers to their pristine condition with ease.
Tools and Chemical Required
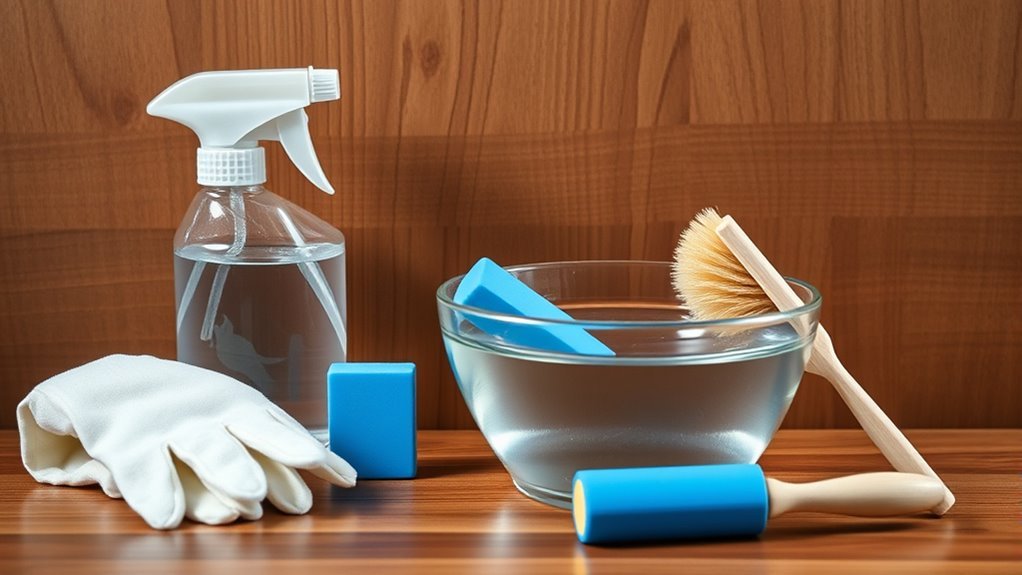
With your workspace prepared, it’s time to focus on the tools and chemicals required for cleaning your erasers effectively. To guarantee you have the right cleaning supplies, gather these essential items:
| Tool/Chemical | Purpose |
|---|---|
| Soft cloth | Wiping off dirt and debris |
| Mild detergent | Breaking down grease and grime |
| Isopropyl alcohol | Disinfecting and sanitizing |
| Water | Rinsing off cleaning agents |
These recommended products will help you tackle stubborn stains while being gentle on your erasers. Always test any chemical on a small area first to avoid damage. With the right tools, you’ll feel empowered to maintain your erasers effortlessly, keeping them in pristine condition for all your creative endeavors.
How to Clean:
How to Clean Your Eraser
Cleaning your eraser is essential to maintain its effectiveness. Follow this step-by-step guide to ensure your eraser stays in top shape.
Cleaning your eraser regularly is crucial for its performance. Follow this guide to keep it in excellent condition.
Step 1: Gather Your Supplies
- Soft Cloth: Choose a lint-free, soft cloth to avoid scratching the eraser.
- Mild Detergent: Use a gentle dish soap or a mild detergent that won’t harm the eraser material.
- Water: Prepare clean, lukewarm water for mixing with the detergent.
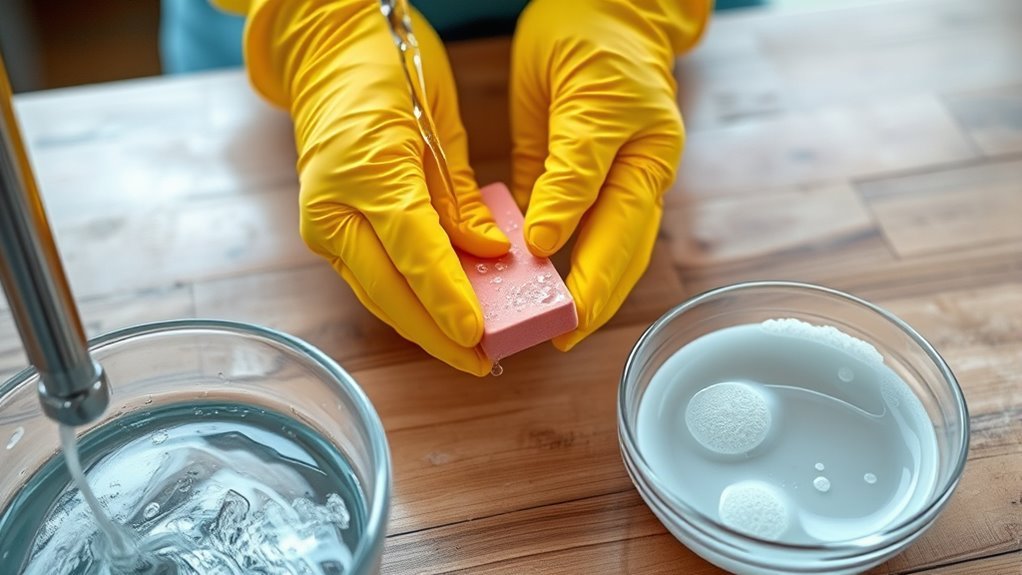
Step 2: Prepare the Cleaning Solution
– Mix Solution: In a bowl or small container, mix a few drops of mild detergent with lukewarm water. Aim for a solution that is soapy but not overly bubbly.
Step 3: Dampen the Cloth
- Soak the Cloth: Dip the soft cloth into the cleaning solution. Allow it to absorb some moisture, but ensure it is not dripping wet.
- Wring Out Excess Water: Gently wring out the cloth to remove any excess water to prevent saturating the eraser.
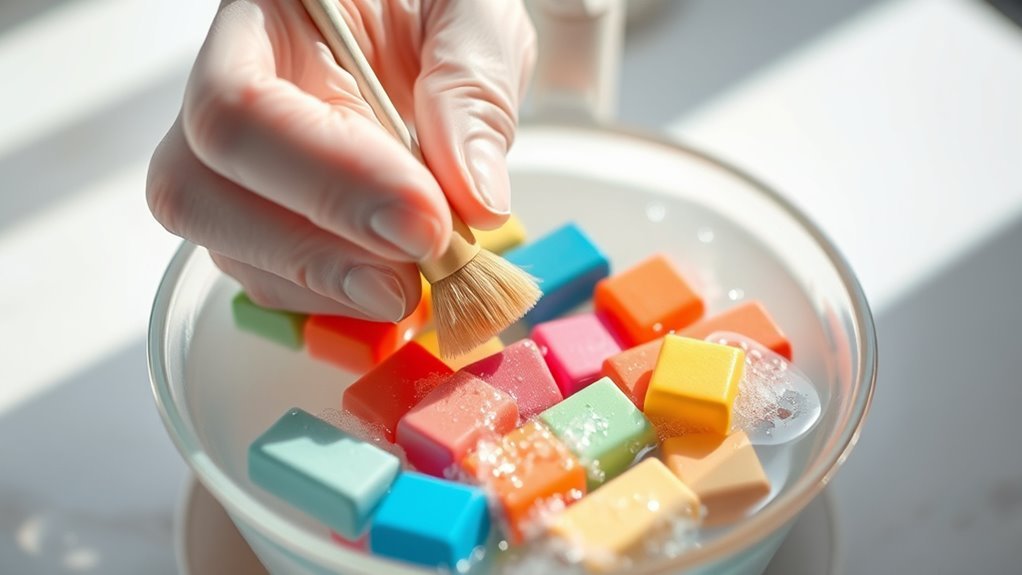
Step 4: Clean the Eraser
- Wipe Gently: Using the damp cloth, gently wipe the surface of the eraser. Focus on areas with built-up grime or earwax residue.
- Apply More Pressure for Stubborn Spots: If you encounter particularly stubborn spots, apply a bit more pressure, but be careful to avoid damaging the eraser.
Step 5: Rinse the Cloth
- Clean Water Rinse: Rinse the cloth thoroughly in clean water to remove any detergent residue.
- Wring Out Excess Water Again: Ensure that the cloth is damp, not wet, before proceeding to the next step.
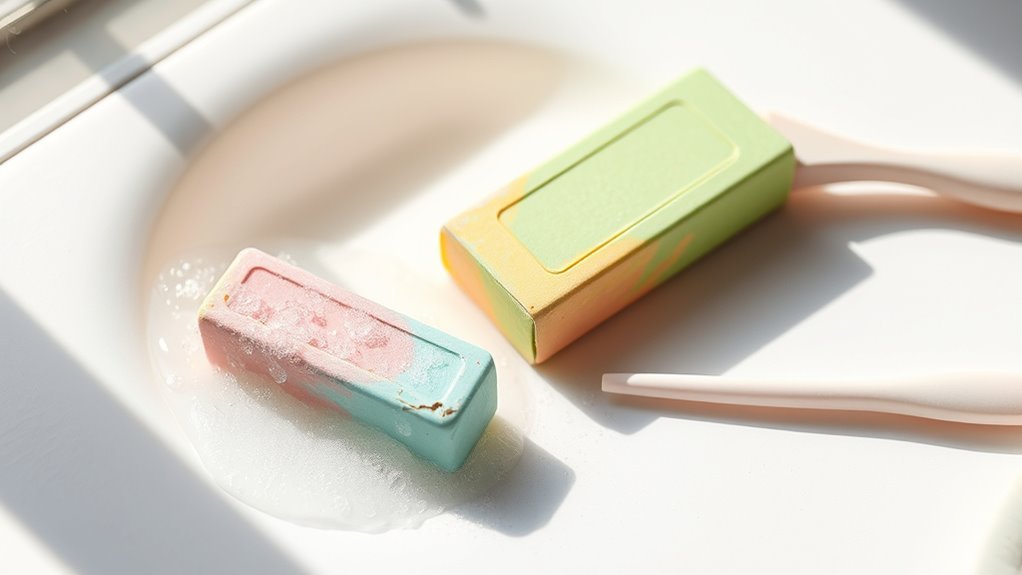
Step 6: Wipe Away Detergent Residue
– Final Wipe: Use the rinsed cloth to wipe down the eraser again. This step ensures that no detergent remains on the eraser, which could affect its performance.
Step 7: Dry the Eraser
– Air Dry: Allow the eraser to air dry completely before using it again. Avoid exposing it to direct sunlight or heat sources, as these can cause damage.
Step 8: Maintain Regular Cleaning
- Establish a Cleaning Schedule: Aim to clean your eraser every few weeks to prevent earwax build-up and maintain its effectiveness.
- Increase Frequency if Necessary: If you use your eraser frequently, consider cleaning it more often to keep it in optimal condition.
Safety Consideration
Cleaning your eraser effectively not only enhances its performance but also involves certain safety considerations to keep in mind. First, consider the cleaning frequency; regularly maintaining your eraser reduces the buildup of materials that can release particles into the air. When cleaning, make sure you’re in a well-ventilated space to minimize inhalation of dust. If you’re using any cleaning agents, wear ear protection to safeguard against potential irritants, especially if you’re using tools that create noise. Be mindful of sharp tools, too; handle them carefully to avoid injury. Finally, keep your workspace organized to prevent accidents. These precautions will help you maintain a safe and effective cleaning process, allowing you the freedom to focus on your creative tasks.
Tips to keep clean for long time
Although erasers are often overlooked, taking proper steps can greatly extend their cleanliness and usability. To maintain your erasers effectively, establish a regular maintenance routine. Clean them with a gentle scrub using a damp cloth or sponge to remove debris. Aim for a cleaning frequency of once a month, or more often if you notice buildup. Store your erasers in a cool, dry place away from direct sunlight, as heat can cause them to degrade. Avoid using them on rough surfaces that can wear them down quickly. By following these tips, you’ll keep your erasers in top shape, ensuring they last longer and function better, granting you the freedom to create without interruptions. Additionally, proper storage in a dry, cool place helps prevent material degradation and extends the life of your erasers.
Frequently Asked Questions
Can I Use Water to Clean Earasers?
You can use water to clean erasers, but it’s not always the best method. While it might seem convenient, too much moisture can damage the eraser’s texture. For effective earaser maintenance, consider using gentle cleaning methods like rubbing alcohol or a soft cloth. These options allow you to maintain your erasers without compromising their quality. Remember, taking care of your tools can lead to a smoother, more enjoyable creative process.
How Often Should I Clean My Earasers?
You should clean your earasers every few uses to maintain their effectiveness and prolong their lifespan. Regular cleaning helps prevent smudging and guarantees they perform well. A good cleaning frequency is once a week if you use them frequently, but feel free to adjust based on your usage. Consistent earaser maintenance not only keeps them in top shape but also enhances your overall writing experience, giving you the freedom to create without concern.
Are There Any Specific Brands of Cleaning Solutions Recommended?
For the best cleaning, you’ll want to contemplate gentle solutions like mild dish soap or isopropyl alcohol. These solution types effectively remove dirt without damaging your erasers. Brands like Simple Green or rubbing alcohol products are popular choices. Just mix a small amount with water, dip a cloth, and gently wipe down your erasers. Avoid harsh chemicals; they can ruin the material. Regular cleaning keeps your erasers functional and extends their lifespan.
Can Earasers Be Washed in a Dishwasher?
You wouldn’t want to toss your erasers in the dishwasher, despite the tempting convenience. The heat and strong water jets could warp or damage them, leaving you with unusable tools. Instead, opt for gentle cleaning methods, like warm soapy water and a soft cloth. This way, you’ll guarantee dishwasher safety while preserving the integrity of your erasers. Treat them with care, and they’ll keep your writing and drawings pristine for longer!
What Should I Do if My Earasers Smell?
If your earasers smell, start by airing them out in a well-ventilated space. For smell removal, you can wipe them with a cloth dampened with a mixture of water and mild soap, then rinse lightly. Allow them to dry completely. To prevent future odors, store your earasers in a dry area away from dampness and heat. Consider using a sealed container with silica gel packs to absorb excess moisture and keep them fresh.