How to Clean Epoxy Resin Cups
To clean epoxy resin cups, gather mild soap, warm water, and soft cloths. Start by soaking the cup in warm soapy water for about 15 minutes to loosen any residue. Use a sponge to scrub gently, and for stubborn spots, a plastic scraper can help. Remember to wear gloves and work in a well-ventilated area. After each use, rinse your cups immediately to prevent buildup. There’s more to keeping them in top shape, so keep going for additional tips!
##
If you’re looking for effective ways to clean your epoxy resin cups, you’re in the right place! This article will guide you through the essential steps and tips to ensure your cups stay in pristine condition. Understanding the nuances of different epoxy types and the importance of timely cleaning will empower you to tackle any residue with ease. With the right supplies and techniques, you’ll learn how to maintain your epoxy resin cups effortlessly, allowing you to enjoy your creative projects for longer. Read on to discover all the information you need for successful cleaning!
Preparation For Cleaning
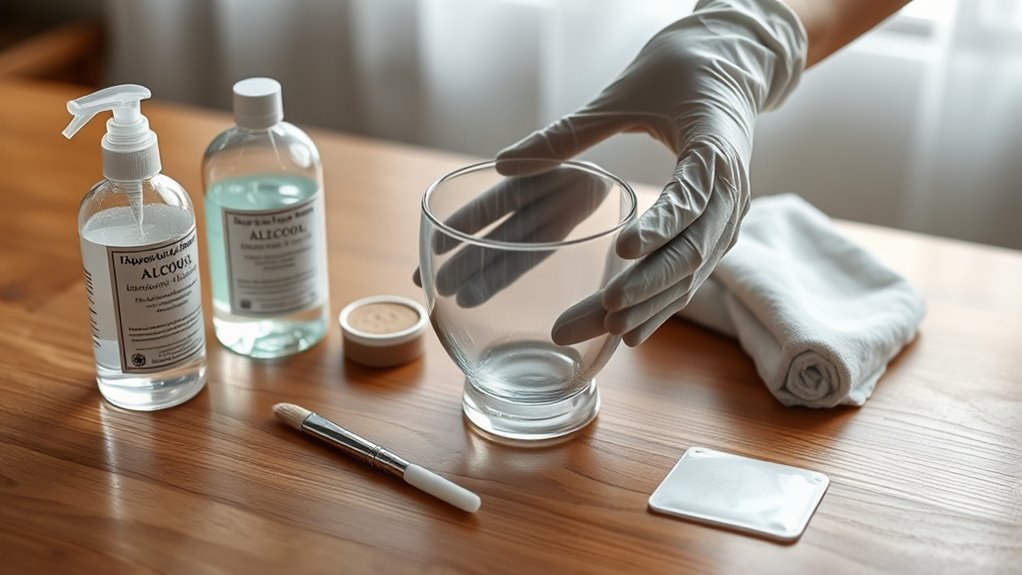
Before diving into the cleaning process, it is crucial to gather all the necessary supplies to make the task smoother. Start by collecting your cleaning supplies, such as mild soap, warm water, and soft cloths. You’ll also need gloves to protect your hands and a workspace that can handle some mess. Surface preparation is key; make sure your cleaning area is free from clutter and spills to avoid any accidents. Lay down some old newspaper or a drop cloth to catch any drips. Having everything organized will allow you to focus on the task at hand without distractions. Remember, a little preparation goes a long way in ensuring a successful cleaning experience for your epoxy resin cups. Consider using natural cleaning products to minimize exposure to harsh chemicals during the cleaning process.
Tools and Chemical Required
To effectively clean your epoxy resin cups, you’ll need a few essential tools and chemicals that streamline the process. Gathering the right cleaning supplies is key to maintaining those resin materials. Here’s a handy table to guide you:
| Tool/Chemical | Purpose | Notes |
|---|---|---|
| Isopropyl Alcohol | Dissolves resin residue | Use 70% or higher |
| Acetone | For stubborn residue | Test on small area first |
| Soft Cloth/Sponge | Wipe surfaces clean | Non-abrasive recommended |
| Dish Soap | General cleaning | Mix with water, then rinse |
| Gloves | Protect your hands | Essential for safety |
With these items in hand, you’re ready to tackle the cleaning process effectively. Enjoy the freedom of a sparkling clean cup!
How to Clean:
Step 1: Gather Your Cleaning Supplies
- Collect all necessary cleaning materials before you start for efficiency.
- Essential supplies include:
- Warm soapy water
- A sponge for scrubbing
- A plastic scraper for stubborn residue
- A clean, dry cloth for drying
Step 2: Set Up a Well-Ventilated Workspace
- Choose a location with good air circulation to ensure any fumes from the cleaning process dissipate quickly.
- If indoors, open windows or use a fan to improve airflow.
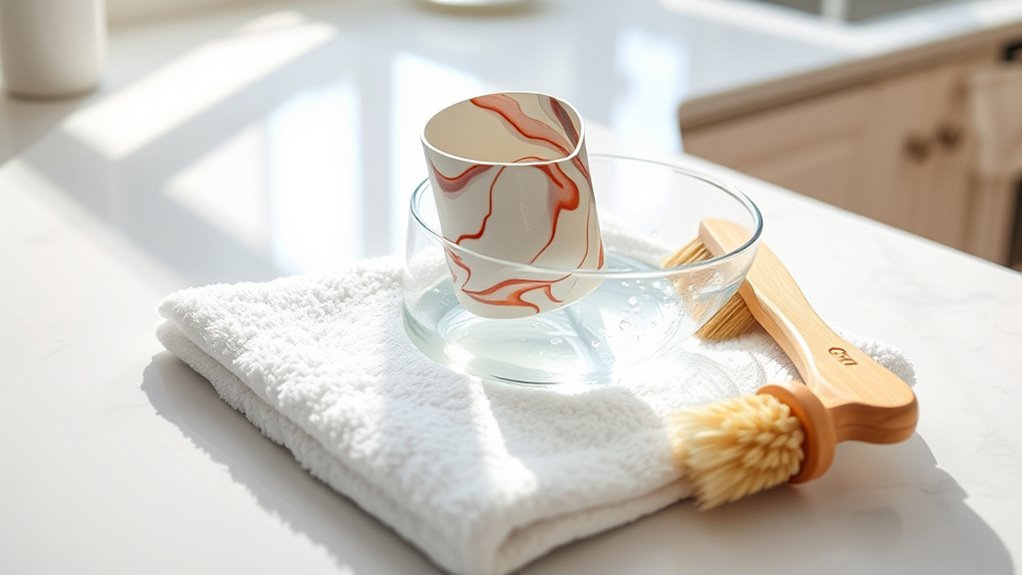
Step 3: Soak the Epoxy Resin Cup
- Submerge the epoxy resin cup in warm soapy water.
- Allow it to soak for approximately 15 minutes. This will help to soften and loosen any hardened resin inside the cup.
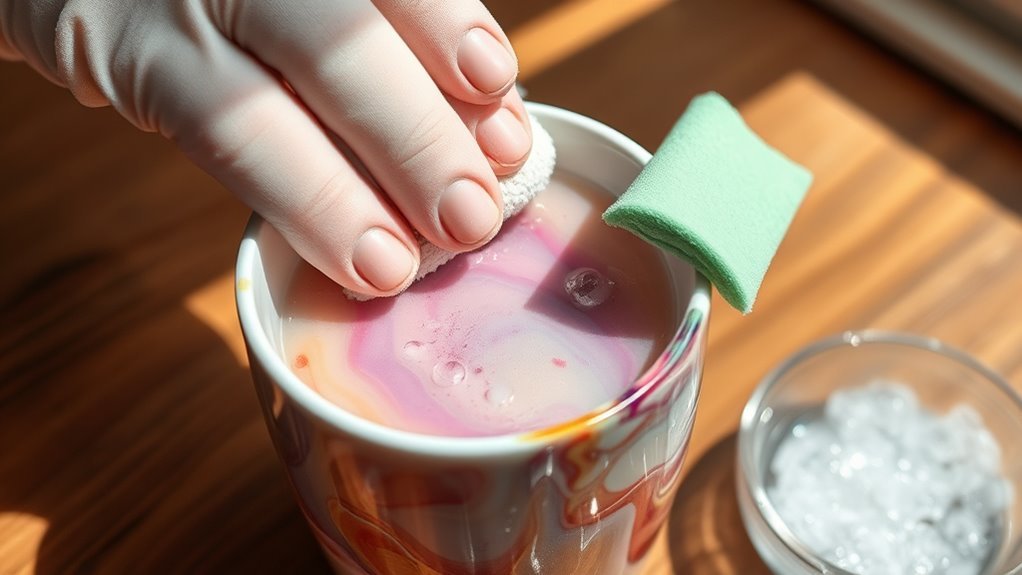
Step 4: Scrub the Interior with a Sponge
- After soaking, use the sponge to gently scrub the interior of the cup.
- Add more warm soapy water as needed to help lift any remaining residue.
- Focus on areas with visible staining or buildup.
Step 5: Use a Plastic Scraper for Tough Spots
- For any stubborn areas that the sponge can’t clean, use the plastic scraper.
- Carefully scrape away the residue without scratching the surface of the cup.
- Work gently to avoid any potential damage to the cup.
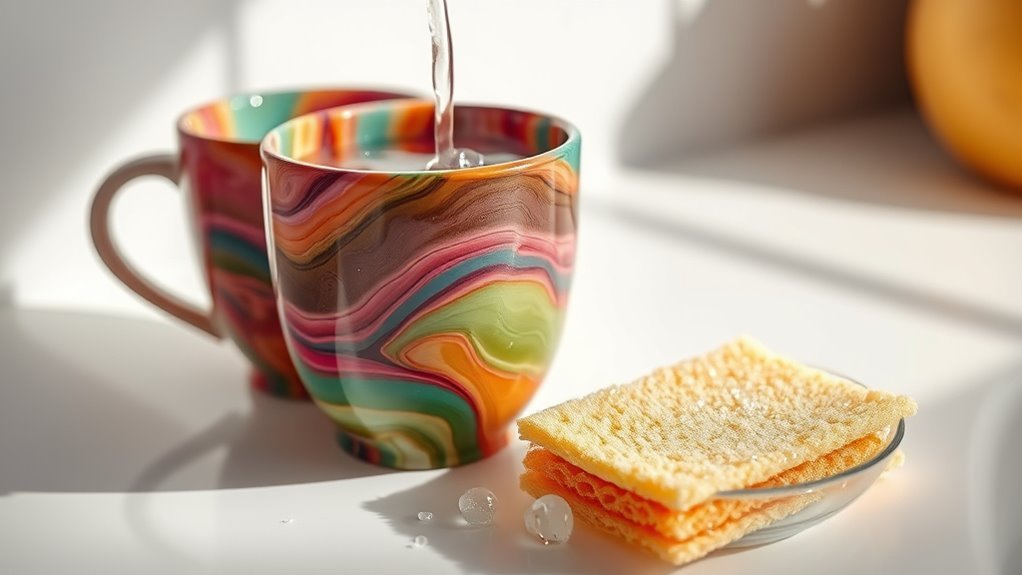
Step 6: Rinse Thoroughly
- Once the cup is clean, rinse it thoroughly under warm running water.
- Ensure that all soap and debris are completely washed away to avoid any residue.
Step 7: Dry the Cup
- Use a clean, dry cloth to wipe down the exterior and interior of the cup.
- Make sure the cup is completely dry before storing it to prevent any moisture buildup.
Maintenance Tip: Clean Immediately After Use
- To prevent resin from hardening and becoming difficult to clean, make it a habit to clean your cups immediately after use.
- Regular cleaning helps maintain the cups’ appearance and functionality for future creative projects.
Safety Consideration
While cleaning epoxy resin cups can be straightforward, it’s crucial to keep safety in mind throughout the process. Start by wearing protective gear, like gloves and goggles, to shield yourself from potential chemical hazards. Epoxy resin can release fumes, so make certain you’re in a well-ventilated space or consider using a mask if you’re sensitive to odors. Before you plunge in, read the labels on cleaning products to understand their contents and any associated risks. Remember, it’s not just about cleaning but also about protecting yourself from harmful substances. Taking these precautions will let you enjoy your crafting experience without worry, allowing you the freedom to create while keeping your health a priority. Stay safe and happy crafting!
Tips to keep clean for long time
Although cleaning epoxy resin cups is essential, maintaining their cleanliness over time can be even more beneficial. To achieve this, focus on preventative maintenance. Start by rinsing your cups immediately after use to prevent residue buildup. Regular inspections are significant; check for any scratches or wear that could harbor grime. If you spot any damage, consider refinishing your cups to keep them looking pristine. Store your cups in a cool, dry place, away from direct sunlight, to avoid fading and warping. You might also want to use a protective cover when they’re not in use. By adopting these simple habits, you’ll enjoy your beautiful epoxy resin cups for many years, ensuring they remain as vibrant and functional as the day you made them. Using non-abrasive cleaners can help preserve the finish and prevent damage during cleaning.
Frequently Asked Questions
Can I Use Bleach to Clean Epoxy Resin Cups?
You shouldn’t use bleach to clean epoxy resin cups. Bleach can damage the resin and compromise its integrity. Instead, consider safer cleaning alternatives like rubbing alcohol or vinegar, which effectively remove residue without harming the material. Always prioritize epoxy safety by wearing gloves and working in a well-ventilated area. You’ll keep your cups looking great and maintain their durability, giving you the freedom to enjoy your creations without worry.
How Often Should I Clean My Epoxy Resin Cups?
You should clean your epoxy resin cups after every use, but hey, who’s counting, right? If you want to live on the edge of grime, maintenance tips suggest a weekly deep clean instead. Just imagine the thrill of unearthing last week’s coffee remnants! But seriously, regular cleaning frequency keeps your cups looking sharp and guarantees they’re safe for your next drink. Embrace the freedom of a clean cup; your future self will thank you!
Are There Any Food Safety Concerns With Epoxy Resin?
Yes, there are food safety concerns with epoxy resin. While some epoxy products claim to be food-safe once fully cured, not all resins are created equal, and resin toxicity can vary. It’s essential to check the manufacturer’s guidelines and verify the resin is specifically labeled as food-safe. Always prioritize your health and well-being by avoiding direct food contact with uncured resin, as it may leach harmful chemicals if not properly formulated.
Can Epoxy Resin Cups Be Put in the Dishwasher?
No, you shouldn’t toss your epoxy resin cups in the dishwasher. Like a delicate flower in a storm, these cups can be damaged by high heat and harsh detergents. Epoxy materials aren’t designed for dishwasher safety, risking warping or dulling their shine. Instead, embrace the freedom of handwashing with gentle soap and a soft sponge. This way, your beautiful creations will remain vibrant and ready for use, just as you envisioned them.
What Should I Do if My Cup Gets Scratched?
If your cup gets scratched, don’t worry! You can often fix it with scratch repair kits designed for resin. Start by cleaning the area, then gently sand the scratch with fine-grit sandpaper. After that, apply a thin layer of resin to the scratched area, allowing it to cure fully. For ongoing cup maintenance, avoid abrasive cleaners and store your cup safely to prevent future scratches. Enjoy your freedom to sip in style!


