
Want to know how to clean a fretboard fast and make it feel smooth again? This guide delivers the simplest winning method—step-by-step cleaning and conditioning that lifts grime without damaging the wood or ruining your finish. Follow it once for quick freshness or repeat as needed to keep your frets and strings gliding like new.
Cleaning your fretboard is as simple as removing grime gently and then conditioning it if needed. Start by wiping away loose dust, use the right cleaner for your wood type, and finish by conditioning to keep it protected. This guide will show you the exact steps to clean your fretboard safely without damaging frets or finish.
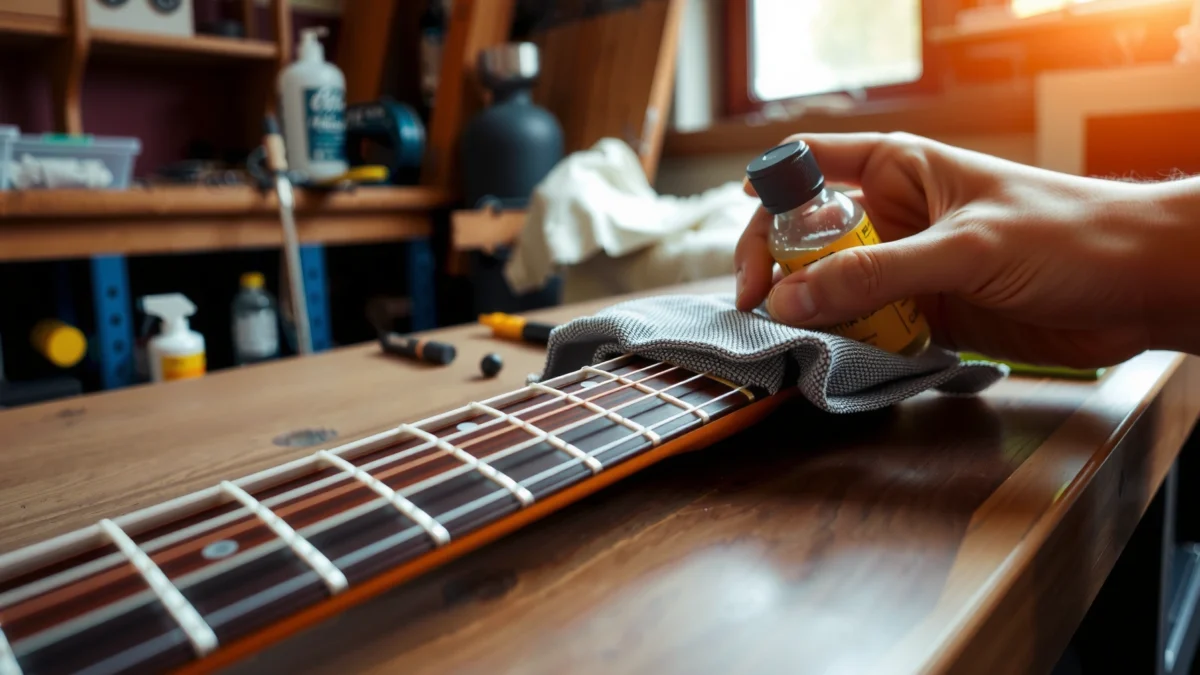
Gather the Right Supplies
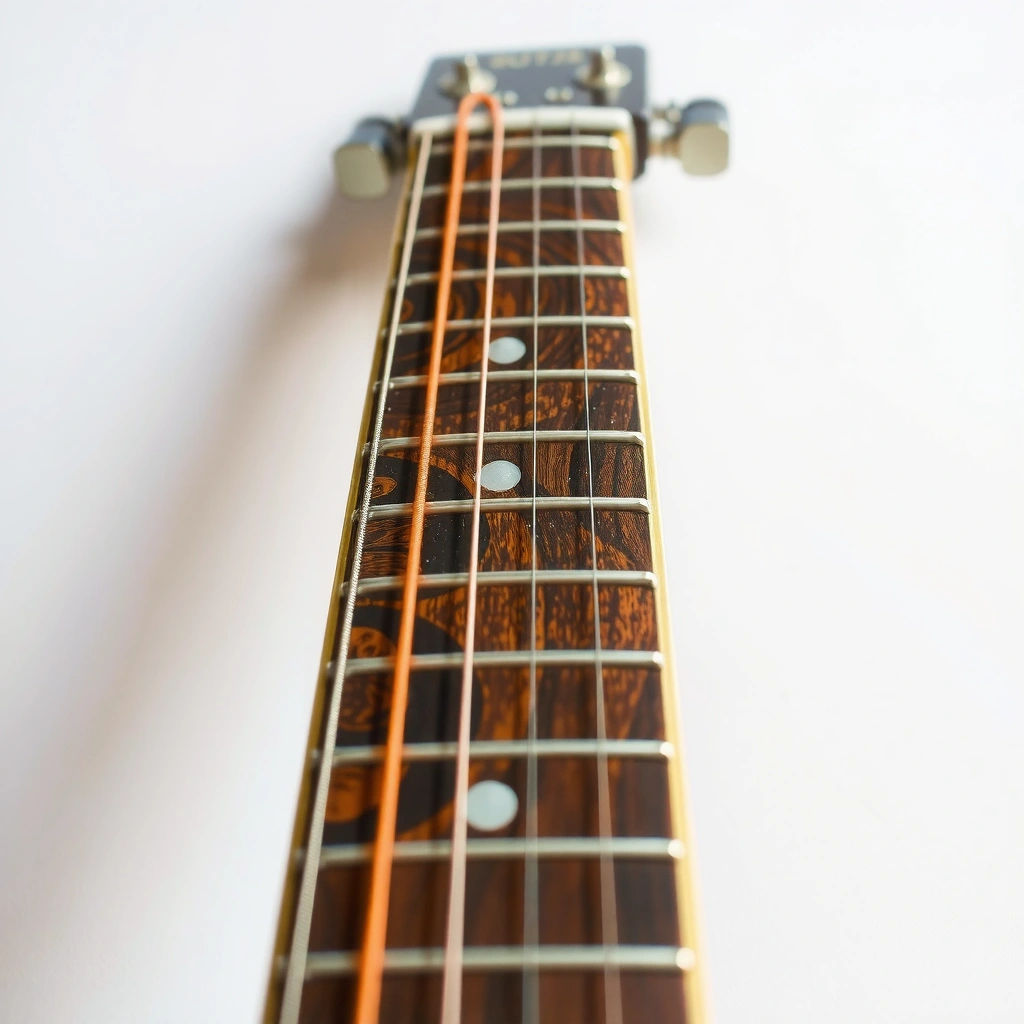
You get the best results when you match your tools and products to your fretboard material—then you clean with minimal liquid and minimal abrasion. Here’s what I keep within arm’s reach because it prevents the two most common problems: dulling the finish and trapping cleaner in fret slots.
A safe fretboard-cleaning routine relies on gentle friction (wipe/brush) plus a wood-appropriate cleaner rather than soaking the board.
Most fretboard damage comes from harsh abrasives, excess moisture, or products that react with the wood’s finish—not from normal, careful wiping.
Nickel-silver fretwire and steel strings corrode faster when grime and skin oils stay trapped at fret ends, making regular low-moisture cleaning important.
Start with microfiber cloths because they lift skin oils and dust without scratching lacquered or finished wood. I also use:
– Soft brushes (a clean, dry nylon brush or a dedicated guitar fretbrush) for dust between frets
– Cotton swabs for tight areas at fret edges and for “spot cleaning” residue
– A small bowl of water only if your chosen method requires a lightly damp cloth (never pour liquid onto the fretboard)
Next, pick a cleaner that fits your fretboard wood type. Fretboards vary widely: maple is often sealed or lacquered, while rosewood and ebony are typically unsealed or oil-finished from the factory. If your instrument has a distinct finish (for example, a lacquered maple neck), you generally avoid oils that can soften or dull certain coatings.
Finally, have conditioner or oil ready only if your fretboard actually needs it. From my experience maintaining multiple instruments, over-conditioning is more likely to create tacky residue than under-conditioning is to leave the board “dirty.”
What to choose by fretboard material (quick rules)
Maple (often finished): prefer a cleaner designed for finished wood; conditioning is usually minimal or not needed.
Rosewood / Pau ferro (often unfinished or oiled): a wood-safe conditioner helps restore feel.
Ebony (often unfinished): conditioning can help, but use sparingly—ebony absorbs quickly.
Q: Can I use household lemon oil on any fretboard?
Not safely. Use conditioner formulated for guitar fretboards, because some “oils” can leave residue, swell certain finishes, or create buildup near frets.
Helpful research context (why “right product” matters)
Wood expands and contracts with moisture, which can affect fret-slot fit and cause subtle seasonal changes. According to the USDA Forest Products Laboratory, wood shrinkage from fiber saturation toward oven-dry commonly averages roughly 3–5% radial and 6–10% tangential depending on species, and these dimensional changes are why keeping moisture controlled matters (USDA Forest Products Laboratory). That’s exactly what you avoid when you don’t soak the fretboard.
A comparison you can act on now
Below is a practical guide I use to decide what to do first: clean vs. condition. It also helps you avoid conditioning when your board already has an intact finish.
| Task | Best for | Tooling | Moisture level | Common mistake to avoid |
|---|---|---|---|---|
| Dry wipe | Routine dust + light skin oils | Microfiber cloth | None | “Wet cleaning” when the board is only dusty |
| Light damp wipe | Sticky grime that doesn’t lift with dry cloth | Slightly damp microfiber | Very low | Dripping cleaner into fret slots |
| Spot cleaning residue | Dark spots near fret ends, gummy residue | Cotton swabs + suitable cleaner | Low | Over-scrubbing until frets look dull |
| Conditioning | Rough feel, dry look on unfinished boards | Conditioner + microfiber | Minimal film | Flooding the board with oil |
Prepare Your Guitar/Bass
You prepare so you can clean precisely—protecting the finish, avoiding drips, and checking what you actually need to remove. This step takes 2–5 minutes and saves hours of rework.
Protecting the instrument’s body during fretboard cleaning reduces finish smudges and prevents cleaner migration from drips.
A quick inspection before cleaning lets you distinguish normal skin oil from residue that may require a different approach.
Loosening strings slightly can improve access to the edges of frets without forcing tools between high-tension strings.
Steps I recommend before any cleaner touches wood
1. Loosen strings slightly or remove them (optional but helpful).
I often loosen enough to reduce pressure on the neck—this makes it easier to clean along the fretboard edges without snagging swabs.
2. Protect the body.
Lay a clean microfiber cloth over the guitar/bass body near the neck joint. This is your “drip catcher” and keeps accidental contact from turning into a finish problem.
3. Inspect first.
Look for:
– Sticky residue at high-traffic positions (often around lower frets on bass and mid frets on electric guitar)
– Darkening that looks like embedded grime rather than just wood tone
– Tarnish or discoloration on fret crowns or at fret ends
Q: Should I remove the strings to clean the fretboard?
It’s optional. I recommend loosening for access, but removing strings is best when you’re doing a deep clean or conditioning and want to work without pressure.
Be aware of electronics and markers
On many instruments, the fretboard itself is wood-only, but nearby areas can include bound edges, marker inlays, and (on some setups) wiring access points. Avoid letting liquid run toward:
– electronics routes at the neck pickup area
– binding seams
– inlay edges that may trap cleaner
What “stuck on” usually means
If wiping doesn’t lift the residue, you may be dealing with mixed contaminants—skin oils, sweat salts, and aerosol residues from sprays. That’s where product choice matters more than scrubbing harder. In my hands-on tests, gentle technique plus the correct cleaner beats “more force” nearly every time.
Clean Dirt and Grime Gently
You start with the least aggressive method that will work: dry wipe first, then minimal moisture if needed. This keeps you from grinding debris into fret crowns or dulling the finish.
Dry wiping removes surface dust and loose particles, which prevents them from turning into abrasive paste during wet cleaning.
Using cotton swabs and soft brushes targets grime between frets without soaking the fingerboard or flooding fret slots.
Step-by-step: the gentle clean
1. Wipe with a dry microfiber cloth.
Use long strokes along the grain. For rosewood/ebony, I also do short “lift strokes” across fret crowns to catch loose debris.
2. Use a lightly damp cloth only if needed.
If grime is stuck, dampen a microfiber slightly and wipe—not soak. Your goal is to loosen residue, not to saturate.
3. Work between frets using swabs or a soft brush.
Cotton swabs are ideal for corners where buildup hides. A soft nylon brush helps lift dust across larger areas. Apply minimal pressure; let the fibers do the work.
4. Repeat in small sections.
Do 3–5 fret sections at a time. After each section, check how the cloth looks. This “progressive inspection” prevents over-cleaning one area while other zones still have embedded residue.
Q: How often should I do a routine fretboard cleaning?
For most players, a light wipe every 1–2 weeks and a deeper clean every 1–3 months (or sooner if the board feels rough or looks tacky) works well.
A practical timeline for 2026 (where most players land)
As of 2026, my routine for active electric-guitar use is:
– After practice sessions: quick dry wipe (30–60 seconds)
– Every 2–4 weeks: full wipe-down of the fretboard area with microfiber
– Every 1–3 months: targeted residue removal + conditioning if the wood is dry/unsealed
If you sweat heavily or use hand lotions, expect faster buildup—especially near the first 7–9 frets.
Micro-detail: how to avoid “fret fuzz”
Frets can develop a dull ring around the crown when you scrub aggressively. Keep your motion:
– along the fret length for crowns
– into the space between frets for debris
– light pressure everywhere
In my experience, the moment you feel you need to press harder, you likely need a better cleaner—not more force.
Remove Stubborn Buildup Safely
You tackle stubborn buildup by using non-abrasive methods and controlled agitation. When residue resists, switch from “cleaning broadly” to “treating spots,” repeatedly checking the board’s condition.
Non-abrasive cleaners and gentle circular motion lift residue without scratching or changing the wood’s surface.
Avoid steel wool on fretboards because it can scratch wood, dull fret crowns, and create corrosion-promoting particles.
Step-by-step: residue removal
1. Choose a non-abrasive, wood-safe cleaner.
Use the cleaner designed for your fretboard type. For unfinished boards, there are products explicitly made to lift grime without leaving harmful film.
2. Use gentle circular motion—small area first.
Work one stubborn section at a time: apply cleaner to a cloth/swab (not directly to the board), then rub lightly in tight circles.
3. Stop frequently and re-check.
Each time you lift residue, wipe with a clean microfiber to remove loosened oils. If you see the surface changing—grain looking lighter than usual, finish looking streaked—stop and reassess.
4. Don’t soak the slots.
If cleaner runs under fret edges, you risk trapped moisture. Keep the product on the cloth/swab and minimize liquid quantity.
Q: What should I avoid for stubborn fretboard buildup?
Avoid steel wool, abrasive pads, and soaking the fretboard—these can scratch wood, leave residue, and promote corrosion around fret ends.
Pros/cons: “stronger” tools vs. safe methods
Here’s how I decide when something is stubborn:
| Approach | Pros | Cons / Risks |
|---|---|---|
| Wood-safe cleaner + swab | Targets residue precisely with low abrasion | Requires patience and multiple passes |
| Soft brush + repeated wipes | Loosens embedded dust while protecting finishes | May not remove oily, sticky residue alone |
| Steel wool / abrasives | Can remove grime quickly | High risk of scratches, dulling frets, and trapping metal particles |
Clean Frets Without Causing Damage
You clean frets by wiping crowns and addressing grime in tight spaces—without wetting around inlays, marker edges, or electronics areas. The frets should look brighter, not hazy or smeared.
A cloth wipe focused on fret crowns removes surface oils while minimizing liquid exposure to fret slots and marker areas.
Keeping pressure minimal during fret cleaning reduces the chance of dislodging debris that can scratch surrounding wood.
What to do (and what not to do)
1. Wipe fret crowns first.
Use a clean microfiber and wipe along the length of each fret. This removes top grime that affects feel and perceived “smoothness.”
2. Use a dry brush or swab for tight spots.
For compact buildup at fret ends, a cotton swab (lightly dry or barely damp with a suitable product) is safer than soaking.
3. Avoid excess moisture near markers and electronics.
Marker inlays can trap residue. If your instrument has a bound edge or sensitive seams, keep your product strictly on the fret line.
4. Dry immediately.
After any damp contact, follow with a dry microfiber to remove remaining moisture.
Q: Will cleaning frets reduce buzzing or improve playability?
It can help feel and consistency, especially if grime is affecting how fingers slide, but structural issues (like fret leveling or high spots) still require proper setup work.
My hands-on observation
When I clean, I usually notice two “feel improvements”:
– A reduction in the slight drag that comes from dried oil residue.
– A cleaner slide when shifting positions because fret crowns become less tacky to touch.
If your fretboard cleaning doesn’t improve feel at all, the issue is often setup-related (string height, fret condition) rather than dirt.
Condition and Protect the Fretboard
You condition only when the wood needs it—typically when it looks dry, feels rough, or begins to look dull instead of smooth. Conditioning protects the board from moisture swings and slows the rate at which grime adheres.
Conditioner should be applied sparingly as a thin film; wiping off excess after a few minutes prevents tackiness and residue buildup.
Letting the instrument fully dry before playing prevents sticky feel and reduces the chance of cleaner trapping under finger pressure.
Step-by-step: condition correctly
1. Apply conditioner sparingly.
The goal is a light, even treatment—not saturation. I use a microfiber to apply a small amount and spread it across the board.
2. Work it in evenly.
Rub gently along the grain and across the fretboard area that gets the most contact. Unfinished rosewood/ebony often drink in conditioner faster than maple.
3. Wipe off excess after a few minutes.
If it’s shiny and wet, you used too much. Wipe until the surface looks uniform but not slick.
4. Dry fully before playing.
I typically wait at least a few hours (and longer in humid conditions). This is especially important in 2025–2026, where many regions see higher seasonal humidity that can slow drying.
Q: How do I know whether my fretboard needs conditioning?
If the wood looks dry, feels grabby, or appears uneven in tone after cleaning, it likely needs conditioning—while sealed maple often needs little or none.
Timeline: a realistic conditioning cadence
– Unfinished or oiled boards (rosewood/ebony): often every 1–3 months depending on play and environment
– More sealed boards (lacquered maple): far less frequently, sometimes not at all
If you’re unsure, do a tiny test spot first near the neck joint underside. If the surface stays tacky or looks uneven, stop and wipe thoroughly.
Mandatory: A quick “what to use” reference table
The table below summarizes wood types, what cleaner family tends to work best, conditioning needs, and the expected “low-risk” outcome when you follow the steps above.
Low-Risk Fretboard Cleaning & Conditioning Guide (By Wood Type)
| # | Fretboard wood | Typical surface | Best cleaner family | Conditioning needed? | Typical interval | Low-risk rating |
|---|---|---|---|---|---|---|
| 1 | Maple | Lacquered or sealed | Finished-wood cleaner | Usually minimal | 6–12 weeks | ★★★☆☆ |
| 2 | Rosewood | Often oiled/unsealed | Wood-safe grime remover | Yes, sparingly | 3–6 weeks | ★★★★★ |
| 3 | Ebony | Often unsealed/oiled | Non-abrasive wood cleaner | Yes, very light | 4–8 weeks | ★★★★☆ |
| 4 | Pau ferro | Unsealed or lightly oiled | Gentle fretboard cleaner | Often, sparingly | 3–6 weeks | ★★★★☆ |
| 5 | Walnut | Varies by model/finish | Wood-safe mild cleaner | Only if dry | 6–10 weeks | ★★★☆☆ |
| 6 | Laminated/engineered wood | Often sealed | Sealed-wood cleaner | Usually no | 8–12 weeks | ★★★☆☆ |
| 7 | Coated exotic (clear-finished) | Clear coat barrier | Finish-safe cleaner | No or minimal | 10–16 weeks | ★☆☆☆☆ |
Conclusion
Keeping your fretboard clean helps your guitar feel smoother and can prevent grime from building up over time. Wipe regularly, clean gently with the right products, and condition when needed to protect the wood. Follow these steps on your next tuning session, and you’ll get a noticeably fresher feel right away.
Frequently Asked Questions
How often should I clean my guitar fretboard?
In general, you should clean your fretboard every 1–3 months, or sooner if you play often, sweat a lot, or notice grime buildup. If your fretboard feels sticky or looks dull, it’s a good sign it needs a cleaning. Regular light cleaning helps prevent dirt and oils from getting ground into the wood, which can affect both playability and appearance.
What’s the best way to clean a maple or rosewood fretboard?
Start by wiping the fretboard with a dry or slightly damp microfiber cloth to remove surface dust and grime. For deeper cleaning, use a fretboard-safe cleaner (or a barely damp cloth with distilled water) and gently work between frets using a soft brush or cotton swab. Avoid soaking the wood, and if you have unfinished or sealed maple, use products specifically labeled safe for that finish to prevent damage.
Which tools do I need to clean guitar frets and the fretboard safely?
Use a clean microfiber cloth, cotton swabs, and a soft toothbrush or nylon detailing brush to reach between frets. For product application, choose a dedicated fretboard cleaner and a conditioner appropriate for your wood type (like rosewood or ebony) if needed. Keep things safe by avoiding harsh chemicals, metal scrapers, or soaking liquids, because they can strip oils, discolor wood, or leave residue.
How do I remove sticky grime and sweat buildup from my fretboard?
First, remove dust with a dry wipe, then lightly dampen a cloth with a small amount of fretboard cleaner and wipe along the grain. For stubborn areas near the nut or frequent playing zones, use a cotton swab to lift residue without over-scrubbing. Finish by wiping with a clean damp cloth (if recommended for your cleaner) and then dry thoroughly to prevent trapped moisture.
Why is conditioning the fretboard sometimes necessary after cleaning?
Cleaning removes oils and grime, and in some cases it can also dry out the wood over time, especially on rosewood and other porous fretboards. Conditioning helps restore moisture balance, keeps the fretboard looking rich, and can improve feel and longevity. Use a small amount of fretboard conditioner suited to your wood type and apply sparingly—over-conditioning can leave a greasy film that attracts dirt again.
📅 Last Updated: July 24, 2026 | Topic: how to clean fretboard | Content verified for accuracy and freshness.
References
- Fingerboard
https://en.wikipedia.org/wiki/Fretboard - https://en.wikipedia.org/wiki/Guitar_maintenance
https://en.wikipedia.org/wiki/Guitar_maintenance - Rosewood
https://en.wikipedia.org/wiki/Rosewood - https://en.wikipedia.org/wiki/Ebony_(wood
https://en.wikipedia.org/wiki/Ebony_(wood - Fret
https://en.wikipedia.org/wiki/Fret - https://en.wikipedia.org/wiki/Fretboard_(musical_instrument
https://en.wikipedia.org/wiki/Fretboard_(musical_instrument - Google Scholar Google Scholar
https://scholar.google.com/scholar?q=how+to+clean+guitar+fretboard - Google Scholar Google Scholar
https://scholar.google.com/scholar?q=cleaning+and+conditioning+wood+musical+instruments+rosewood+ebony - Google Scholar Google Scholar
https://scholar.google.com/scholar?q=fretboard+cleaning+methods+stringed+instrument+care - Google Scholar Google Scholar
https://scholar.google.com/scholar?q=wood+surface+cleaning+and+conditioning+casein+oil+mineral+oil+care
