How to Clean Grout
To clean grout, start by removing loose dirt with a vacuum or brush. Mix baking soda and vinegar, apply to grout lines, and scrub with a grout brush. For tough stains, hydrogen peroxide works well. After cleaning, rinse and dry grout thoroughly to prevent mold. Using a steam cleaner is another great chemical-free option. Finally, sealing grout helps protect it from future stains. Keep going to discover the best tools and maintenance tips for lasting results.
Understanding Different Types of Grout
Grout comes in several types, each designed for specific applications and conditions. When you’re choosing grout, understanding the differences lets you pick what suits your style and needs best. Sanded grout contains sand particles, making it perfect for wider joints and durability, while unsanded grout is smoother, ideal for narrow spaces where you want a clean finish. Epoxy grout, though pricier, offers unbeatable resistance to stains and water, giving you freedom from constant upkeep. Plus, grout colors aren’t just functional—they let you express your creativity, from classic neutrals to bold hues that make your tiles pop. Knowing your grout options empowers you to maintain your space exactly how you want, with less hassle and more freedom to enjoy the results.
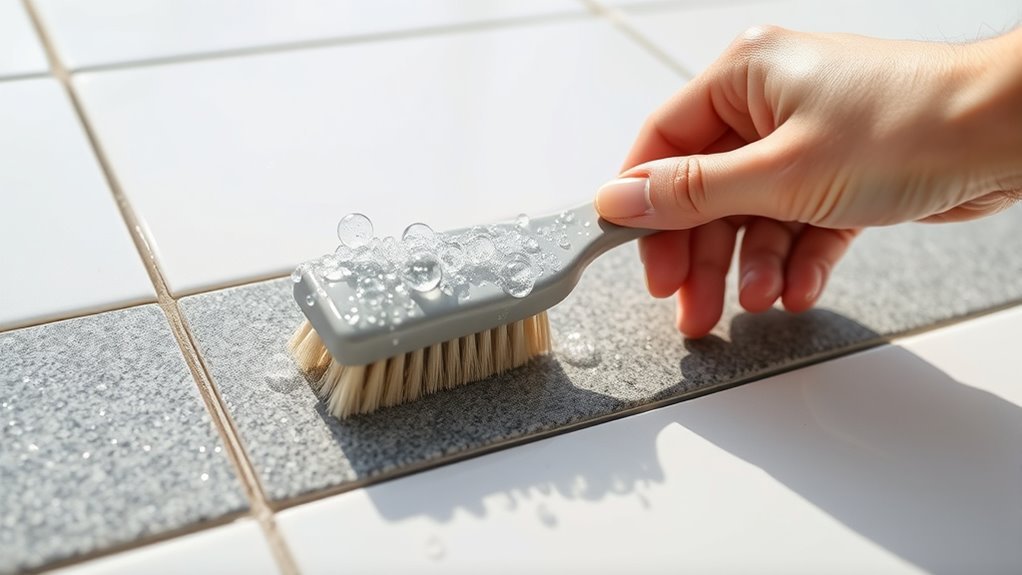
Essential Tools for Grout Cleaning
To tackle grout cleaning effectively, you’ll want a few essential tools at your disposal. Having the right gear makes the process quicker and lets you enjoy your space sooner.
Here are the top three essentials:
- Grout brushes – These specially designed brushes reach deep into grout lines, scrubbing away dirt without damaging tiles.
- Cleaning solutions – Choose a formula suited to your grout type, whether homemade or commercial, to break down grime efficiently.
- Protective gloves – Keep your hands safe from harsh chemicals and maintain your freedom to clean without discomfort.
With these tools, you’re set to restore your grout’s fresh look and feel free from stubborn stains. Getting equipped right is the first step toward grout freedom!
Preparing the Surface for Cleaning
Before you start scrubbing, make sure to clear away any debris and dust from the grout lines. This helps the cleaning solution work more effectively. Also, always test your chosen cleaner on a small, hidden area to avoid damage.
Clear Debris and Dust
One essential step in preparing your tile surface for cleaning is clearing away any debris and dust. This debris removal and dust prevention guarantee your grout cleaning is effective and your tiles stay pristine. Here’s how to tackle it efficiently:
- Sweep or vacuum the floor thoroughly to lift loose dirt and dust.
- Use a soft brush or microfiber cloth to reach corners and grout lines, removing stubborn particles.
- Wipe the surface with a damp cloth to catch any remaining dust and prevent it from settling back.
Test Cleaning Solutions
How should you choose the right cleaning solution for your grout? Start by considering natural cleaning options—they’re gentler and reduce the risk of harsh chemicals causing grout discoloration. Before diving in, always test your chosen solution on a small, hidden grout section. This quick step lets you see how it reacts without risking widespread damage. Apply a bit, wait a few minutes, then rinse and observe. If the grout’s color stays consistent and the surface feels clean, you’re good to go. Testing guarantees you maintain your tile’s original look while freeing yourself from worry about stains or fading. Taking this simple precaution lets you confidently clean your grout, preserving its appearance and your freedom to choose safer, eco-friendly solutions.
Using Baking Soda and Vinegar for Grout
Two common household ingredients, baking soda and vinegar, can work wonders for cleaning grout. You’ll appreciate the baking soda benefits—it’s mildly abrasive and deodorizing—while vinegar efficacy lies in its natural acidity that breaks down grime. Here’s how you can harness their power:
- Sprinkle baking soda directly onto the grout lines.
- Spray vinegar over the baking soda, causing a fizzing reaction that loosens dirt.
- After it bubbles, scrub the grout with a brush, then rinse with warm water.
This simple, natural combo frees you from harsh chemicals and gives your grout a fresh look. By using what you already have at home, you keep your cleaning routine effective and eco-friendly—letting you enjoy both a spotless space and peace of mind.
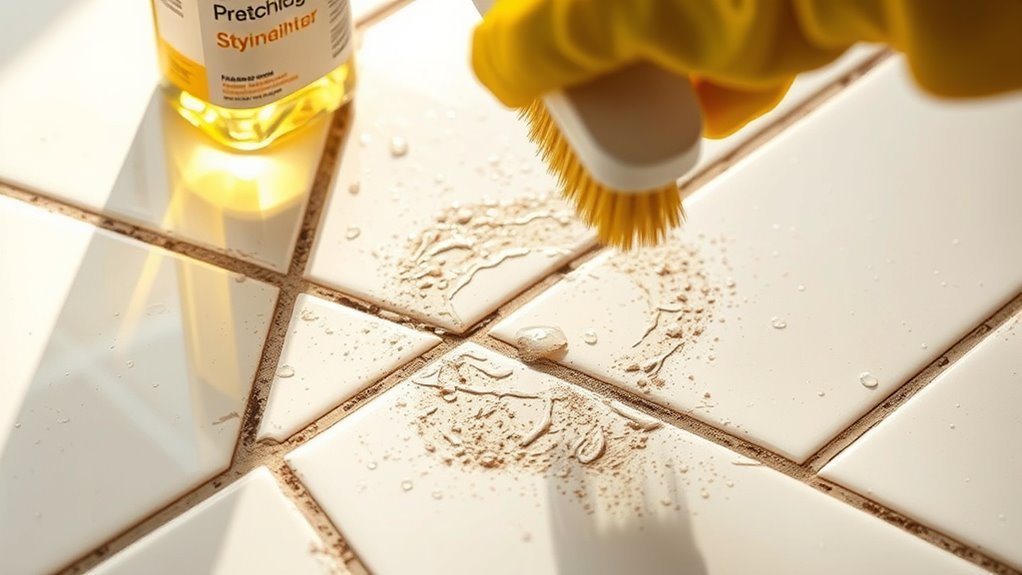
Cleaning Grout With Hydrogen Peroxide
Although baking soda and vinegar are great natural cleaners, hydrogen peroxide offers a powerful alternative for tackling stubborn grout stains. You’ll appreciate hydrogen benefits like its ability to disinfect and whiten without harsh chemicals. When using hydrogen peroxide, check the peroxide concentration; a 3% solution is usually ideal—strong enough to clean effectively but safe for most grout types. Simply apply it directly or mix with baking soda to form a paste, then scrub with a brush. This method frees your grout from dirt and mildew, restoring its original brightness. Plus, it’s a straightforward way to maintain your tiles without sacrificing your desire for freedom from toxic cleaners or complicated routines.
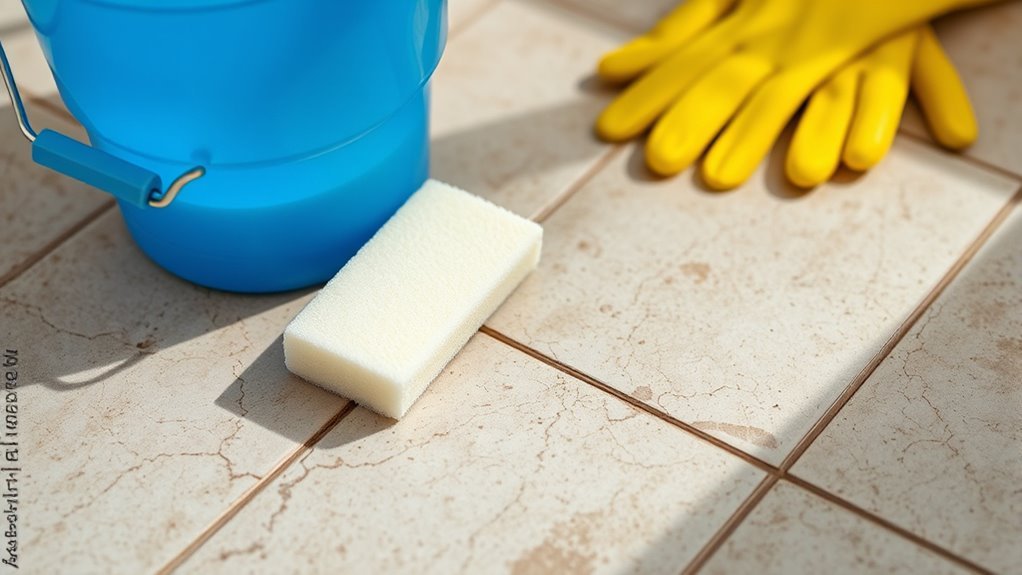
Applying Commercial Grout Cleaners Safely
Wondering how to get the best results from commercial grout cleaners without damaging your tiles or harming yourself? It all starts with smart product selection and strict safety precautions. Here’s how to apply these cleaners safely:
Get the best results from commercial grout cleaners by choosing wisely and following safety precautions carefully.
- Choose Wisely: Pick a commercial grout cleaner that matches your tile type to avoid damage.
- Wear Protection: Always use gloves and make sure good ventilation to protect your skin and lungs.
- Follow Instructions: Stick to the recommended application time and dilution ratios to prevent grout or tile harm.
How to Use a Steam Cleaner on Grout
Before you start using a steam cleaner on your grout, make sure the surface is free of loose dirt and debris. You’ll want to follow the manufacturer’s instructions carefully to operate the steam cleaner safely and effectively. With the right preparation and technique, steam cleaning can refresh your grout without harsh chemicals.
Preparing Grout Surface
To get the best results when using a steam cleaner on grout, you’ll need to prepare the surface properly. Understanding grout discoloration causes helps you target stubborn stains effectively. Regular grout cleaning frequency also plays a role in maintaining freedom from tough buildup.
Here’s how to prep:
- Clear the area – Remove rugs, furniture, and debris to access grout fully.
- Sweep and vacuum – Get rid of loose dirt and dust that can hinder steam cleaning.
- Pre-treat stains – Apply a mild cleaner on heavily discolored grout spots for better steam penetration.
Operating Steam Cleaner
Start by filling the steam cleaner’s water tank according to the manufacturer’s instructions, then allow it to heat up fully. Different steam cleaner types, like handheld or upright models, offer flexibility depending on your space and needs. Once heated, guide the steam nozzle slowly over the grout lines, letting the high-temperature steam loosen dirt and grime. One of the biggest steam cleaner benefits is its ability to sanitize without harsh chemicals, giving you a fresh, clean surface effortlessly. Keep the nozzle moving steadily to avoid over-saturating any area. After steaming, wipe away loosened debris with a microfiber cloth. Using a steam cleaner on grout lets you reclaim your freedom from stubborn stains while keeping your cleaning routine quick and eco-friendly.
Tips for Removing Mold and Mildew From Grout
Although grout is designed to be durable, it can easily become a breeding ground for mold and mildew if not cleaned regularly. To keep your grout fresh and free, focus on mold prevention and effective mildew treatment. Here’s how you can take control:
- Use a vinegar and baking soda paste: Apply it to grout lines, let it sit for 10 minutes, then scrub with a brush to break down mold buildup.
- Spray a bleach solution: Mix one part bleach with three parts water for tough stains. Apply carefully, let sit, then rinse thoroughly.
- Keep the area dry: After cleaning, dry grout lines completely to discourage mold growth.
Sealing Grout to Prevent Future Stains
To keep your grout looking fresh and stain-free, sealing it is essential. You’ll benefit from added protection against dirt and moisture with just a simple sealant application. Let’s go over the best methods to apply sealant effectively for lasting results.
Benefits of Grout Sealing
When you seal your grout, you create a protective barrier that keeps dirt, moisture, and stains from penetrating deep into the porous surface. This simple step grants you more freedom from constant cleaning and worry about unsightly marks. Here’s why sealing grout is worth it:
- Grout Longevity: Sealing extends the life of your grout by preventing cracks and deterioration caused by moisture.
- Stain Prevention: It blocks spills and dirt from sinking in, making stains easier to wipe away and maintaining a fresh appearance.
- Ease of Maintenance: With sealed grout, cleaning becomes quicker and less frequent, freeing up your time for what truly matters.
Best Sealant Application Methods
Sealing your grout protects it from stains and damage, but applying the sealant properly makes all the difference in how well it works. First, choose the right sealant type—penetrating sealants are great for natural stone, while membrane-forming ones suit ceramic tiles. Before application, verify the grout is clean and dry. Use a small brush or applicator bottle to apply the sealant evenly, focusing on grout lines without overlapping onto tiles. Let it penetrate for the time specified by the manufacturer, then wipe off any excess to avoid residue. Applying two thin coats often yields the best results. Remember, precise application techniques will extend your grout’s life while giving you the freedom to enjoy your space without worry.
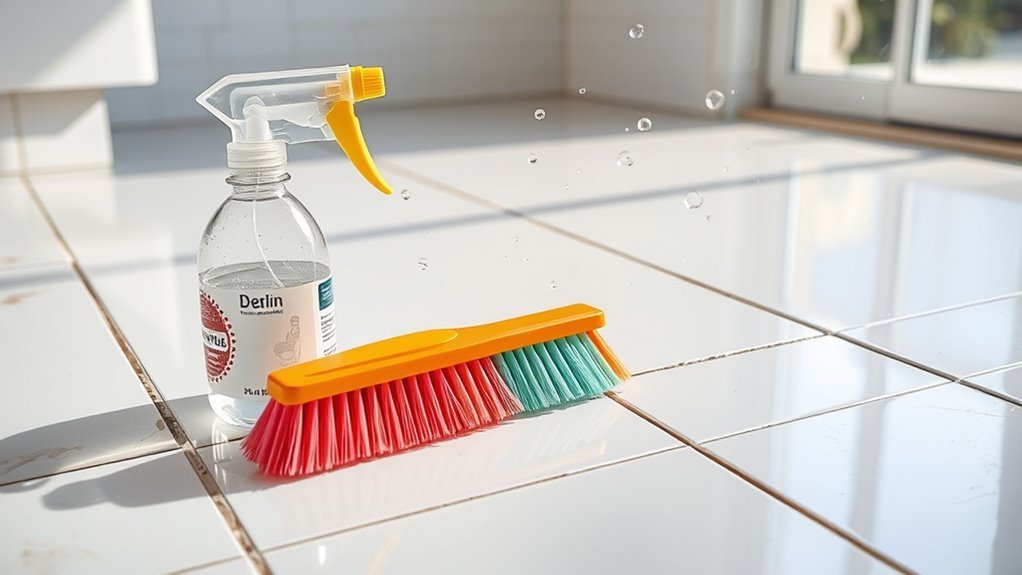
Maintaining Clean Grout Between Deep Cleanings
Although deep cleanings are essential, you’ll find that regular maintenance is key to keeping grout looking fresh between those intensive sessions. With a few prevention tips, you can enjoy cleaner grout without constant scrubbing.
- Wipe spills immediately – Don’t let stains settle; a quick wipe prevents grout from absorbing dirt.
- Use a daily spray – Mix water with vinegar or a gentle cleaner and spray your grout to deter buildup.
- Ventilate and dry – Keep the area dry by using fans or opening windows to prevent mold and mildew growth.
Frequently Asked Questions
Can Grout Color Be Changed After Cleaning?
Did you know over 60% of homeowners update grout to refresh their space? If you’re wondering whether grout color can be changed after cleaning, you’re in luck—it absolutely can! You can explore various grout coloring techniques to match your style, and don’t forget grout sealing options to protect your new look. This way, you’re free to personalize your tiles without starting over, giving your home a fresh, vibrant vibe.
How Long Does Grout Cleaning Typically Take?
Grout cleaning typically takes about 30 minutes to an hour, depending on the size of the area and the grout’s condition. Using effective grout cleaning techniques can speed things up, especially if you tackle stains regularly. To save time and enjoy more freedom, follow grout maintenance tips like sealing grout and wiping spills promptly. This way, your grout stays cleaner longer, and you won’t have to spend hours scrubbing later.
Are There Eco-Friendly Grout Cleaning Options?
Imagine your grout as a tiny garden needing care without harsh chemicals invading its soil. You can choose natural cleaners like a vinegar solution, freeing yourself from toxic residues. This eco-friendly path lets you restore brightness while honoring the earth’s balance. You don’t have to be trapped by synthetic products; instead, embrace nature’s own power and reclaim your space with gentle, effective freedom.
Can Grout Cleaning Damage Tile Surfaces?
You might worry that grout cleaning could cause grout damage or harm your tile surfaces, but if you’re careful, you won’t have to. Using harsh chemicals or abrasive tools can wear down grout and scratch tiles, so choosing gentle, tile-friendly cleaners helps with tile protection. Stick to recommended products and avoid scrubbing too hard. That way, you’ll keep your tiles looking great without limiting your freedom to maintain your space.
How Often Should Grout Be Professionally Cleaned?
You should consider grout maintenance frequency based on your lifestyle, but generally, professional cleaning every 12 to 18 months keeps your grout looking fresh and durable. The professional cleaning benefits include deep dirt removal and mold prevention, which DIY methods might miss. Staying on top of this routine lets you enjoy your space freely without worrying about stubborn stains or damage, giving you more time to live life on your terms.


