How to Clean Logs Before Staining
To clean logs before staining, start by removing loose dirt and debris. Check for mold, mildew, or damage. Use a pressure washer and a wood cleaning solution to eliminate stubborn stains. Scrub the logs gently with a soft-bristle brush, then rinse thoroughly to remove residues. Let them dry completely for 24-48 hours in a ventilated area. Make certain the surface is smooth before applying stain. Discover more effective techniques to achieve a long-lasting finish.
##

Preparing your logs for staining is a crucial step in ensuring a flawless and long-lasting finish. In this article, you will learn the importance of cleaning different types of logs—such as cedar, pine, or fir—using specific methods tailored to each wood type. We’ll guide you through the process of effectively removing dirt, mold, and old finishes while preserving the integrity of the wood. Additionally, we’ll discuss the best cleaning solutions for softer woods and how to tackle stubborn stains or mildew. By the end of this article, you will have all the information you need to clean your logs properly, setting the stage for a beautifully finished exterior that enhances the natural beauty and durability of your home.
Preparation For Cleaning
Before you start the cleaning process, there are several essential steps to take to guarantee ideal results. Begin with thorough log preparation, which involves removing any loose debris, dirt, or old finishes. This provides a clean slate for effective cleaning. Next, conduct a surface evaluation to identify any areas with mold, mildew, or weathering that require special attention. Check for cracks or damage that may need repair before cleaning. Properly evaluating the surface not only informs your cleaning strategy but also helps in selecting the right methods and products later on. Taking these preparatory steps will set you up for success, ensuring the logs are properly cleaned and ready for staining, maximizing both appearance and longevity.
Tools and Chemical Required
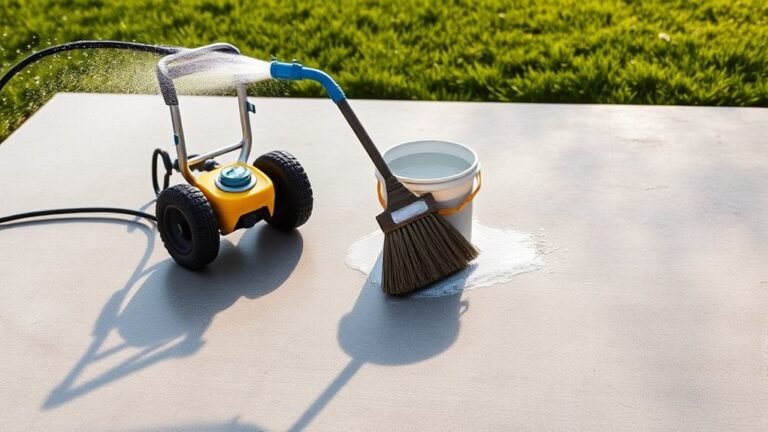
To effectively clean logs before staining, you’ll need a few essential tools and chemicals. A pressure washer is vital for removing dirt and grime efficiently. You’ll also need specific cleaning solutions designed for wood, which help in breaking down stubborn stains and mildew.
Here’s a quick reference table for your cleaning arsenal:
| Tool/Chemical | Purpose | Notes |
|---|---|---|
| Pressure Washer | Removes dirt and debris | Use with a wide nozzle |
| Wood Cleaning Solution | Breaks down stains and mildew | Follow manufacturer’s instructions |
| Scrub Brush | Agitates cleaning solution | Make sure bristles are soft |
Having these tools and chemicals on hand will streamline your cleaning process, making certain your logs are ready for staining.
How to Clean:
Step 1: Gather Your Cleaning Supplies
- Log Cleaning Tools: Collect necessary tools such as a pressure washer, scrub brushes, sponges, and buckets.
- Cleaning Agents: Choose a mild detergent, diluted bleach solution, or a specialized wood cleaner designed for logs.
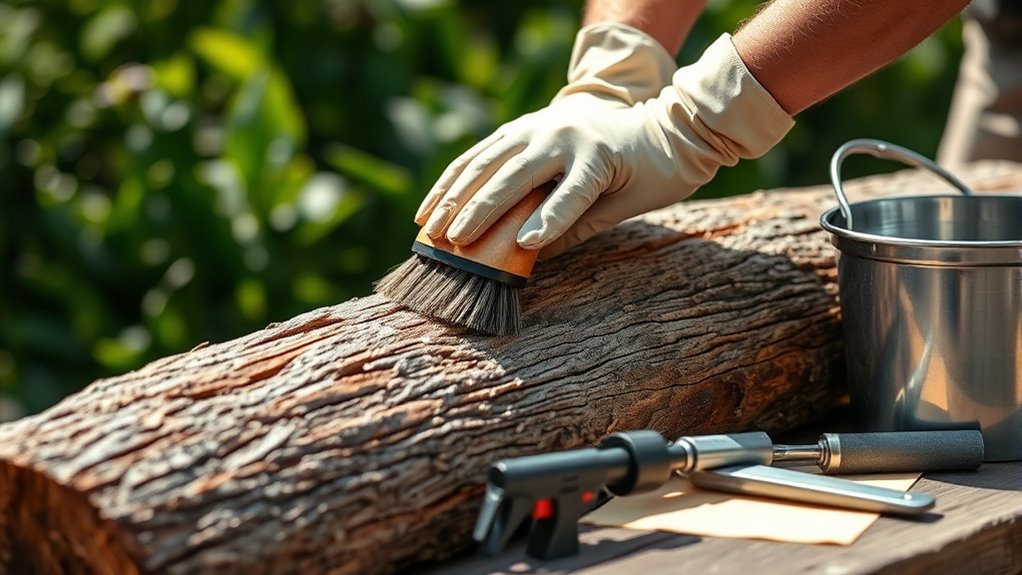
- Protective Gear: Wear gloves, goggles, and a mask to protect yourself from harsh chemicals and debris.
Step 2: Prepare the Area
- Clear the Surroundings: Remove any obstacles or debris around the logs to create a safe and accessible workspace.
- Protect Nearby Surfaces: Cover nearby plants or surfaces that may be affected by cleaning agents with tarps or plastic sheets.
Step 3: Initial Rinse
– Use Water: If using a pressure washer, set it to a low setting and rinse the logs to remove loose dirt and dust. If using a garden hose, spray the logs with water to dampen the surface.
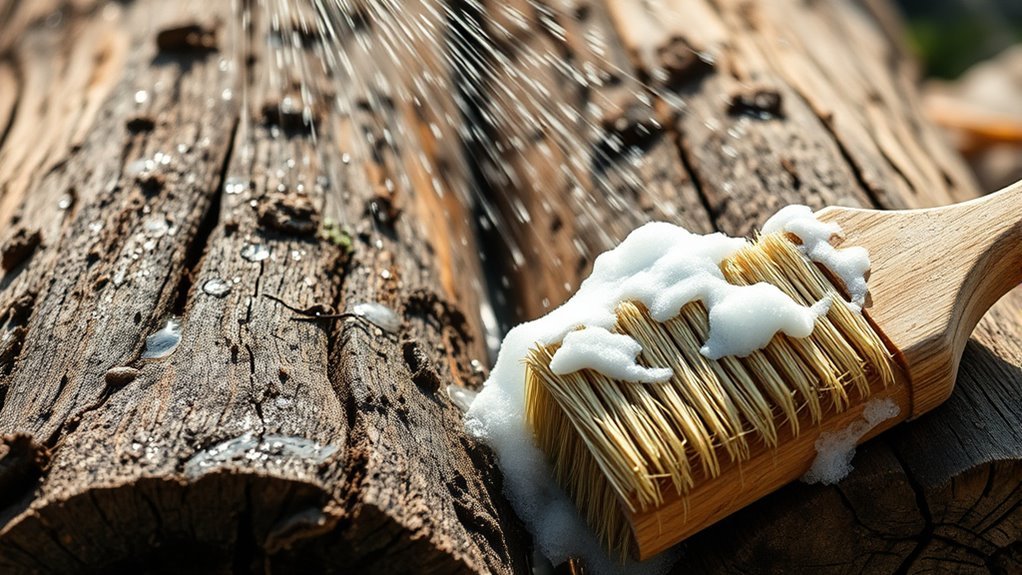
Step 4: Apply Cleaning Solution
- Select Your Cleaner: Choose your cleaning agent based on the condition of the logs. For basic cleaning, a mild detergent will suffice; for tougher stains, use diluted bleach or a wood cleaner.
- Application:
- For pressure washing, apply the cleaning solution using a detergent nozzle.
- For manual cleaning, mix the detergent or bleach solution in a bucket and use a scrub brush or sponge to apply it evenly across the logs.
Step 5: Scrub the Logs
- Target Stains: Focus on areas with stubborn stains, mildew, or dirt build-up. Use a scrub brush for tough spots and a sponge for flat surfaces.
- Gentle Pressure: Apply moderate pressure to avoid damaging the wood while ensuring the cleaner penetrates the surface.
Step 6: Rinse Thoroughly
- Remove Residues: After scrubbing, rinse the logs thoroughly with water to eliminate any cleaning agent residue. Use a pressure washer or garden hose, ensuring all areas are rinsed.
- Check for Cleanliness: Inspect the logs to ensure all stains and cleaning agents are completely removed.
Step 7: Allow to Dry
- Natural Drying: Leave the logs in a well-ventilated area to dry completely. Avoid direct sunlight to prevent warping.
- Drying Time: Allow at least 24-48 hours for the logs to dry, depending on humidity levels and the thickness of the logs.
Step 8: Prepare for Staining
- Check for Surface Smoothness: After drying, inspect the logs for any rough patches. Sand down any areas if necessary to create a smooth surface for staining.
- Final Inspection: Ensure the logs are clean and dry before applying any stain to ensure optimal absorption and a vibrant finish.
Safety Consideration
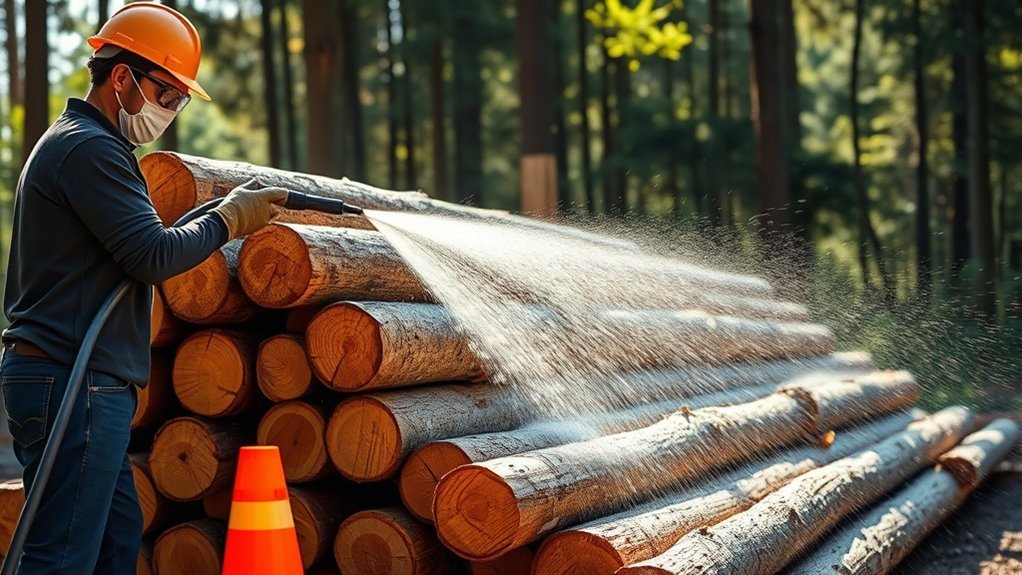
While cleaning logs prior to staining, it’s important to prioritize safety to prevent accidents and injuries. Start by wearing appropriate protective gear, including gloves, goggles, and a mask, to shield yourself from dust and chemical hazards. Many cleaning agents contain strong substances that can irritate your skin or respiratory system. Always read the labels and follow instructions carefully, making sure you’ve got adequate ventilation in your workspace. If you’re using a pressure washer, be cautious of slip hazards and make certain you maintain a safe distance from the logs. Keep children and pets away from the work area to minimize risks. By taking these precautions, you can focus on achieving the best results while safeguarding your well-being during the cleaning process.
Tips to keep clean for long time
Once you’ve cleaned your logs thoroughly, maintaining their pristine condition requires ongoing care and attention. Implement a routine of preventive maintenance by regularly inspecting the logs for signs of dirt, mildew, or pests. Consider using a soft brush or mild detergent solution to gently remove any buildup. Proper sealing is vital; make certain your logs are sealed every few years to protect against moisture intrusion and UV damage. Choose a high-quality sealant designed for log homes. Additionally, keep the area around your logs clear of debris and vegetation to minimize exposure to moisture and insects. By following these practices, you’ll extend the life of your logs and preserve their beauty, allowing you the freedom to enjoy your space without worry.
Frequently Asked Questions
Can I Clean Logs in Rainy Weather?
Yes, you can clean logs in rainy weather, but it might complicate your cleaning techniques. Rainy conditions can hinder the drying process, making it harder for cleaning agents to penetrate effectively. You’ll want to use a pressure washer or scrub brush with a suitable cleaner, ensuring you remove dirt and mildew. Just be mindful of the logs’ moisture levels afterward, as staining should only occur when they’re adequately dry to avoid trapping moisture.
How Long Should Logs Dry After Cleaning?
After cleaning, logs should dry for at least 48 hours, but moisture content analysis might reveal you need longer. Think of it like a sponge—you wouldn’t paint it while it’s still soaked. Employ log drying techniques like stacking logs in a well-ventilated area. Ensuring they’re adequately dried not only enhances stain absorption but also promotes longevity. So, give yourself and your logs the freedom to breathe before applying that stain!
Is It Necessary to Sand Logs After Cleaning?
Yes, it’s necessary to sand logs after cleaning for ideal log preparation. Sanding techniques help remove any remaining debris and smooth the surface, ensuring better adhesion for stains. You should use a medium-grit sandpaper initially, followed by a finer grit for finishing touches. This process not only enhances the appearance but also allows the wood to absorb the stain more evenly, resulting in a more durable and aesthetically pleasing finish.
Can I Use a Pressure Washer for Cleaning?
Absolutely, you can use a pressure washer for cleaning logs, and it can feel like wielding a magic wand! For effective pressure washer techniques, maintain a distance of about 12 inches to avoid damaging the wood. Use a fan spray nozzle and start from the top, working your way down. Remember these cleaning log tips: follow the grain and adjust the pressure as needed. This method guarantees your logs are prepped for a stunning stain finish!
How Often Should I Clean My Logs?
You should clean your logs at least once a year to maintain their integrity. However, if you live in a particularly damp or dusty environment, you may need to increase your cleaning frequency. Regular log maintenance helps prevent mold, mildew, and insect infestations, ensuring your logs stay in top condition. Always inspect your logs after severe weather, as that’s when dirt and debris can accumulate and require immediate attention.