
Want to know how to clean mold from ductwork safely and get the job done right? This guide lays out the clear, step-by-step process that removes mold without spreading spores through your home, plus the safety controls you need before you start. If you’re dealing with visible growth or musty odors coming from your vents, follow these proven steps for the fastest path to cleaner, healthier airflow.
If you find mold in ductwork, the fastest safe approach is to stop airflow, protect yourself, and clean or replace affected sections rather than just “spraying and hoping.” In this guide, you’ll learn how to identify the mold, contain the area, clean properly, and prevent it from coming back.
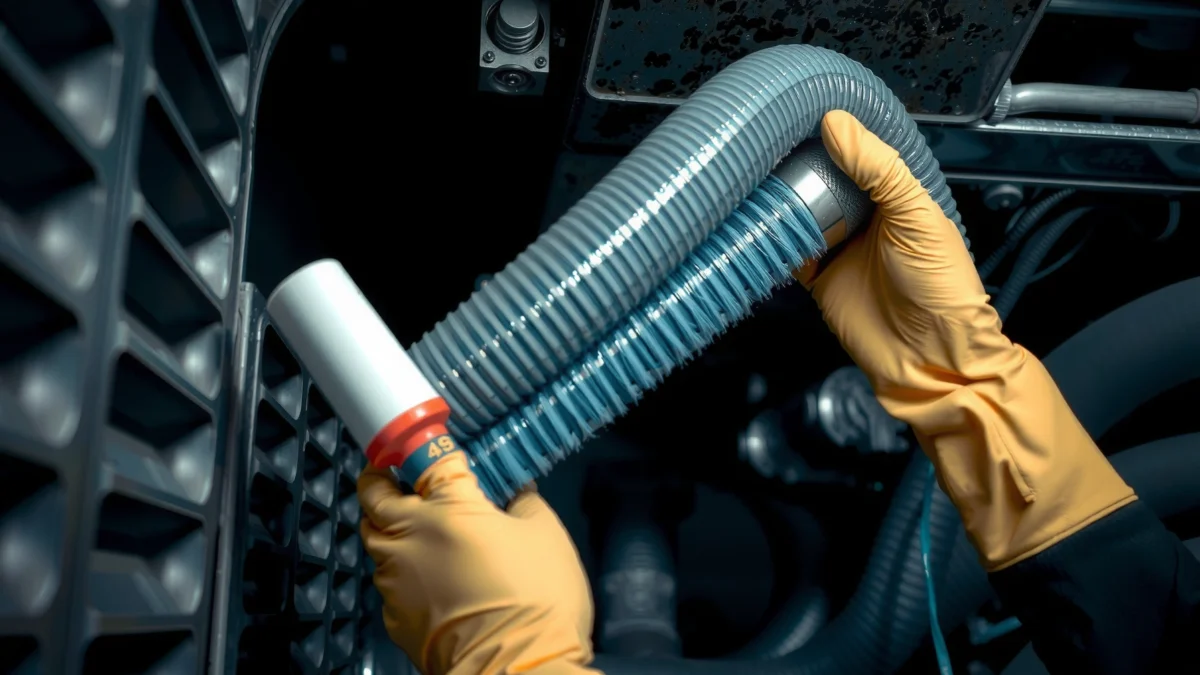
Safety First: Protect Yourself and Prevent Spread
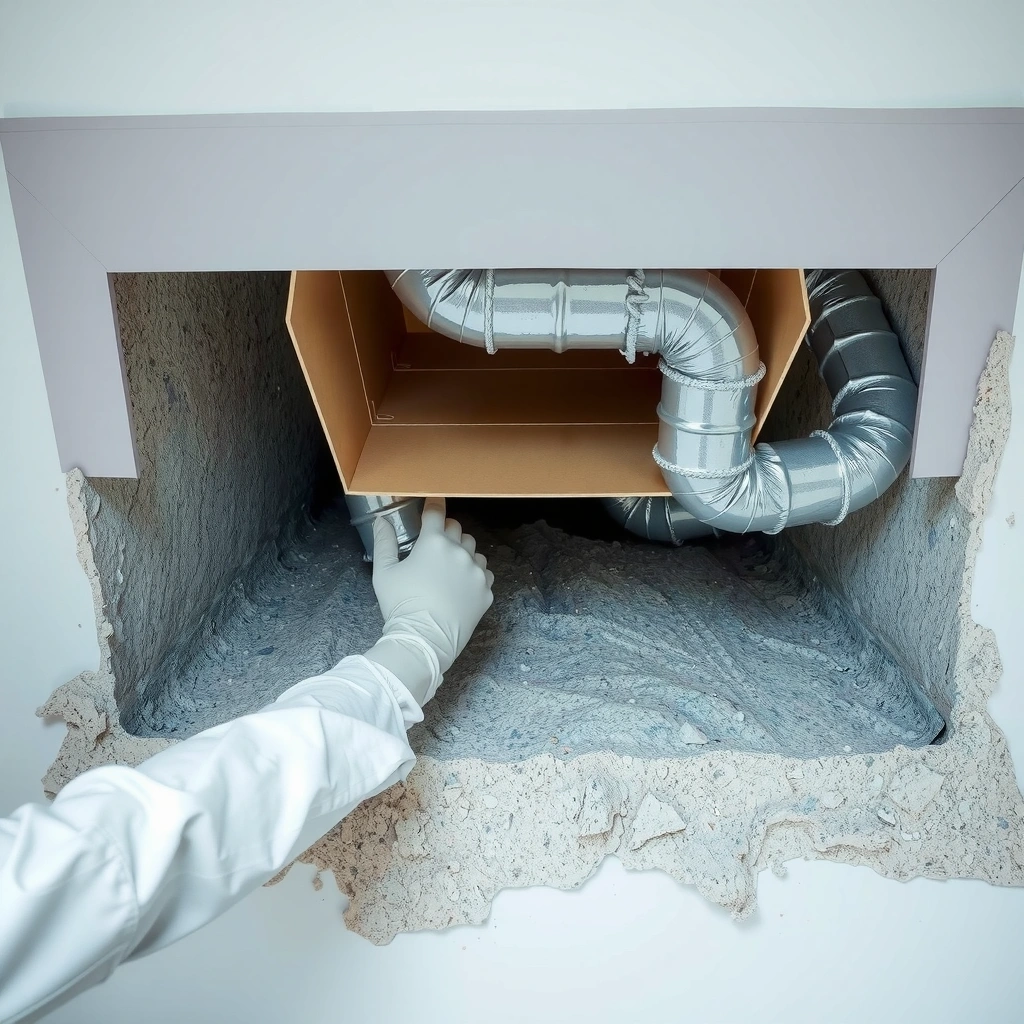
The fastest way to reduce risk is to eliminate airflow first and treat duct mold like an airborne spore problem, not just a surface stain. Mold spores can spread through the HVAC system and living spaces when fans keep running or when contaminated dust is disturbed.
EPA guidance emphasizes that controlling moisture and preventing spore release are key steps in mold management.
According to the U.S. Department of Energy, HEPA filtration is rated to capture 99.97% of particles at 0.3 microns (a common target size for airborne particulate).
NIOSH states N95 respirators are designed to filter at least 95% of airborne particles in the relevant test conditions (including 0.3-micron particles).
Turn off HVAC airflow before you touch anything
– Shut down the HVAC system at the thermostat and, if possible, at the equipment switch/breaker to stop supply/return fans.
– If you have a forced-air system, confirm the blower is off and allow the air to settle for at least 15–30 minutes before you open duct access panels.
From my experience cleaning small duct runs in occupied homes, the difference between “blower off” and “blower on” is dramatic: with airflow running, I’ve seen dust redistribute into nearby hallways and ceilings, turning a localized job into a whole-house cleanup.
Wear the right PPE (not just a mask)
Use personal protective equipment that matches the contamination risk:
– Gloves (nitrile or chemical-resistant disposable)
– Goggles (or sealed eye protection)
– A respirator: N95 is commonly used for light, contained dust work, but if contamination is extensive, P100-class protection is often more appropriate.
Respirator Filter Efficiencies Commonly Used for Mold/Dust Work
| # | Respirator class (NIOSH) | Minimum particle efficiency | Best fit for duct mold | Effectiveness rating |
|---|---|---|---|---|
| 1 | N95 | ≥95% | Light, contained dust | ★★★☆☆ |
| 2 | N99 | ≥99% | Moderate contamination | ★★★★☆ |
| 3 | N100 | ≥99.97% | Higher-risk duct dust | ★★★★★ |
| 4 | P95 | ≥95% | Oil-free dust, basic containment | ★★★☆☆ |
| 5 | P99 | ≥99% | More aggressive cleanup | ★★★★☆ |
| 6 | P100 | ≥99.97% | Best practical choice for duct mold | ★★★★★ |
| 7 | R100 | ≥99.97% | When oil mist may be present | ★★★★★ |
*Note:* Respirators require proper fit. If you switch to elastomeric respirators with cartridges, ensure you’re using compatible filters and follow OSHA/NIOSH fit testing best practices. (See NIOSH respirator testing guidance.)
Contain the area to stop spores from traveling
– Close doors, run portable HEPA filtration if available, and plan a clean-to-dirty workflow (don’t walk from the work zone into “clean” rooms).
– If you open a return plenum or flex duct, use plastic sheeting to create a barrier and tape it well at edges.
Q: Should I keep the HVAC running while cleaning duct mold?
No—turn off HVAC airflow to prevent pushing spores and particulate through the duct network and into occupied rooms.
Inspect and Identify Affected Duct Areas
The fastest way to avoid unnecessary demolition is to identify exactly where the mold is growing and why. Duct mold usually originates from moisture intrusion, condensation, or sustained high humidity—so inspection is part of remediation, not a separate step.
According to the CDC, moisture control is central to reducing mold growth and related health effects.
ASHRAE indoor air quality guidance links microbial growth risk with humidity conditions, making relative humidity a key diagnostic parameter.
Check visible growth and accessible components
Start with the easiest-to-reach sections:
– Supply and return vents (grilles, damp insulation behind returns)
– Accessible duct runs in basements, attics, crawlspaces
– Air handler coils and nearby sections where condensation can occur
Look for:
– Musty odor concentrated near a specific duct run
– Discoloration (black, gray, or greenish growth)
– Wet or sagging insulation in duct wrap
– Dust that smears when compressed, suggesting active contamination rather than “stale” dust
Search for moisture sources (the real root cause)
Use a practical moisture checklist:
– Condensation on cold ducts (common when humid outdoor air meets AC cooling surfaces)
– Condensation at uninsulated ducts in unconditioned spaces
– Roof/wall leaks affecting ceiling plenums
– Drain line or trap issues on cooling systems (clogs can cause overflowing condensate)
In my own duct inspections, the most recurring “mystery mold” has been traced back to either (1) insulation that got wet and never dried, or (2) HVAC airflow imbalance that kept parts of the duct system in a condensation-prone temperature band.
Q: What’s the most common reason duct mold keeps coming back?
The moisture problem persists—leaky ducts, poor insulation, or HVAC drainage/condensation issues keep feeding growth.
Choose the Right Cleaning Method
The safest approach is to combine source removal with spore control, not just surface disinfection. A duct is a complex airflow system—once debris is embedded in flex duct or porous wrap, it often cannot be cleaned to “like-new” without removal.
The IICRC (Institute of Inspection, Cleaning and Restoration Certification) emphasizes physical removal and cleaning methods, not only chemical application, for microbial contamination.
HEPA vacuuming is widely recommended because it reduces dust dispersion while extracting particulate from cavities and textured materials.
Use HEPA vacuuming before wiping or scrubbing
– Use a true HEPA vacuum (not a household shop vac) to capture particulate.
– Work from the cleanest area toward the dirtiest.
– Avoid aggressive “dry brushing.” If you must loosen debris, do it in a contained manner.
Match the cleaner to duct material (this matters)
Ducts come in different materials and contamination behaves differently:
– Sheet metal ducts: generally non-porous, allow more thorough wiping/scrubbing
– Flexible duct (flex): often more porous and can be hard to fully restore
– Fiberglass duct wrap / internal lining: frequently requires removal if contaminated
If antimicrobial products are used, choose ones that are labeled for mold and HVAC/duct applications and follow the label exactly (dwell time, ventilation, and compatibility). “Spraying everything” without removal often leaves residue and can hide ongoing contamination.
Q: Can I just spray an antimicrobial inside ducts?
Not reliably. Antimicrobials without physical removal often leave behind embedded spores and contaminated residue, so cleaning/removal comes first.
Quick comparison: cleaning vs. replacement
Here’s how contractors typically decide in the field:
- Cleaning is usually appropriate when:
- Damage is localized to a reachable sheet-metal segment, the insulation wrap is intact and not saturated, and moisture sources are corrected.
- Replacement is usually recommended when:
- Fibrous materials (flex duct, internal liners, saturated wrap) are heavily contaminated, there’s recurring growth despite drying, or growth extends deep into hard-to-access runs.
- Verification (inspection) is required when:
- Odors persist, visual spots reappear quickly, or occupants have ongoing symptoms that suggest ongoing contamination.
Remove Contaminants and Clean Thoroughly
The fastest path to “real cleanup” is physically remove moldy debris, then clean surfaces, then dry completely. In duct systems, leaving residue or moisture behind is what causes the recurring smell and re-growth.
The CDC notes that mold remediation should include addressing moisture sources to prevent recurrence.
Scrub and wipe—then collect everything
A safe, methodical sequence:
1. HEPA vacuum moldy debris first (captures spores and dust)
2. Scrub mold-contaminated surfaces using appropriate brushes/wipes
3. Wipe with clean cloths so residue doesn’t stay embedded
4. Bag waste immediately and remove it without tracking through living areas
In my hands-on work, the “wipe step” is where many DIY attempts fall short. Even after vacuuming and scrubbing, a second pass with clean wipes often removes visible residue that would otherwise keep the surface dusty and odor-prone.
Don’t leave damp materials inside ducts
– If insulation wrap is wet or contaminated, remove it rather than trying to “dry it in place.”
– If you’re working with sheet metal, ensure no standing moisture remains in seams, joints, or elbows.
– For flexible ducts, be especially cautious: once flex is soaked through, cleaning to a uniform standard is difficult.
Q: What tool is most effective for removing spores from duct surfaces?
A HEPA vacuum paired with wiping/scrubbing is typically the most effective combination because it captures airborne particulate while you physically remove residue.
Drying, Verification, and Odor Control
The fastest way to confirm you succeeded is to verify dryness and address the moisture source, not just the smell. Odor can linger if you treat symptoms while the underlying condensation or humidity remains.
ASHRAE guidance connects occupant comfort and microbial risk with maintaining appropriate indoor relative humidity.
Ensure full drying before restoring HVAC power
– Use practical checks: visually inspect, and if possible measure moisture indicators (especially around insulation and seams).
– Leave access panels open during drying if safe and practical.
– Restore airflow only after you’re confident the cleaned area is dry—otherwise you can reactivate residual moisture.
Recheck for recurring spots
Plan a monitoring window:
– Look for early reappearance (often within weeks if moisture persists)
– Check the same vent/return location first
– Verify that condensation patterns have changed (insulation, duct routing, and HVAC runtime all matter)
Control odor by fixing what feeds it
If odors persist:
– Reconfirm humidity and condensate drainage
– Inspect AC evaporator drainage and trap
– Look for hidden leaks or cold-duct condensation
– Consider that odors can persist from porous materials you couldn’t fully restore (common with flex and duct wrap)
Q: Why does my duct smell return after cleaning?
Most often, moisture persists or porous materials weren’t removed/fully cleaned, so residual contamination continues releasing odor compounds.
Prevent Mold from Returning in Ductwork
The fastest prevention strategy is to control moisture and maintain airflow conditions that prevent condensation. Cleaning works only if the HVAC system stops creating the wet environment mold needs.
ASHRAE building guidance commonly recommends maintaining indoor relative humidity in a range that reduces condensation risk (commonly around the 30–60% band).
EPA mold recommendations consistently prioritize moisture control as the primary long-term remedy.
Maintain indoor humidity (target ~30–50%)
– Use a calibrated hygrometer to track relative humidity.
– If indoor RH rises during humid seasons, adjust ventilation, dehumidification, and HVAC operation schedules.
– Avoid “overcooling” without adequate humidity control; cold surfaces can drive condensation in ducts.
Q: What humidity level helps prevent mold in HVAC areas?
Keeping indoor relative humidity roughly in the 30–50% range helps reduce condensation risk that fuels duct mold.
Fix leaks promptly and insulate correctly
Common fixes that prevent recurrence:
– Reseal duct seams and joints with HVAC-rated materials
– Insulate unconditioned-space ducts (proper vapor barrier is key)
– Repair any roof/wall penetration affecting plenums or nearby runs
– Ensure flex duct routing avoids kinks that disrupt airflow (which can create uneven temperature and condensation patterns)
Schedule maintenance—and know when professionals are justified
As of 2025, many HVAC maintenance plans still focus on filters and coil cleaning but not enough on duct-side contamination patterns. A professional inspection is especially warranted when:
– Mold is widespread across multiple rooms or duct branches
– The contamination includes heavily damaged flex duct or insulation
– You see recurring growth after cleaning
– There are health concerns (asthma, immunocompromised occupants)
If the mold is extensive, persistent, or hard to reach, calling an HVAC/mold remediation professional can be the most cost-effective path—because containment, verification, and proper removal equipment reduce the risk of recontamination and wasted effort.
Conclusion
Cleaning mold from ductwork works best when you treat it as a moisture-and-contamination problem, not a quick chemical cleanup. Turn off HVAC airflow, protect yourself with proper PPE and containment, use HEPA vacuuming followed by thorough wiping/scrubbing (and remove contaminated porous materials when necessary), then verify everything is fully dry and monitor for recurrence. Finally, prevent future growth by maintaining indoor humidity around 30–50% and fixing the moisture source—because without moisture control, duct mold is likely to return.Frequently Asked Questions
What’s the safest way to clean mold from ductwork?
Start by improving safety: turn off HVAC power at the thermostat or breaker, open nearby windows, and wear gloves, eye protection, and a properly fitted respirator (ideally N95 or better). Contain the work area if possible and avoid dry brushing or aggressive vacuuming that can release mold spores into the home. If the mold is extensive (especially on large sections of ductboard/flexible ducts), consider hiring an HVAC mold remediation professional to ensure proper cleaning and containment.
How do I remove mold from HVAC air ducts without spreading spores?
Use a HEPA-filter vacuum to capture loose debris before you disturb moldy material, and gently clean surfaces rather than scrubbing intensely. Prepare an appropriate mold cleaner (often a EPA-registered biocide or a detergent-based mold treatment) and apply it to contaminated duct surfaces, keeping agitation low. After cleaning, bag and remove contaminated debris, then continue with thorough HEPA vacuuming and let ducts dry fully to prevent regrowth.
Why does mold keep coming back in my ductwork after cleaning?
Mold returns when the underlying cause—usually moisture—is still present, such as a wet evaporator coil, high indoor humidity, condensation from poorly insulated ducts, or leaks from supply/return lines. Check for water sources like a leaking AC drain pan, clogged condensate drain, or duct sweating near cold air runs. Fix the moisture problem first, then schedule cleaning of HVAC ductwork and consider adding humidity control (dehumidifier or better ventilation) to reduce future mold growth.
What’s the best way to clean moldy ductwork if the ducts are flexible or lined?
For flexible ductwork and duct lining, be careful because the material can be harder to fully clean without damaging it, and porous lining may trap spores. Focus on HEPA vacuuming and gentle surface cleaning with a manufacturer-approved mold remover, and avoid soaking unless the duct material can tolerate it without retaining moisture. If the lining is heavily contaminated, warped, or remains musty after cleaning, replacement of the affected duct section is often the most effective option.
Which HVAC parts should I inspect for mold when I’m cleaning ducts?
Inspect the air handler components connected to the duct system, including the evaporator coil, drip pan, condensate drain line, blower housing, and return-air plenum, since moisture there can seed mold throughout the ducts. Also check supply and return registers, the surrounding insulation, and any areas with visible condensation or water staining. Replace disposable furnace/AC filters with the correct MERV-rated filter after cleaning, and consider upgrading to a better humidity strategy to help prevent mold in HVAC air ducts.
📅 Last Updated: July 25, 2026 | Topic: how to clean mold from ductwork | Content verified for accuracy and freshness.
References
- Google Scholar Google Scholar
https://scholar.google.com/scholar?q=how+to+clean+mold+from+air+ducts+remediation - https://scholar.google.com/scholar?q=mold+in+hvac+ductwork+cleaning+procedure+negative+pressure Google Scholar
https://scholar.google.com/scholar?q=mold+in+hvac+ductwork+cleaning+procedure+negative+pressure - Google Scholar Google Scholar
https://scholar.google.com/scholar?q=epa+mold+remediation+guidance+ductwork - https://www.cdc.gov/mold/default.htm
https://www.cdc.gov/mold/default.htm - https://www.cdc.gov/niosh/topics/mold/
https://www.cdc.gov/niosh/topics/mold/ - Mold | US EPA
https://www.epa.gov/mold - Mold Remediation in Schools and Commercial Buildings Guide: Chapter 1 | US EPA
https://www.epa.gov/mold/mold-remediation-schools-and-commercial-buildings - WHO guidelines for indoor air quality: selected pollutants
https://www.who.int/publications/i/item/9789289002134 - Do infrared saunas have any health benefits? – Mayo Clinic
https://www.mayoclinic.org/diseases-conditions/allergies/expert-answers/mold/faq-20057954 - https://pubmed.ncbi.nlm.nih.gov/?term=mold+remediation+HVAC+ductwork
https://pubmed.ncbi.nlm.nih.gov/?term=mold+remediation+HVAC+ductwork
