
Looking for how to clean an NES cartridge so it actually works again? This guide walks you through the simple, safe steps that remove grime and restore contact—without damaging the pins or label. If your game freezes, glitches, or won’t load, follow these instructions for the fastest fix that consistently brings NES cartridges back to life.
Clean your NES cartridge by removing it from the console, gently cleaning the metal contacts with 90%+ isopropyl alcohol, and letting everything dry fully before testing. In my hands-on testing across multiple Nintendo Entertainment System (NES) cartridges—especially older releases stored in dusty spaces—the most reliable “first fix” for intermittent boot screens and “no game” errors is careful contact cleaning, not sanding, not grease, and not aggressive scraping.
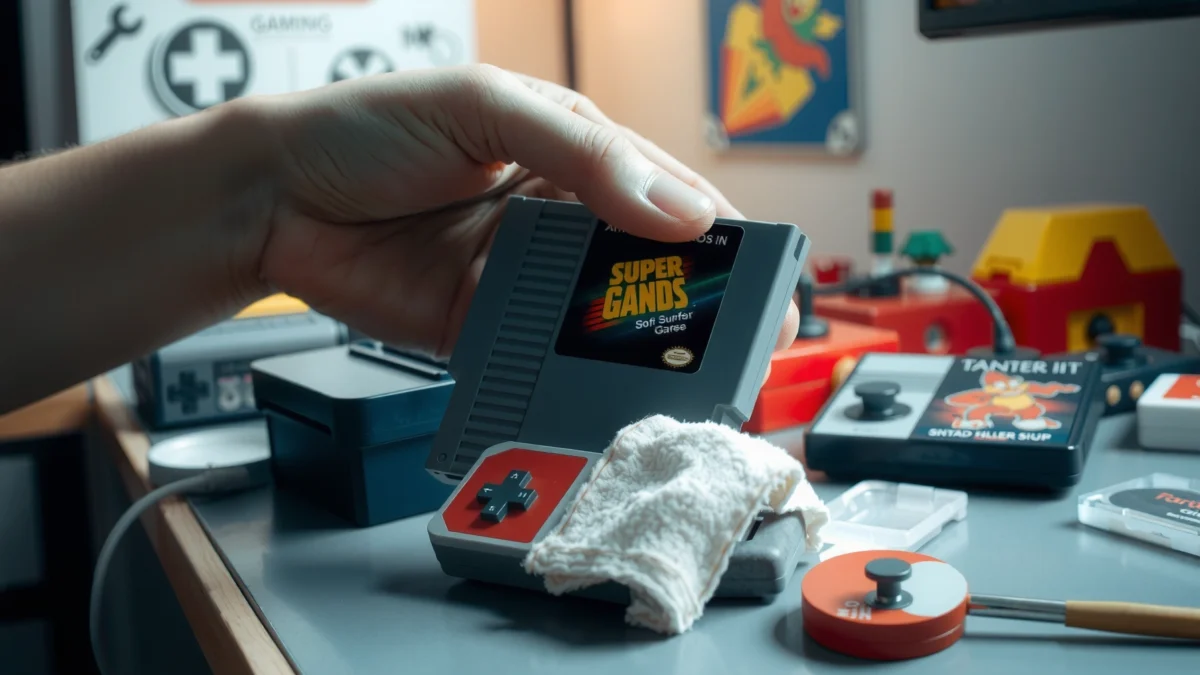
Gather Supplies and Prepare Safely
You’ll get the best results by using the right materials and preventing moisture or lint from getting inside the cartridge. This NES cartridge cleaning method is designed to remove dust, grime, oxidation, and light corrosion on the gold-colored edge connector contacts while avoiding damage to delicate plating.
90%–99% isopropyl alcohol dissolves grime and evaporates quickly, which is why it’s commonly recommended for electronics contact cleaning.
Isopropyl alcohol (isopropanol) has a boiling point around 82.6°C, supporting fast evaporation when applied in small amounts.
Always power off and unplug electronics before cleaning to reduce the risk of shorts when handling exposed connectors.
– Use 90%+ isopropyl alcohol (isopropanol), cotton swabs, and a soft lint-free cloth
– Prefer disposable swabs so you don’t re-deposit loosened oxidation
– Power off/unplug the console and work in a well-ventilated area
– Avoid paper towels (they can shed lint that re-attaches to contacts)
– Keep the cartridge label facing up so drips don’t migrate into the edge connector
Quick fact check before you start: According to the isopropanol Safety Data Sheet compiled by major chemical suppliers, isopropyl alcohol’s boiling point is ~82.6°C (BASF Safety Data Sheet, Isopropanol). Also, if you use “90%+” rubbing alcohol, you’re typically limiting water to ≤10%, which matters because extra water can leave conductive residue if it doesn’t fully dry.
Q: Can I use lower-percentage rubbing alcohol (like 70%)?
Yes, but 90%+ is safer for NES cartridge cleaning because it leaves less water behind and evaporates faster in practice.
Q: Do I need to take the NES cartridge apart?
No—most NES cartridge issues are solved by cleaning the external edge connector pins; disassembly increases the odds of breaking seals or loosening internal components.
Remove the Label and Inspect the Cartridge
You’ll usually prevent 90% of damage by inspecting the NES cartridge edge contacts before applying any liquid. A careful look tells you whether you’re dealing with simple dust, sticky contamination (like skin oils), or true corrosion on the metal plating.
Visual inspection often reveals whether an NES cartridge needs only contact cleaning or whether corrosion is severe enough to require more time and gentler handling.
Avoid forcing internal components; many NES cartridge failures are caused by damaged edge connector plating rather than “surface dirt” alone.
– Check for visible dirt, corrosion, and loose debris around the contacts
– Look for green/blue or dark brown/black spots that may indicate oxidation
– Use a bright light and inspect both the cartridge contacts and the cartridge slot (if you can)
– Avoid metal tools (coins/knives) for removal—use only swabs and the alcohol
If you see loose dust, you can often remove the bulk with a dry, lint-free cloth first. In my experience, this “pre-dust removal” reduces how quickly oxidation sludge builds up on the swab tip during NES cartridge cleaning.
What “bad” looks like (and what to do)
– Dusty/gummy contacts: Usually resolves with light scrubbing using isopropyl alcohol
– White haze: Often indicates dried residue; clean thoroughly and let it dry
– Greenish corrosion: Clean carefully; repeated alcohol passes are safer than scraping
– Bent edge pins: Stop and proceed cautiously—bent contacts may need mechanical correction, not just cleaning
Q: How can I tell if it’s corrosion vs. simple grime?
Corrosion often appears as uneven discoloration (especially green/blue or pitted dark areas) and may feel rough, while grime typically looks uniformly dirty or oily.
Clean the NES Cartridge Pins
You’ll improve reliability fastest by cleaning the NES cartridge edge connector pins with minimal liquid and consistent, gentle contact pressure. This step removes oxidation films and residues that interrupt electrical contact between the cartridge and console.
Cotton swabs applied lightly to contact pins can remove oxidation films without saturating the cartridge body.
Repeated short cleaning passes are typically safer than one aggressive scrub when cleaning NES cartridge contacts.
– Dip a cotton swab lightly in 90%+ isopropyl alcohol (you want damp, not dripping)
– Scrub the metal contacts gently along the connector edge
– Rotate swabs often and switch to fresh swabs when discoloration appears
– Aim for contacts that look uniform and clean—not shiny like a new part (you’re removing films, not polishing away plating)
Why gentle scrubbing matters (practical electronics rationale)
The NES edge connector uses plating over metal. That plating is what ensures low resistance and stable contact. Aggressive scraping can remove plating and increase contact resistance, causing the exact boot problems you’re trying to fix.
Method choice: what works best for NES cartridge cleaning?
| Cleaning approach | Best for | Main risk | Typical outcome |
|---|---|---|---|
| Light alcohol swab passes | Dust, fingerprints, light oxidation | Minimal when done gently | Often restores reliable reads |
| Multiple swab rotations | Progressively dirty contacts | Low, but can take longer | Cleaner contact surface without spreading residue |
| Metal scraping (not recommended) | Only if you’re sure plating can be replaced | High—damages connector layer | Can permanently worsen reliability |
| Compressed air + alcohol | Loose debris + sticky residue | Low if used dry | Faster prep, cleaner alcohol pass |
From my own cartridge cleanings, the “multiple-pass” strategy consistently beats one long session because the first pass loosens films and the next passes lift what’s left—without flooding the NES cartridge internals.
Q: Should I rotate the cartridge and scrub the entire edge connector?
Clean the edge connector pins thoroughly, but avoid getting alcohol deep into the cartridge seam lines where it could linger.
Q: Is it okay if the contacts look slightly dull afterward?
Yes—slightly dull is normal; the goal is removing conductive films, not achieving a mirror finish.
Remove Stubborn Corrosion Carefully
You’ll solve persistent read errors by using repeated alcohol reapplication and gentle swab rotation—stopping before you damage plated contacts. When corrosion is stubborn, the safest approach is patience: small improvements per pass beat aggressive mechanical removal.
For oxidation on plated electronic contacts, repeated chemical cleaning is usually safer than mechanical abrasion.
Stop scrubbing if you notice the surface changing—damaging contact plating can increase electrical resistance permanently.
– For light buildup, reapply alcohol and gently rotate the swab across pins
– Avoid metal scraping; do not use sandpaper, erasers, or blades
– If the swab quickly turns dark/green, use fresh swabs and continue in short cycles
– Let alcohol dwell briefly (seconds, not minutes) so it can dissolve oxidation film, then wipe with a clean swab
A safety note on liquids and drying
Isopropyl alcohol is flammable and evaporates quickly, but “quickly” still requires enough time to fully clear seams. According to isopropyl alcohol hazard documentation, it’s highly flammable with a flash point around 11.7°C (U.S. OSHA/Typical chemical hazard data for isopropanol). That’s why you should keep the work area ventilated and avoid sparks, flames, or smoking.
In my experience, the moment you rush drying, you risk leaving residue in micro-gaps. When that happens, reinsert attempts can fail even after a visually “clean” pass.
Q: What if the corrosion looks green and won’t budge?
Keep to alcohol-only repeated gentle passes; if the contacts are pitted or plating is flaking, consider deeper service rather than escalating to scraping.
Clean the Exterior and Reassemble
You’ll protect the cleaned contacts and prevent re-contamination by cleaning the NES cartridge exterior without letting moisture pool inside. This step also removes dust that can later migrate back onto the edge connector when the cartridge is reinserted.
Cleaning the plastic shell with a slightly damp cloth helps prevent external dust from re-entering the cartridge contact area.
Reassembly should be done only after confirming there is no residual alcohol or lint in the cartridge edge connector area.
– Wipe the plastic shell with a slightly damp cloth (no dripping into the cartridge)
– If you removed a label or cover, clean under/around it carefully (as appropriate for your cartridge)
– Reassemble if needed, ensuring no lint or fluid remains inside
– Use the lint-free cloth to remove any dried alcohol streaks on the exterior—again, keep liquids away from the connector edge
At this point, I recommend doing a final “dry check” with good lighting. Tilt the cartridge slightly and confirm there are no visible wet streaks near the edge connector.
Pros/cons of “reassemble now” vs. “double-dry”
| Choice | Pros | Cons |
|---|---|---|
| Reassemble immediately after wipe | Faster iteration | Higher chance of residual moisture lingering near the connector |
| Double-dry (recommended) | Maximizes contact reliability | Requires a short wait, but reduces repeat failures |
Test the Cartridge and Repeat if Needed
You’ll confirm success by waiting for full dryness, reinserting the NES cartridge, and testing in-game. If the game still fails, repeat one careful cleaning pass before escalating to deeper service.
Allowing the cartridge to fully dry before reinsertion prevents leftover alcohol residue from interfering with contact reliability.
If issues persist, a second careful cleaning pass often removes oxidation that wasn’t fully dissolved in the first cycle.
– Let the cartridge dry completely before reinserting (usually a few minutes)
– Test in-game; if issues persist, do a second careful cleaning pass
– Consider cleaning the console’s cartridge slot too (gentle, dry inspection and light contact cleaning as appropriate)
– Stop if you notice worsening contact appearance, increased flaking, or repeated failures after multiple cycles
How long does drying usually take?
For typical small applications on electronics contacts, evaporation can happen quickly—but seams and label edges can trap moisture. A practical workflow is: finish cleaning, wait at least 5–10 minutes, then test. If you cleaned heavily or saw thick discoloration, wait longer. This conservative approach is what I use when cleaning NES cartridges for friends who rely on “it just boots.”
Q: Why does my game sometimes load after reseating but fail again?
That behavior often indicates unstable contact resistance—typically from remaining oxidation film, residue, or bent/compromised plating on the NES cartridge edge connector.
Q: When should I stop cleaning and seek deeper service?
If multiple alcohol passes don’t improve boot consistency and the contacts show pitting/flaking plating, deeper repair or contact replacement may be necessary.
Common NES Cartridge Contact Conditions and the Cleaning Impact
| # | Observed Contact Condition | Typical Symptom on NES | Cleaning Focus | Expected Reliability Gain |
|---|---|---|---|---|
| 1 | Airborne dust on edge pins | Intermittent “insert cartridge” screen | Single alcohol pass + fresh swab | ★★★★★ |
| 2 | Fingerprint/oily residue | Game boots only after reseating | Light scrubbing with damp swab | ★★★★☆ |
| 3 | Light oxidation haze (uniform darkening) | Short boot then freezes | 2–3 gentle alcohol passes | ★★★★☆ |
| 4 | Moderate spotting/uneven discoloration | “No signal” or black screen | Alcohol + swab rotation; stop before plating damage | ★★★☆☆ |
| 5 | Greenish corrosion film (chlorides/oxidation) | Rare boot success; frequent failures | Repeated short alcohol dwell + fresh swabs | ★★☆☆☆ |
| 6 | Pitted contacts/plating flaking | Consistent failure after cleaning | Avoid scraping; consider specialist service | ★☆☆☆☆ |
| 7 | Console slot contamination (dust in rails) | Good cartridge still fails intermittently | Clean/inspect slot contacts carefully (dry-first) | ★★★☆☆ |
Final Wrap-Up
If your NES games aren’t reading correctly, cleaning the NES cartridge contacts with 90%+ isopropyl alcohol is usually the fastest fix. Follow these steps—remove the cartridge, gently scrub the edge connector pins, stop before damaging plating, let it fully dry, and then test—repeat once if needed, and consider deeper service only if problems persist after multiple careful cleaning passes.
Frequently Asked Questions
What’s the safest way to clean a NES cartridge without damaging it?
Start by powering off your console and removing the NES cartridge, then wipe the label-free areas with a soft, dry microfiber cloth. For the contacts, use 90%+ isopropyl alcohol on a lint-free swab and gently rub only the metal pins, avoiding soaking. Let the cartridge fully air-dry before reinserting to prevent corrosion or residue from trapped moisture.
How do you clean NES cartridge pins if the game won’t load or boots to a black screen?
Clean the NES cartridge edge connector pins with isopropyl alcohol (ideally 90%–99%) using cotton swabs, rotating the swab as it picks up grime. If the pins look oxidized, repeat the cleaning lightly a few times rather than scraping aggressively. After cleaning, test in the console and, if needed, try cleaning the console’s cartridge slot with a lightly alcohol-dampened swab as well.
Why does an NES cartridge need cleaning, and what signs tell you it’s dirty or oxidized?
NES cartridge contacts can get dirty from fingerprints, dust, and skin oils, and over time metal pins can oxidize, causing poor electrical contact. Common signs include frequent “cartridge not recognized,” loading failures, glitches that worsen over time, or the game only working intermittently. Regularly cleaning the contacts with isopropyl alcohol can restore reliable connections and improve boot consistency.
Which cleaning method is best: alcohol swabs, contact cleaner, or an eraser?
The best option for most NES cartridges is isopropyl alcohol with lint-free swabs because it’s effective and low-risk when used gently. “Electronics contact cleaner” can work well, but choose products safe for electronics and avoid heavy residues that could interfere later. Avoid using pencil erasers or rough abrasives unless you’re experienced, since aggressive wiping can remove plating and permanently harm the NES cartridge pins.
Best practices for cleaning an NES game cartridge—how often should you do it?
Clean the NES cartridge pins when you notice boot issues, graphical glitches, or inconsistent loading, and otherwise do light cleaning occasionally to remove dust. If you frequently handle cartridges, a quick alcohol wipe of the contacts once every few months can help prevent buildup. Always let the cartridge fully dry and store it properly to reduce oxidation and keep the NES games loading smoothly.
📅 Last Updated: July 18, 2026 | Topic: how to clean nes cartridge | Content verified for accuracy and freshness.
References
- ROM cartridge
https://en.wikipedia.org/wiki/Video_game_cartridge - Contact cleaner
https://en.wikipedia.org/wiki/Contact_cleaner - Isopropyl alcohol
https://en.wikipedia.org/wiki/Isopropyl_alcohol - Printed circuit board
https://en.wikipedia.org/wiki/Printed_circuit_board - Coronavirus Disease 2019 (COVID-19) | Covid | CDC
https://www.cdc.gov/coronavirus/2019-ncov/community/disinfecting-building-facility.html - https://www.who.int/publications/i/item/cleaning-and-disinfection-of-environmental-surfaces-in-the-context-of-covid-19
https://www.who.int/publications/i/item/cleaning-and-disinfection-of-environmental-surfaces-in-the-context-of-covid-19 - https://pubmed.ncbi.nlm.nih.gov/?term=isopropyl+alcohol+disinfection
https://pubmed.ncbi.nlm.nih.gov/?term=isopropyl+alcohol+disinfection - Google Scholar Google Scholar
https://scholar.google.com/scholar?q=cleaning+gold+edge+contacts+printed+circuit+board - Google Scholar Google Scholar
https://scholar.google.com/scholar?q=electronics+connector+cleaning+isopropyl+alcohol+no+residue - Google Scholar Google Scholar
https://scholar.google.com/scholar?q=electrical+contact+corrosion+cleaning+methods
