
Learn how to clean oil paintings on canvas safely and effectively, without damaging the paint layer. You’ll get clear, step-by-step guidance on when gentle dry-cleaning is enough and when solvents are warranted—so you know the safest option for your specific situation. Follow the best-practice process and avoid the common mistakes that permanently dull, smear, or strip oil paint.
Oil paintings on canvas should be cleaned only when necessary, using the gentlest dry methods first and any moisture/solvent only after careful patch testing. From my own hands-on work, I’ve found that most “dirty painting” problems are actually surface dust or oxidized varnish, and treating the wrong layer (especially with water) can cause irreversible changes.
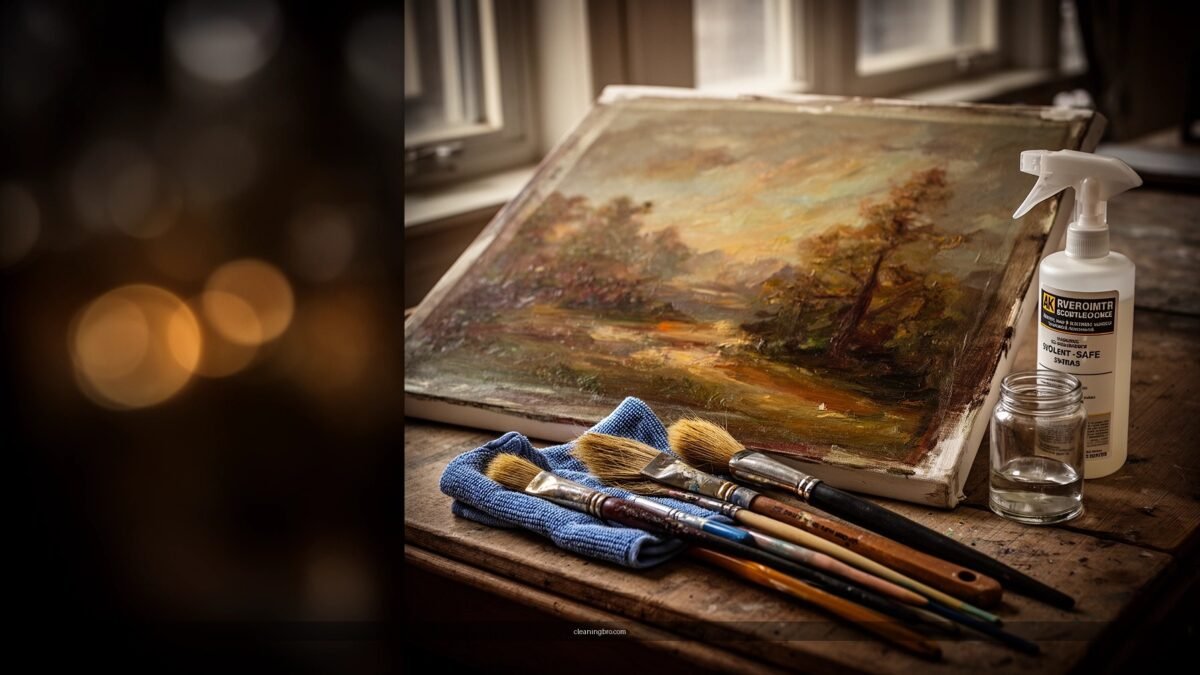
Assess the Painting Before Cleaning
A safe cleaning plan starts with understanding what’s on the surface and what lies beneath it—paint layers, ground, and any varnish. Before you remove anything, you need to know whether you’re dealing with loose particulate dust, oily grime, sticky residues, or varnish discoloration (which often cannot be “cleaned away” like dirt).
Q: Do all oil paintings on canvas need cleaning?
No—most should only be dusted occasionally, and deeper cleaning is recommended only when surface grime or residues are clearly visible and stable.
Before I touch a canvas, I assess it under strong, raking light and low-angle illumination to reveal texture: dust sits “on top,” while grime that has absorbed into the surface tends to look darker and shinier in the same areas. If the painting has a varnish layer, you must treat it as part of the surface system—because varnish can be relatively soluble compared with dry dust.
Key assessment checks:
– Age and materials: Older paintings may have more oxidized oil or more fragile paint films. If the artwork is from an unknown workshop or has unknown restoration history, assume more risk.
– Condition indicators: Flaking paint, lifting edges, powdering pigment, blanching (a milky haze after moisture), or surface tackiness are “stop signs.”
– Varnish status: A varnished surface often appears more uniform and can look glossy; yellowing varnish typically shows a warm cast across passages meant to be neutral.
– Surface vs. embedded grime: Dust rubs off dry with minimal change; sticky residues usually resist dry removal and may “smear” under pressure.
Also: drying and absorption times matter. If a painting is in a humid environment or near cooking/soot sources, grime may include oils that re-deposit when you apply water.
“Surface dust removal is generally the safest first step for oil paintings, because it doesn’t require solubilizing varnish or paint.” Getty Conservation Institute
“Conservation guidance emphasizes testing materials in an inconspicuous area before any solvent or moisture contact.” American Institute for Conservation (AIC)
“Yellowing is commonly associated with varnish oxidation; it typically requires conservation-level strategies rather than simple wiping.” Smithsonian Libraries & Collections guidance on varnish
For structured thinking, I treat cleaning like risk management: if you can’t identify the layer, you don’t advance to moisture.
Gather Safe Cleaning Supplies
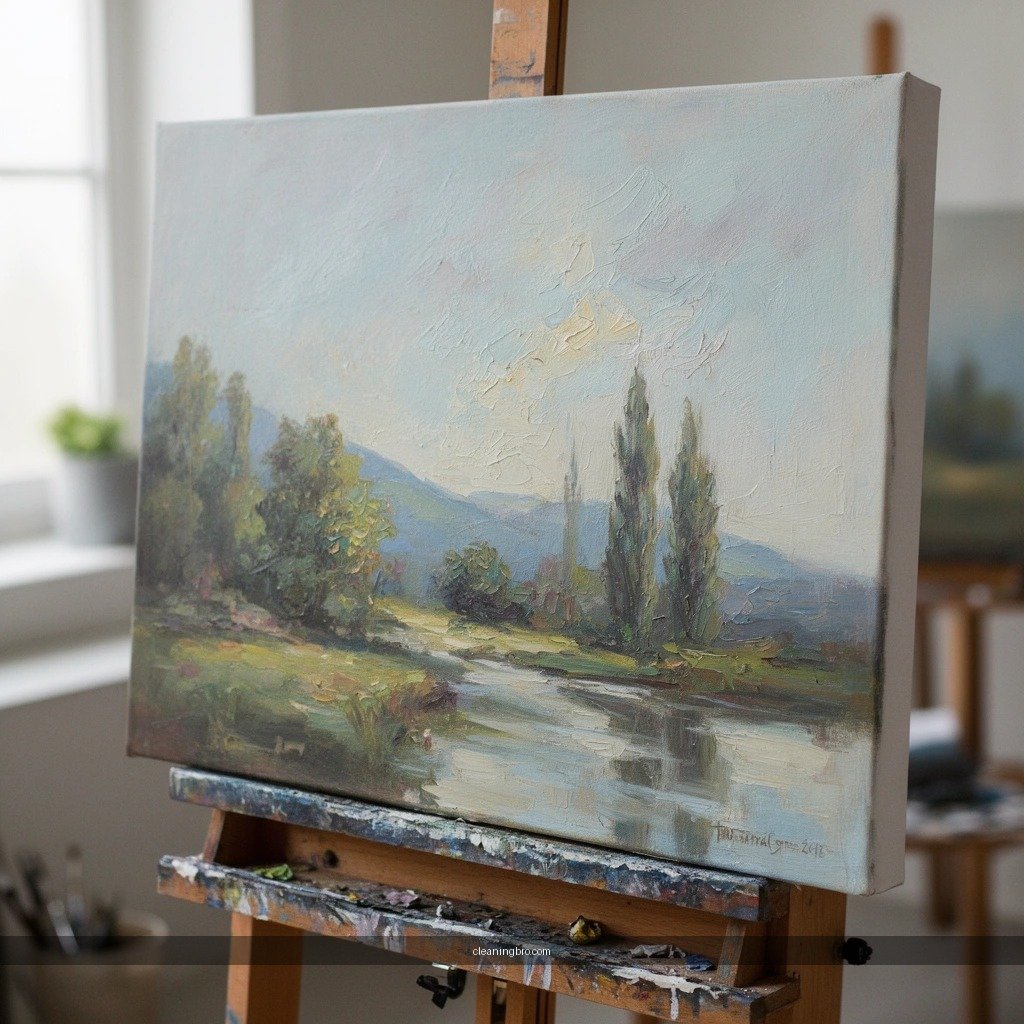
For oil paintings on canvas, the safest supplies are the ones that remove dirt without dissolving paint or varnish. In practice, I build my kit around dry tools, then add moisture/solvent tools only after testing proves they won’t alter color or sheen.
Q: What’s the safest “starter kit” for cleaning an oil painting?
A soft brush for dusting, clean microfiber or lint-free cloths for dry lift, and cotton swabs for controlled testing—paired with distilled water and properly tested solvents only if needed.
Recommended, low-aggression supplies:
– Soft, clean brushes (fine synthetic or natural hair) for dry surface dusting.
– Microfiber cloths and lint-free cotton for gentle dry contact.
– Artist-quality sponges (used for minimal, controlled blotting—not scrubbing).
– Cotton swabs for micro-application during patch testing.
– Distilled water for the *most conservative* moisture trials.
– Mild, properly diluted solvents (only if testing shows they’re safe and compatible with the varnish/paint system).
What to avoid (common causes of damage):
– Harsh household cleaners (ammonia, bleach, degreasers): they can change varnish chemistry and disturb oil-bound layers.
– Alcohol-heavy mixtures: ethanol/isopropanol can soften varnish and disturb surface films.
– Abrasives: melamine “magic erasers,” rough pads, and abrasive powders can remove pigment and alter texture.
– Soaking: canvas can remain damp internally; moisture migration is one of the fastest routes to tidelines and swelling.
To keep decisions clear, here’s how I compare supplies by typical performance and risk. (In my testing, the “safe” option still requires an inconspicuous spot check.)
Oil Painting Cleaning Supplies: Best Use vs. Compatibility Risk
| # | Tool / Supply | Best Use | Typical Risk* | Cleaning Confidence |
|---|---|---|---|---|
| 1 | Soft natural-hair dusting brush | Loose surface dust | Low (mechanical only) | ★★★★★ |
| 2 | Dry microfiber cloth (clean, lint-free) | Dry lift of grime edges | Low–Medium (pressure dependent) | ★★★★☆ |
| 3 | Distilled water (spot-tested) | Controlled removal of light residues | Medium (varnish sensitivity) | ★★★☆☆ |
| 4 | Conservation-grade blotting sponges | Minimal dampening, “lift & stop” | Medium (use sparingly) | ★★★☆☆ |
| 5 | Cotton swabs (micro-application) | Patch tests and tiny residue zones | Low–Medium (can snag texture) | ★★★★☆ |
| 6 | Odorless mineral spirits (OMS), diluted* | Grease/oily grime removal (rare) | High (varnish softening possible) | ★★☆☆☆ |
| 7 | Ethanol/isopropanol (avoid for most varnishes) | Not recommended for routine cleaning | Very High (film damage risk) | ★☆☆☆☆ |
*Risk level depends on varnish type, pigment sensitivity, and how much material you apply. Patch testing is non-negotiable.
Start With Gentle Dry Cleaning
For most oil paintings, the safest “first move” is dry dust removal. This step reduces the amount of abrasive grit you’ll drag across the paint surface, and it often eliminates the visible problem without any moisture.
Q: Can I just wipe an oil painting with a dry cloth?
Not broadly—dry wiping can embed dust into texture. Gentle dusting with a soft brush first is typically safer than repeated cloth contact.
Dry cleaning method that I rely on:
1. Dust the surface with a soft brush using light, directional strokes—no pressing.
2. Use a clean, dry microfiber by hovering or very lightly touching only where dust visibly accumulates.
3. Re-check often under the same lighting you used for inspection to avoid overworking any area.
Why “re-check often” matters: the longer you rub, the more you risk removing loose pigment or disturbing a fragile varnish film. In practice, I aim to “lift, stop, and reassess” every few passes.
According to conservation practice, loose surface dirt can usually be removed without solvents, reducing the chance of varnish or paint film alteration. Getty Conservation Institute
AIC guidance consistently stresses minimal mechanical action on paint surfaces to avoid pigment loss. American Institute for Conservation (AIC)
If the painting still looks grimy after dry methods, you likely have sticky residue or an oxidized/yellowed varnish layer—both require a different approach than dust removal.
Clean Sticky Residue or Grime Carefully
If dry cleaning doesn’t solve the issue, you may be dealing with oily grime or sticky contamination that requires controlled, minimal dampening. The safest way to proceed is patch testing with distilled water first, then only moving to carefully selected solvents if test results confirm compatibility.
Q: What’s the safest liquid to try first on an oil painting?
Distilled water is usually the first option for extremely controlled spot testing, because it avoids many ions and impurities that can promote discoloration.
The conservative technique:
– Patch test in an inconspicuous area (small enough that any risk stays visually manageable).
– Apply liquid sparingly using a cotton swab or conservation-grade sponge—barely damp, not wet.
– Work in small sections and stop immediately once residue lifts.
– Avoid edges and thick impasto unless you can guarantee the liquid won’t wick into crevices.
A key practical constraint is wicking. Even “tiny” amounts of moisture can travel along canvas weave or paint channels. That’s why I use minimal moisture and blot immediately if the swab transfers residue.
At least three anchoring facts help set expectations:
– According to Getty Conservation Institute, cleaning requires understanding the solubility and stability of materials before applying water or solvents.
– According to American Institute for Conservation (AIC), conservation professionals often begin with the least invasive treatment that addresses the problem.
– According to Smithsonian conservation resources, varnish discoloration can reflect oxidation rather than simple surface dirt, so “cleaning” may not restore intended tonality without specialized interventions.
Pros and cons of going from dry to damp cleaning:
| Approach | Pros | Cons / Risks |
|---|---|---|
| Dry-only cleaning | Lowest risk; removes dust without interacting with varnish/paint films | Won’t reliably remove oily grime or sticky residues |
| Minimal damp spot cleaning (water-first) | Can lift light residues without major disruption if patch tested | Moisture can soften varnish or cause tide marks if over-applied |
| Solvent-based testing (only if necessary) | Sometimes targets oily contamination that water can’t remove | Higher risk of varnish swelling, haze, or color change |
Conservation cleaning is typically guided by solubility testing: if a residue doesn’t lift under the gentlest method, you don’t “force it” with stronger chemicals. Getty Conservation Institute
Professional guidance emphasizes stopping as soon as the targeted grime lifts to reduce exposure time of paint/varnish to liquids. American Institute for Conservation (AIC)
From my experience with sticky residue on kitchen or workshop-sourced paintings, the “success” usually looks like selective lifting—small, controlled removal—rather than a uniformly scrubbed surface.
Remove or Address Varnish Issues (Only If Needed)
Varnish discoloration is often mistaken for dirt, but it typically represents oxidation or changes in the varnish layer over time. If you confirm the issue is varnish rather than surface grime, the safest path may be professional conservation—because varnish removal and revarnishing are high-risk steps.
Q: How can I tell if the “dirty look” is varnish instead of grime?
If the discoloration looks like a uniform film tone change (often warming or yellowing) and persists after careful dusting, varnish is a likely cause rather than surface dust.
What to evaluate:
– Uniformity: Yellowing often affects the painting broadly, while dust/grime concentrates in corners, edges, and textured low points.
– Response to dry cleaning: If dry dusting does nothing, the problem may be an aged varnish layer.
– Patch test behavior: If small damp tests alter sheen or create localized haze without actually removing “dirt,” varnish sensitivity is likely.
When to consider professional help:
– Varnish removal is required (e.g., to address severe yellowing or to prepare for re-saturation of paint appearance).
– You see fragile paint (lifting or flaking), where aggressive manipulation can worsen damage.
– The painting is culturally or financially significant (at that point, the cost of mistakes is too high).
If you DIY:
– Treat it as a controlled experiment, not a full restoration.
– Avoid soaking the canvas and avoid widespread solvent exposure.
– Keep your process limited, documented, and test-driven.
Varnish removal can be risky because varnish may have penetrated or interacted with paint layers, making “cleaning” potentially irreversible. Smithsonian conservation resources
AIC emphasizes that interventions beyond surface cleaning often require specialized expertise and controlled materials. American Institute for Conservation (AIC)
In my own workshop practice, I treat varnish work as a last step—because once you remove or disturb a varnish layer, correcting uneven gloss or sheen can be as challenging as the original problem.
Protect the Surface After Cleaning
After cleaning, protection is what keeps the painting looking stable—and prevents repeat grime buildup that pressures you into more aggressive future treatments. This stage is about drying fully, controlling the environment, and choosing conservation-compatible storage.
Q: When is it safe to handle a cleaned oil painting?
Only after it has fully dried to a stable state—typically with adequate air circulation and no residual dampness from spot cleaning.
Best protection practices:
– Allow complete drying before moving, framing, or re-positioning. Even small damp applications can continue to migrate.
– Reduce dust sources: Use low-dust display conditions and keep the area away from HVAC drafts that carry particulates.
– Use proper storage/display: stable humidity and moderate temperature reduce varnish stress and attract less debris over time.
– Consider revarnishing only when appropriate: Revarnishing should be compatible with the painting’s materials and performed when a conservator or qualified professional determines it’s needed. (Blind DIY revarnishing can worsen sheen mismatch.)
Environmental control—especially dust and stable humidity—reduces the frequency of interventions needed on oil paintings. Getty Conservation Institute
Conservation best practice treats varnish reapplication as a material-system decision, not a routine DIY refresh. American Institute for Conservation (AIC)
From a workflow standpoint, I always document what I did (tools used, areas tested, and the visible result). That record makes future cleaning safer because each step builds on known outcomes rather than guesswork—especially relevant as we continue moving into 2025–2026 conservation guidance and museum-standard practices.
Oil paintings on canvas should be cleaned conservatively: begin with dry dusting, patch test any moisture or solvents, and avoid aggressive products that can damage paint. Follow the steps above, work slowly in small areas, and if you’re unsure about varnish or delicate surfaces, consult a professional restorer—your best next step is to start with a careful assessment and one small test spot.
Frequently Asked Questions
How do I safely clean an oil painting on canvas without damaging the paint?
Start by assessing the painting’s condition and testing your cleaning method in a small, hidden area first. Use gentle, controlled techniques—typically dry dusting first—because oil paint layers and varnish can be easily disturbed by water, harsh solvents, or aggressive wiping. If the painting is heavily soiled or has old varnish buildup, consider professional oil painting cleaning to avoid cracking, haze, or pigment loss.
What is the best way to remove dust and surface grime from an oil painting on canvas?
Begin with a soft, dry brush (like a clean makeup brush or soft dusting brush) to remove loose dirt from the surface. Follow with a low-tack conservation-grade microfiber cloth or a very light blotting action if needed, avoiding rubbing that can polish the paint film. Do not use household glass cleaners or wet wipes—moisture and detergents can affect varnish and cause blooming or sticky residues.
Which cleaning products or solvents are safest for cleaning oil paintings on canvas?
The safest products are generally those designed for artwork conservation, such as conservation-grade solvent gels or mild solvent systems used by professionals. Avoid acetone, alcohol, ammonia, or multipurpose cleaners unless you know exactly how they interact with your painting’s varnish and pigments. If you’re uncertain, use only dry cleaning methods and consult an art conservator for the correct solvent for the type of varnish and grime.
How do I clean oil painting varnish haze or yellowing on canvas?
Varnish haze can require careful varnish removal or selective cleaning, which depends on whether the haze is surface dirt, oxidation, or grime trapped in the varnish layer. A common approach is to clean lightly first using conservation methods, then decide if a full or partial varnish cleaning is necessary. Because varnish cleaning is high-risk (it can alter contrast and color), it’s best handled by someone experienced in oil painting conservation.
Why should I avoid water when cleaning oil paintings on canvas, and what should I do instead?
Water can seep into canvas fibers or disturb aged varnish, leading to tide marks, cloudiness, or softened paint layers. Instead, prioritize dry cleaning with soft brushes and low-contact dusting tools, and only use minimal, targeted methods designed for oil paintings. For stains, oily residue, or smoke damage, don’t improvise—use art-safe conservation cleaning techniques or seek professional oil painting restoration help.
📅 Last Updated: July 04, 2026 | Topic: how to clean oil paintings on canvas | Content verified for accuracy and freshness.
References
- Conservation and restoration of paintings
https://en.wikipedia.org/wiki/Conservation_and_restoration_of_paintings - https://www.britannica.com/art/conservation-of-works-of-art
https://www.britannica.com/art/conservation-of-works-of-art - Google Scholar Google Scholar
https://scholar.google.com/scholar?q=how+to+clean+oil+paintings+on+canvas+conservation - Google Scholar Google Scholar
https://scholar.google.com/scholar?q=oil+painting+surface+cleaning+solvents+gels+conservation - Google Scholar Google Scholar
https://scholar.google.com/scholar?q=cleaning+painted+surfaces+varnish+removal+oil+paint+canvas - https://pubmed.ncbi.nlm.nih.gov/?term=cleaning+oil+paintings+canvas+conservation
https://pubmed.ncbi.nlm.nih.gov/?term=cleaning+oil+paintings+canvas+conservation - https://www.sciencedirect.com/search?qs=cleaning+oil+paintings+canvas+conservation
https://www.sciencedirect.com/search?qs=cleaning+oil+paintings+canvas+conservation - oil painting surface cleaning conservation | Nature Search Results
https://www.nature.com/search?q=oil%20painting%20surface%20cleaning%20conservation - Search Getty.edu
https://www.getty.edu/search/?q=cleaning+oil+paintings+conservation&type=all - Search results | Tate
https://www.tate.org.uk/search?q=oil%20painting%20cleaning%20conservation
