How to Clean Out a Plastic Fuel Tank Effectively
Cleaning out a plastic fuel tank is crucial for ensuring optimal performance and longevity. An effective cleaning process removes old fuel, debris, and contaminants that could impair the tank’s functionality. This guide outlines the essential steps to clean your fuel tank efficiently, ensuring it is safe and ready for use.
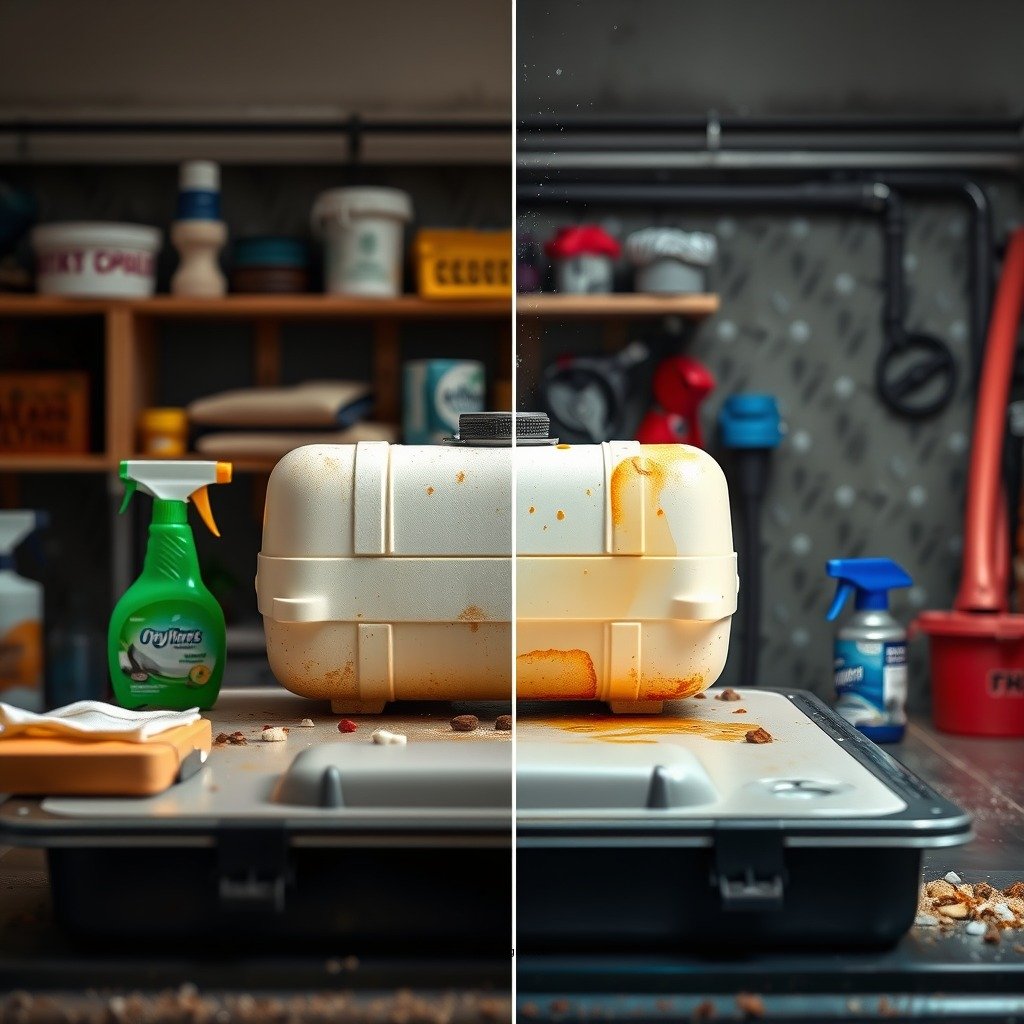
Gather Necessary Tools and Materials

Before beginning the cleaning process, it’s important to assemble all necessary tools and materials. This preparation will streamline the cleaning process and enhance safety.
– Fuel siphon pump: This tool is essential for safely draining old fuel from the tank without spills or hazards.
– Cleaning solution: A degreaser or a mixture of water and vinegar is effective in breaking down stubborn residues and contaminants.
– Soft cloths or sponges: Use these for scrubbing the interior surfaces of the tank gently, avoiding scratches or further damage.
Having these tools on hand will facilitate a thorough cleaning process, minimizing the risk of contamination during the procedure.
Safely Remove Old Fuel


Removing old fuel is a critical first step and must be done with caution:
– Ensure proper ventilation: Always work in a well-ventilated area to disperse any harmful fumes from the fuel. Avoid conducting this task near open flames or sparks to mitigate the risk of fire.
– Using the siphon pump: Insert the siphon pump into the tank and drain the fuel into an approved container. Ensure that the container is suitable for fuel storage to prevent leaks or reactions. Dispose of the old fuel according to local regulations, as improper disposal can harm the environment.
By following these guidelines, you can safely remove old fuel and prepare the tank for cleaning.
Inspect the Fuel Tank

Once the old fuel is removed, a thorough inspection of the tank is necessary:
– Check for cracks or damage: Inspect the exterior and interior surfaces of the tank for any visible damage. Cracks can compromise the integrity of the tank, leading to leaks and further issues.
– Look for signs of rust, algae, or other contaminants: Rust may indicate water accumulation, while algae can develop from contaminated fuel. Identifying these issues early allows for targeted cleaning and repair.
This inspection phase is vital for determining whether the tank can be cleaned or if it requires replacement.
Top 7 Contaminants Found in Fuel Tanks
| # | Contaminant | Source | Risk Level |
|---|---|---|---|
| 1 | Water | Condensation | High |
| 2 | Algae | Contaminated fuel | Medium |
| 3 | Dirt | Environmental exposure | Low |
| 4 | Rust | Metal degradation | High |
| 5 | Microbes | Biological growth | Medium |
| 6 | Contaminants | Fuel additives | Low |
| 7 | Bacteria | Decomposing matter | High |
Clean the Interior of the Tank
With the tank inspected, the next step is to clean its interior thoroughly:
– Prepare the cleaning solution: Mix your chosen cleaning solution, ensuring it’s appropriate for the contaminants you identified during inspection. A degreaser can effectively eliminate oil residues, while a vinegar-water mixture is excellent for neutralizing odors and light residues.
– Scrub the interior: Use soft cloths or sponges to apply the cleaning solution inside the tank. Pay special attention to corners and crevices where debris may accumulate. Scrubbing should be gentle to avoid scratching the plastic surface, which can lead to further contamination.
Thorough cleaning ensures that all contaminants are removed, setting the stage for a successful rinse.
Rinse the Tank
Rinsing is a crucial step that follows the cleaning process:
– Use clean water for rinsing: After scrubbing, thoroughly rinse the tank with clean water to remove all traces of the cleaning solution. This step is critical to prevent chemical residue from mixing with the new fuel.
– Check for thoroughness: Make sure that no bubbles or foam remain, indicating that the cleaning solution has been entirely rinsed out. Any residue left could contaminate the new fuel, leading to performance issues.
Proper rinsing helps ensure that the tank is completely clean and safe for refueling.
Dry the Tank Properly
After rinsing, the tank must be dried thoroughly before reassembly:
– Air drying: Allow the tank to air dry completely in a well-ventilated area. This step is crucial to prevent moisture accumulation, which can lead to rust or algae growth.
– Use a clean cloth: For any remaining moisture, use a clean, dry cloth to wipe down the tank’s surfaces. This action will ensure that no water droplets remain to contaminate the new fuel.
Ensuring that the tank is completely dry is essential for maintaining its integrity and preventing future issues.
Reassemble and Refill the Tank
With the tank cleaned and dried, you can now reassemble and refill it:
– Reattach fittings or caps: Ensure that all fittings and caps are securely reattached to prevent leaks. Verify that any seals are intact and functioning properly.
– Refill with fresh fuel: Fill the tank with clean, fresh fuel that meets the manufacturer’s specifications. Ensure that the fuel source is reputable to prevent introducing new contaminants into the tank.
By following these final steps, you ensure that your plastic fuel tank is ready for efficient and safe use.
Summarizing the process, cleaning out a plastic fuel tank involves careful steps to remove old fuel, inspect for damage, thoroughly clean the interior, rinse, dry, and finally reassemble the tank. By adhering to these guidelines, you can maintain a clean and efficient fuel tank that supports your vehicle’s performance. Regular inspections and maintenance will help prevent issues in the future, ensuring the longevity of your fuel tank and the overall vehicle.
Frequently Asked Questions
How do I safely clean out a plastic fuel tank?
To safely clean out a plastic fuel tank, first, ensure the tank is empty and remove it from the vehicle. Use a mixture of warm water and a mild detergent to scrub the inside, employing a long brush if necessary. Rinse thoroughly with clean water and allow it to dry completely before reinstalling it to avoid any contamination.
What are the best products for cleaning a plastic fuel tank?
The best products for cleaning a plastic fuel tank include specialized fuel tank cleaners available at automotive stores, which are designed to remove fuel residue and contaminants. You can also use a mixture of vinegar and baking soda for a natural cleaning solution, but always follow up with a thorough rinse to ensure no cleaning agents remain.
Why is it important to clean a plastic fuel tank?
Cleaning a plastic fuel tank is crucial to prevent clogging of fuel lines and filters caused by sediment and debris buildup. Contaminated fuel can lead to engine performance issues and costly repairs, so regular maintenance of the fuel tank helps ensure optimal function and longevity of your vehicle.
Which tools do I need to clean a plastic fuel tank effectively?
To clean a plastic fuel tank effectively, you will need basic tools such as a wrench set to remove the tank, a long-handled scrub brush for reaching inside, and a bucket for mixing cleaning solutions. Additionally, having safety gear like gloves and goggles is recommended to protect yourself from any harmful residues.
How often should I clean my plastic fuel tank?
You should aim to clean your plastic fuel tank every few years or as needed, especially if you notice performance issues or debris in the fuel. Regular inspections and cleaning after extended periods of inactivity or after using contaminated fuel will help maintain the tank’s integrity and the overall performance of your vehicle.
References
- Fuel tank
https://en.wikipedia.org/wiki/Fuel_tank - https://www.sciencedirect.com/topics/engineering/fuel-tank
https://www.sciencedirect.com/topics/engineering/fuel-tank - https://www.ncbi.nlm.nih.gov/pmc/articles/PMC6485109/
https://www.ncbi.nlm.nih.gov/pmc/articles/PMC6485109/ - Fluphenazine – StatPearls – NCBI Bookshelf
https://www.ncbi.nlm.nih.gov/books/NBK459194/ - https://www.britannica.com/science/fuel-tank
https://www.britannica.com/science/fuel-tank - Guidance for Calculating the Return on Investment in Transit State of Good Repair | The National …
https://www.nap.edu/catalog/25629/cleaning-and-decontaminating-fuel-tanks-and-pipelines-in-gasoline-distribution - The page you were looking for has moved.
https://www.cdc.gov/niosh/topics/chemical.html - Google Scholar Google Scholar
https://scholar.google.com/scholar?q=clean+out+a+plastic+fuel+tank - Google Scholar Google Scholar
https://scholar.google.com/scholar?q=cleaning+fuel+tanks+plastic - Google Scholar Google Scholar
https://scholar.google.com/scholar?q=plastic+fuel+tank+maintenance


