How to Clean Range Hood in Office Spaces
To clean your office range hood, first gather degreasing cleaner, soft cloths, and gloves. Turn off power, remove grease filters, and soak them in warm soapy water. Scrub stubborn grease with a brush and degreaser, then rinse and dry all parts thoroughly to avoid rust. Reassemble carefully, ensuring filters and fan blades are secure. Regularly cleaning your range hood improves air quality and prevents fire hazards. Keep going to uncover tips for long-term maintenance and efficiency.
Understanding the Importance of Range Hood Maintenance
Although it might not be the first thing on your cleaning list, keeping your range hood well-maintained is vital for both safety and efficiency in your kitchen. When you take charge of your range hood’s upkeep, you’re not just preventing grease buildup—you’re also improving air quality and reducing fire hazards. This is especially important in shared office spaces, where maintaining office hygiene reflects on everyone’s professionalism and comfort. A clean range hood means better ventilation, less lingering odors, and a healthier environment for your team. By dedicating a little time to this task, you free yourself and others from unnecessary risks and distractions. So, embracing regular range hood maintenance isn’t just about cleanliness—it’s about reclaiming freedom in your workspace.
Identifying the Parts of Your Office Range Hood
Before you start cleaning, it helps to know your office range hood’s main parts. You’ll want to recognize the different filter types and how the ventilation system is set up. This makes the cleaning process quicker and more effective.
Main Components Overview
Understanding the main components of your office range hood is key to effective cleaning and maintenance. Whether you have wall-mounted, island, or under-cabinet range hood types, knowing each part helps you keep things running smoothly. The main components include the hood body, which captures smoke and odors; the fan or blower that pulls air through; the grease filters that trap particles; and the vent or ductwork that expels air outside. Some models also have a light to brighten your cooking area. By recognizing these parts, you’re better equipped to maintain your office kitchen and prevent buildup that hampers performance. Staying on top of these components gives you the freedom to enjoy a fresh, clean environment without hassle.
Filter Types Explained
Since the filter is essential for trapping grease and particles, knowing the types in your office range hood helps you clean and replace them properly. Understanding these filter types guarantees you maintain a fresh, efficient workspace without hassle.
Here are the three common filter types you’ll encounter:
- Mesh Filters – Made of metal layers, these catch grease well and need regular soaking and scrubbing with degreaser.
- Baffle Filters – Featuring curved panels, they separate grease through airflow changes and clean easily in a dishwasher.
- Charcoal Filters – Used mainly for recirculating hoods, they absorb odors but require replacement since cleaning methods don’t restore their effectiveness.
Knowing your filter type frees you from confusion and keeps your office kitchen air clean and inviting.
Ventilation System Layout
Although cleaning the filter is essential, you’ll also want to familiarize yourself with the main parts of your office range hood’s ventilation system. Knowing these components helps maintain ventilation efficiency and improves air quality, giving you the freedom to breathe easy.
| Part | Function | Impact on Air Quality |
|---|---|---|
| Hood Canopy | Captures smoke and odors | Directly affects pollutant capture |
| Exhaust Fan | Moves air through system | Guarantees continuous airflow |
| Ductwork | Channels air outside | Prevents indoor contamination |
Understanding these parts lets you keep your range hood in top shape, guaranteeing fresh, clean air in your workspace while boosting ventilation efficiency effortlessly.
Gathering Essential Cleaning Supplies
Before you start cleaning your range hood, make sure you have five essential supplies on hand: a degreasing cleaner, a soft cloth or sponge, a scrub brush, warm water, and rubber gloves. These cleaning tools will make the process smoother and more effective while keeping you safe. Don’t skip safety precautions—rubber gloves protect your hands from harsh chemicals.
Here’s a quick checklist to gather your supplies:
- Degreasing cleaner – breaks down tough grease effortlessly.
- Soft cloth or sponge and scrub brush – for gentle yet thorough scrubbing.
- Warm water – helps loosen grime and rinses surfaces clean.
Having these ready lets you clean freely and confidently, without interruptions or hazards.
Preparing the Area for Cleaning
Start by clearing the space around your range hood to confirm you have easy access and won’t accidentally damage anything. Remove any office supplies, decorations, or electronics nearby. Lay down a protective cloth or newspapers to catch drips or debris. Before diving in, review your cleaning checklist to confirm all necessary tools and cleaners are within reach. Don’t skip safety precautions—turn off the power to the range hood to avoid electrical hazards. Wear gloves to protect your hands from grease and cleaning agents. Ventilate the area well by opening windows or turning on fans, keeping the air fresh and reducing fumes. Preparing your space thoughtfully sets the stage for a smooth, efficient cleaning session without interruptions or risks.
Removing and Soaking the Grease Filters
First, you’ll want to carefully remove the grease filters following your range hood’s instructions. Then, soak them in a solution like hot water mixed with dish soap or vinegar to break down the grime. Remember to clean these filters regularly to keep your range hood working efficiently.
Filter Removal Steps
To remove the grease filters, you’ll typically need to release or slide them out gently from the range hood. This step is essential for effective filter cleaning and overall maintenance. Here’s how you can do it:
- Locate the latch or handle on the filter, usually at the front or side.
- Press or pull the release mechanism carefully without forcing it.
- Slide or tilt the filter downward and out, making sure to support its weight to avoid bending or damage.
Following these maintenance tips guarantees your filters stay clean and efficient, giving you freedom from greasy buildup and unpleasant odors. Once removed, you’re ready for the next step, soaking, which will further ease your cleaning routine.
Soaking Solutions Options
Once you’ve removed the grease filters, the next step is soaking them to loosen stubborn grime. You’ve got a few soaking solutions options to choose from, each designed to break down grease effortlessly. A simple mix of hot water and dish soap works wonders, but if you want extra power, adding baking soda or white vinegar can boost the cleaning agents’ effectiveness. For tougher build-up, specialized commercial degreasers are available, but make sure they’re safe for your filters. Let the filters soak for at least 15 to 30 minutes, giving the cleaning agents time to dissolve the grease. This step frees you from scrubbing endlessly, making the whole process smoother and quicker—because you deserve a clean range hood without the hassle.
Cleaning Frequency Tips
Regularly cleaning your range hood’s grease filters is crucial to keep your kitchen air fresh and your appliance working efficiently. Sticking to proper cleaning schedules guarantees you don’t let grease build-up take over, limiting freedom from lingering odors and fire risks. Follow these frequency guidelines for ideal results:
- Weekly checks: Remove and inspect filters weekly in busy office kitchens to avoid heavy grease accumulation.
- Bi-weekly soaking: Soak the filters every two weeks using a degreasing solution to break down stubborn grime.
- Monthly deep cleaning: Perform a thorough scrub and rinse once a month to keep the filters in top shape.
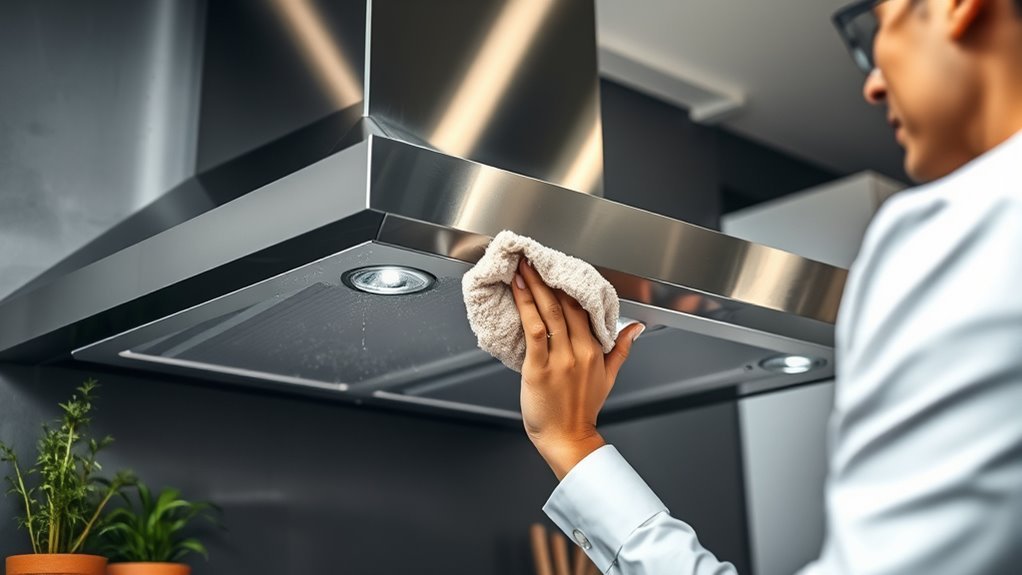
Cleaning the Range Hood Exterior and Interior Surfaces
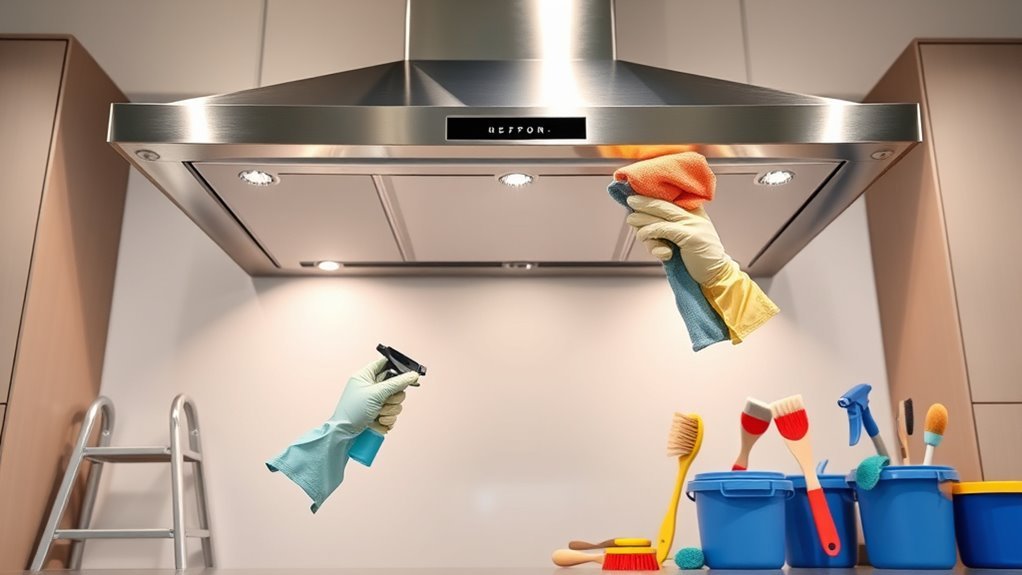
You’ll want to wipe down both the exterior and interior surfaces of your range hood to keep it functioning efficiently and looking clean. For exterior cleaning, grab a soft cloth and a mild detergent solution to gently remove dust, grease, and fingerprints without damaging the finish. Make sure to dry it thoroughly to prevent streaks or water spots. When it comes to interior cleaning, switch off the power and carefully clean accessible areas where grease accumulates. Use a degreaser suitable for your hood’s material, applying it sparingly to avoid excess moisture inside electrical components. Regular exterior cleaning combined with attentive interior cleaning will help maintain airflow and extend your range hood’s life, giving you freedom from constant maintenance worries.
Dealing With Stubborn Grease and Stains

Although routine cleaning tackles most grime, stubborn grease and stains on your range hood may need extra effort. To regain that fresh look and maintain freedom from sticky buildup, try these grease cutting and stain removal tips:
Stubborn grease on your range hood demands extra care to restore its fresh, clean appearance.
- Apply a degreaser or a mix of baking soda and water to the tough spots. Let it sit for 10 minutes to break down the grease.
- Use a soft-bristle brush or non-abrasive sponge to scrub away the residue gently without damaging the surface.
- Rinse with warm water and wipe dry immediately to prevent new stains from forming.
Drying and Reassembling the Range Hood Components
Once you’ve cleaned each part, make sure everything is completely dry to avoid any damage or mold. Take your time with proper drying techniques, like air drying or using a clean towel. After that, you can follow a step-by-step process to reassemble your range hood correctly.
Proper Drying Techniques
After thoroughly washing each part of your range hood, it’s essential to dry them properly to prevent rust and guarantee everything fits back together smoothly. Mastering drying techniques guarantees moisture control, keeping your hood in top shape. Here’s how you can do it effectively:
- Use a microfiber cloth to absorb excess water quickly without scratching surfaces.
- Let parts air-dry completely in a well-ventilated area to avoid trapped moisture.
- For stubborn damp spots, gently use a hairdryer on a low setting to speed up drying.
Step-by-Step Reassembly
Properly dried parts make reassembling your range hood much easier and help everything fit back just right. Start by checking each component for moisture and align them carefully. Use these reassembly tips to guarantee smooth component alignment and avoid forcing pieces, which can cause damage.
| Step | Action | Tip |
|---|---|---|
| 1 | Position filter correctly | Match slots to guide rails |
| 2 | Attach fan blades | Tighten screws evenly |
| 3 | Secure outer casing | Align edges before locking |
Take your time; precise alignment guarantees maximum performance and lets you enjoy a clean, efficient workspace with freedom and confidence.
Maintaining Your Range Hood for Long-Term Efficiency
Although regular cleaning is essential, maintaining your range hood also involves routine checks and timely replacements to confirm it works efficiently over time. To guarantee long term maintenance and ideal range hood efficiency, follow these steps:
- Inspect Filters Monthly: Check for grease buildup or damage. Replace disposable filters or deep clean reusable ones to keep airflow smooth.
- Examine Fan and Motor: Listen for unusual noises and check that the fan spins freely. Address any issues promptly to avoid costly repairs.
- Check Vent Ducts: Confirm ducts are clear of obstructions and securely connected. Proper venting prevents smoke and odors from lingering.
Scheduling Regular Cleaning for Office Kitchen Hygiene
Keeping your range hood in good shape goes hand in hand with maintaining a clean office kitchen. Setting up a consistent cleaning schedule guarantees your range hood stays efficient and the space hygienic. You don’t want grease buildup or lingering odors affecting everyone’s comfort or health. By sticking to hygiene practices like wiping filters weekly and deep-cleaning monthly, you create a fresh environment that boosts morale and productivity. It’s easy to assign cleaning tasks or reminders so no one’s overloaded. Regular maintenance not only extends your range hood’s lifespan but also keeps your office kitchen a welcoming spot. Embrace the freedom that comes with a well-planned cleaning schedule—it’s a simple step toward a healthier, more enjoyable workspace for everyone.
Frequently Asked Questions
Can I Use a Dishwasher to Clean Range Hood Filters?
You can use a dishwasher to clean range hood filters, but you’ll want to check dishwasher safety first. Some filters are dishwasher safe, while others might get damaged, which could reduce filter effectiveness. If you’re after freedom from scrubbing, using the dishwasher is a great shortcut, just make certain the manufacturer approves it. Otherwise, hand washing guarantees your filters stay in top shape and keep your range hood working efficiently.
How Often Should the Range Hood Fan Motor Be Serviced?
You should keep fan motor maintenance on your radar to guarantee it runs smoothly and lasts longer. Generally, the service frequency for your range hood fan motor is every 6 to 12 months, depending on how often you use it. If you want freedom from unexpected breakdowns, schedule regular check-ups to clean and lubricate the motor. Staying proactive with maintenance means you’ll avoid hassle and keep things running effortlessly.
Are There Eco-Friendly Cleaning Products Safe for Office Range Hoods?
Think of natural cleaning solutions as gentle rain, revitalizing without harm. You can totally break free from harsh chemicals by choosing safe ingredient options like vinegar, baking soda, and lemon juice. These eco-friendly products cut grease and grime effectively while keeping your space healthy. Plus, they’re kinder to the environment and your office air quality, giving you peace of mind and a cleaner range hood without the toxic aftermath.
What Noise Levels Are Normal for a Functioning Range Hood?
You’ll find that normal noise levels for a functioning range hood usually hover around 40 to 60 decibels, similar to a quiet conversation. Noise reduction is key, so if it’s louder, your fan efficiency might be compromised or the motor needs maintenance. You deserve a workspace free from distracting sounds, so keeping the hood balanced between performance and quiet operation helps you stay focused without sacrificing fresh air quality.
Can Professional Cleaning Services Damage Office Range Hood Components?
You don’t have to worry much—professional cleaning services usually know the right cleaning techniques to avoid damaging your range hood components. They follow maintenance tips designed to preserve your equipment’s lifespan and efficiency. However, if you choose a less experienced service, improper methods could cause harm. To keep your office kitchen running smoothly and free, always pick pros who understand your range hood’s needs and use gentle, effective cleaning approaches.