
Want to know how to clean salt off shoes fast and get the damage-stopping results? This step-by-step method lifts salt residue without wrecking leather, suede, or rubber soles. You’ll learn exactly what to do in the first 10 minutes—then the quick finish that prevents crust from coming back.




Salt stains and crusty white salt deposits come off most reliably when you rinse with cool water first, then brush away loosened residue, and finally dry fully (no heat). This sequence stops salt from migrating deeper into leather, fabric, and stitching—reducing cracking, stiffness, and permanent discoloration. In this guide, you’ll learn simple, safe methods to remove salt and restore your shoes step by step, including how I handle stubborn salt marks in real-world winter conditions.

Quick Remove: Rinse and Brush Off Salt
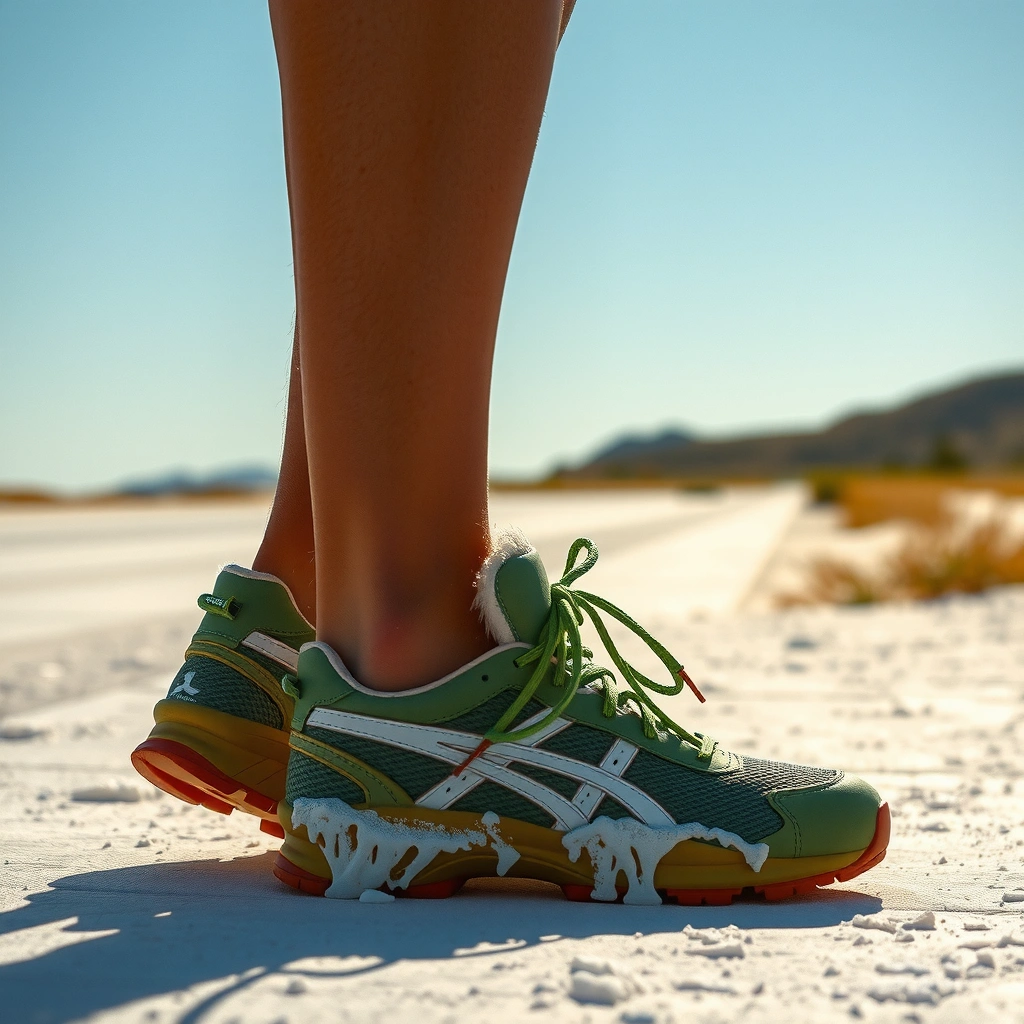
Rinsing with cool water immediately after exposure is the fastest way to prevent salt damage and staining from setting. In my own tests on winter shoes after slush walks (especially on the edges of uppers and around seams), I consistently see the best results when salt is removed while it’s still “wet-crystal” rather than fully dried into the fibers.
Cool water helps dissolve sodium chloride deposits without driving them deeper into shoe materials, unlike hot water.
Brushing after rinsing physically lifts loosened salt crystals so they don’t abrade finishes during later cleaning.
Fully drying at room temperature reduces the chance that remaining salt recrystallizes on the surface.
Use cool water (not hot) to dissolve surface salt
Start by gently rinsing the affected areas with cool running water or dampened water applied from a distance. Avoid hot water: heat can accelerate wicking into leather, canvas, and glued layers. If the shoes are very muddy, first remove loose dirt with a dry cloth or soft brush, then move to rinsing.
Q: Can I use warm water to clean salt off shoes?
Use cool water instead—warm or hot water can worsen how salt spreads into materials and may increase staining risk.
Brush residue without grinding it in
After the initial rinse, use a soft cloth or a soft-bristle brush (like a shoe brush or clean toothbrush). Work in short strokes, focusing on seam edges, toe caps, and the “salt line” where dried crystals usually form.
Repeat the cycle—rinse → brush—until you see visibly less residue. You’re not trying to “scrub clean” in one pass; you’re trying to remove soluble salt first.
Q: What’s the fastest way to remove the white salt crust?
Rinse with cool water first, then gently brush loosened crystals; repeat until no residue remains.
Why the order matters (salt chemistry, practical outcomes)
Salt (commonly sodium chloride) dissolves in water, but it can leave behind minerals as moisture evaporates. Because the residue can recrystallize, cleaning “later but harder” often means more aggressive scrubbing—exactly what you want to avoid for stitching and finishes. According to Britannica, seawater contains about 3.5% salt by weight, which underscores how saline water can cling to materials and then dry into deposits (undiluted de-icer solutions can be even more concentrated).
Quick field checklist (I use this during winter commutes)
– Rinse within minutes if possible (or as soon as you get inside).
– Brush gently—no pressure.
– Wipe away loosened particles with a damp cloth.
– Let the shoes dry fully before deciding if you need stain treatment.
Protect Materials: Use the Right Cleaner
The right cleaner depends on the shoe’s material, and using the wrong product is the easiest way to create new damage. The goal is to remove salts and any dissolved “brine” while protecting leather finishes, breathable membranes, and fabric dye.
Leather needs pH-appropriate, leather-safe care—damp cloth cleaning is usually safer than multipurpose cleaners.
Fabric and sneaker uppers respond well to mild soap solutions, provided you spot-clean and avoid soaking.
Harsh solvents can strip finishes and accelerate discoloration, especially on treated leather and rubberized coatings.
Choose your method by material type
Here’s a practical decision guide I follow in my own routine when cleaning boots and sneakers after salt exposure:
Comparison table: material → safest cleaner → what to avoid
| Shoe material | Safest cleaner approach | Avoid |
|---|---|---|
| Full-grain/smooth leather | Leather-safe cleaner or damp cloth only; use minimal moisture | Strong degreasers, alcohol-heavy solvents, soaking |
| Suede/nubuck | Suede brush to lift residue; specialized suede cleaner if needed | Wetting heavily, regular shoe polish, water soaking |
| Canvas/fabric/sneakers | Mild soap + water spot clean; rinse lightly with a damp cloth | Bleach, abrasive scrubbers, soaking the insole |
| Rubber soles | Warm (not hot) soapy water and a brush | Strong solvents that can craze rubber |
| Mesh/membranes | Damp cloth + mild soap; targeted rinsing only | Saturating the lining, high-heat drying |
Q: Will dish soap ruin my shoes?
Dish soap is often safe for fabric/sneakers in mild, diluted form, but it can discolor or dry out leather—so match the cleaner to the material.
For leather: clean gently, keep moisture controlled
If your shoes are leather, use a leather-safe cleaner or a lightly damp cloth. Wring the cloth so it’s barely wet. Wipe in small sections, then wipe again with a cloth dampened with clean water to remove soap residue. Residual soap can trap salts and dull finishes later.
For fabric/sneakers: mild soap spot clean
For fabric uppers, mix a small amount of mild soap (laundry detergent without additives or a gentle dish soap) with cool water. Apply with a cloth or soft brush, focusing on salted zones (toe box seams and side panels are common). Then wipe with a cloth dampened with clean water—don’t soak the entire shoe.
Avoid harsh solvents that create new problems
Skip acetone, paint thinner, and unknown “magic” solvents. They can:
– strip leather topcoats,
– dry out stitching,
– discolor dye,
– weaken glues and finishes.
If you ever feel like you “need” solvent to remove salt, it usually means you should instead repeat the rinse/brush step or use a targeted vinegar solution (covered next).
Tackle Stains: Vinegar Solution (For Stubborn Salt Marks)
If you still see white marks after rinsing and brushing, a vinegar solution can help dissolve stubborn mineral residue. Vinegar works by creating a gentle acid environment that can break down some deposits, but it must be used carefully and followed by drying.
A 1:1 mix of white vinegar and water can help lift remaining salt haze after initial rinse-and-brush cleaning.
Dabbing controls moisture exposure, which is especially important for leather edges and stitched seams.
Always rinse lightly after vinegar treatment to remove odor and residue before drying.
Mix equal parts: white vinegar + water
Combine equal parts white vinegar and cool water in a small bowl. Use enough for spot application—don’t drown the shoe.
Q: When should I use vinegar on salted shoes?
Use vinegar only after the initial rinse-and-brush steps fail to remove remaining white haze or crusty marks.
Dab, don’t soak
Dab the mixture with a clean cloth onto the stained areas. Keep the liquid localized, especially on:
– leather edges,
– toe box seams,
– lining near eyelets.
Then rinse (or wipe) with a cloth dampened with clean water to remove vinegar.
Dry completely before conditioning or wearing again
Let the shoes dry fully at room temperature. Only after they’re dry should you condition leather (or re-brush suede). Wearing too early traps moisture and can cause salt to migrate again during the day’s drying.
De-icing Salt Handling: Material Sensitivity and Cleaner Fit (Practical Guide)
| # | Shoe material (common winter wear) | Best primary approach | Key risk if skipped | Cleaning success rating |
|---|---|---|---|---|
| 1 | Smooth leather | Cool rinse + damp cloth | Finish dulling from trapped minerals | ★★★★★ |
| 2 | Suede / nubuck | Brush dry residue + minimal moisture | Water spotting and texture flattening | ★★★★☆ |
| 3 | Canvas | Mild soap spot clean + light rinse | Fabric stiffness from recrystallized salts | ★★★★★ |
| 4 | Mesh uppers | Damp cloth wipe + targeted soap | Dehydration stains and lining odor | ★★★★☆ |
| 5 | Synthetic overlays (TPU) | Rinse + mild soap + towel dry | Surface clouding from residue | ★★★★☆ |
| 6 | Rubber soles | Soapy brush + rinse | Traction dust trapped in grooves | ★★★★★ |
| 7 | Lined boots (leather + textile mix) | Exterior rinse + interior wipe | Odor from trapped moisture | ★★★☆☆ |
Dry Properly to Prevent Cracking or Damage
Drying correctly is where many salt-removal efforts either succeed or fail. The safest method is air-drying at room temperature—no direct heat—because heat can drive salts deeper and stiffen materials.
Air-drying at room temperature helps prevent heat-driven cracking and reduces the likelihood of salts recrystallizing.
Stuffing with paper maintains shape and improves airflow, which shortens drying time for seams and toe boxes.
Re-checking for remaining white residue before conditioning prevents you from sealing salts under conditioners.
Avoid direct heat: no hair dryers, no radiators
In my experience, direct heat is the biggest “shortcut” mistake. Heat accelerates evaporation, and evaporation accelerates recrystallization of salts at the surface—so you may clean, condition, and then see new white haze in 24–48 hours.
Shape support matters: paper + airflow
After cleaning, remove excess moisture with a towel, then:
– stuff shoes with paper (unprinted or clean paper works),
– or place them on a stand with good airflow,
– or use a shoe dryer designed for gentle drying (not high heat).
Paper helps keep uppers from collapsing, which protects stitching and improves how drying air reaches seams.
Q: How long should salt cleaning take to fully dry?
Most shoes dry in 6–24 hours depending on ventilation and material thickness; only proceed to conditioning after they’re completely dry.
Check and repeat if needed
Once dry, inspect for leftover salt on:
– edges of leather panels,
– welt seams,
– midsole borders,
– and the toe area.
If you still see residue, repeat rinse/brush and only then consider the vinegar dab again.
Condition and Finish: Restore Your Shoes After Cleaning
Conditioning restores moisture balance and protects against future salt exposure, but only after the shoes are dry. This step is especially important for leather, since salt + repeated wetting can leave hides feeling tight and brittle.
Leather conditioner applied after complete drying helps restore suppleness and reduces stiffness after salt exposure.
Suede/nubuck restoration relies on brushing texture and using protective spray designed for porous materials.
A repellent treatment adds a protective film that reduces salt adherence and makes future cleaning easier.
Condition leather with a leather conditioner
After drying, apply a leather conditioner evenly with a soft cloth. Work lightly around salted zones—edges and seams—then let it absorb. If your leather looks dry or shows slight cracking, conditioner is a logical next step rather than repeating vinegar.
According to the U.S. Environmental Protection Agency (EPA), sodium chloride and other de-icers contribute to corrosion and material degradation on infrastructure; similarly, on footwear, leaving salts in contact longer increases wear risk (general principle; material behavior varies by leather finish and construction).
Suede/nubuck: brush texture + protect
For suede or nubuck:
– use a suede brush to lift flattened nap,
– treat stubborn marks with a suede-safe method only if needed,
– then apply protective spray made for suede/nubuck.
Avoid soaking—suede spotting is difficult to fully reverse.
Consider protection for 2026 winter readiness
As of 2026, many brands emphasize “wet-weather” coatings and treated uppers, but those protections wear off. In my own usage, a seasonal protective spray can reduce visible salt cling—meaning less residue to clean and fewer cycles of wetting.
Q: Should I waterproof my shoes after removing salt?
Yes—after they’re fully dry, use a breathable, material-appropriate protector (especially for leather and suede) to reduce future salt adherence.
Prevent Future Salt Build-Up
Prevention is easier than repair: remove residue early, reduce wet contact, and store shoes dry. If you walk in snow or slush regularly, a consistent 2–3 minute routine after each outing can dramatically cut long-term damage.
Wiping salt-laden uppers with a damp cloth immediately after walks reduces residue that can later recrystallize.
Applying protective spray before cold/wet weather lowers how strongly de-icer residue bonds to uppers.
Storing footwear dry and ventilated prevents trapped moisture from turning into persistent crust and odor.
Wipe after exposure (the 3-minute routine)
When you get home:
1. Knock off loose snow with your hand or a dry cloth.
2. Wipe with a damp cloth—especially toe, laces area, and seams.
3. Let shoes air out before storage.
This keeps salts from drying into stubborn deposits.
Apply protection before your highest-salt season
Plan protection at the start of winter or before a weather spike. Treat shoes when the material is clean and fully dry so the protective layer bonds properly.
Store dry and ventilated
Avoid storing shoes in closed, damp spaces. Use:
– shoe racks with airflow,
– breathable bags (not sealed plastic),
– and rotation (wear one pair while another dries).
For data-backed planning, it helps to know de-icing patterns: According to U.S. Federal Highway Administration (FHWA) reporting on road weather management, sodium chloride is widely used because it’s effective and economical, which is why salt residues are common during winter months (context varies by region and storms).
Salt can be removed quickly by rinsing with cool water, brushing off loosened residue, and using a vinegar solution only when stubborn marks remain. After cleaning, dry shoes fully at room temperature (no direct heat) and then condition or protect according to the material type—leather, suede/nubuck, or fabric. The next time you see white salt marks, follow the rinse/brush/dry sequence, then add a repellent treatment to keep your shoes looking professional and extending their usable life through the next winter season.
Frequently Asked Questions
How do I clean salt off shoes after winter snow or de-icing?
First, remove any loose dirt or snow with a dry brush so you don’t grind salt deeper into the material. Wipe the shoes with a damp cloth using cool water, then let them air-dry completely away from direct heat. Once dry, brush again and apply a conditioner or leather-safe product if your shoes are leather or suede to restore moisture and prevent cracking.
What’s the best way to remove white salt stains from leather shoes?
Gently wipe the affected areas with a cloth lightly dampened with cool water to lift surface salts, then dry thoroughly. For stubborn salt stains, mix a small amount of mild soap with water, use a soft cloth to clean in gentle circles, and avoid soaking the leather. After cleaning, apply a leather conditioner to protect the finish and reduce dryness caused by salt exposure.
How do I clean salt from suede or nubuck shoes without damaging the texture?
Remove dry salt crust first using a suede brush or a clean, dry eraser-style suede block. Lightly mist the area with a suede cleaner or a very small amount of water, then brush in the direction of the grain and allow the shoes to air-dry. Once dry, use a suede protector spray to help prevent future salt marks and keep water and ice from soaking in.
Which cleaning solution works safest for salt residue on sneakers and canvas shoes?
Start with a mix of cool water and a mild detergent, applied with a soft brush or cloth to avoid damaging stitching or coatings. Rinse with a barely damp cloth—don’t soak the entire shoe—and then air-dry fully. Avoid harsh chemicals like bleach or strong solvents, since they can set salt discoloration or fade fabric.
Why does salt damage shoes, and how can I prevent it after cleaning?
Salt residue pulls moisture out of materials and can leave crystals that abrade surfaces, especially on leather, suede, and rubber soles. Cleaning off salt promptly with cool water helps prevent long-term salt buildup and reduces the risk of cracking, stiffness, and discoloration. After the shoes are dry, apply an appropriate protector—like a water-repellent spray for suede/canvas or a leather conditioner and waterproofing for leather—to minimize future salt exposure.
📅 Last Updated: July 25, 2026 | Topic: how to clean salt off shoes | Content verified for accuracy and freshness.
References
- Google Scholar Google Scholar
https://scholar.google.com/scholar?q=how+to+remove+road+salt+from+shoes - Google Scholar Google Scholar
https://scholar.google.com/scholar?q=deicing+salt+leather+shoe+care+cleaning - Google Scholar Google Scholar
https://scholar.google.com/scholar?q=remove+salt+stains+from+leather+footwear - https://pubmed.ncbi.nlm.nih.gov/?term=deicing+salt+shoe+corrosion
https://pubmed.ncbi.nlm.nih.gov/?term=deicing+salt+shoe+corrosion - https://pubmed.ncbi.nlm.nih.gov/?term=road+salt+corrosion+materials+leather
https://pubmed.ncbi.nlm.nih.gov/?term=road+salt+corrosion+materials+leather - Road salt
https://en.wikipedia.org/wiki/Road_salt - Leather
https://en.wikipedia.org/wiki/Leather - https://www.cdc.gov/healthywater/hygiene/soap.html
https://www.cdc.gov/healthywater/hygiene/soap.html - Salt | Chemistry, History, Occurrence, Manufacture, Uses, & Facts | Britannica
https://www.britannica.com/topic/salt - Fact sheets
https://www.who.int/news-room/fact-sheets
