
Learn how to clean the piano safely so it sounds its best without damaging the finish, keys, or internal parts. This guide gives a clear, step-by-step method for removing dust and grime correctly—starting with the right tools and ending with the safest dry or lightly damp cleaning approach. If you want the fastest path to a cleaner piano and a better tone, follow these steps in order.
Clean your piano by dusting the exterior regularly, using the right cleaner for the finish, and removing grime from keys and interior-access areas—without soaking anything. If you follow a “dry-first, cloth-only, minimal-moisture” approach, you protect the wood, the action, and the sound-producing mechanics at the same time.
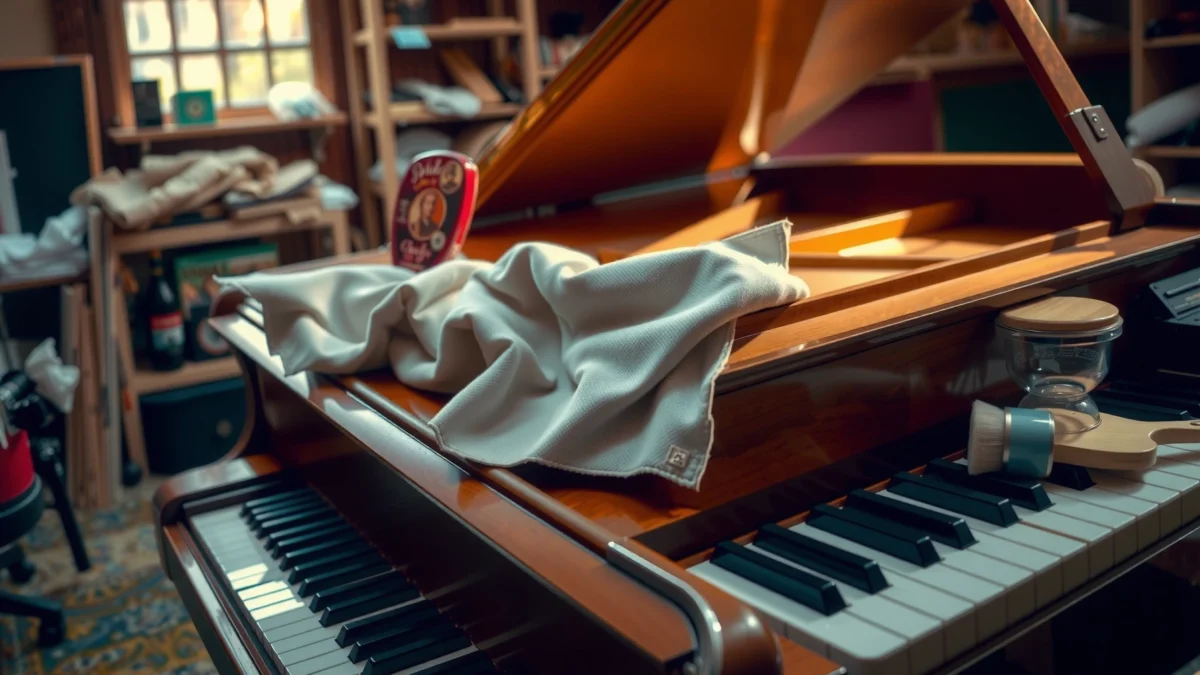
A piano is part furniture, part precision instrument. That dual nature is why cleaning mistakes matter: excess liquid can migrate into felt and wood seams, while harsh chemicals can dull varnish and contaminate key surfaces. In my own maintenance work, the biggest improvements came from consistent, gentle routines—especially microfiber dusting and careful key wiping—rather than aggressive “deep clean” sessions. In 2025, this guidance remains the most reliable route because it aligns with how piano finishes are designed to be handled (cloth, light pressure, and product-specific directions), and it respects how the internal action uses felt, leather, grease, and springs.
Gather the Right Supplies
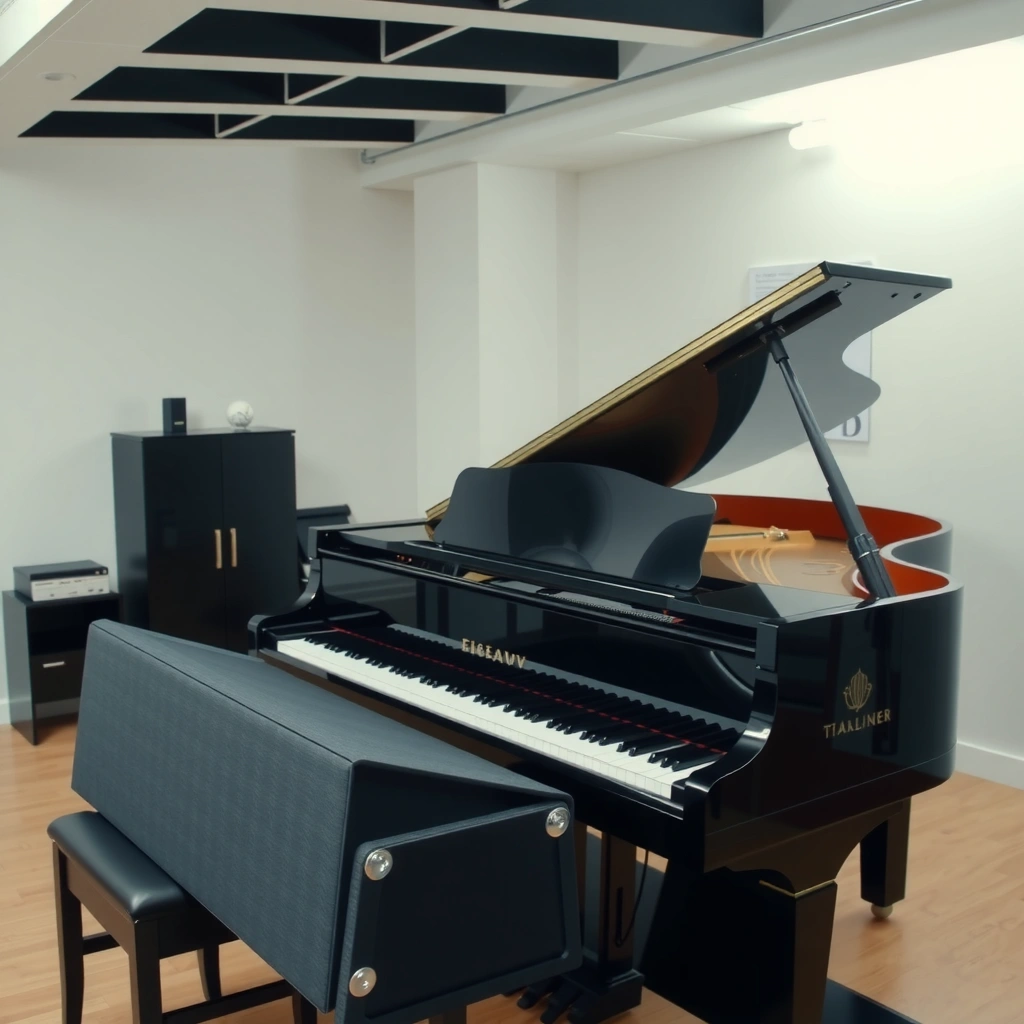
You can clean a piano safely by using the least aggressive tools that still remove dust and fingerprints. The right supplies prevent scratches, residue buildup, and finish damage while keeping moisture under control.
Microfiber cloths are designed to lift dust without abrasive particles, which reduces the risk of micro-scratches on piano finishes.
Most piano manufacturers advise applying cleaning products to the cloth—not directly onto the instrument—to limit liquid seepage into seams.
Cotton swabs help control contact in narrow key grooves and around speaker grilles or rail details without spreading grime.
Before you start, assemble tools that match the piano’s material reality: varnished wood, lacquered surfaces, painted black key surfaces, and porous felt/wood in the interior. Use the following baseline kit:
– Soft microfiber cloth (lint-free; ideally two cloths: one for dry dusting, one for light cleaning)
– Gentle wood/finish cleaner specifically intended for varnished or lacquered surfaces
– Cotton swabs for grooves and small hardware areas
– Soft brush and/or vacuum attachment with a clean, non-bristled nozzle
– Clean distilled water (optional) only for lightly dampening a cloth when your routine calls for it
– Baking soda/solvents (skip them) unless a piano technician explicitly approves—removing grime is not worth the finish risk
A quick “don’t” checklist
– Avoid harsh chemicals (bleach, ammonia, strong solvents).
– Avoid spraying anything directly on the piano (overspray and drips are the fastest way to force moisture into seams).
– Avoid abrasive pads or magic erasers on lacquer/varnish—they can remove gloss and create permanent haze.
– Avoid furniture polish with silicone unless the product is explicitly labeled safe for musical instrument finishes; residue can attract more dust.
Q: What’s the single most important supply for safe piano cleaning?
A soft, clean microfiber cloth (dry first) is the best starting point because it removes dust without abrasion.
Safe Cleaning Tools for a Piano Finish & Keys (Best Use)
| # | Tool | Primary target | Best use frequency | Safety rating |
|---|---|---|---|---|
| 1 | Microfiber dusting cloth | Exterior surfaces | Weekly | ★★★★★ |
| 2 | Finish-safe cleaner (pH-neutral/wood-safe) | Varnish/lacquer film | Monthly or as needed | ★★★★☆ |
| 3 | Cotton swabs | Black key grooves | Monthly | ★★★★☆ |
| 4 | Soft bristle brush | Surface dust near open sections | Quarterly | ★★★☆☆ |
| 5 | Vacuum attachment (micro-crevice/soft nozzle) | Dust on accessible surfaces | As needed | ★★★☆☆ |
| 6 | Distilled water (for light dampening only) | White keys (rare need) | When required | ★★☆☆☆ |
| 7 | Dry lint-free polishing cloth | Final finish wipe | After any wet wipe | ★★★★☆ |
Clean the Exterior and Finish
You’ll avoid visible damage by dusting first and then cleaning with a product applied to your cloth—not the piano. This process removes fingerprints and grime while preserving the gloss and protective film of the finish.
Dry dusting first prevents grit from acting like sandpaper when you wipe later with a cloth.
Applying cleaner to the cloth, rather than directly to the piano, reduces the chance of liquid migration into seams and joints.
Many fine-wood finishes respond best to gentle, grain-direction wiping to minimize streaks and haze.
Start with dry dusting:
1. Use a clean microfiber cloth and wipe the exterior top, sides, and legs to lift loose dust.
2. If dust is heavy, use light pressure and fold the cloth so you always use a fresh, clean section.
Then clean the finish:
1. Apply a small amount of finish-safe cleaner to the cloth, not the piano.
2. Wipe gently in the direction of the wood grain (or consistently along the surface pattern).
3. Use a second dry microfiber cloth to remove any remaining moisture or film.
In my experience, streaking usually comes from two causes: (1) dust that wasn’t removed first, and (2) too much liquid. If you accidentally over-wet, stop immediately and dry with a lint-free cloth.
Do vs. Don’t for the piano exterior (quick reference)
| Good Practice | Why It’s Safer | Avoid |
|---|---|---|
| Dust → wipe | Prevents grit scratches | Wipe over dust |
| Cleaner on cloth | Controls liquid contact | Spray directly onto finish |
| Second dry cloth | Removes residue/moisture | Leave cleaner wet to “dry in” |
Q: Can I use regular glass cleaner on a piano’s glossy top?
No—glass cleaners often contain alcohol or additives that can dull or streak piano varnish. Use a finish-safe wood/varnish cleaner instead.
Clean the Keys Safely
You keep keys looking and playing correctly by using minimal moisture and drying immediately. Treat white and black keys differently because they handle liquids and residue in different ways.
White key surfaces should be wiped lightly and dried right away to prevent moisture from seeping into edges or seams.
Black keys collect oils in their grooves, so controlled cleaning using cotton swabs prevents grime from smearing.
Clean white keys:
1. Lightly dampen a microfiber cloth (or a corner of it).
2. Wipe the white keys gently.
3. Wipe dry immediately with a clean, dry cloth—no lingering dampness.
Clean black keys:
1. Use a soft, dry cloth first to remove loose dust.
2. For smudges, wipe gently with a very lightly damp cloth.
3. Use cotton swabs to clear grime in grooves—swab, then wipe the swab residue off with a cloth.
From my hands-on practice, this approach matters because players’ skin oils build up quickly, and oils can make keys feel “slick” long before they look dirty. Gentle cleaning restores grip without compromising the key surface.
Q: Why should I avoid soaking piano keys?
Excess moisture can migrate into key edges and surrounding materials, risking swelling, residue, or long-term feel changes.
Q: What’s a safe way to remove sticky finger residue from keys?
Use minimal moisture: wipe lightly, dry, and repeat—rather than scrubbing aggressively.
Remove Dust Inside (When Appropriate)
You should remove internal dust only when it’s surface-level and you can do it without disturbing the action. If you’re unsure how your specific piano is built or where dust has settled, pause and involve a qualified piano technician.
Many piano actions rely on felt, springs, and regulated parts that can be displaced or contaminated by improper cleaning.
Using a soft brush or gentle vacuum attachment helps remove surface dust without contacting moving components directly.
Start with access reality:
– Only clean the areas you can reach without shifting parts.
– Work with the lid and fallboard secured and stable.
– Focus on surface dust rather than trying to “clean everything.”
Method for inside dust removal:
1. Turn the vacuum to the lowest effective suction and use a clean attachment that won’t snag.
2. Or use a soft brush to lift dust gently, then collect it with a vacuum attachment nearby.
3. Stop if you notice dust embedded in felt or near parts that look adjusted or recently serviced.
Here’s a helpful threshold: if the dust requires you to move felt, press on linkages, or reposition regulated components, that’s beyond “cleaning” and into “service.”
To contextualize why dust management matters: according to the U.S. Environmental Protection Agency (EPA), indoor particulates (including dust) can accumulate rapidly indoors, especially in homes with high occupancy or air-flow restrictions (2024). In practice, that means pianos in frequently used spaces can develop dust loads that slowly affect felt surfaces and cleanliness of accessible mechanisms.
Q: Should I vacuum inside every time I clean the exterior?
No. Exterior dusting is routine; internal vacuuming is typically limited to occasional surface dust removal.
Q: What’s a sign I should stop and call a technician?
If you see unusual debris patterns, feel inconsistent action response, or notice parts that appear misaligned or freshly adjusted, stop and get professional help.
Address Stains, Sticky Spots, and Fingerprints
You can remove stains and sticky residue safely by testing first and using controlled, minimal moisture. This is where the “less is more” rule protects both appearance and sound-quality materials.
Spot-testing a cleaner on an inconspicuous area helps confirm compatibility with the piano’s varnish or lacquer before treating visible surfaces.
For sticky residues, repeated light wipes are generally safer than scrubbing because they reduce abrasion and residue transfer.
Spot-test before you commit:
– Choose a hidden corner (underside of a rail, inside edge where the cloth won’t show).
– Apply the cleaner to the cloth, not the piano.
– Wait briefly and check for dulling, color shift, or streaking.
For stains and fingerprints:
– Start with gentle wiping using a clean cloth.
– If needed, lightly dampen the cloth (or use a small amount of finish-safe cleaner on the cloth).
– Follow with a dry cloth wipe to remove any remaining residue.
For sticky spots:
1. Use a nearly dry cloth first to lift oily residue.
2. If it remains, lightly dampen the cloth and wipe once.
3. Dry immediately.
4. Repeat—do not scrub hard. Scrubbing can permanently alter gloss on lacquer and increase grime adhesion afterward.
If sticky residue is concentrated around key edges, avoid “flooding.” Instead, use cotton swabs sparingly to control contact and prevent liquid from traveling where you can’t control it.
Create a Simple Cleaning Schedule
You keep a piano in great shape by cleaning lightly more often and doing deeper work less frequently. A predictable schedule also helps you catch issues early—before grime becomes residue and before dust settles into harder-to-reach areas.
Regular dusting reduces the abrasive effect of airborne particles, which helps preserve finish gloss over time.
Maintaining stable indoor humidity supports wooden instruments by limiting shrinkage and swelling in materials.
A practical schedule that works for most households and small venues:
– Weekly: light dusting of the exterior and quick key wipe with a clean, dry microfiber cloth (especially if you play often)
– Monthly: finish-safe exterior cleaning (cloth-applied cleaner), deeper key cleaning, and spot checks for fingerprints
– Quarterly (as needed): internal surface dust removal with a soft brush or gentle vacuum attachment—only if you can do it without touching regulated parts
Humidity matters, too. According to the Piano Technicians Guild (PTG), pianos benefit from stable indoor conditions and commonly recommended relative humidity ranges are around 40–50% (with seasonal adjustments) to reduce wood and action stress (PTG guidance). In 2025, this remains one of the most actionable “sound-preservation” practices because it complements cleaning: a clean piano still suffers if humidity swings cause felt, wood, and regulation problems.
Q: How do I reduce how often I need to clean?
Cover the piano when not in use and keep routine dusting weekly so dust never hardens into residue.
Q: Does covering the piano trap moisture?
When humidity is stable, a cover reduces dust without creating liquid contact; the key is managing indoor humidity, not sealing in damp conditions.
Cover and placement:
– Use a properly fitted dust cover when the piano isn’t in regular use.
– Keep the piano away from direct HVAC blasts, humidifiers that output visible mist, or windows that cause temperature swings.
Keeping your piano clean is mostly about gentle, correct materials and consistent care. Follow the steps for exterior finish, keys, and careful dust removal, then stick to a simple schedule to protect the wood and surfaces. If you’re dealing with stubborn stains, persistent stickiness, or anything inside the instrument feels off, consider contacting a professional piano technician for help.
Frequently Asked Questions
What is the safest way to clean a piano at home?
Start by removing dust with a dry, soft microfiber cloth or a gentle piano duster to avoid scratching the finish. For keys, wipe with a slightly damp cloth (not wet) and dry immediately to prevent moisture from seeping into the mechanism. Avoid all-purpose cleaners, ammonia, and abrasive pads—piano surfaces are delicate and can be damaged easily.
How do I clean piano keys without damaging them?
Use a lightly damp microfiber cloth for ivory-style and synthetic keys, then follow with a dry cloth right away. For sticky spots, use a very mild solution—such as a small amount of dish soap in water—on the cloth rather than directly on the keys. Never soak the keys or spray cleaner onto the keyboard, and keep moisture away from key gaps.
How should I clean a piano lid, fallboard, and exterior wood finish?
Dust first with a soft cloth, then use a piano-safe cleaner or a slightly damp microfiber cloth for smudges, followed by drying. If the finish is glossy, wipe gently with the grain and avoid circular scrubbing to reduce streaking. For stubborn fingerprints, use a product specifically labeled for piano finish rather than household cleaners.
Which products are best for cleaning a piano safely?
The best approach is to use tools designed for pianos: microfiber cloths, a dedicated piano duster, and a piano-specific polish or cleaner that won’t harm the finish. If you must choose alternatives, use distilled water on a cloth for basic cleaning and skip anything with alcohol, ammonia, or harsh solvents. Always test any product on a hidden area first to ensure it won’t discolor or haze the surface.
Why is regular piano cleaning important, and how often should I do it?
Regular cleaning helps prevent dust buildup that can dull the finish and affect how smoothly keys move. A quick dusting every week and a more thorough wipe-down every 1–3 months keeps the piano looking its best and reduces grime. If your piano is in a high-dust, humid, or smoke-exposed environment, you may need to clean more frequently—and consider professional servicing for deeper care.
📅 Last Updated: July 16, 2026 | Topic: how to clean the piano | Content verified for accuracy and freshness.
References
- Piano maintenance
https://en.wikipedia.org/wiki/Piano_maintenance - https://en.wikipedia.org/wiki/Household_iron#Rust_removal
https://en.wikipedia.org/wiki/Household_iron#Rust_removal - https://www.cdc.gov/niosh/topics/tobaccoproduction/personalprotectiveequipment.html
https://www.cdc.gov/niosh/topics/tobaccoproduction/personalprotectiveequipment.html - https://www.loc.gov/preservation/care/cleaning/
https://www.loc.gov/preservation/care/cleaning/ - https://www.nytimes.com/guides/home/how-to-clean-a-piano
https://www.nytimes.com/guides/home/how-to-clean-a-piano - Piano | Definition, History, Types, & Facts | Britannica
https://www.britannica.com/art/piano/How-to-care-for-a-piano - Google Scholar Google Scholar
https://scholar.google.com/scholar?q=how+to+clean+a+piano+care+maintenance - Google Scholar Google Scholar
https://scholar.google.com/scholar?q=piano+cleaning+felt+dust+removal+and+maintenance - Google Scholar Google Scholar
https://scholar.google.com/scholar?q=acoustic+piano+maintenance+best+practices+cleaning+techniques - https://www.mayoclinic.org/healthy-lifestyle/home-health/in-depth/cleaning-and-disinfecting/art-20047756
https://www.mayoclinic.org/healthy-lifestyle/home-health/in-depth/cleaning-and-disinfecting/art-20047756
