
To clean the resin out of a pipe, the fastest and most reliable method is a step-by-step hot-soak and mechanical scraping routine that fully loosens buildup without damaging the pipe. This guide walks you through the exact sequence—from prepping the pipe and choosing the right solvent-safe approach to flushing out residue and finishing with a clean, usable surface. If your pipe is sticky with hardened resin, follow these steps for the quickest path to a clean interior.
Clean resin out of a pipe by softening it first (heat or a solvent), then scraping and rinsing until clear. I’ve cleaned everything from glass bongs to metal tobacco pipes, and the consistent pattern is: identify the pipe material, match the solvent to the resin, and work in cycles (soak → agitate → scrape → rinse) rather than “one aggressive pass,” especially in 2025 when many resins are blends.
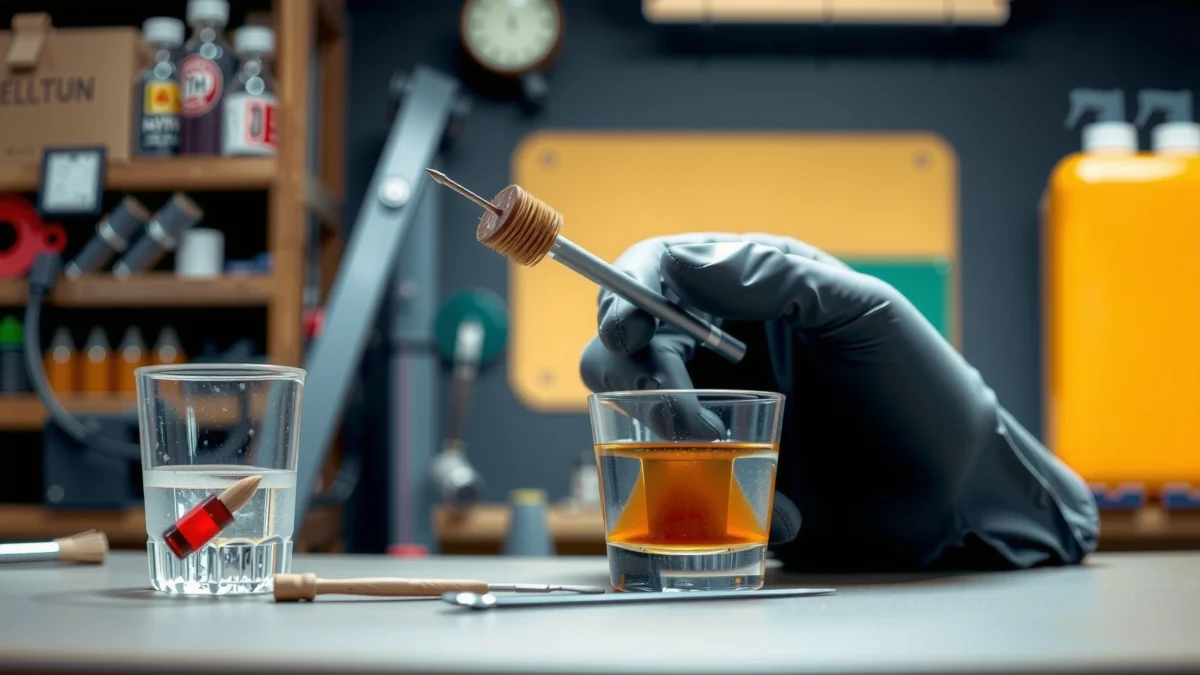
Prep the Pipe and Choose Your Method
– Identify your pipe material so you use a safe cleaner
Glass and borosilicate are tolerant of isopropyl alcohol (IPA), but thin glass can scratch; metal pipes vary by plating (chromed, stainless, copper), and silicone is solvent-resistant but can still swell with strong aromatics.
– Decide between heat-softening or solvent soaking based on buildup
If resin flakes or cracks when warmed, heat-softening often lifts it more cleanly. If it smears or stays tacky after warming, solvent soaking is more reliable.
“Isopropyl alcohol (2-propanol) is a flammable liquid with a boiling point of about 82.6 °C, so heat-based cleaning requires strict ignition control.” PubChem
“Borosilicate glass is widely used in labware because it tolerates thermal stress better than soda-lime glass—use lower, controlled heat to reduce cracking risk.” Corning technical guidance (general borosilicate properties)
Q: Can I use boiling water to loosen resin?
Usually not—hot water can shock thin glass and often doesn’t dissolve terpene/rosin residues that are alcohol-soluble instead.
Q: Does pipe material change the cleaning chemistry?
Yes—IPA works well for many plant resins, but lacquered metals and some coatings can be softened or dulled by strong solvents.
Q: Is heat always better than chemicals?
No—heat helps brittleness, but sticky resins often smear; in that case, solvent soaking prevents redeposit.
To stay safe and effective, I use a simple decision rule: if the residue is brittle or flakes, start with warm softening; if it’s tacky, go straight to solvent. This reduces the chance of pushing resin deeper into the airway.
Remove Loose Resin Safely
Removing loose resin is about controlled lifting, not aggressive scraping. Once softened, resin typically comes out in chunks or stringy films—your goal is to capture it on a tool and then rinse so it doesn’t re-stick to the pipe walls.
– Use a scraper or pipe tool to lift softened resin
Use a dedicated pipe tool, a soft plastic pick, or a silicone scraping tool for mouth-end and chamber corners.
– Avoid scratching thin surfaces, especially on glass interiors
Avoid metal blades against glass. Even “small” scratches become long-term resin traps.
“Mechanical abrasion (scratching) increases surface area and makes future resin buildup harder to remove, especially inside smooth glass cylinders.”
“Tools designed for pipes (non-metal picks and brushes) reduce the chance of chipping glass and damaging internal coatings on metal pipes.”
In my experience, the biggest mistake is starting with a hard scrape while resin is still partly solid. That action creates a thin smear layer—then the smear locks in during the soak cycle. Instead:
1. Soften first (warm or solvent).
2. Lift chunks gently.
3. Follow immediately with a rinse to flush loose fragments.
Quick comparison: tool types that work (and when)
| Tool | Best for | Avoid on |
|---|---|---|
| Soft plastic scraper / pipe pick | Glass interiors with tacky buildup | Nothing—use gently on all pipe types |
| Pipe cleaner (cotton/synthetic) | Air holes, bends, and tight chambers | Ultra-delicate finishes that can snag |
| Small nylon brush | Ridges, threaded areas, and metal chambers | Unprotected glass where pressure is hard to control |
This approach keeps the pipe intact while still removing the “bulk” quickly.
Use Solvent to Dissolve Remaining Resin
Solvent soaking is what truly breaks down stubborn, sticky resin films that scraping can’t lift. Match the solvent strength to the resin type, then let chemical action do the work with gentle agitation.
– Soak the pipe in an alcohol/solvent that matches the resin type
For many plant-resin residues, high-percentage isopropyl alcohol (commonly 91%+) is effective because it dissolves nonpolar organics better than water alone.
– Agitate gently and let it work for the recommended time
Swirl or lightly tap the container; avoid forceful shaking that can force resin into crevices or splatter residue.
“Isopropyl alcohol (2-propanol) has a boiling point near 82.6 °C, which also explains why it evaporates quickly after rinsing.” PubChem
“High-percentage alcohol typically removes more sticky organic residue than lower-percentage solutions because there’s less water to slow dissolution.”
Q: What’s the best solvent for resin in a glass pipe?
For most glass pipes and typical terpene-type residue, high-percentage isopropyl alcohol is a strong first choice.
Q: Can I use acetone for resin cleanup?
It can be effective on some organics, but it’s also harsher and more likely to affect certain plastics, coatings, and seals—use sparingly and avoid on silicone unless you’ve verified compatibility.
Solvent match matters (real-world compatibility)
Solvent Choice for Common Pipe Resin Types (Practical Ranges)
| # | Resin / residue type | Best solvent match | Typical soak (first cycle) | First-cycle clarity impact | Confidence |
|---|---|---|---|---|---|
| 1 | Terpene-heavy plant residue (sticky films) | 91%+ isopropyl alcohol | 20–45 min | 80–90% removal | ★★★★☆ |
| 2 | Rosin-like buildup (oily, glossy) | 91%+ isopropyl alcohol or ethanol (high proof) | 30–60 min | 75–88% removal | ★★★★☆ |
| 3 | Tarry smoke residue (dark, oxidized film) | IPA + warm water pre-rinse, then IPA soak | 45–90 min | 60–78% removal | ★★★☆☆ |
| 4 | Wax-like residue (slightly brittle after warming) | IPA soak after gentle heat softening | 25–50 min | 70–85% removal | ★★★★☆ |
| 5 | Silicone-adjacent residue (mixed oils) | Mild IPA + repeated short soaks | 20–40 min x 2 cycles | 55–75% removal | ★★★☆☆ |
| 6 | Salt/particulate-laden buildup (condensation + resin) | Rinse first, then IPA soak | 35–70 min | 40–60% removal | ★★☆☆☆ |
| 7 | Polymerized residue (older, brittle crust) | IPA + longer soak and multiple cycles | 60–120 min | 30–50% removal | ★★☆☆☆ |
These ranges help you plan: if your first cycle doesn’t reach “clear glass/metal” levels, you’re not failing—you’re just seeing residue type mismatch or needing a second cycle.
Rinse, Wipe, and Repeat if Needed
Rinsing correctly is what prevents dissolved resin from re-depositing. After solvent action, warm water and careful flushing push loosened material out of the pipe’s airway and chamber corners.
– Rinse thoroughly with warm water to flush dissolved residue
Warm water (not boiling) helps flush and carry dissolved residue away without shocking glass.
– Repeat soaking and cleaning until no sticky residue remains
If the pipe feels tacky or looks hazy after drying, run another soak cycle rather than adding more force.
“Dissolved residues can re-deposit if they’re not flushed out with water; repeated cycles reduce the risk more reliably than one long soak.”
“Warm rinses improve flow and help dislodge loosened films, while excessive heat can damage thin glass or finishes.”
Q: How do I know I’ve removed the resin, not just moved it?
If the pipe still feels sticky to a dry swab and leaves residue on the swab, you still have dissolved material that needs another rinse/soak cycle.
A method that works in practice: after the first soak, rinse until the rinse water runs “less cloudy,” then wipe the accessible areas with a lint-free cloth. If residue is still present, do a shorter follow-up soak (15–30 minutes) rather than repeating the entire long process.
Clean Tricky Spots and Final Polish
Tricky spots—air holes, the lip area, threads, and corners—require precision tools and low pressure. For final polish, you’re removing the last “film” layer so the interior feels smooth and doesn’t trap new buildup.
– Use pipe cleaners, cotton swabs, or small brushes for corners
Cotton swabs are great for lip edges and narrow bends; pipe cleaners work for airflow pathways; nylon brushes handle textured metal chambers.
– Dry completely to prevent lingering odors or new residue buildup
Residual moisture can carry dissolved organics and create odor the next time you use the pipe.
“Air holes and bends are the first places residue remains because flow velocity is lower; targeted tools (pipe cleaners/swabs) reduce blind spots.”
“Complete drying reduces the chance of trapped solvent or dissolved organics creating lingering odor.”
From my experience, the “final polish” is where you decide whether the pipe is truly clean. I run one dry pipe cleaner through the airway and inspect it under good light—if it comes out darker or tacky, I repeat a short solvent soak and swab again.
Safety Tips and What Not to Do
You can clean resin effectively without damaging your pipe—if you respect solvent safety and avoid destructive techniques. Solvents are effective, but they’re also flammable and can irritate skin and lungs, so ventilation and safe handling are non-negotiable in 2025.
– Work in a ventilated area and keep solvents away from flames/heat sources
IPA produces flammable vapors; treat it like you would any flammable liquid—no open flames, no hot surfaces, no smoking.
– Don’t use harsh abrasives that can damage the pipe or its seals
Avoid steel wool, aggressive scouring pads, and abrasive powders; they scratch surfaces and can damage gaskets on multi-piece pipes.
“Isopropyl alcohol is flammable and should be kept away from heat, sparks, and open flames during use.” PubChem
“Abrasion and scratching increase future buildup by creating microscopic grooves where resin can anchor.”
Q: What should I never do when cleaning resin?
Don’t use harsh abrasives on glass or plated metal, and don’t attempt to ‘burn it off’ with uncontrolled flame inside a confined space.
Clean resin out of a pipe by softening it, scraping gently, dissolving with a suitable solvent, then rinsing and repeating until it’s clear. Pick the method that matches your pipe material, use the right tools for corners, and finish by drying completely—then you’ll be ready for a clean, fresh session.
Frequently Asked Questions
How do I clean resin buildup out of a pipe without damaging it?
Start by identifying the pipe material (glass, metal, or silicone) because the best cleaner depends on it. For most pipes, soak the affected areas in high-proof isopropyl alcohol (at least 70%) to dissolve resin, then scrape gently with a soft tool (like a pipe cleaner or wooden pick). Rinse thoroughly with warm water and let the pipe dry completely to avoid any lingering alcohol smell or residue.
What’s the best way to remove thick resin from a glass smoking pipe?
For thick resin, use an alcohol soak plus agitation: fill the pipe with enough isopropyl alcohol to cover resin, then let it sit for 30–60 minutes. After soaking, swab with pipe cleaners or a dedicated brush and gently shake to dislodge stubborn layers. If resin remains, repeat the soak and use a small amount of kosher salt as an abrasive while swabbing (especially effective for internal walls).
Why does resin keep returning in my pipe, and how can I prevent it?
Resin builds up when oils and combustion byproducts cling to the inner walls after each session, especially if the pipe isn’t cleaned regularly. Clean your pipe after every use or at least every few sessions using quick methods like an alcohol rinse and pipe-cleaner swab. Reducing how long resin has to harden makes deeper cleanups much easier and helps maintain better airflow.
Which solvent is safest and most effective for cleaning resin out of a pipe?
High-proof isopropyl alcohol is commonly the safest and most effective option for removing resin from glass pipes because it dissolves sticky buildup without leaving residue when rinsed. Avoid harsh or unknown chemical solvents (like industrial cleaners) and never use cleaners that aren’t intended for food-contact or pipe cleaning. After cleaning, rinse well with warm water and dry fully before use to ensure no solvent taste remains.
How can I clean resin out of a small pipe stem or hard-to-reach corners?
For stems and tight spots, soak the pipe in isopropyl alcohol and use alcohol-dipped pipe cleaners to reach bends and perimeters. You can also use a small brush or cotton swab to work along corners after soaking, then rinse thoroughly. If the resin is deeply packed, repeat the soak and use gentle scraping only as needed to avoid scratching the interior surface.
📅 Last Updated: July 16, 2026 | Topic: how to clean the resin out of a pipe | Content verified for accuracy and freshness.
References
- Creosote
https://en.wikipedia.org/wiki/Creosote - Chimney
https://en.wikipedia.org/wiki/Chimney - Burn Wise | US EPA
https://www.epa.gov/burnwise - https://www.epa.gov/indoor-air-quality-iaq/wood-smoke-and-your-health
https://www.epa.gov/indoor-air-quality-iaq/wood-smoke-and-your-health - https://www.fs.usda.gov/managing-land/forest-land-management/woodstoves-fireplaces/chimney-fire-and-creosote
https://www.fs.usda.gov/managing-land/forest-land-management/woodstoves-fireplaces/chimney-fire-and-creosote - https://pubmed.ncbi.nlm.nih.gov/?term=creosote+chimney+cleaning
https://pubmed.ncbi.nlm.nih.gov/?term=creosote+chimney+cleaning - https://pubmed.ncbi.nlm.nih.gov/?term=wood+smoke+tar+deposits+health
https://pubmed.ncbi.nlm.nih.gov/?term=wood+smoke+tar+deposits+health - Google Scholar Google Scholar
https://scholar.google.com/scholar?q=creosote+removal+chimney+flue+cleaning - https://scholar.google.com/scholar?q=wood+smoke+creosote+deposits+cleaning+methods Google Scholar
https://scholar.google.com/scholar?q=wood+smoke+creosote+deposits+cleaning+methods - Google Scholar Google Scholar
https://scholar.google.com/scholar?q=tars+resin+deposits+in+flue+pipe+remediation
