
How to Clean up Concrete Dust
To clean up concrete dust, start by isolating the area with plastic sheeting and removing clutter. Use a HEPA vacuum for initial dust removal, then dampen surfaces slightly to settle remaining particles before a final vacuum. Essential tools include microfiber cloths, mops, and concrete cleaners. Always wear protective gear like masks and goggles to guarantee safety. Regular maintenance can keep your space dust-free and looking pristine. Continue to explore effective strategies for long-lasting cleanliness.
##
Concrete dust can pose serious risks to both health and the environment, making it essential to understand how to manage it effectively. In this article, we will provide you with comprehensive strategies for dust containment, including the use of barriers and surface protection measures, to minimize airborne particles during cleanup. You’ll learn about the importance of utilizing the right cleaning equipment, such as HEPA-filtered vacuums, to ensure that fine particles are captured efficiently without being released back into the air. By focusing on these crucial aspects, you can create a safer workspace while maintaining your productivity. Read on to discover the best practices for handling concrete dust safely and effectively. Always wear appropriate personal protective equipment to minimize exposure to harmful dust particles during cleanup.
Preparation For Cleaning
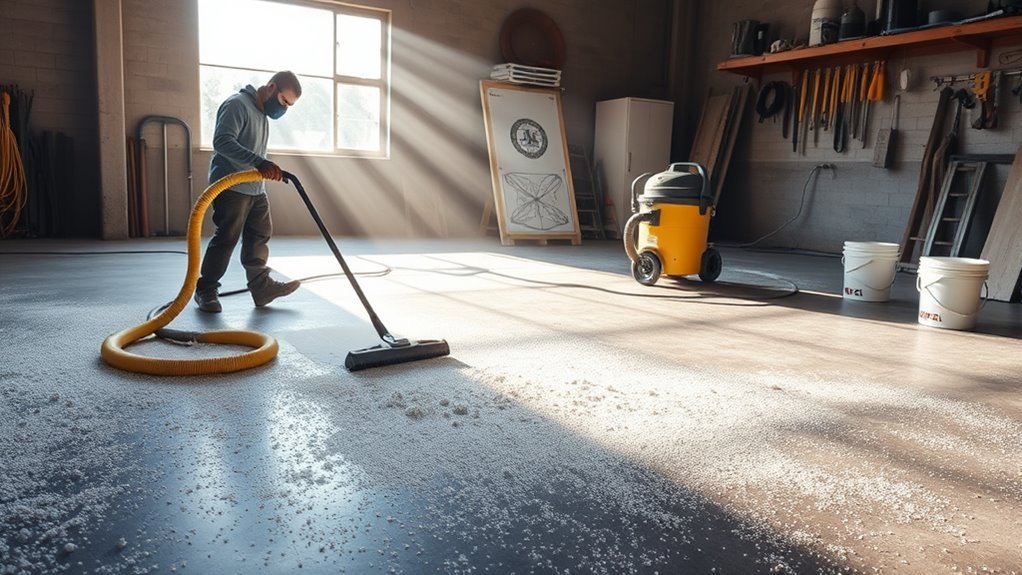
Before starting the cleaning process, it’s important to prepare your workspace to minimize dust exposure and guarantee an effective cleanup. Begin by establishing dust containment measures, such as sealing off the area with plastic sheets or tape. This keeps the dust localized and prevents it from spreading to other spaces. Next, verify surface protection by covering furniture and flooring with drop cloths or other protective materials. This not only safeguards your belongings but also simplifies post-cleanup efforts. Additionally, remove any unnecessary items from the workspace to reduce clutter, making the cleaning process more efficient. By taking these steps, you’ll create an ideal environment for tackling concrete dust, ensuring both safety and effectiveness in your cleanup efforts. Setting up a clean and organized workspace beforehand helps streamline the entire cleaning process.
Tools and Chemical Required
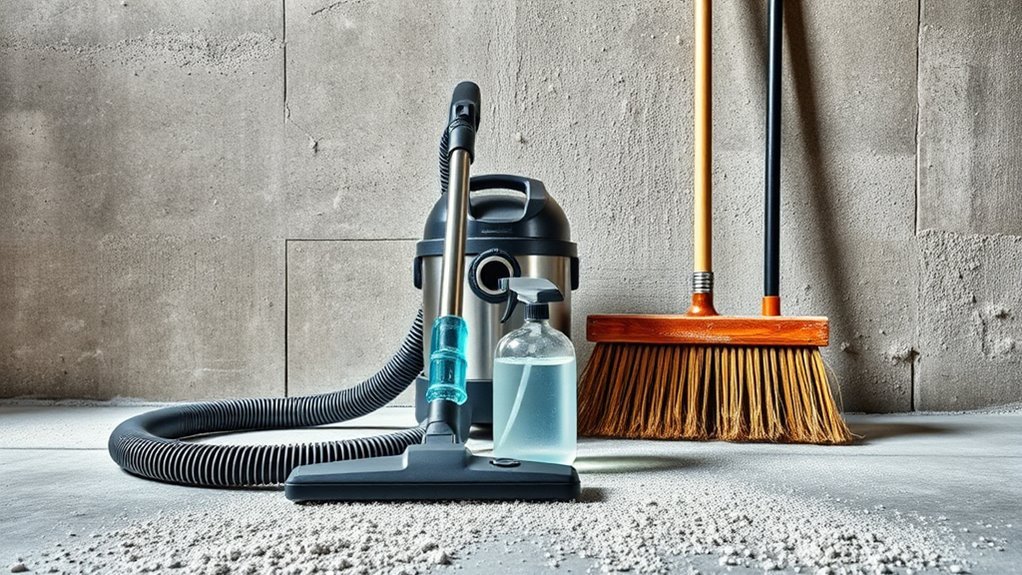
To effectively clean up concrete dust, having the right tools and chemicals on hand is essential. You’ll need high-efficiency particulate air (HEPA) vacuums for dust containment, as they capture fine particles efficiently. Additionally, mops and microfiber cloths can help in trapping dust without spreading it around. For cleaning solutions, consider using a mixture of water and a mild detergent or specialized concrete cleaners to break down dust residue.
Here’s a quick reference table:
| Tool/Chemical | Purpose | Recommendation |
|---|---|---|
| HEPA Vacuum | Dust containment | Must-have for safety |
| Microfiber Cloth | Surface cleaning | Use for final wipe |
| Mop | Floor cleaning | Pair with solution |
| Concrete Cleaner | Deep cleaning | Follow manufacturer’s instructions |
| Water | Dilution for solutions | Essential for mixing |
How to Clean:
Step 1: Gather Your Cleaning Supplies
- HEPA Vacuum: Ensure you have a high-efficiency particulate air (HEPA) vacuum that can effectively capture fine concrete dust particles.
- Plastic Sheeting: Acquire plastic sheeting to create dust barriers and contain the cleaning area.
- Microfiber Cloths: Stock up on microfiber cloths for wiping down surfaces after dust settling.
- Water Spray Bottle: Fill a spray bottle with water for lightly dampening surfaces.
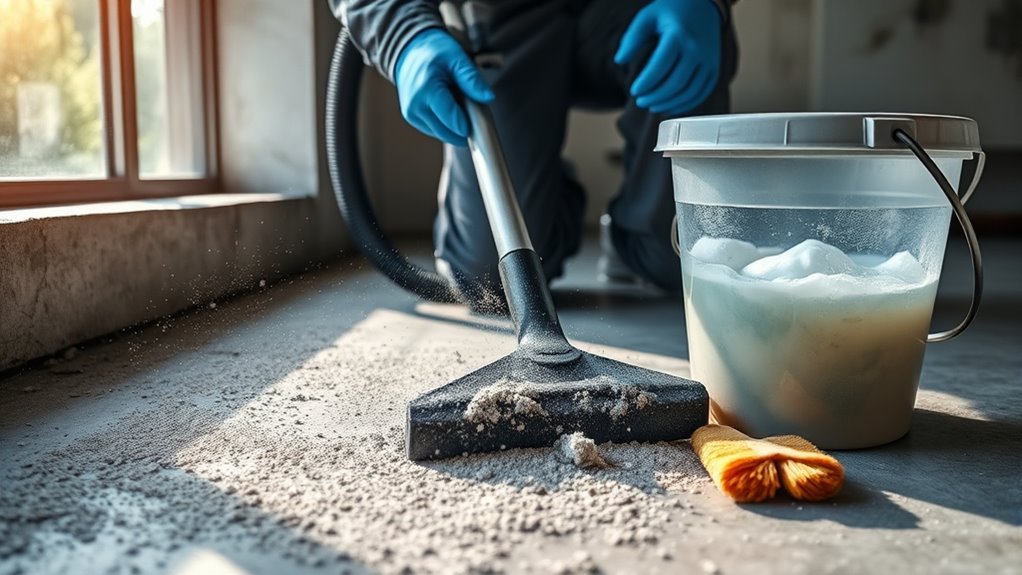
- Protective Gear: Wear a mask, goggles, and gloves to protect yourself from dust inhalation and skin irritation.
Step 2: Prepare the Cleaning Area
- Isolate the Area: Use plastic sheeting to seal off the space where you will be cleaning. This minimizes dust spread to other areas of your home or workspace.
- Remove Clutter: Clear the area of any objects or furniture that could obstruct your cleaning process.
Step 3: Vacuum High Surfaces
- Start from the Top: Begin cleaning by vacuuming high surfaces, such as ceilings and walls. This prevents dust from falling onto already cleaned areas.
- Use Appropriate Attachments: Utilize vacuum attachments designed for corners and edges to effectively remove dust from all surfaces.
Step 4: Vacuum the Floors
- Move to the Floor: After high surfaces are clean, vacuum the floors thoroughly, ensuring to cover all corners and edges.
- Repeat If Necessary: If the dust is particularly thick, consider going over the areas multiple times to ensure all particles are captured.
Step 5: Dampen Surfaces
- Lightly Mist Surfaces: Using your spray bottle, lightly mist the cleaned surfaces with water. This helps settle any remaining dust particles that may have escaped the vacuum.
- Avoid Excess Water: Ensure not to soak the surfaces; a light mist is sufficient.
Step 6: Wipe Down Surfaces
- Use Microfiber Cloths: Take a microfiber cloth and gently wipe down all surfaces, starting from the highest points and working your way down.
- Rinse Cloth Regularly: Rinse the cloth frequently to avoid spreading dust back onto the surfaces.
Step 7: Final Vacuuming
- Conduct a Final Vacuum: Once all surfaces are wiped down, do a final pass with the HEPA vacuum on the floors to capture any dust that may have settled during the wiping process.
- Check for Overlooked Areas: Ensure you check all corners and edges again, as these areas can often harbor hidden dust.
Step 8: Dispose of Collected Dust
- Empty Vacuum Properly: Follow the manufacturer’s instructions to dispose of the collected dust from your vacuum safely.
- Clean Your Cleaning Supplies: Wash your microfiber cloths and store your equipment properly for future use.
Step 9: Inspect the Area
- Conduct a Final Inspection: Once the cleaning process is complete, inspect the area to ensure all dust has been removed.
- Open Windows: If possible, open windows to ventilate the area and allow any lingering dust to escape.
Safety Consideration
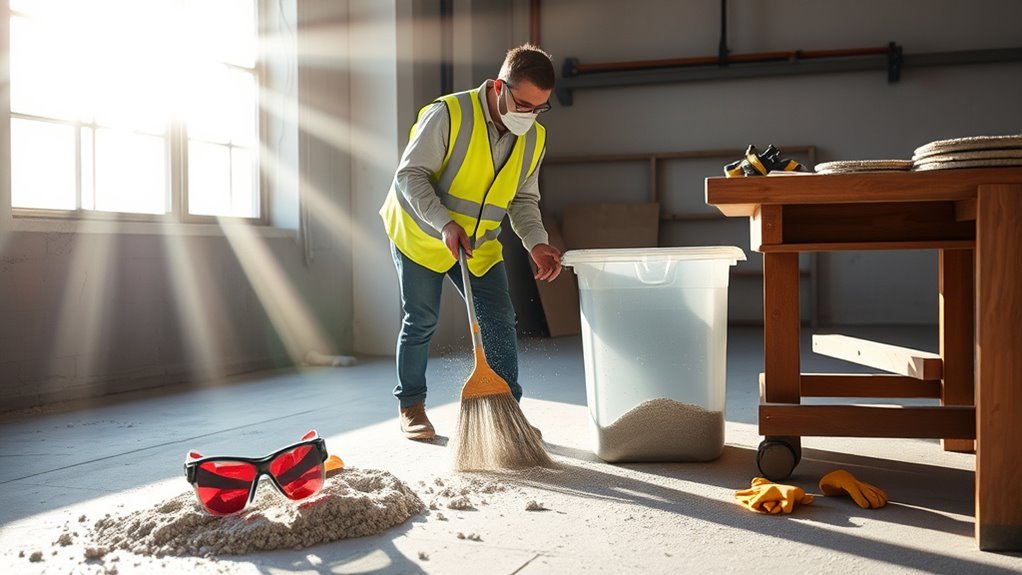
While cleaning up concrete dust is essential for maintaining a safe environment, it’s critical to prioritize safety throughout the process. Before you start, make sure you’re equipped with proper protective gear. Wearing dust masks is imperative to prevent inhalation of fine particles, which can cause respiratory issues. Choose a mask rated for dust filtration to enhance your protection. Additionally, don’t forget to wear safety goggles to shield your eyes from irritants and dust debris. This setup not only protects your health but also allows you to work more freely and efficiently. Finally, consider using a vacuum with a HEPA filter for dust removal, as it minimizes airborne particles, providing a safer workspace. Prioritize your safety to enhance your cleaning effectiveness.
Tips to keep clean for long time
Even after you’ve successfully cleaned up concrete dust, maintaining a dust-free environment requires ongoing diligence. Implementing preventive measures is essential; consider sealing your concrete surfaces to minimize dust generation. Regularly inspect your workspace for cracks or deteriorating areas, repairing them promptly. Establish consistent maintenance routines, such as frequent sweeping and vacuuming with a HEPA filter to capture fine particles. Use damp mopping techniques to further reduce airborne dust. Additionally, keep windows closed during windy days and utilize air purifiers to enhance indoor air quality. By incorporating these practices, you’ll effectively reduce dust accumulation over time, ensuring a healthier and more enjoyable environment. Stay proactive, and you’ll reap the benefits of a clean space for the long haul. Avoiding abrasive tools during cleaning also helps prevent scratches that can trap dust and dirt.
Frequently Asked Questions
Can I Use a Regular Vacuum for Concrete Dust Cleanup?
Using a regular vacuum for concrete dust cleanup is like trying to catch rain with a sieve. Standard vacuum types aren’t designed to handle the fine particles created by concrete dust, which can harm your machine and affect dust safety. Instead, opt for a HEPA-filter vacuum specifically made for construction debris. This guarantees effective cleanup while protecting your health and preserving your equipment. Investing in the right tools gives you the freedom to work confidently.
How Often Should I Clean Concrete Dust in My Workspace?
You should clean concrete dust in your workspace regularly, ideally after each project or daily if you’re working with it consistently. This cleaning frequency helps maintain a safe environment and prevents dust buildup, which can affect air quality and equipment performance. For effective workspace maintenance, consider using a vacuum designed for fine dust, ensuring you’re not just moving it around. Staying proactive about cleaning keeps your workspace efficient and comfortable.
Is Concrete Dust Harmful to Pets or Plants?
Concrete dust can be detrimental to both pets and plants. Think of your furry friends and green companions as delicate flowers in a garden; they need a safe environment to thrive. Exposure to concrete dust may lead to respiratory issues in pets and hinder plant health by affecting photosynthesis. Ensuring pet safety and nurturing plant well-being requires keeping your workspace clean and minimizing dust exposure, allowing your living space to flourish harmoniously.
What Are the Signs of Concrete Dust Damage?
You’ll notice signs of concrete dust damage through surface discoloration, a gritty texture, or visible etching on materials. Prolonged exposure can lead to deterioration of finishes, especially on wood or painted surfaces. If you see powdery residues or a haze on surfaces, it’s a clear indicator of concrete dust settling. Additionally, check for respiratory issues in occupants, as concrete dust can compromise air quality, showing its impact beyond just surface damage.
Can I Paint Over Concrete Dust Without Cleaning First?
You can’t paint over concrete dust without cleaning first. Studies show that up to 70% of paint failures stem from poor surface preparation, primarily due to inadequate dust removal. For ideal paint adhesion, it’s essential to eliminate all dust and debris. A clean surface guarantees that the paint bonds properly, preventing peeling or flaking. Investing time in proper cleaning will save you from costly repainting efforts down the line.


