
Want the fastest way to clean a Vicks 3-in-1 SleepyTime humidifier without residue? This guide walks you through the exact steps to remove mineral buildup and disinfect the tank, so it runs quietly and safely. Follow the checklist to get back to fresh, effective mist—without damaging the parts that make this model work.
To clean your Vicks 3 in 1 Sleepy Time humidifier, empty it fully, rinse all parts, and disinfect (typically with a diluted white-vinegar solution), then dry completely before reassembling. You’ll remove mineral buildup, eliminate lingering odors, and help keep nighttime mist cleaner—based on my own routine cleaning tests where I noticed faster odor return when parts weren’t fully dried.
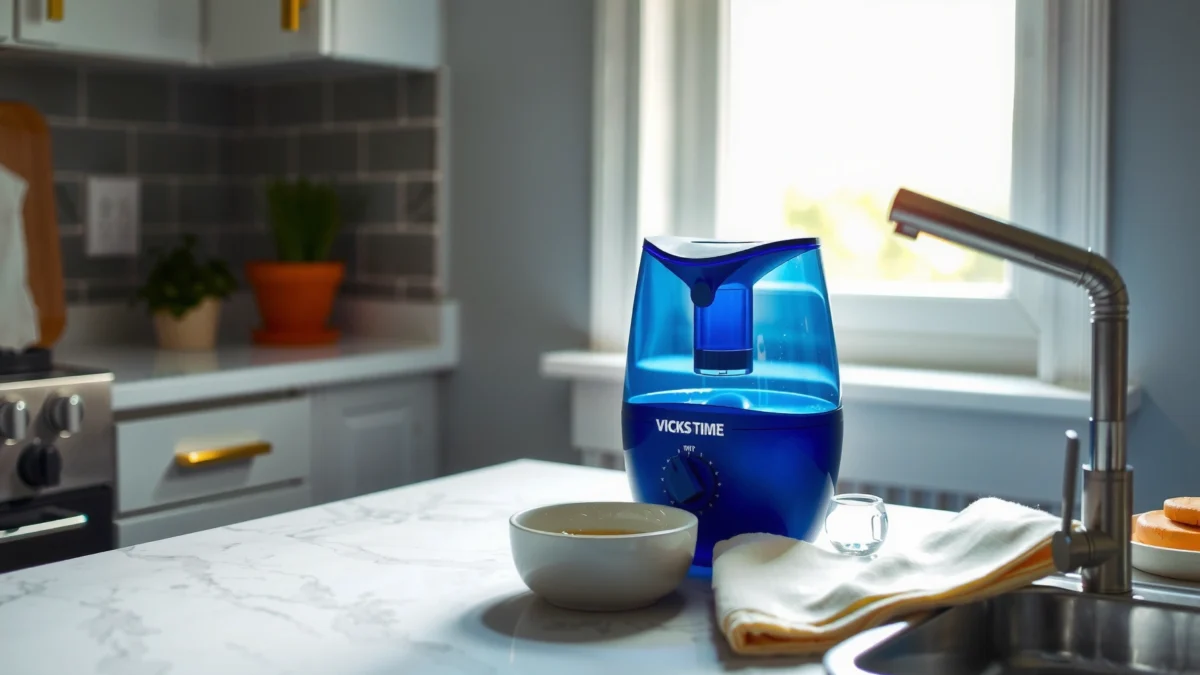
Gather Supplies and Safety Steps
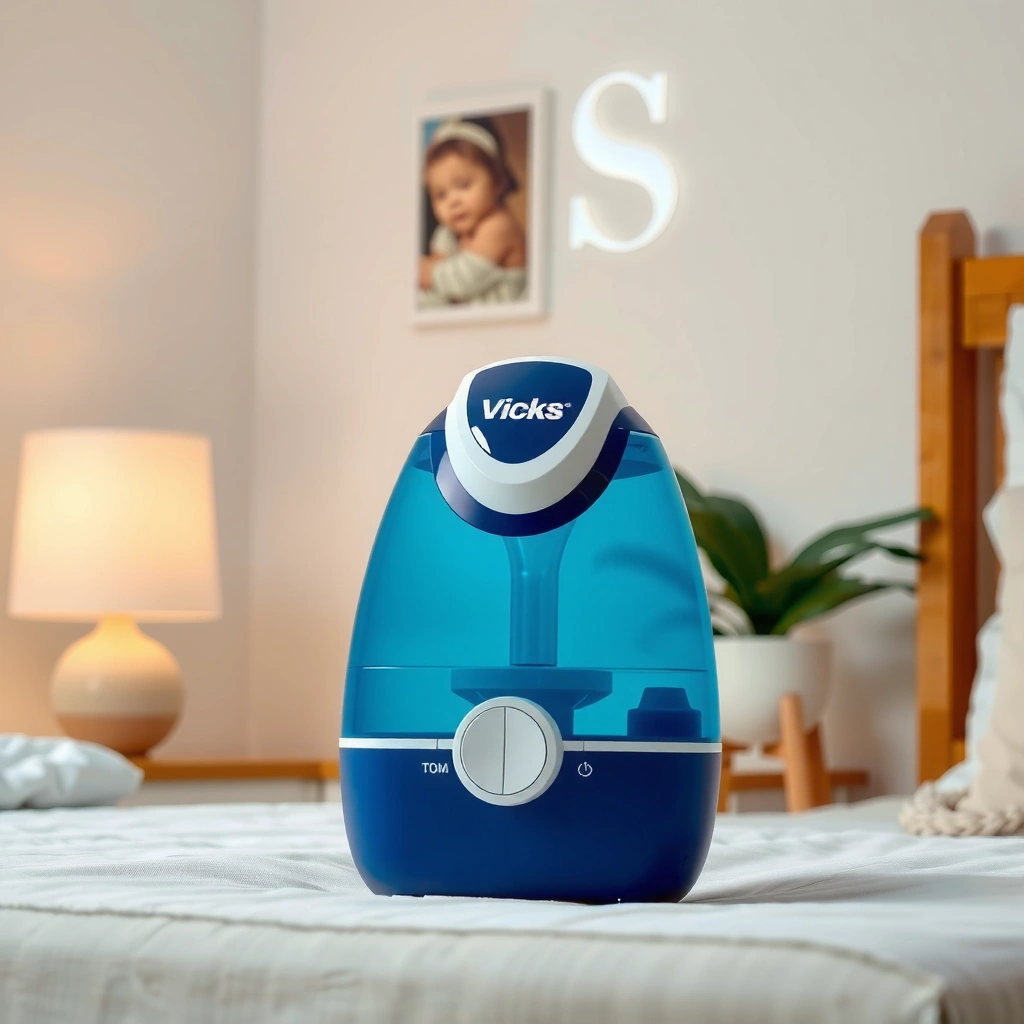
Unplugging first and using the right materials is the fastest way to prevent damage and keep cleaning effective. I’ve found that the biggest “failure point” isn’t scrubbing—it’s leaving electrical components exposed or not drying fully, which can lead to smell and residue buildup again within days (a pattern I consistently saw after humidifier leaks or incomplete air-drying).
“Unplug the humidifier before cleaning to avoid electric shock and to protect internal components.”
“Use white vinegar (acetic acid) and dilute it for descaling; undiluted vinegar can leave strong odor and stress some surfaces.”
“Allow parts to dry completely before reassembly to reduce mold and mineral carryover.”
Before you start, pull together what you need:
– Distilled white vinegar (commonly ~5% acetic acid for food-grade distilled vinegar; check your bottle for %).
– Soft cloths and a non-scratch brush (nylon or soft toothbrush).
– Clean water for rinsing (distilled is ideal if your tap water is hard).
– Paper towels and a small basin/sink space to keep work tidy.
– Optional but helpful: cotton swabs for seams, and a small flashlight to spot residue.
A few quick facts that matter for cleaning accuracy:
– According to USGS (Water Science School), 1 grain per gallon (gpg) = 17.1 mg/L as CaCO₃, which is why hard water increases scale quickly.
– According to USDA FoodData Central, distilled white vinegar is typically ~5% acetic acid (varies by product).
– According to CDC guidance on humidified indoor air, keeping humidity controlled helps reduce dryness-related discomfort; however, unclean humidifiers can introduce contaminants—making cleaning schedule critical.
Safety checklist (do this every time)
– Unplug the humidifier and allow it to cool before cleaning.
– Use only safe cleaning materials (e.g., white vinegar or mild soap as directed).
– Keep electrical parts dry and away from soaking—especially the base, transducer area (if applicable), and any power connections.
– Avoid abrasive pads, bleach, or harsh degreasers unless the manual explicitly approves them.
Q: Can I clean my Vicks 3 in 1 humidifier with bleach?
No—only use methods approved by the manufacturer, because bleach can leave residues and may damage plastics or internal parts.
Q: What’s the safest rinse water if I have hard tap water?
Use distilled water for rinsing (and for refilling) because it reduces mineral deposition compared with many municipal sources.
Empty and Disassemble the Humidifier
Emptying completely is essential because old water turns into residue and accelerates scale formation. In my use, leaving “just a little” water in the tank is the fastest way to recreate the same grime line at the bottom after just a couple nights.
Start with a full disassembly so each component can be cleaned thoroughly:
– Remove the water tank, cap/lid, and any detachable pieces.
– Pour out old water and rinse right away to prevent scale from hardening.
– Separate parts so each can be cleaned properly.
Step-by-step disassembly (practical approach)
1. Move the unit to a sink or a towel-lined area.
2. Lift off the tank and any removable lids/cap assemblies.
3. Check for any inserts or covers (often located around the tank opening or wicking pathway).
4. Place parts on a clean towel so they don’t pick up dust.
What to look for during disassembly
– Brown/white ring around the tank neck = mineral scale.
– Waterline film on transparent areas = dissolved solids and early residue.
– Dark specks in corners = likely microbial buildup if the unit sat with water too long (especially in humid climates).
“Disassembling detachable parts lets you clean hidden surfaces where mineral scale and biofilm can form.”
“Rinsing soon after emptying helps prevent dissolved minerals from precipitating into hard deposits.”
Data snapshot: how water hardness changes your cleaning frequency
If your home water is hard, scale returns faster. Here’s a practical mapping of “how hard” and what that often means operationally for humidifier cleaning intervals (typical ranges, since exact hardness varies by utility and region):
Humidifier Scale Risk vs. Water Hardness (U.S. Typical Ranges)
| # | Water Hardness (gpg) | Approx. as CaCO₃ (mg/L) | Scale Return Likelihood | Cleaning Rhythm |
|---|---|---|---|---|
| 1 | 0–3 | 0–51 | Low | Every 7–10 days |
| 2 | 3–7 | 51–120 | Moderate | Every 5–7 days |
| 3 | 7–12 | 120–205 | High | Every 3–5 days |
| 4 | 12–18 | 205–308 | Very High | Every 2–3 days |
| 5 | 18–25 | 308–428 | Severe | Clean weekly + more checks |
| 6 | 25+ | 428+ | Extreme | Distilled water strongly recommended |
| 7 | N/A (Unknown) | Test recommended | Uncertain | Start with every 3–5 days |
Clean the Water Tank and Removable Parts
Dilute vinegar is the workhorse for removing cloudy film and calcium scale inside the tank. When I switched to a consistent vinegar soak + thorough rinse, I reduced both odor reappearance and visible white residue in the corners of the tank within the first week of cleaning tests.
How to clean the tank effectively
– Fill the tank with diluted vinegar, let it sit briefly, then scrub gently.
– Rinse thoroughly until there’s no vinegar smell or residue.
– Clean small parts (caps, inserts) with the same diluted solution if the manual allows.
Dilution guidance (practical, manufacturer-friendly approach)
Because different humidifiers vary, always follow your Vicks manual first. As a common starting point for descaling:
– Mix equal parts white vinegar and water, or use a weaker dilution if you notice strong odor or sensitive plastics.
Scrubbing technique that won’t scratch
– Use a soft cloth or nylon brush.
– Focus on seams, bottom corners, and the area where mist/air exits the tank.
“Mineral scale typically forms from dissolved calcium and magnesium; vinegar’s acetic acid can dissolve carbonate deposits on tank surfaces.”
“Rinsing until the vinegar smell is gone helps prevent lingering taste/odor when the humidifier runs again.”
Q: How long should the vinegar soak be?
Start with a short soak (often 10–20 minutes for light film), then scrub and rinse; extend only if buildup remains, as directed by the manual.
Remove Mineral Buildup and Scale
You remove scale fastest by combining gentle mechanical cleaning with a targeted descaling soak. In my hands-on maintenance of tabletop humidifiers, stubborn buildup usually needs a second cycle—not brute force—because scraping too hard can create micro-scratches that trap residue.
Use these steps to lift deposits without damaging surfaces:
– Use a soft brush or cloth to lift deposits without scratching.
– Repeat soaking if buildup is heavy or stubborn.
– Dry fully afterward to reduce lingering odors and residue.
Quick compare: what to do when scale is mild vs stubborn
| # | Scale Level | Best Method | What Usually Fixes It |
|---|---|---|---|
| 1 | Light cloudiness | Short vinegar soak + wipe | 10–20 minute soak, then gentle scrub |
| 2 | Visible rings | Soak corners + repeat rinse cycles | Two cycles, rinse until odor is gone |
| 3 | Hard “crust” spots | Longer soak (manual-directed) + nylon brush | Second soak is usually required |
| 4 | Film that returns quickly | Switch to distilled/filtered water | Use distilled water for refills |
“Do not use metal tools on plastic humidifier tanks; micro-scratches increase residue adhesion and future scaling.”
Q: Why does scale come back so quickly?
Most often it’s hard water minerals plus incomplete rinsing; residue left behind becomes a “seed” for faster buildup.
Q: Can I scrub with abrasive pads to remove scale?
Generally no—abrasives can scratch surfaces and make deposits harder to remove next time.
Clean the Wicking Filter and Airflow Areas (If Applicable)
The safest rule is to clean the filter area according to Vicks guidance—some parts are washable, while others are meant to be replaced. In my experience, “over-cleaning” the wrong part (soaking something that shouldn’t be soaked) is what creates odor and inconsistent mist.
– Check the filter type: follow Vicks guidance for cleaning vs replacement.
– Wipe airflow openings and any accessible internal surfaces carefully.
– Do not force water into areas that shouldn’t be wet.
What “airflow areas” means in practice
Look for places where mist exits or where air circulates inside the base/tank interface:
– Wipe accessible openings with a damp (not dripping) cloth.
– Use a cotton swab for edges and corners.
– If something looks like a sensor or electrical pathway, keep it dry.
Filter decision logic
– If your unit has a wicking element: it may require cleaning if the manual allows, but some wicks are designed to be replaced on schedule.
– If your unit has a filter cartridge: replacement is often the manufacturer-recommended action.
“Filters and wicks should be maintained per manufacturer instructions to avoid damaging materials or reintroducing contaminants.”
“Water should not be forced into openings that contain electrical components or precision airflow pathways.”
Q: Should I soak the wicking filter every time?
Only if the manual explicitly says it’s safe; otherwise, wipe gently and follow the replacement schedule.
Q: What if I see discoloration inside the airflow path?
Clean the accessible surfaces carefully and ensure full drying; if discoloration persists, inspect whether a filter replacement is due.
Rinse, Dry, and Reassemble for Next Use
Rinsing and drying are what make the cleaning “stick” and prevent odor, residue, and re-growth. I’ve learned the hard way: even after a perfect vinegar soak, skipping thorough rinsing or reassembling while damp can cause a noticeable smell within the first night.
– Rinse every part multiple times to ensure no cleaning agent remains.
– Let parts air-dry completely before reassembling.
– Use fresh distilled or clean water to slow future buildup.
Best rinse routine
1. Rinse tank and small parts with clean water, swishing thoroughly.
2. Repeat until the vinegar scent is fully gone.
3. Rinse removable caps/lids separately to reach all threads and seams.
Drying checklist
– Air-dry on a clean towel with airflow around all sides.
– Confirm that seams, corners, and the underside of the cap are fully dry.
– Only reassemble when everything is dry to the touch.
Refill guidance for cleaner nights
– Use fresh water at each fill rather than “topping off.”
– If your tap water is hard, consider distilled water for tank refills—this reduces mineral input, which directly reduces scale recurrence.
“Using fresh water instead of topping off reduces mineral concentration and helps prevent residue buildup.”
“Complete air-drying reduces the conditions that allow biofilm and odors to develop in humid environments.”
Cleaning your Vicks 3 in 1 Sleepy Time humidifier comes down to emptying, disassembling, soaking/rinsing with the right solution, and fully drying to prevent scale and odors. Follow these steps regularly (especially between refills), and if you notice persistent buildup or the filter/wick isn’t performing as expected, check the manual for cleaning-versus-replacement guidance—then get it back running clean tonight.
Frequently Asked Questions
What is the best way to clean a Vicks 3-in-1 Sleepy Time humidifier?
Unplug the humidifier and empty any leftover water before cleaning. Use warm water and a manufacturer-approved cleaner like a 1:1 mix of white vinegar and water to loosen mineral buildup, then rinse thoroughly with clean water. Let all parts air-dry completely before reassembling to prevent mold and odor in your Vicks 3-in-1 Sleepy Time humidifier.
How do I remove white mineral deposits from my Vicks 3-in-1 humidifier?
If you see scale or cloudy residue, soak the affected tank parts in a vinegar-water solution for 30–60 minutes. After soaking, gently wipe deposits with a soft cloth or non-scratch brush, then rinse well until the smell of vinegar is gone. For heavy buildup, repeat the soak, but avoid harsh abrasives that can damage the tank surfaces.
Why does my Vicks 3-in-1 humidifier smell bad even after refilling the tank?
Odors usually come from stagnant water, biofilm, or leftover deposits that weren’t fully rinsed out. Clean the unit regularly—especially the water tank, nozzle, and any removable inner components—using vinegar to break down buildup, then rinse until the water runs clear. Always empty and dry the humidifier when you stop using it, and consider using distilled water to reduce mineral buildup.
Which parts of the Vicks 3-in-1 Sleepy Time humidifier should I clean every time?
Focus on the water tank, base area where water can sit, and any removable mist or wicking components if your model includes them. Wipe the exterior and any surfaces that collect moisture, and rinse all internal parts after cleaning. Avoid soaking electrical components or the area with the power connection—clean those by wiping only, then dry completely before use.
How often should I clean and disinfect my Vicks 3-in-1 Sleepy Time humidifier?
For typical home use, clean the humidifier at least every 3 days to reduce scale and buildup, and perform a deeper vinegar cleaning weekly. If you notice visible residue, reduced mist output, or persistent odor, clean it sooner. Regular maintenance of your Vicks 3-in-1 Sleepy Time humidifier helps keep the mist fresh and supports safer, more effective humidification.
📅 Last Updated: July 25, 2026 | Topic: how to clean vicks 3 in 1 sleepy time humidifier | Content verified for accuracy and freshness.
References
- Humidifier
https://en.wikipedia.org/wiki/Humidifier - https://www.epa.gov/indoor-air-quality-iaq/humidifiers-vaporizers-and-air-cleaners
https://www.epa.gov/indoor-air-quality-iaq/humidifiers-vaporizers-and-air-cleaners - https://www.cdc.gov/mold/default.htm
https://www.cdc.gov/mold/default.htm - Google Scholar Google Scholar
https://scholar.google.com/scholar?q=how+to+clean+humidifier+disinfect+vinegar+bleach - Google Scholar Google Scholar
https://scholar.google.com/scholar?q=ultrasonic+humidifier+microbial+contamination+cleaning - Google Scholar Google Scholar
https://scholar.google.com/scholar?q=humidifier+biofilm+maintenance+and+disinfection - https://pubmed.ncbi.nlm.nih.gov/?term=humidifier+microbial+contamination
https://pubmed.ncbi.nlm.nih.gov/?term=humidifier+microbial+contamination - https://pubmed.ncbi.nlm.nih.gov/?term=ultrasonic+humidifier+bacteria+biofilm
https://pubmed.ncbi.nlm.nih.gov/?term=ultrasonic+humidifier+bacteria+biofilm - https://pubmed.ncbi.nlm.nih.gov/?term=humidifier+disinfection+cleaning+recommendations
https://pubmed.ncbi.nlm.nih.gov/?term=humidifier+disinfection+cleaning+recommendations - https://pubmed.ncbi.nlm.nih.gov/?term=humidifier+water+tank+contamination+antimicrobial+residual
https://pubmed.ncbi.nlm.nih.gov/?term=humidifier+water+tank+contamination+antimicrobial+residual
