How to Clean Your Home After Ceilings
After ceiling work, start by evaluating dust, debris, and stains to prioritize cleaning areas. Gather microfiber cloths, a HEPA vacuum, mild detergent, gloves, and masks. Dust surfaces and vacuum floors thoroughly, including vents and light fixtures. Clean walls and furniture gently with tested solutions, spot-treating stains carefully. Dispose of construction waste responsibly by sorting materials for recycling or trash. Keeping up regular maintenance will preserve freshness. If you want to know how to tackle each step in detail, keep going.
Assessing the Cleaning Needs After Ceiling Work
Before you begin cleaning, it’s important to evaluate the extent of the mess left by the ceiling work. You want to be free from surprises, so start with clear evaluation strategies. Walk through the space, noting dust on surfaces, debris on the floor, and any stains or residues on walls or furniture. Creating a cleaning checklist tailored to what you observe helps you stay organized and focused. Prioritize areas that need immediate attention versus those requiring gentle care. This approach saves time and energy, letting you reclaim your space efficiently. By carefully evaluating your cleaning needs upfront, you take control and avoid unnecessary hassle, making the whole cleanup process smoother and more satisfying for you.
Gathering the Right Cleaning Supplies and Tools
Before you start cleaning, make sure you have the essential tools like brushes, cloths, and a vacuum. Choose safe cleaning products that won’t harm your surfaces or your health. Don’t forget protective gear like gloves and masks to keep yourself safe during the process.
Essential Cleaning Tools
Although cleaning can feel overwhelming, having the right tools makes the process much easier and more efficient. To boost your cleaning efficiency, start by gathering essential cleaning gadgets like microfiber cloths, extendable dusters, and a sturdy vacuum with attachments. These tools help you reach tricky spots and tackle dust without hassle. A mop and bucket combo is great for floors, while a handheld brush works well for corners and crevices. Don’t forget gloves to protect your hands and a spray bottle for quick spot cleaning. With these essentials on hand, you’ll gain the freedom to clean smarter, not harder, moving through your home with ease and confidence. Your cleaning routine will feel less like a chore and more like a simple step toward a fresher space.
Safe Cleaning Products
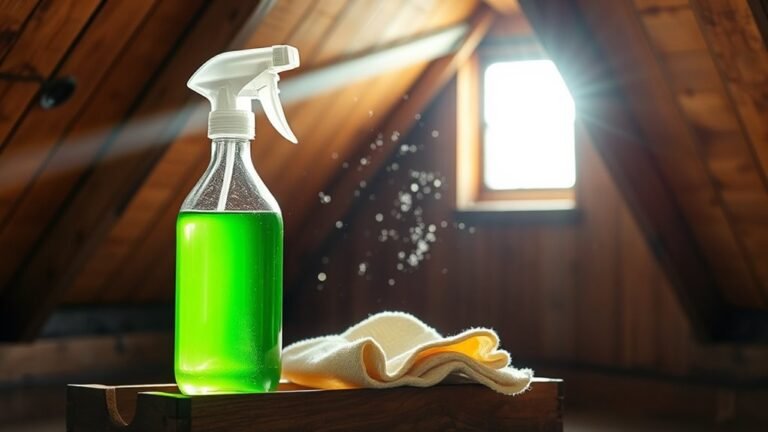
When choosing cleaning products, it’s important to prioritize safety for both your health and your home. You want to feel free from harsh chemicals and toxins, so seek out eco friendly options that clean effectively without compromising your well-being. Chemical free solutions, like vinegar, baking soda, and castile soap, offer powerful cleaning without harmful residues. These natural ingredients help you maintain a fresh, safe space while respecting the environment. Avoid products with strong fragrances or synthetic additives, which can irritate your lungs or skin. By selecting safe, green cleaning supplies, you take control of your home’s cleanliness and your personal freedom. Gathering the right tools with these safer products sets you up for a successful, worry-free cleaning experience every time.
Protective Gear Necessities
Protective gear is essential for keeping you safe while tackling household chores. When cleaning after ceilings, you want to be free from worries about dust, debris, or harsh chemicals. Start by gathering the right supplies to make your job easier and safe. Here’s what you’ll need:
- Protective gloves – shield your hands from irritants and grime.
- Safety goggles – protect your eyes from dust and splashes.
- A sturdy mask – keep airborne particles out of your lungs.
- Durable clothing – wear long sleeves to avoid skin contact.
With these essentials, you’ll clean confidently and efficiently, enjoying the freedom of a spotless home without risking your health. Don’t skip this step—it’s your best defense.
Removing Dust and Debris From Surfaces
When it’s time to remove dust and debris from your surfaces, choosing the right techniques can make all the difference. You’ll want to use safe cleaning tools that won’t scratch or damage your furniture. Plus, knowing how to dispose of debris effectively keeps your space tidy and allergen-free.
Dust Removal Techniques
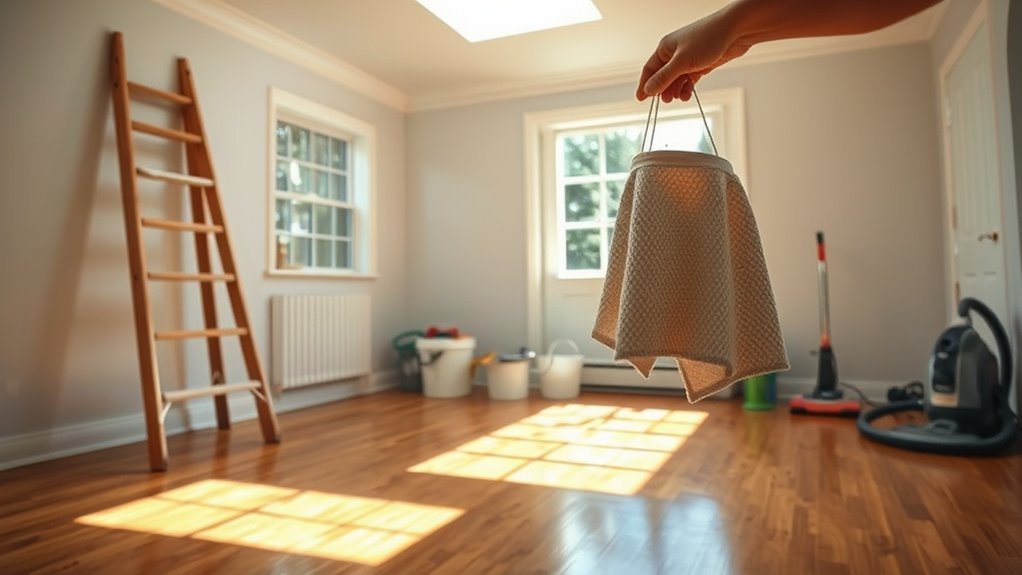
Although dust seems harmless, it can quickly accumulate and affect your home’s air quality and appearance. To keep your space fresh and free, mastering dust removal techniques is essential. You’ll want to combine effective dusting methods with smart vacuum techniques to tackle every surface with ease.
Here’s how you can liberate your home from dust:
- Use microfiber cloths for dusting—they trap particles instead of spreading them around.
- Vacuum floors and upholstery regularly with a HEPA filter vacuum for maximum dust capture.
- Don’t forget hard-to-reach spots like ceiling fans and vents; use extendable tools.
- Shake out or wash removable items like curtains and cushion covers to remove embedded dust.
Safe Cleaning Tools
Anyone tackling dust and debris removal needs the right tools to do the job safely and effectively. Choosing eco friendly alternatives and non toxic options helps you keep your home clean without compromising your health or the environment. Here’s a quick guide to some safe cleaning tools that give you freedom from harsh chemicals:
| Tool | Purpose | Benefits |
|---|---|---|
| Microfiber cloth | Dusting surfaces | Traps dust, reusable |
| Natural bristle brush | Sweeping tight spots | Gentle, biodegradable |
| Spray bottle | Applying cleaning solution | Use with non toxic cleaners |
| Vacuum with HEPA filter | Removing fine dust | Captures allergens |
| Rubber gloves | Hand protection | Avoids skin irritation |
Using these tools keeps your space fresh and safe, letting you enjoy a cleaner home your way.
Effective Debris Disposal
Having the right tools makes removing dust and debris from your surfaces much easier and safer. Different debris types—like fine dust, larger particles, or sticky residue—need specific disposal methods to keep your space fresh and free. Here’s how you can tackle it efficiently:
- Use a vacuum with a HEPA filter to capture fine dust without spreading it.
- Wipe surfaces with a damp microfiber cloth for sticky or stubborn debris.
- Sweep or dust off larger chunks carefully into a dustpan to avoid scattering.
- Seal collected debris in bags for proper disposal, preventing it from becoming airborne again.
Cleaning Walls and Furniture Safely
When cleaning walls and furniture, you’ll want to choose methods that protect these surfaces while effectively removing dirt and stains. For wall cleaning, start with a gentle approach—use a soft sponge and a mild detergent mixed with water. Test a small hidden area first to avoid damage. Avoid harsh scrubbing to keep paint and wallpaper intact. When it comes to furniture protection, dust regularly with a microfiber cloth to prevent buildup. For deeper cleaning, use products suited for your furniture’s material, whether wood, fabric, or leather, and always follow the manufacturer’s guidelines. Keeping your cleaning gentle but thorough lets you maintain a fresh home without sacrificing the freedom to enjoy your space, protecting your walls and furniture for years to come.
Tackling Ceiling Stains and Residue
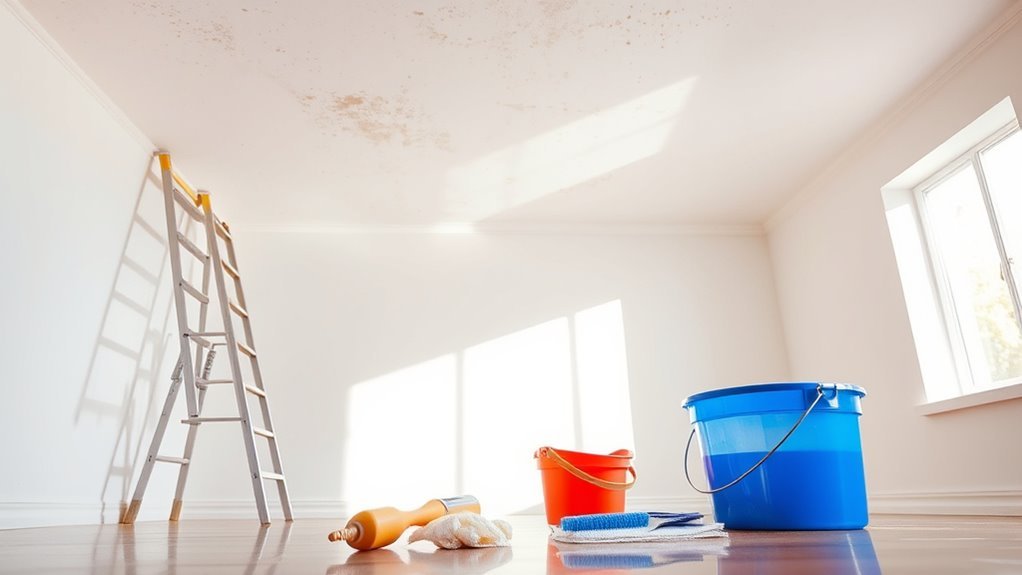
How do you effectively remove stains and residue from your ceiling without causing damage? Ceiling stain removal demands a careful approach so you can restore your space’s freedom and freshness. Here are four residue cleaning techniques to try:
- Use a gentle mixture of water and mild detergent to spot clean without harming the paint.
- Apply a sponge or soft cloth to gently dab the stained area—avoid scrubbing, which can damage surfaces.
- For stubborn stains, try a solution of diluted bleach, but test a small section first to verify no discoloration.
- Always rinse the cleaned spot with plain water to remove any leftover cleaning agents, then let it dry naturally.
These steps help you reclaim your ceiling’s clean look while preserving its integrity.
Proper Disposal of Construction Waste
Although construction waste might seem like just a pile of debris, proper disposal is essential to keep your home safe and environmentally friendly. You want to embrace freedom by preventing clutter and promoting recycling materials wherever possible. Effective waste management means sorting debris into categories for easier disposal or reuse.
| Waste Type | Disposal Method | Recycling Potential |
|---|---|---|
| Drywall scraps | Bag and haul to landfill | Low, but possible |
| Wood pieces | Donate or recycle | High, repurposable |
| Metal fragments | Scrap metal recycling | Very high, valuable |
Take control by separating these materials yourself and contacting local facilities about recycling options. This approach keeps your space clear and supports a greener community.
Maintaining Cleanliness Post-Ceiling Project
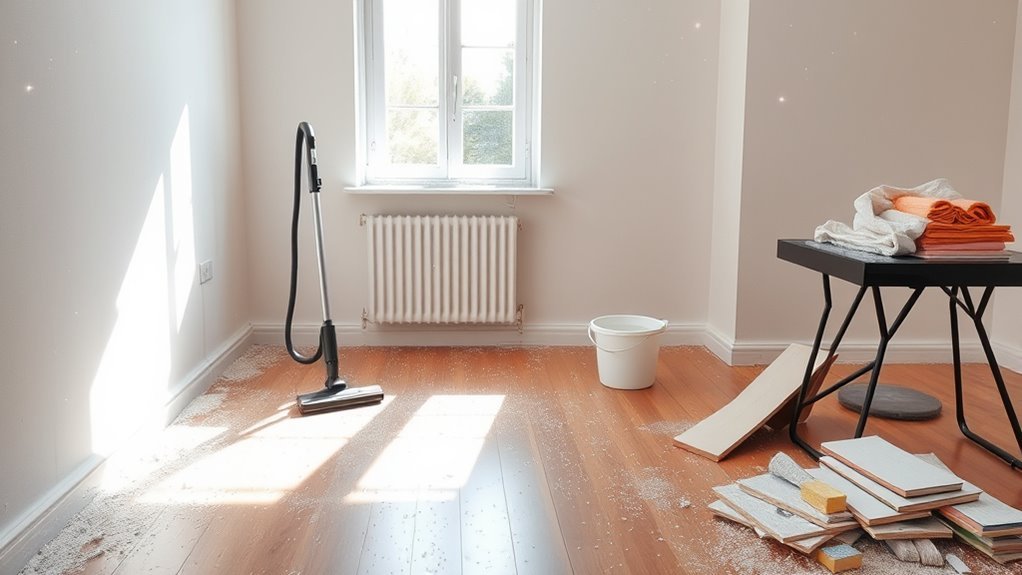
Since ceiling projects often stir up dust and debris, you’ll want to tackle cleanup promptly to prevent lingering messes and potential damage. Post cleaning maintenance is key to keeping your space fresh and avoiding future headaches. Here’s how you can stay on top of it while enjoying your freedom:
- Vacuum all surfaces, including walls and floors, using a HEPA filter to capture fine dust.
- Wipe down light fixtures, vents, and furniture with a damp cloth to remove settled particles.
- Change your HVAC filters to prevent dust recirculation and maintain air quality.
- Schedule regular quick cleanups for the next few weeks to catch any stray debris early.
Frequently Asked Questions
How Long Should I Wait Before Cleaning After Ceiling Repairs?
Imagine dust settling like a gentle snowfall after a storm—that’s your cue to pause. When it comes to ceiling repair timing, you should wait at least 24 to 48 hours before cleaning. This waiting period guarantees any patching compound or paint fully dries and cures, preventing smudges or damage. Giving yourself this freedom means you can clean confidently, knowing your ceiling repairs are set and your home looks flawless.
Can I Use a Vacuum Cleaner on Freshly Painted Ceilings?
You shouldn’t use a vacuum cleaner on freshly painted ceilings just yet. The paint needs enough time to fully dry and cure, or you risk smudging or peeling it. When you do vacuum, make sure to adjust your vacuum settings to the lowest suction to avoid damaging the ceiling paint. Patience gives you the freedom to clean effectively without ruining your hard work. Wait a few days before you start any vacuuming.
What Protective Gear Is Recommended During Ceiling Cleaning?
When cleaning ceilings, you’ll want goggles usage to shield your eyes like a superhero’s shield against dust and debris. Don’t skimp on a good mask—choose between an N95 or a respirator mask to keep those airborne particles from invading your lungs. Gloves and old clothes are your best friends too, giving you freedom to move without worry. Suit up right, and you’ll breeze through cleaning like a champ.
How to Prevent Ceiling Dust From Spreading to Other Rooms?
To keep ceiling dust from spreading to other rooms, you’ll want to focus on dust containment. Set up room barriers using plastic sheets or painter’s tape to seal doorways and vents. This way, dust stays put, and you won’t feel trapped by mess everywhere. Also, use a vacuum with a HEPA filter to catch dust as you work. These steps let you clean freely without worrying about dust traveling throughout your home.
Are There Eco-Friendly Products for Post-Ceiling Cleaning?
Imagine you’ve just finished ceiling repairs and want to clean without harsh chemicals. You’ll love using natural cleaning products like vinegar mixed with water—a popular green alternative that’s safe and effective. Many homeowners swear by these eco-friendly solutions to keep their space fresh without compromising air quality. Choosing natural cleaning means you’re free to breathe easy and protect the planet while tackling post-ceiling dust and grime.