How to Clean Your Range Hood in 10 Minutes
To clean your range hood in 10 minutes, first turn off the power and remove the filters. Soak them in hot, soapy water or a vinegar solution while you wipe down the hood’s exterior with a microfiber cloth and mild cleaner. Quickly scrub the fan blades if you can access them. Rinse and dry the filters, then reassemble everything. This quick routine keeps your hood running smoothly, and there’s more you can do to extend its life and efficiency.
Gather Your Cleaning Supplies

Before you begin cleaning your range hood, you’ll want to gather all the necessary supplies to make the process smooth and efficient. Start with essential cleaning tools like a soft cloth, a non-abrasive sponge, and a small brush for tight areas. Grab a spray bottle filled with an eco friendly option such as diluted white vinegar or a natural citrus-based cleaner. These choices protect your health and the environment while effectively cutting grease. Avoid harsh chemicals that can leave residues or damage surfaces. Having a bucket of warm, soapy water ready will help rinse off grime easily. By preparing these simple, green cleaning tools upfront, you’ll save time and effort, maintaining your range hood’s freedom from dirt with minimal impact on the planet. Choosing eco-friendly supplies also reduces water pollution, contributing to a healthier environment.
Turn Off the Power and Remove Filters
First, make sure the power to your range hood is completely turned off to avoid any accidents. Next, locate the filters—usually found underneath the hood—and carefully remove them. Set up a cleaning area where you can soak and scrub the filters without making a mess. Many models feature removable filters that simplify the cleaning process.
Ensure Power Is Off
To start, turn off the power to your range hood to guarantee safety while cleaning. This simple step is essential for avoiding electrical hazards that could cause serious injury or damage. Locate the switch or circuit breaker that controls the hood’s power and make certain it’s completely off. Don’t just rely on the hood’s buttons; cutting the power at the source guarantees you won’t accidentally turn it on while working. Taking these safety precautions protects you and lets you work confidently without worry. Once the power is off, you’re ready to proceed with cleaning without risking shocks or short circuits. Prioritize this step—it’s the foundation of a safe and effective cleaning routine that keeps you free from harm.
Locate and Detach Filters
With the power safely off, you can now focus on removing the filters from your range hood. First, identify your filter type—most commonly metal mesh or charcoal. Metal mesh filters usually slide or pop out, while charcoal filters might be secured with clips or screws. Check your hood’s manual if you’re unsure. Grasp the filter firmly and gently detach it, avoiding any damage. Proper filter maintenance means regular removal for cleaning or replacement, depending on filter type. Removing filters carefully helps keep your range hood running efficiently and your kitchen air fresh. Once detached, place the filters in a safe spot for cleaning. This step is essential to guarantee your filter maintenance routine is effective and hassle-free.
Prepare Cleaning Area
Safety is key when preparing to clean your range hood, so make certain the power is off before you begin. This step protects you from electrical hazards and guarantees cleaning safety throughout the process. Next, organize your workspace by clearing the surrounding area and laying down towels or newspaper to catch drips and debris. Removing the filters carefully is your next move; they’ll likely be greasy, so handle them gently to avoid damage. Set them aside in your prepared space, ready for soaking or scrubbing. Keeping your area tidy not only speeds up the task but also keeps you free to move without distractions. With power off and filters removed, your workspace is set for an efficient, safe cleaning session.
Soak and Scrub the Filters
You’ll want to pick a cleaner that breaks down grease without damaging your filters—dish soap or a degreaser works well. Fill a sink or basin with hot water and add your chosen cleaner, then let the filters soak for 15-30 minutes. After soaking, use a soft brush to scrub away any remaining residue before rinsing thoroughly.
Choosing the Right Cleaner
Choosing the right cleaner is essential for effectively soaking and scrubbing your range hood filters without causing damage. You want a product that cuts grease but is safe for your filters and the environment. Here’s what to take into account:
- Eco friendly cleaners: These are gentle on your filters and the planet. They work well for light to moderate buildup and reduce harsh chemical exposure.
- Commercial degreasers: If your filters are heavily caked with grease, a commercial degreaser offers strong cleaning power. Just be sure to pick one that’s compatible with your filter material.
- Avoid abrasive or acidic cleaners: They can damage filters or leave residues that attract more grease.
Choosing wisely lets you clean effectively without compromising your filters or your freedom to cook.
Effective Soaking Techniques
Although it might seem simple, soaking your range hood filters properly is key to loosening stubborn grease before scrubbing. Start by filling a basin or sink with hot water and add a few tablespoons of a strong soaking solution, like degreasing dish soap or a mix of baking soda and vinegar. Submerge the filters fully and let them soak for at least 10-15 minutes. This softens built-up grime, making it easier to remove without excessive elbow grease. After soaking, use a soft brush to scrub away remaining residue gently. Rinse thoroughly with hot water and let the filters dry completely before reinstalling. Regular soaking and scrubbing are essential parts of filter maintenance, helping your range hood work efficiently and extending its lifespan. This quick step frees you from heavy-duty cleaning later.
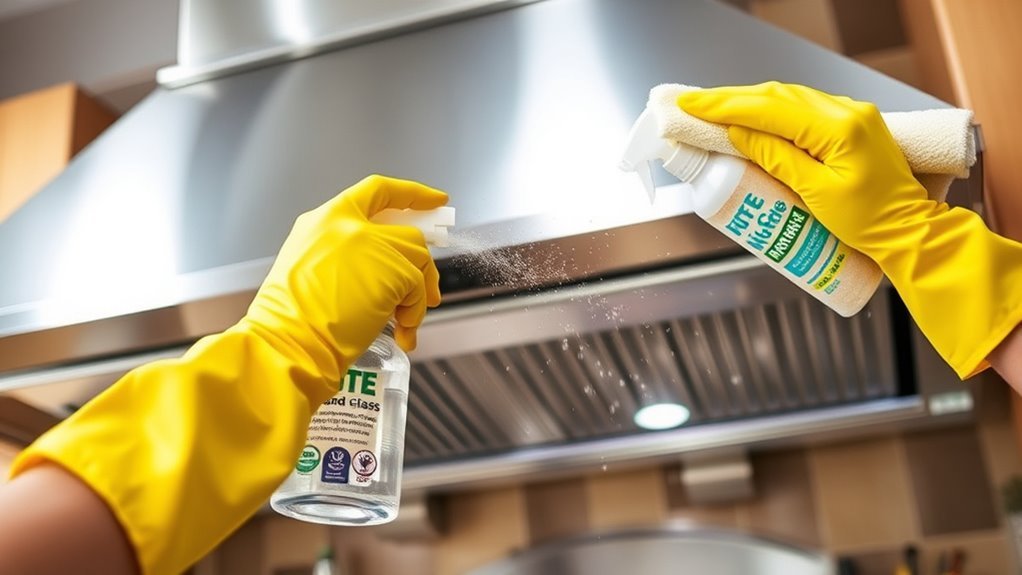
Wipe Down the Hood Exterior
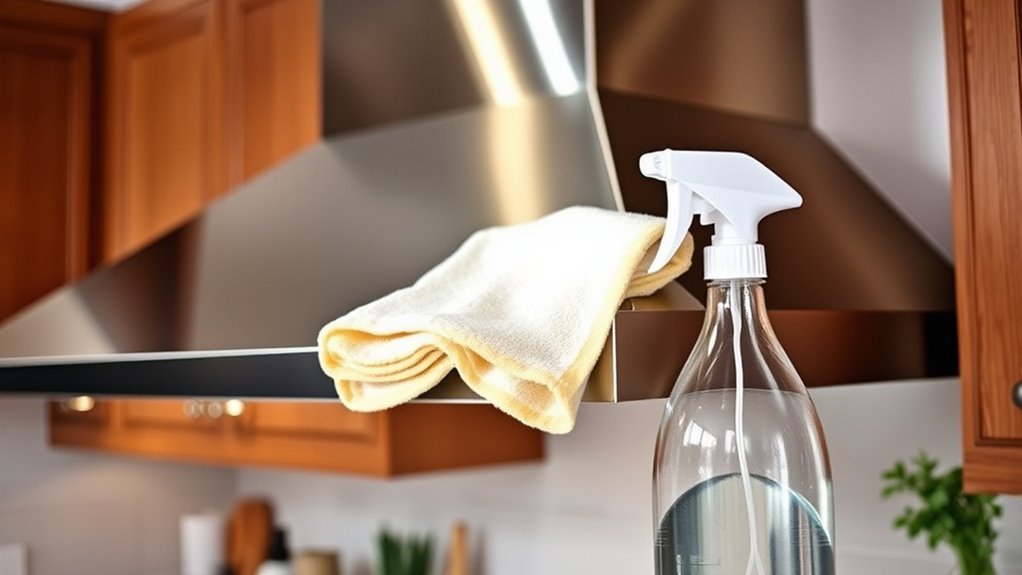
Before tackling the interior parts, start by wiping down the hood exterior to remove grease and dust buildup. This step is key to maintaining your range hood’s appearance and function. Follow these cleaning techniques tailored to different hood materials:
Begin by cleaning the hood exterior to remove grease and dust, preserving both appearance and function.
- Identify your hood material—stainless steel, painted metal, or glass—to choose the right cleaner and avoid damage.
- Use a microfiber cloth dampened with warm, soapy water for general cleaning; avoid abrasive sponges that can scratch surfaces.
- For stainless steel, wipe with the grain and finish by buffing with a dry cloth to restore shine.
Using a degreaser specifically designed for kitchen grease removal can make this process more effective and prevent buildup over time.
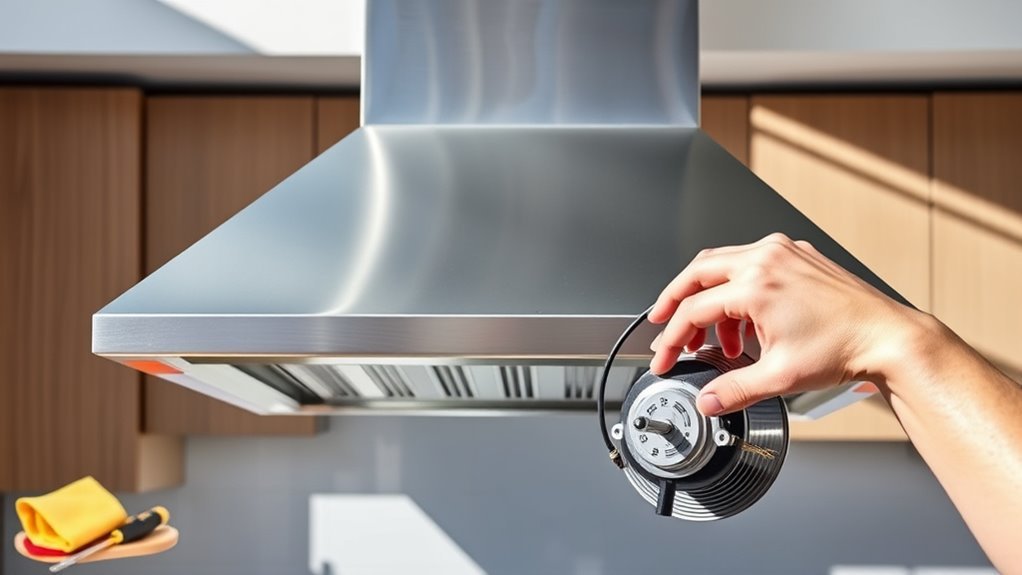
Clean the Fan and Interior Surfaces
Start by removing one or two key components inside your range hood, like the fan cover or filter, to access the interior surfaces. Use a degreaser or warm soapy water to wipe down the fan blades and interior walls. This fan maintenance prevents buildup that can reduce efficiency and keeps your kitchen fresh. Focus on thorough interior hygiene to avoid lingering odors and grease accumulation. Regularly checking and cleaning the range hood filters ensures optimal performance and air quality.
| Task | Benefit | Feeling |
|---|---|---|
| Remove fan cover | Easy access | Empowered |
| Clean fan blades | Improved airflow | Refreshed |
| Wipe interior walls | Reduced grease buildup | Liberated |
| Dry components | Prevent rust & damage | Confident |
Taking these steps gives you control over your kitchen environment and freedom from stubborn grime.
Reassemble and Test the Range Hood
Once you’ve thoroughly cleaned and dried all the components, it’s time to reassemble your range hood. Follow these steps to confirm everything fits perfectly and your hood works like new:
After cleaning and drying, reassemble your range hood to ensure perfect fit and optimal performance.
- Reinstall the filters carefully, aligning them with the slots—remember these filter reinstallation tips to avoid damage or improper fit.
- Securely attach the fan and any covers you removed, making sure all screws and clips are tight.
- Perform a hood functionality check by turning it on at different speeds and verifying the fan and lights work smoothly without unusual noises.
This quick process guarantees your range hood is ready to keep your kitchen fresh and smoke-free, giving you the freedom to cook without hassle. Keeping your cleaning tools handy allows for quick touch-ups between deep cleans to maintain optimal performance.
Frequently Asked Questions
How Often Should I Clean My Range Hood Filters?
You should clean your range hood filters every one to three months, depending on how often you cook. Regular range hood maintenance keeps your kitchen fresh and your hood working efficiently. If you cook frequently or fry often, clean more often. Also, don’t forget about filter replacement—replace charcoal filters every six months or as recommended. Staying on top of this lets you enjoy freedom from grease buildup and keeps your kitchen air clear.
Can I Use Bleach to Clean My Range Hood?
You might be tempted to use bleach to clean your range hood, but it’s not the safest choice. Bleach can damage the metal and release harmful fumes. Instead, opt for bleach alternatives like a vinegar and baking soda mix, which effectively cuts grease without the risks. Always prioritize cleaning safety by working in a well-ventilated space and wearing gloves. This way, you keep your range hood clean without compromising your freedom or health.
What Type of Cleaner Is Safest for Stainless Steel Hoods?
For stainless steel maintenance, you’ll want to choose eco friendly cleaners that’re gentle yet effective. Avoid harsh chemicals like bleach, which can damage the finish. Instead, pick a mild dish soap mixed with water or a vinegar and water solution. These options clean well without harming your hood or the environment. Always wipe with a soft cloth following the grain to keep your stainless steel hood looking sleek and lasting longer.
How Do I Know if My Range Hood Fan Needs Replacement?
You’ll know your range hood fan needs replacement if you notice fan performance indicators like unusual noises, reduced airflow, or vibrations. Signs of malfunction also include the fan not starting or stopping intermittently. If cleaning doesn’t improve performance, these issues suggest worn-out components. Don’t ignore these signs—replacing the fan guarantees your kitchen stays smoke-free and fresh, giving you the freedom to cook without worry.
Are There Any Homemade Cleaning Solutions for Range Hoods?
You can definitely use homemade cleaning solutions for your range hood. A vinegar solution works wonders—mix equal parts white vinegar and water in a spray bottle. For tougher grease, sprinkle baking soda on a damp sponge, then scrub the hood gently. The combo of vinegar’s acidity and baking soda’s abrasiveness breaks down grime without harsh chemicals. It’s quick, effective, and gives you the freedom to clean safely with items you already have.


