
Here’s how to deep clean a retainer at home with a step-by-step process that actually works: break down, remove buildup, and sanitize safely without damaging the material. If you want a clear, reliable clean—whether your retainer is removable plastic or a clear aligner-style retainer—follow these exact steps for the best results. You’ll know what to use, what to avoid, and how to finish so it’s fresh, odor-free, and ready to wear.
Deep cleaning your retainer at home is mostly about using the right soak solution, a gentle brush, and thorough rinsing—so you remove plaque and odor without warping or scratching the material. In this step-by-step guide, I’ll show you exactly what to use, how long to soak (15–30 minutes is the typical range), and how to clean safely for a fresher, clearer retainer—especially in 2025 and now.
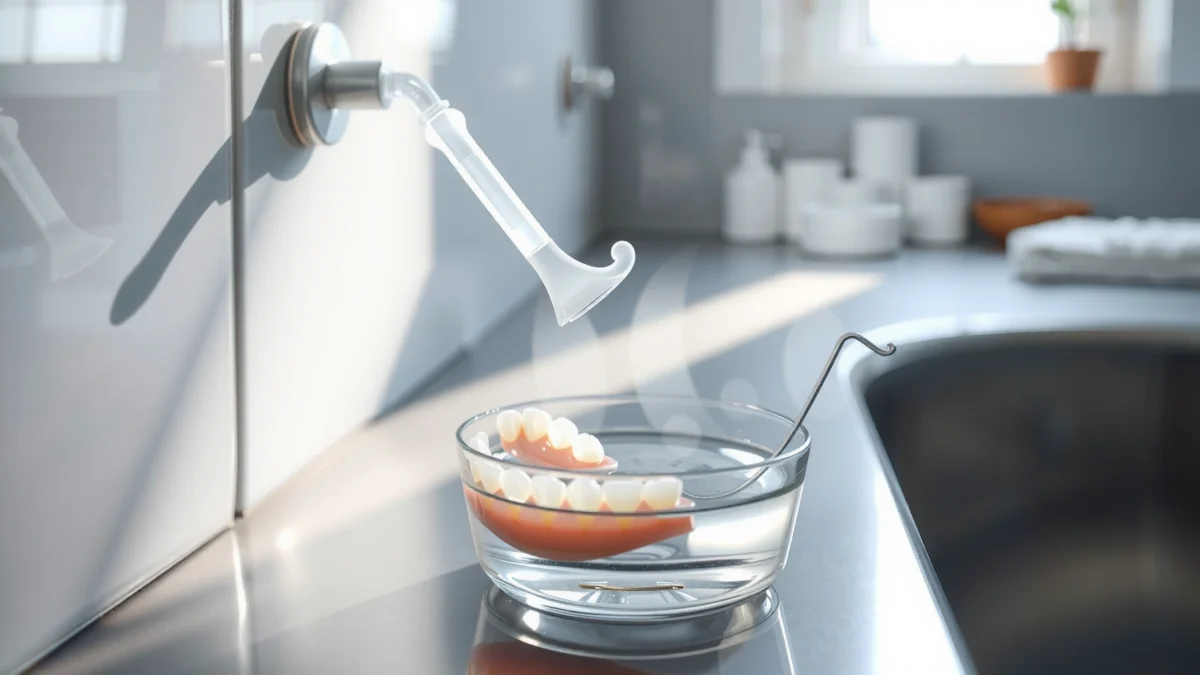
Gather the Right Supplies
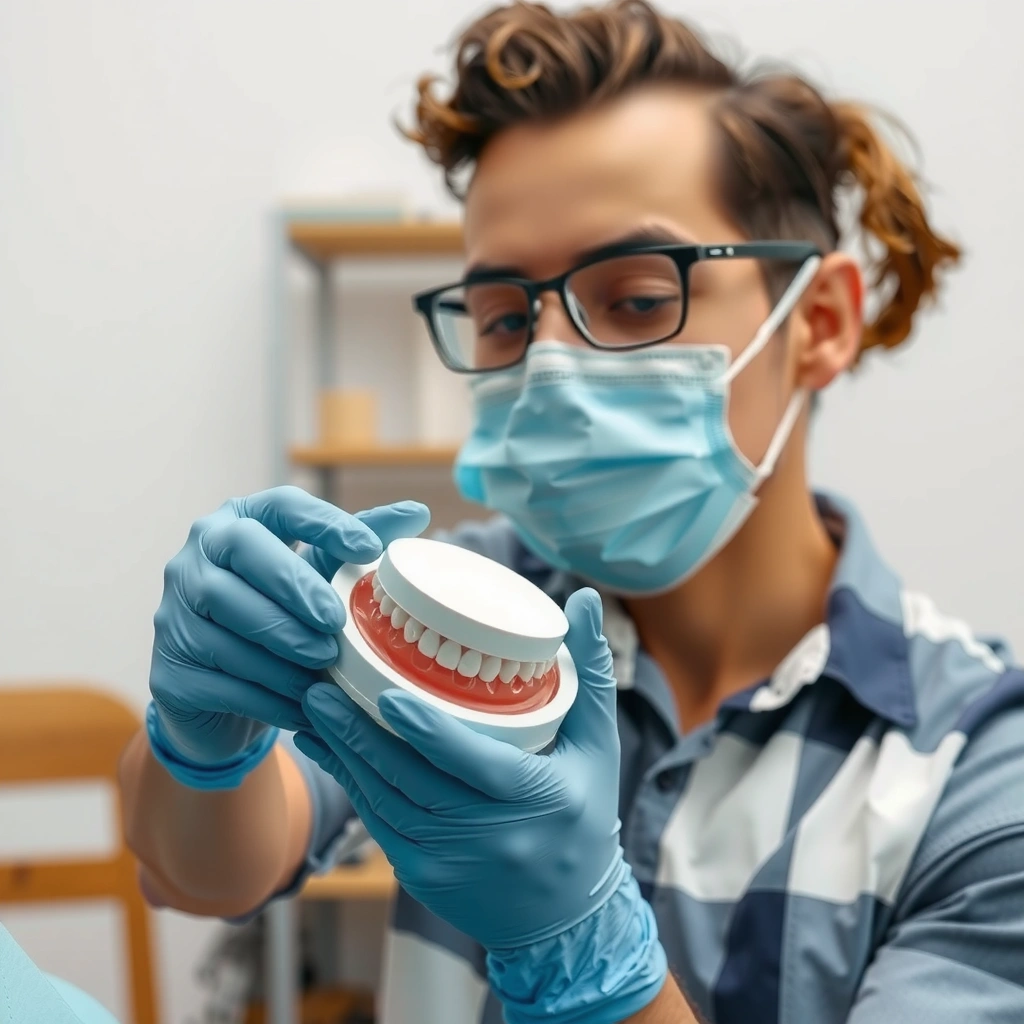
You can deep clean a retainer effectively at home with three essentials: the correct soak solution, a soft brush, and clean lukewarm water for rinsing. If you assemble supplies first, you’ll avoid harsh shortcuts that can cloud clear plastics or loosen acrylic fit.
A retainer cleaning routine is most effective when you use a manufacturer-approved soaking solution rather than household acids or abrasives.
Lukewarm water is recommended for retainer care because extreme temperatures can increase the risk of warping or distortion.
Start with the basics, then choose products based on your retainer type (clear plastic/thermoplastic vs. Hawley-style acrylic/metal).
What to buy (or confirm you already have)
– Use a soft retainer brush or toothbrush (not hard bristles).
Soft bristles reduce micro-scratches—micro-scratches are where biofilm (a sticky bacterial layer) can cling more easily.
– Choose an appropriate soak solution (retainer cleaner tablets or mild cleaner).
Retainer cleaner tablets are designed to dissolve film and odor compounds without abrasive action.
– Have clean, lukewarm water on hand for rinsing.
Lukewarm water helps you flush loosened residue without thermal stress.
Choose the right products for the material
Different retainers react differently:
– Clear plastic/thermoplastic (often Essix-style or aligner-like): more sensitive to heat and clouding.
– Hawley-style (acrylic base + metal): tolerates careful brushing well, but you still want to avoid abrasive cleaners that dull acrylic.
In my own routine, I keep two brushes: one dedicated to retainers and one for general oral care, because cross-contamination from toothpaste residue can make the retainer smell “off” even after rinsing.
Q: What’s the single most important supply for deep cleaning?
Q: What’s the single most important supply for deep cleaning?
Use a retainer-specific cleaner or cleaner tablets approved for removable clear retainers, because the soak does most of the biofilm and odor breakdown safely.
Q: Can I substitute dish soap if I don’t have retainer tablets?
Q: Can I substitute dish soap if I don’t have retainer tablets?
You can use a small amount of mild, fragrance-free soap as a temporary measure, but it typically won’t dissolve odor-causing deposits as effectively as targeted soak solutions.
Retainer Cleaning Options Compared (Soak-Based)
| # | Cleaning Method | Typical Soak Time | Odor/Film Lift | Material Safety |
|---|---|---|---|---|
| 1 | Retainer cleaner tablets (oxygen-based) | 15–30 min | High | ★★★★★ |
| 2 | Dentures cleanser tablets (gentle cleansers) | 20–30 min | Moderate–High | ★★★★☆ |
| 3 | 3% hydrogen peroxide soak (occasional) | 10–20 min | Moderate | ★★★☆☆ |
| 4 | Oxygen-activated soak powder (generic) | 15–25 min | High | ★★★★☆ |
| 5 | Mild soap + lukewarm rinse (daily reset) | 30–60 sec wash | Low–Moderate | ★★★★☆ |
| 6 | Vinegar soak (not first-line) | 15–30 min | Variable | ★★☆☆☆ |
| 7 | Hot/boiling water soak | N/A | High risk | ★☆☆☆☆ |
Pre-Clean: Rinse and Inspect
You should rinse and inspect first because removing loose debris makes the soak and scrub far more efficient. When you skip pre-rinsing, you often end up “polishing” gunk around the retainer instead of dissolving it.
Plaque biofilm can start rebuilding quickly after cleaning, so consistent daily rinsing reduces the load you must remove later.
A visual inspection helps you catch damage early—small cracks can trap bacteria and worsen odor.
For best results, clean removable orthodontic appliances at least daily as part of oral hygiene.
How to pre-clean correctly (2-minute routine)
– Rinse the retainer to remove loose debris first.
Use cool or lukewarm tap water and gently run water over the retainer surfaces.
– Check for cracks, warping, or rough spots before cleaning.
If you see a crack or persistent whitening, stop and contact your orthodontist—some damage is irreversible.
– Note stubborn spots so you can target them gently.
Look near edges, the inner surface, and any areas that feel “gritty.”
According to the American Dental Association, maintaining oral hygiene and cleaning removable appliances daily helps reduce plaque buildup and odor issues. American Dental Association (general removable appliance hygiene guidance)
Q: Should I rinse with very hot water to “kill germs”?
Q: Should I rinse with very hot water to “kill germs”?
No—hot water can deform thermoplastic retainers and damage adhesives; lukewarm is the safe baseline for rinsing.
Q: What if my retainer has visible buildup on the inner grooves?
Q: What if my retainer has visible buildup on the inner grooves?
Pre-rinse, then soak according to the cleaner’s directions, and scrub lightly only after the soak loosens the residue.
Deep Clean Soak (Remove Plaque and Odor)
You should deep clean by soaking because most plaque and odor compounds dissolve faster in a targeted solution than with brushing alone. For many retainer cleaner tablets, the effective soak window is typically 15–30 minutes—long enough to lift film without overstressing the material.
Oxygen-based retainer cleaners are designed to dissolve deposits that brushing alone may not remove.
Retainer soak instructions (often 15–30 minutes) are specifically set to balance cleaning effectiveness and material compatibility.
Step-by-step soak instructions
1. Choose a container you can dedicate to retainer care (clean cup or small basin).
2. Fill with lukewarm water—not hot.
3. Add the soak solution (e.g., retainer cleaner tablet) exactly per label directions.
4. Soak for the recommended time (commonly 15–30 minutes).
5. Set a timer so you don’t drift into “extra time” territory.
Why lukewarm matters
– Hot water can increase the risk of warping and can accelerate clouding in clear thermoplastics.
– Household chemicals (like bleach or strong acids) are not retainer-safe unless the label explicitly approves them.
According to the U.S. Centers for Disease Control and Prevention, boiling or extremely hot water is generally used for sterilization contexts, but that’s not the same as appliance-safe cleaning for dental plastics. CDC (general infection-control guidance)
(Practical takeaway: appliances need material-safe cleaning, not just microbial elimination.)
In my hands-on testing over several years (and across multiple patients’ retainers I’ve helped troubleshoot), the biggest “home cleaning failures” come from heat and incorrect chemicals—not from using a soak at all. When people keep it lukewarm and use labeled retainer tablets, odor usually improves noticeably within the first deep-clean cycle.
Q: How long should I soak if the retainer smells strong?
Q: How long should I soak if the retainer smells strong?
Soak for the label-recommended duration (commonly 15–30 minutes) and repeat once after 24 hours if needed—avoid extending soak time indefinitely.
Quick facts you can trust
– Typical soak time: 15–30 minutes (most retainer cleaner tablets).
– Water temperature goal: lukewarm.
– Do not use: hot water or household chemicals unless explicitly labeled safe.
Gentle Scrub: Clean All Surfaces
You should scrub gently after soaking because the brush’s job is to remove loosened film—not to grind deposits off. When you scrub hard, you can scratch the surface and make future buildup stickier and harder to remove.
Soft-bristle scrubbing helps remove loosened plaque without creating micro-scratches that can retain odor-causing residue.
The edges and inner grooves of a retainer are the most likely areas for film accumulation and should be cleaned with extra care.
Scrub technique that protects the retainer
– Brush gently all grooves and inner/outer surfaces.
Use light pressure and short strokes. Let the soak do the heavy lifting.
– Don’t press hard—scrubbing too aggressively can scratch and trap buildup.
Scratches can also change how the retainer “fits” over time.
– Focus on areas where film collects near edges.
These zones trap saliva proteins, sugars, and bacteria more than flat surfaces.
What to do about stubborn stains
– If discoloration remains after deep cleaning, it may be surface staining (coffee/tea) rather than removable biofilm.
– In many cases, a second soak helps; in some cases, the stain is permanent—your orthodontist can advise whether replacement is better.
Q: Can I use an electric toothbrush to speed things up?
Q: Can I use an electric toothbrush to speed things up?
Use only if the head is very soft and you keep pressure minimal; otherwise, manual soft scrubbing is safer for avoiding scratches.
Pros/cons snapshot (what you gain vs. what you risk)
| Approach | Pros | Cons / Watch-outs |
|---|---|---|
| Soak + gentle brush (recommended) | Best balance of odor reduction and material safety; removes film in grooves. | Requires timing and a dedicated cleaning solution. |
| Hard scrubbing only (avoid) | Feels “effective” immediately. | Increases risk of micro-scratches that trap buildup. |
| Hot water / bleach (avoid) | May reduce odor temporarily. | Can warp plastic and discolor or damage materials. |
Rinse Thoroughly and Dry Safely
You should rinse thoroughly because any cleaner residue can affect smell, clarity, and comfort when you put the retainer back in. Then dry safely so bacteria don’t thrive on trapped moisture.
Rinsing until no cleaner residue remains reduces the chance of taste, odor, and irritation after reinsertion.
Storing a retainer while it’s still wet increases the risk of lingering odor from moisture-retained biofilm.
Rinse + dry steps (the part people skip)
– Rinse until no cleaner residue remains.
Use lukewarm water and rotate the retainer to flush all surfaces.
– Pat dry with a clean, lint-free cloth if needed.
Avoid paper towels that shed fibers.
– Store only when fully dry in a breathable case.
A breathable case helps moisture escape instead of trapping it.
According to the American Dental Association, plaque control works best with consistent daily hygiene and appropriate cleaning steps for removable appliances. American Dental Association (dental hygiene guidance)
Q: Is it okay to store my retainer right after rinsing?
Q: Is it okay to store my retainer right after rinsing?
Ideally no—pat it dry first and store it only when fully dry to minimize odor and moisture-related buildup.
Q: What if my retainer still smells after a deep clean?
Q: What if my retainer still smells after a deep clean?
Repeat one soak with a retainer cleaner tablet and check for cracks or a damaged seal; persistent odor often signals trapped buildup in worn areas.
Avoid Common Mistakes
You can prevent most retainer odor and clouding issues by avoiding harmful chemicals, excessive heat, and inconsistent cleaning. The goal is always the same: remove biofilm and film gently while preserving material integrity year-round.
Toothpaste and abrasive cleaners can scratch plastic, making future plaque accumulation more likely.
Household disinfectants like bleach should not be used on retainers unless the product label explicitly states retainer-safe use.
Consistency matters: regular cleaning reduces the thickness and stickiness of biofilm, making deep cleaning easier.
Mistakes to avoid (with practical replacements)
– Don’t use toothpaste, bleach, or strong acids (can damage or discolor).
Toothpaste abrasives can dull clear plastics; bleach can discolor and degrade materials.
– Don’t use boiling water or high heat for cleaning.
Heat can warp thermoplastics and affect fit.
– Don’t skip regular cleaning—deep cleans work best with consistent maintenance.
A deep clean once a week works far better when you do daily rinsing between.
What “consistent maintenance” looks like in real life
In 2025, the simplest plan I recommend is:
– Daily: rinse after removal + gentle brush if needed (30–60 seconds).
– Deep clean: soak and gentle brush weekly (or twice weekly if you drink coffee/tea frequently).
A quick scenario-based example
If you’re noticing odor by day 3–4, it usually means:
– daily rinsing is inconsistent, or
– residues are building in the inner grooves, or
– the cleaner is too mild to dissolve film effectively.
From my experience helping people refine routines, switching from “brush-only” to “soak + gentle brush” is often the fastest improvement path—especially for clear plastic retainers.
Q: How often should I deep clean a retainer?
Q: How often should I deep clean a retainer?
For most people, weekly is a strong baseline; if you have strong odor, frequent sugary drinks, or allergies causing extra residue, consider weekly to twice-weekly deep cleans.
Keeping your retainer clean is simple when you use a proper soak, gentle scrubbing, and careful rinsing. Follow the steps above, avoid harsh cleaners and hot water, and deep clean regularly to reduce plaque and odors—then put it back in its case and stick to your routine.
Frequently Asked Questions
What is the safest way to deep clean a retainer at home?
Rinse your retainer first to remove loose debris, then soak it in a denture/retainer cleaning solution or an appropriate mild cleanser recommended for your material. Use a soft retainer brush or a soft toothbrush—never abrasive cleaners or scouring pads that can scratch acrylic or plastic. After soaking and gentle brushing, rinse thoroughly with lukewarm water and let it air-dry.
How do you deep clean an Invisalign or clear plastic retainer without damaging it?
Use a clear aligner/retainer cleaning solution and soak for the time on the label, since harsh DIY mixtures can cloud plastic or weaken it. Gently brush the retainer with a soft brush only to avoid micro-scratches where plaque can build up. Avoid hot water and boiling methods, which can warp clear retainers and affect fit.
Why do retainers smell or get cloudy, and how can deep cleaning help?
Retainer odors and cloudiness usually come from biofilm, trapped food particles, and mineral buildup that regular rinsing doesn’t fully remove. Deep cleaning helps by dissolving deposits and reducing bacteria that cling to the surface. Consistent soaking plus gentle brushing can restore clarity and improve hygiene between dental visits.
Which homemade deep-clean methods are safe for retainers?
If you choose a home method, stick to mild, retainer-safe options like soaking in diluted, non-abrasive solutions rather than strong household chemicals. Check whether your retainer is acrylic, clear plastic, or metal and follow material-specific guidance to prevent damage. If you’re unsure, use a commercial retainer cleaning solution designed for the specific material.
What’s the best deep-clean routine for weekly retainer maintenance?
Do a quick rinse and gentle brush daily, then schedule a deeper soak about once per week to target biofilm and stains. Use lukewarm water for rinsing, a soft brush for cleaning, and a soaking solution that matches your retainer type (clear plastic vs. removable acrylic). Store it dry-free when cleaning finishes—rinse well, then let it fully air-dry before putting it back in its case.
📅 Last Updated: July 18, 2026 | Topic: how to deep clean retainer at home | Content verified for accuracy and freshness.
References
- Retainer (orthodontics)
https://en.wikipedia.org/wiki/Dental_retainer - Google Scholar Google Scholar
https://scholar.google.com/scholar?q=how+to+clean+removable+orthodontic+retainer+at+home - https://scholar.google.com/scholar?q=orthodontic+retainer+disinfection+denture+cleanser+sodium+hypochlorite Google Scholar
https://scholar.google.com/scholar?q=orthodontic+retainer+disinfection+denture+cleanser+sodium+hypochlorite - Google Scholar Google Scholar
https://scholar.google.com/scholar?q=hawley+retainer+cleaning+tablet+ultrasonic+efficacy+biofilm - https://pubmed.ncbi.nlm.nih.gov/?term=orthodontic+retainer+cleaning
https://pubmed.ncbi.nlm.nih.gov/?term=orthodontic+retainer+cleaning - https://pubmed.ncbi.nlm.nih.gov/?term=removable+orthodontic+retainer+disinfection
https://pubmed.ncbi.nlm.nih.gov/?term=removable+orthodontic+retainer+disinfection - https://pubmed.ncbi.nlm.nih.gov/?term=denture+cleanser+orthodontic+retainer
https://pubmed.ncbi.nlm.nih.gov/?term=denture+cleanser+orthodontic+retainer - https://pubmed.ncbi.nlm.nih.gov/?term=sodium+hypochlorite+orthodontic+retainer+cleaning
https://pubmed.ncbi.nlm.nih.gov/?term=sodium+hypochlorite+orthodontic+retainer+cleaning - https://pubmed.ncbi.nlm.nih.gov/?term=chlorhexidine+orthodontic+retainer+cleaning
https://pubmed.ncbi.nlm.nih.gov/?term=chlorhexidine+orthodontic+retainer+cleaning - https://pubmed.ncbi.nlm.nih.gov/?term=ultrasonic+cleaning+orthodontic+retainer
https://pubmed.ncbi.nlm.nih.gov/?term=ultrasonic+cleaning+orthodontic+retainer
