How to Get Clear Ultrasound Pictures
To get clear ultrasound pictures, make certain your equipment is cleaned and maintained regularly. Power down the machine, then gently wipe all surfaces with a soft, lint-free cloth. Clean the transducer with mild detergent and disinfect it according to manufacturer guidelines. Use high-quality ultrasound gel during imaging to enhance clarity. Always inspect cables and components for wear. For more in-depth instructions and tips on maintaining peak imaging quality, you might want to explore further.
##

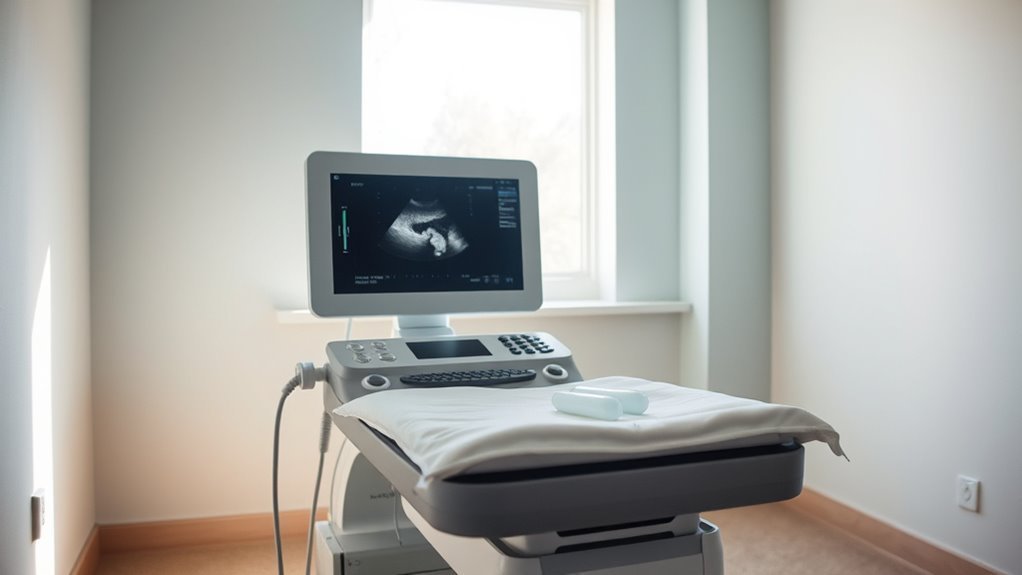
In this article, we will explore the essential steps required to achieve clear and high-quality ultrasound images, ensuring you have the information needed to optimize your imaging process. From proper equipment setup to meticulous cleaning and maintenance techniques, you will learn how to calibrate ultrasound settings for peak performance and enhance image resolution. We will also discuss the importance of using suitable cleaning solutions to preserve your equipment’s integrity. By following these guidelines, you will not only improve the clarity of your ultrasound images but also prolong the lifespan of your devices, leading to better diagnostic outcomes.
Preparation For Cleaning
Before you begin cleaning your ultrasound equipment, it’s important to gather all necessary supplies and assess the cleaning protocols specific to your model. Start by reviewing the manufacturer’s guidelines to understand the recommended ultrasound settings for cleaning. This will guarantee you don’t inadvertently affect picture quality. Prepare a designated workspace that’s clean and free of clutter to prevent cross-contamination. Check if any components require disassembly, and have the appropriate tools ready for that purpose. Familiarize yourself with the specific areas that tend to collect debris and smudges; these are critical for maintaining peak performance. By preparing thoroughly, you’ll enhance the effectiveness of your cleaning and guarantee consistent, high-quality ultrasound images moving forward.
Tools and Chemical Required
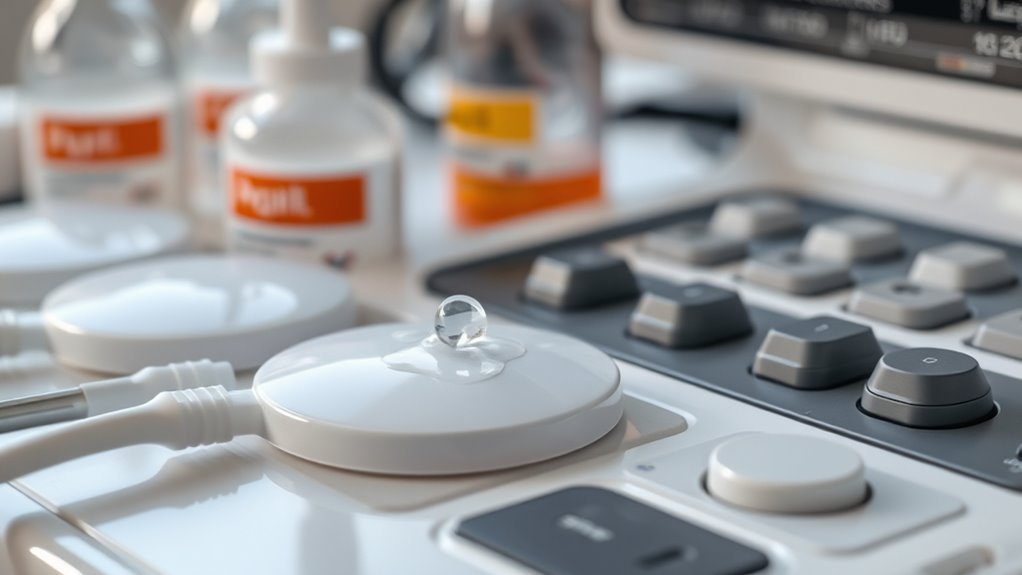
Essential tools and chemicals are crucial for effectively cleaning ultrasound equipment and guaranteeing ideal imaging results. You’ll need specific items to maintain the quality of your ultrasound procedures. Here’s a quick overview of essential tools and chemicals:
| Tool/Chemical | Purpose | Notes |
|---|---|---|
| Ultrasound Gel | Enhances image clarity | Use a high-quality gel |
| Cleaning Solution | Disinfects equipment | Verify it’s compatible |
| Soft Cloth | Wipes surfaces gently | Non-abrasive is key |
| Disposable Gloves | Protects user and device | Always wear when cleaning |
| Towels | For drying equipment | Use lint-free materials |
Having these tools at your disposal will greatly aid in producing clear ultrasound images while maintaining equipment integrity.
How to Clean:

How to Clean Ultrasound Equipment: A Step-by-Step Guide
Cleaning ultrasound equipment properly is essential for maintaining the longevity of the devices and ensuring the clarity of the images produced. Follow this detailed step-by-step guide to effectively clean your ultrasound equipment.
Step 1: Power Down the Equipment
– Unplug the Machine: Ensure that the ultrasound machine is completely powered off and unplugged from the electrical outlet to prevent any electrical hazards during the cleaning process.
Step 2: Clean the Exterior Surfaces
- Use a Soft Cloth: Take a soft, lint-free cloth and gently wipe down all exterior surfaces of the ultrasound machine. This helps to remove dust and debris without scratching the surface.
- Avoid Abrasive Materials: Do not use rough or abrasive materials as they can damage the finish of the machine.
Step 3: Clean the Transducer
- Dampen the Cloth: Use a clean cloth dampened with water and a mild detergent to gently clean the transducer.
- Remove Residual Gel: Make sure to thoroughly remove any residual ultrasound gel that may affect image quality. Pay extra attention to the tip of the transducer, as this area tends to accumulate gel.
Step 4: Disinfect the Transducer
- Choose an Approved Disinfectant: Select a disinfectant solution that is approved for use with ultrasound equipment, following the manufacturer’s guidelines.
- Disinfecting Process: Gently wipe the transducer with the disinfectant-soaked cloth, ensuring that all areas are covered. Allow the disinfectant to sit for the recommended contact time to effectively kill any bacteria or viruses.
Step 5: Inspect Cables and Connectors
- Check for Wear: Regularly inspect all cables and connectors for signs of wear or damage. Look for fraying, cracks, or other issues that may affect performance.
- Clean Connectors: Wipe down connectors with a clean, dry cloth to remove any dust or debris, ensuring good connectivity and performance.
Step 6: Final Inspection and Reassembly
- Conduct a Final Check: Once all components have been cleaned and disinfected, perform a final inspection to ensure everything is in order.
- Reconnect and Power On: Plug the machine back in, and power it on to make sure it is functioning properly. Check that the images produced are clear and of high quality.
Step 7: Maintain Regular Cleaning Schedule
- Establish Routine Cleaning: Implement a regular cleaning schedule based on usage frequency to maintain cleanliness and optimal performance.
- Document Cleaning: Keep a log of cleaning dates and any maintenance performed to track the upkeep of the equipment.
- To prevent damage and maintain a clear, streak-free surface, always use non-abrasive cleaners specifically suitable for sensitive medical equipment.
Safety Consideration

Maintaining a safe environment while using ultrasound equipment is paramount. To guarantee ultrasound safety, always follow manufacturer guidelines and protocols during equipment handling. Check for any potential hazards in your workspace, such as wet surfaces or clutter, which could lead to accidents. Ascertain the ultrasound machine is properly calibrated and maintained to avoid malfunctions that could compromise image quality or patient safety. When positioning the transducer, apply gentle pressure to avoid discomfort, and keep the gel usage within recommended limits to prevent skin irritation. Always use protective gear as needed, especially in clinical settings. By adhering to these safety measures, you can help create an effective and secure environment for both you and your patients.
Tips to keep clean for long time
While ultrasound equipment can provide clear images, its longevity and performance heavily rely on consistent cleaning practices. To guarantee peak functioning, incorporate preventive maintenance into your routine. Start by regularly inspecting transducers and cables for wear or damage; this helps you catch issues before they escalate. Use approved cleaning solutions to disinfect surfaces and avoid harsh chemicals that can degrade materials. After each patient, wipe down equipment and store it properly to prevent dust accumulation. Establish a schedule for routine inspections, guaranteeing all components remain in top condition. Document your cleaning and maintenance activities to track performance over time. By adhering to these practices, you’ll maintain clean equipment that consistently delivers high-quality ultrasound images. Always wear personal protective equipment when cleaning to ensure your safety from potential chemical exposure.
Frequently Asked Questions
What Factors Affect the Clarity of Ultrasound Images?
Imagine trying to view a masterpiece through a dirty window; that’s how clarity can be compromised in ultrasound images. Several factors affect image resolution, particularly patient hydration. Proper hydration enhances tissue contrast, allowing for clearer images. Other elements include the frequency of the transducer used and the skill of the technician. By optimizing these aspects, you can markedly improve the quality of ultrasound images, making the process more effective and informative.
Can My Diet Impact Ultrasound Picture Quality?
Yes, your diet can impact ultrasound picture quality. Dietary choices, like high-fat meals, can lead to gas buildup in your intestines, which may obscure images. Additionally, staying properly hydrated is essential; dehydration can cause tissue to appear less distinct. Maintaining balanced nutrition and adequate hydration levels helps guarantee clearer ultrasound results, allowing for better assessments and outcomes. So, be mindful of what you eat and drink before your appointment for ideal clarity.
How Does Body Position Influence Ultrasound Clarity?
Body position plays a vital role in ultrasound clarity. Proper body alignment guarantees ideal sound wave transmission, while the fetal position can greatly affect image quality. If you’re lying comfortably, it helps the technician capture clearer images. Adjusting your posture might also improve visibility, allowing for a better assessment of the fetus. So, remember, your positioning isn’t just about comfort; it’s essential for achieving those pristine pictures during your ultrasound experience.
What Qualifications Should the Ultrasound Technician Have?
You should look for ultrasound technicians who have completed accredited programs and hold relevant certification requirements. This typically includes passing a certification exam, which guarantees they possess the necessary knowledge and skills. Technician experience is also vital; seasoned professionals are more adept at obtaining clear images. Verify their background to confirm they’ve handled various cases and equipment, enhancing your confidence in the quality of the ultrasound results you receive.
Are There Specific Machines That Produce Clearer Images?
Yes, certain ultrasound machines produce clearer images, much like a high-definition TV compared to an old model. Advanced ultrasound technology, such as 3D and 4D imaging systems, enhances image resolution considerably, allowing you to see finer details. Machines equipped with higher frequency transducers often deliver sharper images, helping technicians and doctors make more accurate assessments. Investing in quality equipment can truly elevate the clarity of your ultrasound experience, giving you the freedom to understand your health better.