To remove laminate from your ceiling effectively, start by safely prepping the area—clear furniture, wear gloves, and turn off power. Score the edges of each laminate panel with a utility knife, then use a heat gun to soften the adhesive. Gently pry up panels with a putty knife and pry bar for stubborn spots. After removal, clean off adhesive residue using appropriate solvents and sand the surface smooth. For a flawless finish, you’ll want to know how to repair and inspect the ceiling thoroughly.
Tools and Materials Needed for Laminate Removal
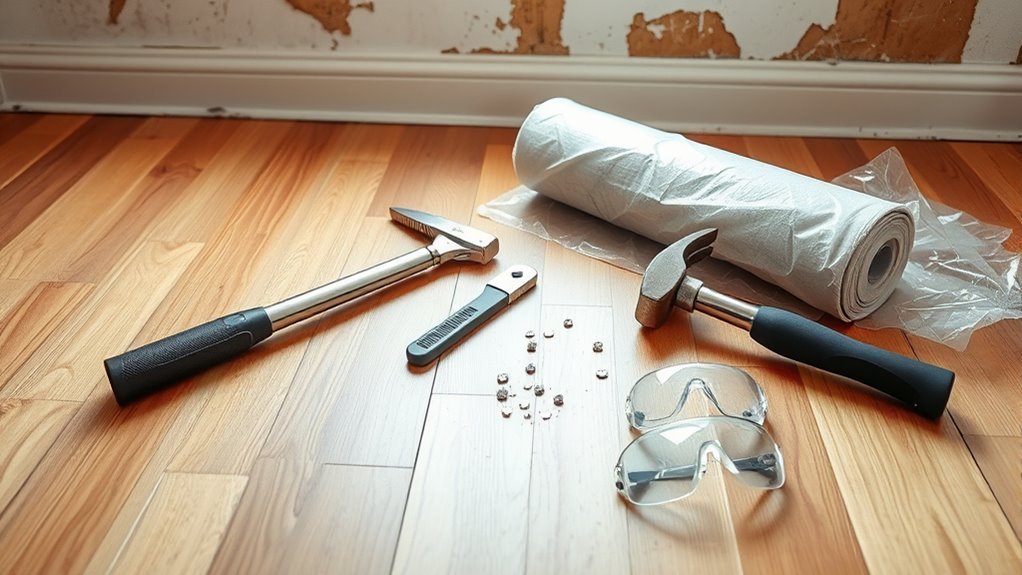
Before you begin removing laminate from your ceiling, you’ll need to gather the right tools and materials to make the job efficient and safe. Start by identifying the laminate types and ceiling materials involved, as this determines your approach. Typically, you’ll require a sturdy ladder, a utility knife to score the laminate, a putty knife or scraper to lift edges, and a pry bar for tougher spots. Safety gear like gloves, goggles, and a dust mask are essential to protect you from debris and dust. If adhesive is stubborn, a heat gun can soften it, making removal easier. Collect drop cloths to shield your floor and furniture. Having these tools ready guarantees you work freely and confidently, preventing delays or damage during the laminate removal process.
Preparing the Ceiling for Laminate Stripping
Although it might seem straightforward, preparing your ceiling for laminate stripping requires careful attention to detail to guarantee safety and efficiency. First, inspect the ceiling condition thoroughly—look for cracks, water damage, or loose laminate panels. Understanding the laminate types used is essential; some adhesives or panel materials may need special handling or solvents. Clear the room or cover furniture and floors to protect against debris and dust. Turn off power to ceiling fixtures and remove any light fittings to avoid accidents. Wear protective gear like safety goggles and a dust mask. Finally, confirm proper ventilation by opening windows or using fans. Taking these steps sets a solid foundation, making your laminate removal smoother and safer.
Step-by-Step Process to Remove Laminate Panels
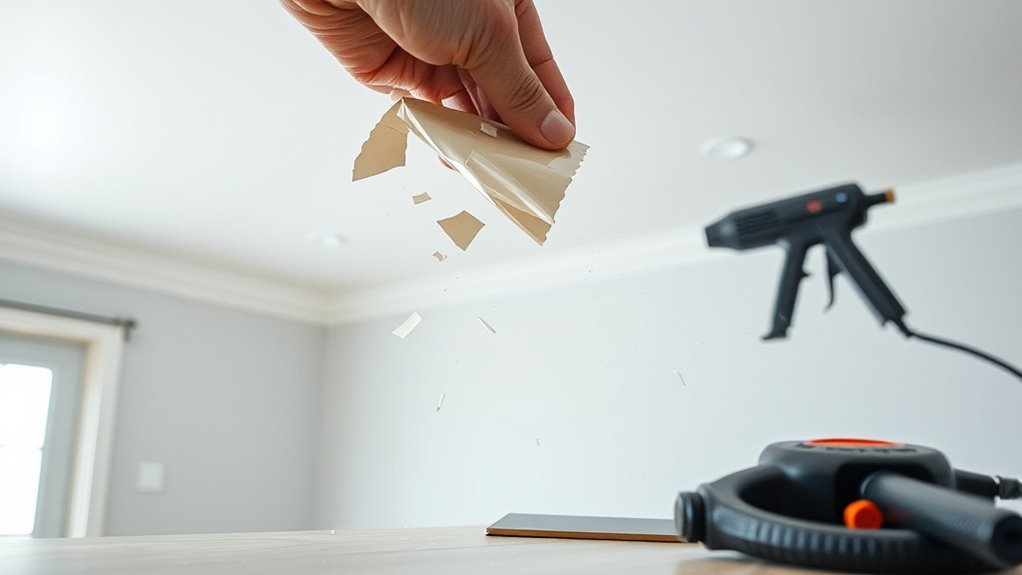
To start removing laminate panels from your ceiling, you’ll need to gather the right tools: a putty knife or scraper, a pry bar, a utility knife, and a heat gun or adhesive remover if necessary. First, score the edges of each panel with the utility knife to break the seal. Next, use the heat gun to soften the adhesive, making it easier to lift the panels. Carefully insert the putty knife under a corner and gently pry it up, working your way across to avoid damage. Use the pry bar for stubborn spots but stay cautious to protect the ceiling surface. Removing these panels opens the door to laminate alternatives that can enhance your ceiling aesthetics and bring fresh freedom to your space’s look.
Handling Adhesive Residue and Surface Cleanup
Once you’ve removed the laminate panels, you’ll need to tackle the stubborn adhesive left behind. Use a scraper or adhesive remover designed for ceilings to gently loosen residue without damaging the surface. Afterward, clean the area thoroughly and prep it for any new finish or paint you plan to apply.
Adhesive Removal Techniques
Start by softening the adhesive residue left on the ceiling with a suitable solvent like mineral spirits or adhesive remover. Different adhesive types require specific removal solvents, so identify the adhesive first. Apply your chosen solvent sparingly, allowing it to penetrate and loosen the bond. Then, gently scrape away softened adhesive with a plastic scraper to avoid damaging the surface.
Here’s a quick guide for effective adhesive removal:
- Test solvents on a small area to prevent damage.
- Use gloves and guarantee proper ventilation.
- Reapply solvent if adhesive remains stubborn.
- Clean the surface with warm soapy water after removal.
Post-Removal Surface Prep
A clean, smooth surface is crucial after laminate removal to guarantee proper adhesion for any new finish or treatment. Start by scraping off any stubborn adhesive residue with a plastic scraper to avoid damaging the ceiling. Next, apply a solvent like adhesive remover or a mixture of warm water and mild detergent to soften leftover glue. Use a scrub brush or sponge to gently clean the area, then rinse thoroughly and let it dry completely. Sand the ceiling lightly with fine-grit sandpaper to create an even surface, necessary for quality surface finishing. Finally, wipe down the ceiling with a tack cloth to remove dust before you begin ceiling painting. Proper post-removal prep saves you from peeling paint and guarantees a flawless, lasting finish.
Repairing and Inspecting the Ceiling After Removal
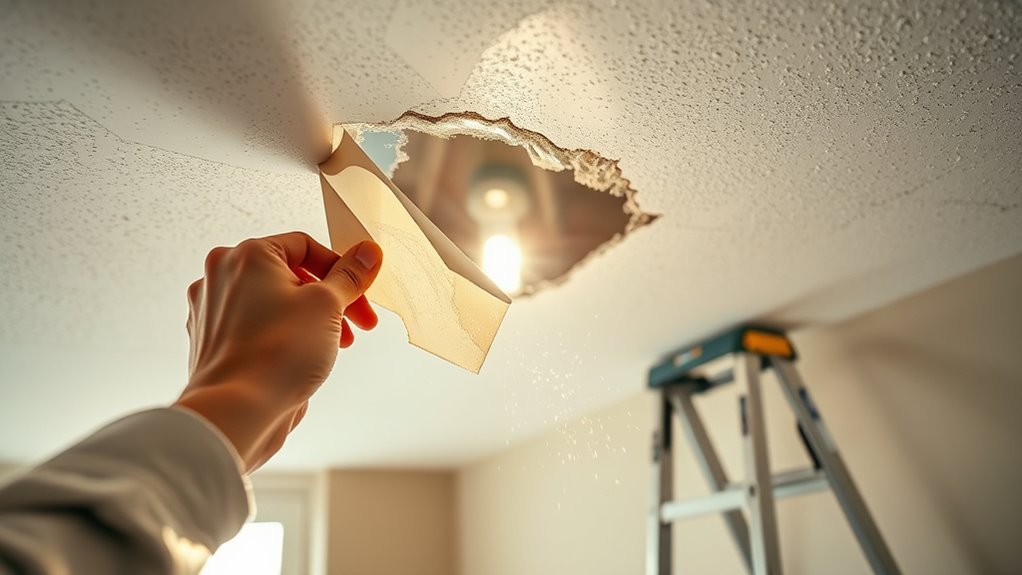
Although you’ve removed the laminate from your ceiling, you’ll need to thoroughly inspect the surface for any damage or leftover adhesive before making repairs. A detailed ceiling inspection helps you identify cracks, holes, or stubborn glue spots that could affect the final finish. Use effective repair techniques tailored to the damage type for best results. Here’s what to focus on:
Thoroughly inspect your ceiling for damage and adhesive residue before repairing for a smooth, flawless finish.
- Check for peeling paint or loose drywall paper.
- Scrape off remaining adhesive carefully with a putty knife.
- Fill holes and cracks with joint compound, then sand smooth.
- Prime the ceiling to seal repairs and prepare for painting.
Tips for Preventing Damage During Laminate Removal
Before you start removing laminate from your ceiling, make certain to wear proper protective gear like gloves and safety glasses to avoid injuries. Use gentle techniques such as slowly prying the edges with a putty knife to prevent damaging the underlying surface. Once the laminate is off, prepare the ceiling carefully for any necessary repairs to guarantee a smooth finish. Additionally, using non-abrasive cleaners on any residue helps maintain the surface integrity during cleanup.
Use Proper Protective Gear
Wearing the right protective gear is essential when removing laminate from ceilings to keep yourself safe and prevent accidental damage. Prioritizing safety precautions guarantees you avoid injuries from falling debris or sharp edges. Careful gear selection lets you work confidently and efficiently.
Make certain to equip yourself with:
- Safety goggles to shield your eyes from dust and splinters.
- A dust mask or respirator to protect your lungs from airborne particles.
- Durable gloves to prevent cuts and abrasions on your hands.
- A hard hat to guard your head against falling materials.
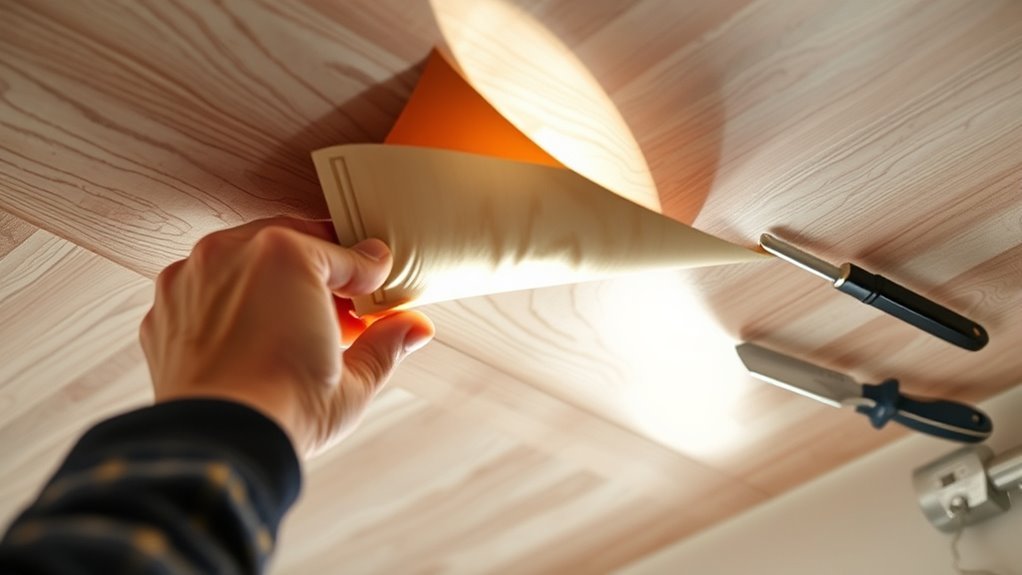
Employ Gentle Removal Techniques
Handle the laminate carefully to avoid damaging the ceiling beneath it. Using gentle techniques helps maintain laminate care and prevents costly repairs. Start by loosening edges with a plastic scraper, avoiding metal tools that can gouge surfaces. Work slowly, applying steady pressure to lift sheets without tearing. Patience is key to preserving the ceiling’s integrity.
| Technique | Purpose |
|---|---|
| Plastic scraper | Gently lifts laminate edges |
| Steady pressure | Avoids sudden tears or dents |
| Slow, careful pace | Minimizes damage risk |
Prepare Surface for Repairs
Focus on protecting the ceiling surface as you remove the laminate to guarantee repairs go smoothly afterward. Start with a thorough surface assessment to identify weak spots or damage risks. This helps you choose the right repair techniques later on. Avoid aggressive scraping that could gouge the ceiling. Instead, gently lift laminate edges, working slowly to minimize surface disruption. After removal, clean the area of adhesive residue carefully to prevent further damage.
Keep these tips in mind:
- Use soft tools like plastic scrapers for lifting.
- Inspect the ceiling for cracks or dents.
- Apply appropriate filler materials for damaged spots.
- Sand repaired areas smoothly before repainting.
Frequently Asked Questions
Can Laminate Removal Release Harmful Dust or Chemicals?
Yes, when you remove laminate, dust exposure can be a real concern since particles might contain harmful substances. You’ll want to prioritize chemical safety by wearing a mask and using proper ventilation to protect your lungs. It’s smart to use gloves and goggles too, so you’re shielded from irritants. Taking these steps guarantees you can work freely without risking your health during the process.
How Long Does Laminate Removal Typically Take?
Like Sisyphus rolling his boulder, laminate removal can feel endless, but knowing time estimates helps you regain control. Typically, project duration ranges from a few hours to a full day, depending on room size and adhesive strength. If you work methodically with proper tools, you can speed things up. Planning ahead lets you free yourself from surprises and finish efficiently, turning a challenging task into manageable steps toward your liberated space.
Is Professional Help Recommended for Large Ceiling Areas?
If you’re tackling a large ceiling area, professional expertise is definitely something to reflect on. The project complexity increases with size, making it harder to manage on your own. Pros have the right tools and experience to guarantee efficient, safe removal without damaging your ceiling. While you might want the freedom to DIY, hiring experts can save you time and hassle, especially when the job’s big and complicated.
What Are the Common Hazards During Laminate Removal?
Imagine dust swirling like tiny clouds as you pry away old laminate. You’ve got to keep hazard awareness sharp—watch for sharp edges, falling debris, and hidden nails. Safety precautions like goggles, gloves, and a dust mask aren’t optional; they’re your shield. Electrical wires or asbestos might hide up there, so proceed carefully. Staying alert lets you work freely without risking injury, keeping your space safe and your mind at ease.
Can Ceiling Laminate Removal Improve Home Insulation?
Yes, removing ceiling laminate can improve insulation benefits, but it depends on what’s underneath. If the laminate is trapping heat or moisture, taking it off lets you add or upgrade insulation, boosting energy efficiency. You’ll want to inspect the ceiling cavity and install quality insulation materials. This practical step helps regulate temperature better, lowering energy bills and giving you more control over your home’s comfort.