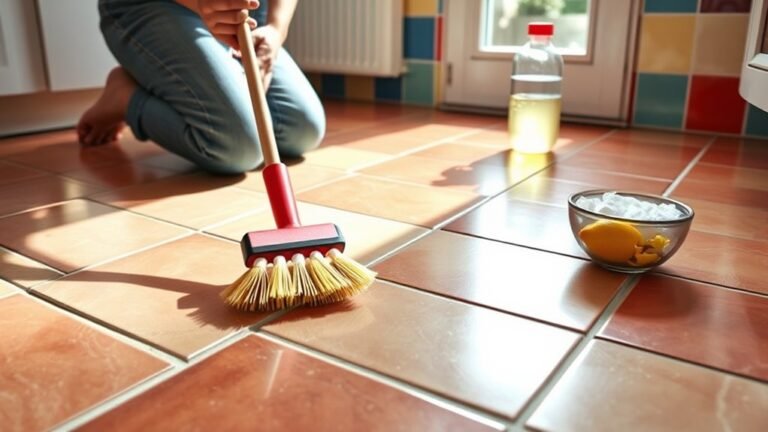
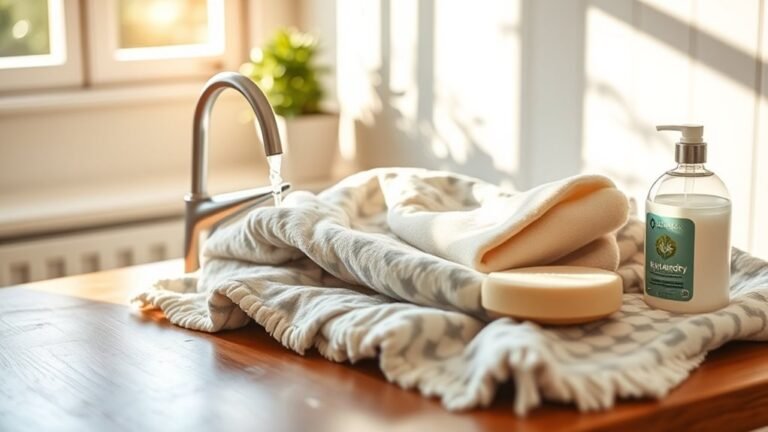
How to Make Homemade Bathroom Cleaner
You can make a natural bathroom cleaner by mixing one cup of white vinegar with one cup of water in a spray bottle. Add baking soda for extra scrubbing power and a few drops of essential oil if you like a fresh scent. This combo cuts through grime, disinfects, and deodorizes gently without harsh chemicals. Just spray, let it sit, then scrub and rinse. If you want to know more about tackling tough stains and storage tips, keep exploring the details ahead.
Essential Ingredients for a Natural Bathroom Cleaner
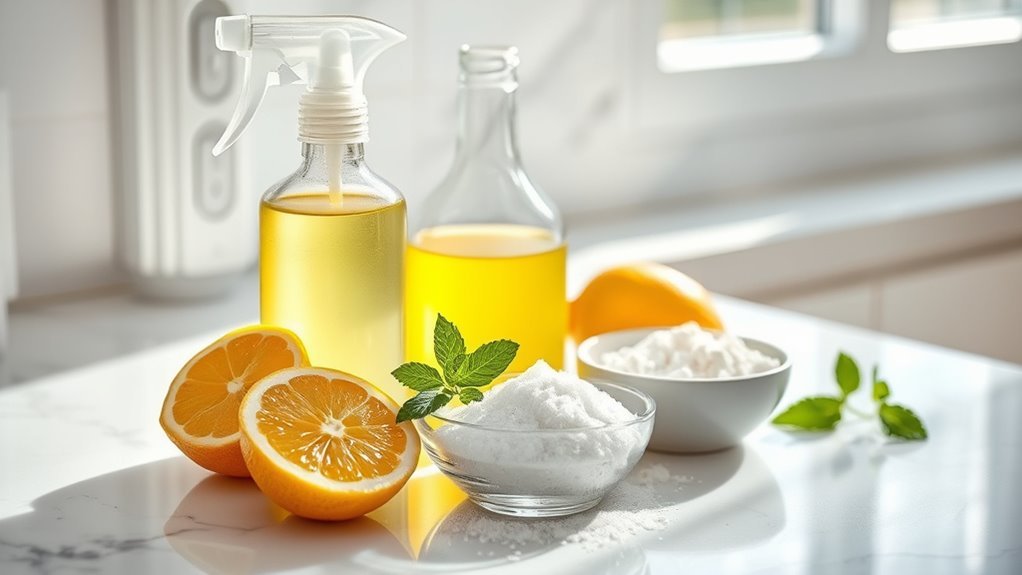
To make an effective natural bathroom cleaner, you’ll need just a few essential ingredients that are both safe and powerful. First, vinegar is a must-have because its natural acidity cuts through grime and soap scum effortlessly. Understanding vinegar properties, you’ll appreciate how it disinfects and deodorizes without harsh chemicals. Next, baking soda acts as a gentle abrasive that helps lift stains and scrub surfaces without scratching. When combined, these two create a dynamic duo that tackles tough bathroom messes while keeping your space toxin-free. Using these ingredients gives you the freedom to clean confidently, knowing you’re protecting your health and the environment. With just vinegar and baking soda, you reveal a simple, effective approach to maintaining a fresh, sparkling bathroom naturally.
Step-by-Step Guide to Mixing Your Cleaner
Now that you know the essential ingredients, let’s go through the exact steps to mix your bathroom cleaner. You’ll need to measure each component carefully to guarantee the right balance. Follow these simple mixing instructions, and you’ll have an effective cleaner ready in no time.
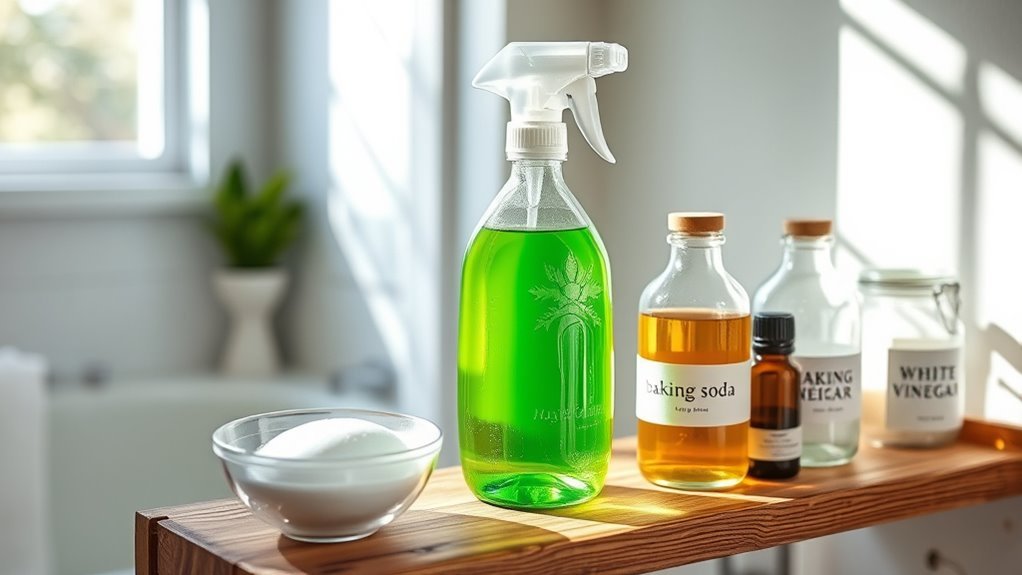
Essential Ingredients Needed
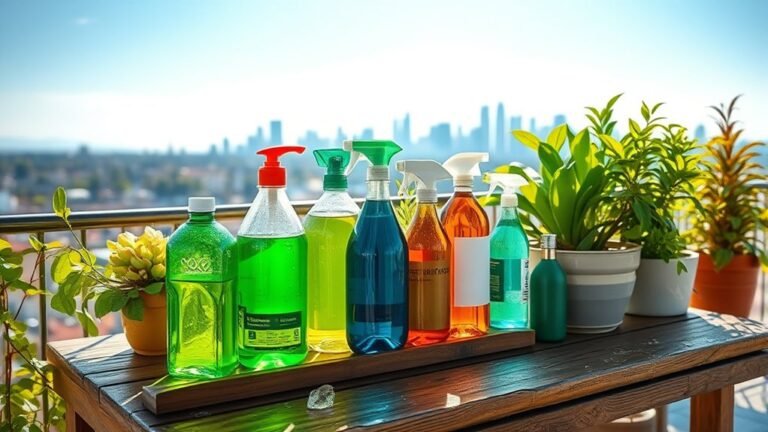
Three simple ingredients form the foundation of your homemade bathroom cleaner: white vinegar, baking soda, and liquid castile soap. These eco friendly alternatives offer powerful cleaning without harsh chemicals, giving you freedom from toxic fumes and residue. White vinegar cuts through grime, while baking soda tackles tough stains and deodorizes. Liquid castile soap adds gentle, natural cleansing power that’s safe on surfaces and skin alike.
Choosing these ingredients guarantees cleaning safety for you and your family, especially if you have kids or pets. They’re biodegradable and non-toxic, so you can clean confidently without worrying about harmful side effects. Keep these essentials stocked, and you’ll always have a reliable, effective cleaner ready to freshen your bathroom naturally and responsibly.
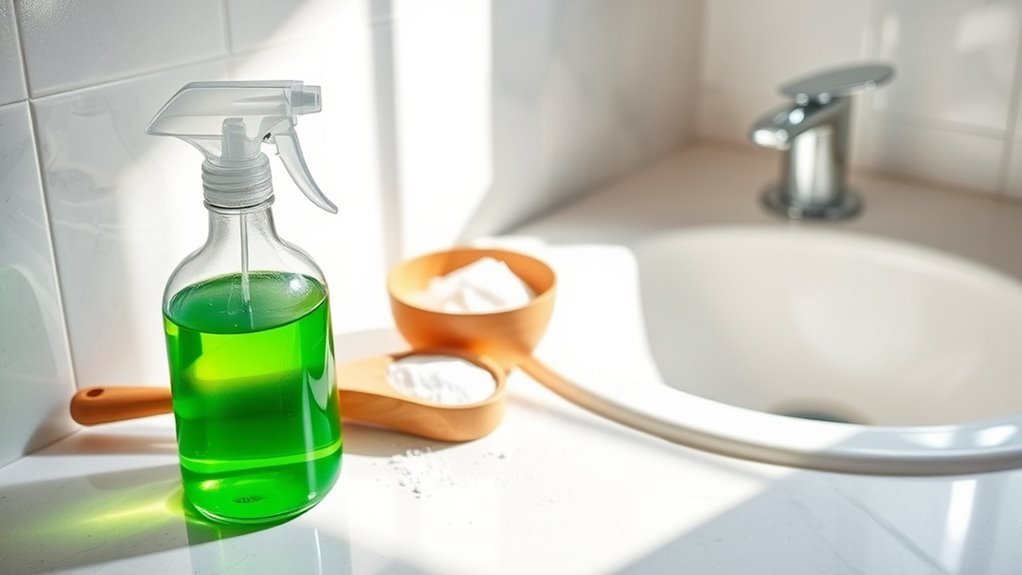
Mixing Instructions Detailed
Start by gathering your ingredients and a clean spray bottle to create your homemade bathroom cleaner. Pay attention to mixing ratios—usually, combining one cup of white vinegar with one cup of water is a solid base. Add a few drops of essential oil for a fresh scent, if you like. Next, use simple blending techniques: pour ingredients slowly into the bottle to avoid spills, and gently swirl or shake the bottle to mix everything evenly. Avoid vigorous shaking to prevent pressure buildup. Label your cleaner clearly to keep things organized. This straightforward method lets you control what goes into your cleaner, giving you freedom from harsh chemicals and commercial products. You’re now ready to clean confidently with your custom homemade solution!
Tips for Tackling Tough Bathroom Stains
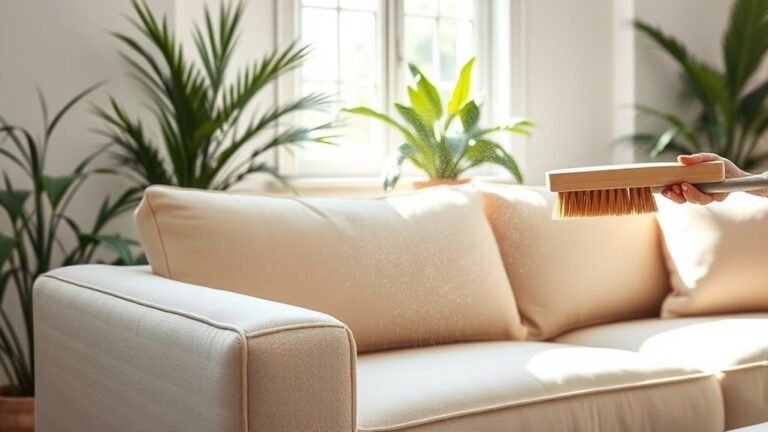
Although tough bathroom stains can seem stubborn, you can effectively remove them with the right approach. Start by identifying the type of stain to choose the best cleaning techniques. For mineral deposits or soap scum, apply your homemade cleaner directly and let it sit for a few minutes before scrubbing. For mold or mildew, add a bit of baking soda to boost stain removal power. Use a soft brush or sponge to avoid damaging surfaces while still tackling grime. Remember, patience and persistence pay off—repeat treatments might be necessary for the most stubborn spots. By mastering these simple stain removal tips, you’ll regain control over your bathroom’s cleanliness and enjoy the freedom of a fresh, inviting space without harsh chemicals.
Best Practices for Using Your Homemade Cleaner
Using your homemade bathroom cleaner effectively means knowing when and how to apply it for the best results. To keep your space fresh and spotless, consider these key points:
- Tailor your cleaning frequency to your bathroom’s use—high traffic areas might need weekly attention, while less-used spots can be cleaned biweekly.
- Always test your cleaner on a small area first to verify it suits different surface types, like tile, glass, or porcelain.
- Apply the cleaner generously, let it sit for a few minutes to break down grime, then wipe or scrub gently to avoid damage.
- Rinse thoroughly with water to prevent residue buildup, especially on surfaces prone to streaks or dullness.
Following these practices gives you freedom to maintain a sparkling bathroom without harsh chemicals or wasted effort.
Storage and Shelf Life of Your Cleaner
Because homemade bathroom cleaners often lack preservatives found in commercial products, you’ll need to store them properly to maintain their effectiveness. Choose airtight storage containers made of glass or durable plastic to prevent contamination and evaporation. Label your containers with the date you made the cleaner to keep track of its shelf life. Typically, your homemade solution will stay fresh for about one to two weeks, depending on the ingredients used. If you notice any changes in color, smell, or consistency, it’s best to discard and make a fresh batch. By managing your storage containers thoughtfully and respecting the shelf life, you maintain the freedom to clean naturally without sacrificing quality or safety. This simple step guarantees your cleaner stays ready whenever you need it.
Additional Natural Cleaning Hacks for Your Bathroom
You can boost your bathroom cleaner’s power by adding essential oils, which bring natural antibacterial and freshening properties. Making your own scrubbing tools, like a pumice stone or baking soda scrub brush, helps tackle tough grime without harsh chemicals. These simple hacks make your cleaning routine more effective and eco-friendly.
Essential Oils Benefits
Although essential oils might seem like just a fragrant addition, they actually bring powerful antibacterial and antifungal properties to your homemade bathroom cleaner. By choosing the right essential oils, you enhance both cleaning properties and the overall experience, allowing you to clean freely with nature’s help.
Here are four benefits you’ll appreciate:
- Natural disinfectant: Oils like tea tree and eucalyptus fight germs without harsh chemicals.
- Mold and mildew control: Lavender and lemon oils help prevent fungal growth in damp areas.
- Pleasant scent: Essential oils leave your bathroom smelling fresh, avoiding synthetic fragrances.
- Mood booster: Scents like peppermint can energize you during cleaning, making the chore less tedious.
Using essential oils empowers you to maintain a cleaner, healthier bathroom while embracing freedom from toxins.
DIY Scrubbing Tools
A few simple items from around your home can turn into effective scrubbing tools that make bathroom cleaning easier and greener. Instead of buying harsh chemical scrubbers, you can craft diy scrubbing brushes using things like old toothbrushes, bottle brushes, or even cut-up sponges. These natural scrubbers not only save money but also reduce plastic waste and exposure to toxins. Grab a wooden spoon and wrap some natural fiber cloth or coconut coir around it for a sturdy, eco-friendly brush perfect for grout and tiles. With just a little creativity, you’re free to customize your tools for any tough spot in your bathroom. Using these DIY scrubbing brushes means you’re in control—cleaning effectively while staying kind to the planet.
Frequently Asked Questions
Can Homemade Bathroom Cleaner Damage Certain Surfaces?
You might find that homemade bathroom cleaner can sometimes damage certain surfaces if you’re not careful. Surface compatibility is key—you’ll want to test on a small area first to avoid any unwanted effects. While homemade solutions offer freedom and control, their cleaner effectiveness varies, so balancing ingredients is vital. By understanding your surfaces and adjusting recipes, you can enjoy a safer, effective clean without compromising your freedom to customize.
Is Homemade Bathroom Cleaner Safe for Septic Systems?
You’ll be glad to know homemade bathroom cleaners generally offer better septic safety than harsh chemicals. Since they often use natural, eco friendly options like vinegar and baking soda, they break down easily without harming your septic system. This means you can keep your freedom from worrying about costly repairs while staying environmentally conscious. Just avoid overly acidic or oily mixtures to maintain that balance and protect your system effectively.
How Often Should I Clean My Bathroom With This Solution?
You should follow frequency guidelines that fit your lifestyle to keep things fresh without feeling chained to a strict cleaning schedule. Generally, cleaning your bathroom once a week works well to prevent buildup and maintain hygiene. However, if you prefer more freedom, you can adjust it based on usage—maybe twice a week for heavy use or every two weeks if it’s rarely used. The key is to find a rhythm that feels natural for you.
Can I Use Essential Oils for Fragrance in the Cleaner?
Think of essential oils like the final brushstroke on a painting—they add personality and depth. You can definitely use essential oils for fragrance in your cleaner. Not only do they smell amazing, but many have natural cleaning benefits, like antibacterial and antifungal properties. Lavender, tea tree, or lemon oils are popular choices that boost freshness while supporting a cleaner bathroom. You’re free to customize your cleaner’s scent and power, making it uniquely yours.
What Should I Do if I Accidentally Ingest the Cleaner?
If you accidentally ingest the cleaner, your first step is to stay calm and act quickly. Don’t induce vomiting unless instructed by a medical professional. Call emergency response or poison control immediately for first aid advice. Keep the cleaner’s ingredients handy to provide accurate info. Remember, knowing what to do in these moments gives you the freedom to handle emergencies confidently and keep yourself safe without panic.