How to Make Homemade Bike Cleaner
You can make an effective homemade bike cleaner by mixing 1 tablespoon of baking soda with 2 tablespoons of a vinegar solution (one part white vinegar, three parts water). Stir gently until fizzing stops, then apply using a soft cloth or brush to avoid damage. This combo safely breaks down dirt and grease while protecting your bike’s finish. Store it in a sealed container for up to a week. Keep exploring for detailed application tips and eco-friendly alternatives.
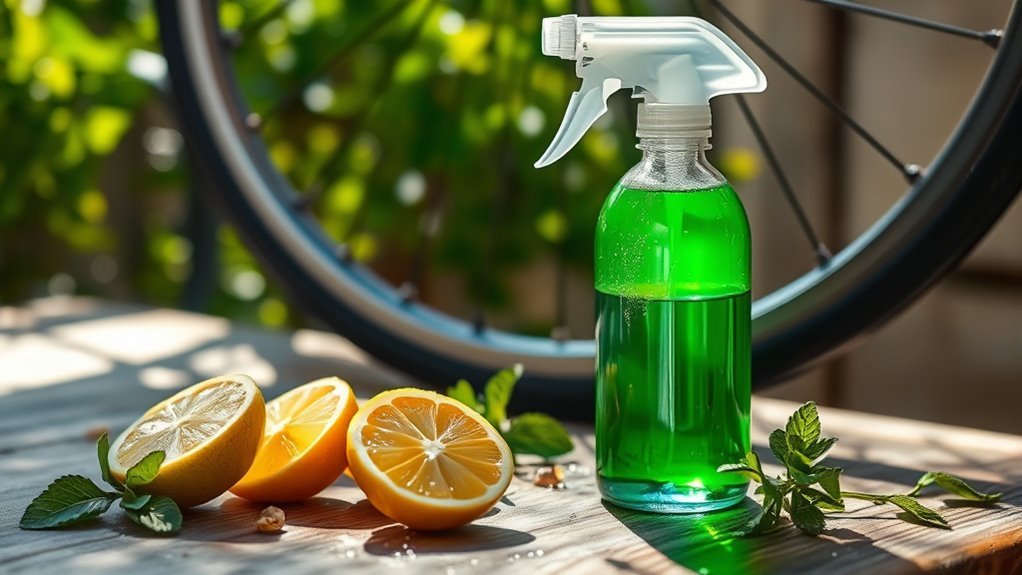
Essential Ingredients for Your Homemade Bike Cleaner
Creating an effective homemade bike cleaner starts with selecting the right ingredients that balance cleaning power and bike safety. You’ll want a vinegar solution as a primary component; it’s mildly acidic, breaking down grime without harming metal or paint when diluted properly. Combine one part white vinegar with three parts water for peak strength. Baking soda complements this by acting as a gentle abrasive, lifting stubborn dirt and neutralizing odors. When used together, the vinegar solution and baking soda create a controlled reaction that enhances cleaning efficacy without damaging delicate parts. Avoid harsh chemicals to guarantee your bike’s finish remains intact while you maintain freedom on the road. These essential ingredients provide a safe, eco-friendly base to keep your bike clean and ready for your next ride. Incorporating natural ingredients like vinegar and baking soda not only protects your bike but also promotes a healthier environment.
Step-by-Step Guide to Mixing Your Cleaner
Now that you’ve gathered your vinegar solution and baking soda, it’s time to combine them carefully to maximize cleaning power without risking damage. Follow precise mixing ratios to guarantee effectiveness. Typically, mix one part baking soda to two parts vinegar solution. Adjust according to cleaning frequency: more frequent cleaning requires a milder mixture to protect your bike’s finish.
| Step | Action |
|---|---|
| 1 | Measure 1 tablespoon baking soda |
| 2 | Add 2 tablespoons vinegar solution |
| 3 | Stir gently until fizzing subsides |
Mix slowly to avoid excessive fizz, which could reduce cleaning power. Store your cleaner in a sealed container for up to one week, adjusting the mixing ratios based on how often you clean your bike. Using bike-specific cleaner ingredients helps maintain the bike’s performance and appearance.
Tips for Applying the Cleaner to Different Bike Parts
Although the homemade cleaner is effective across your bike, applying it correctly to each part guarantees ideal results and prevents damage. When applying cleaner to the frame, use a soft cloth or sponge with gentle pressure to avoid scratching the paint. For the drivetrain, carefully spray or apply cleaner to the chain, cassette, and derailleurs, ensuring you don’t oversaturate components to prevent lubricant washout. Use a small brush for tight areas like spokes and brake calipers, allowing the cleaner to loosen dirt without forcing it in. Avoid applying cleaner directly to bearings or suspension seals to preserve their integrity. Proper applying cleaner techniques not only optimize bike maintenance but also extend component lifespan, letting you enjoy your ride with freedom and confidence. Remember to use eco-friendly products to minimize environmental impact while cleaning.
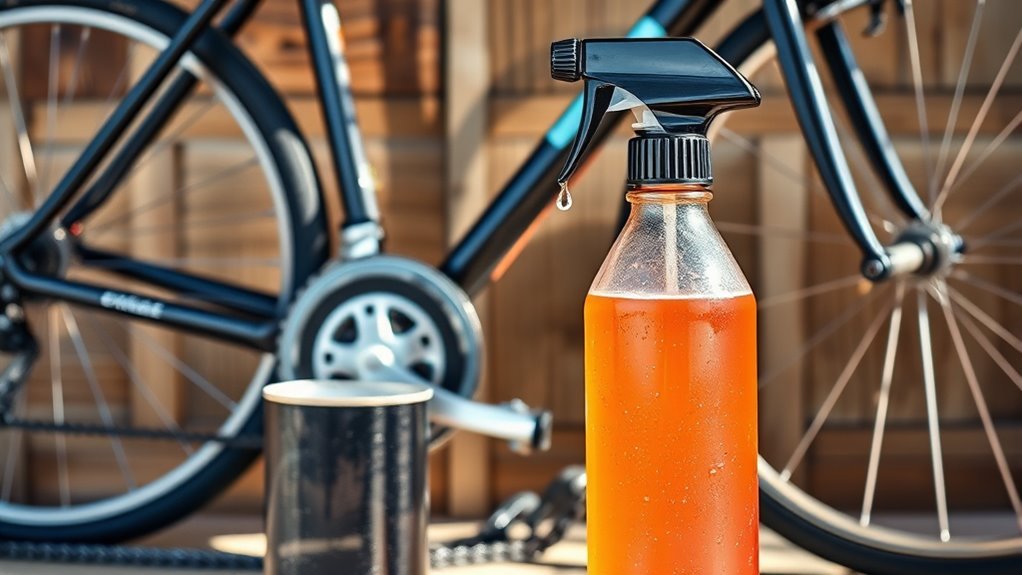
How to Remove Tough Dirt and Grease Effectively
Tackle tough dirt and grease by applying your homemade bike cleaner directly to the affected areas and letting it soak for several minutes. This dwell time activates the grease dissolving agents, breaking down stubborn residues efficiently. Next, use a stiff-bristled brush or an old toothbrush to agitate the grime with targeted dirt removal techniques, focusing on drivetrain components and heavily soiled spots. Avoid abrasive tools that may damage surfaces. Rinse thoroughly with water to flush away loosened debris, ensuring no cleaner residue remains. Repeat the process if necessary for persistent buildup. By mastering these steps, you’ll maintain your bike’s performance and appearance without relying on harsh chemicals, giving you the freedom to clean effectively and responsibly. For best results, always choose gentle, non-abrasive cleaners to protect your bike’s finish while removing dirt and grease.
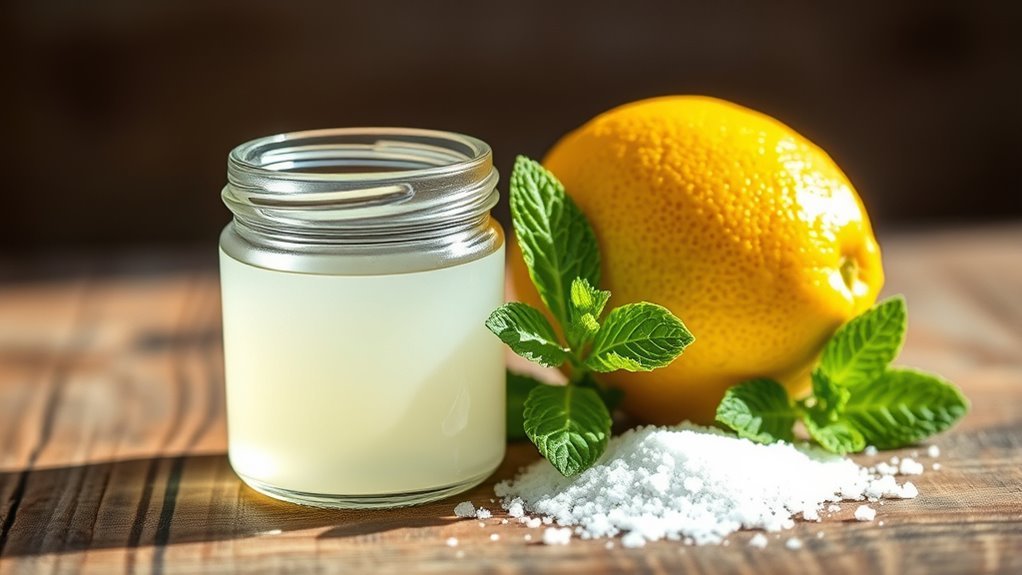
Eco-Friendly Alternatives for Bike Cleaning
When choosing bike cleaning methods, you’ll want to contemplate eco-friendly alternatives that minimize environmental impact without compromising effectiveness. Opt for eco friendly products such as biodegradable soaps made from natural surfactants, which break down quickly and won’t harm soil or waterways. Utilize sustainable practices like using reusable microfiber cloths instead of disposable wipes and limiting water usage by applying cleaner directly with a spray bottle. Incorporate ingredients like white vinegar and baking soda to tackle grime and grease; they’re effective and non-toxic. Avoid harsh chemicals that can degrade ecosystems. By integrating these eco friendly products and sustainable practices, you maintain your bike’s performance while preserving the environment. This approach guarantees freedom from harmful residues and supports responsible maintenance aligned with your values. Choosing reusable cleaning tools like microfiber cloths also reduces plastic waste and enhances cleaning efficiency.
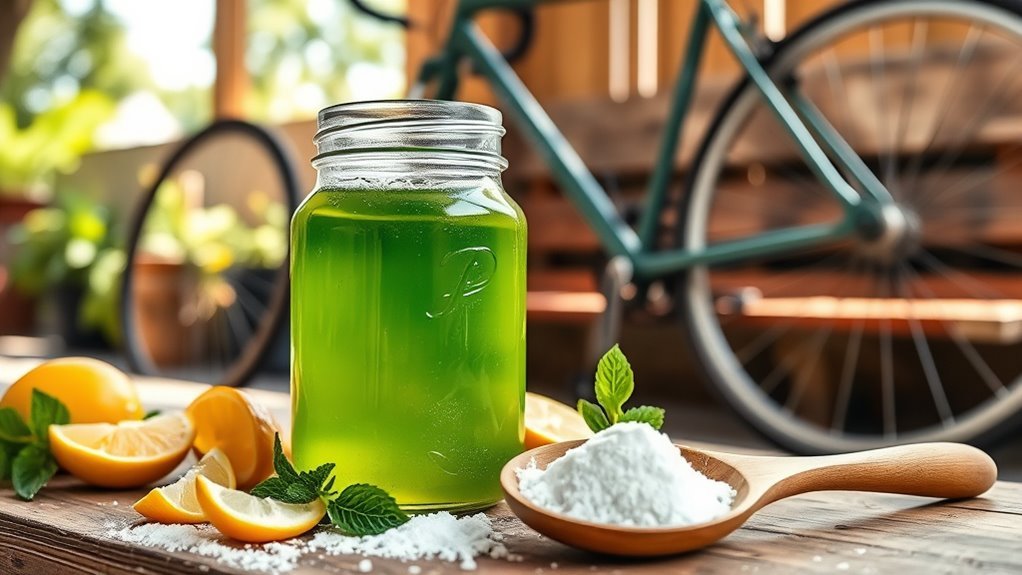
Storing and Maintaining Your Homemade Cleaner
To guarantee your homemade bike cleaner remains effective over time, you’ll need to store it properly and perform regular maintenance. First, use an airtight container to prevent contamination and evaporation, which directly affects the cleaner lifespan. Store the container in a cool, dark place away from direct sunlight and heat sources, as temperature fluctuations degrade the solution’s integrity. Label the container with the preparation date to track its age. Periodically, inspect your cleaner for separation or odor changes; if either occurs, discard the batch and prepare a fresh one. Before each use, shake the container gently to re-mix any settled ingredients. Following these storage tips guarantees your homemade cleaner maintains its intended performance, giving you the freedom to clean your bike efficiently and sustainably whenever needed. Additionally, incorporating bike-specific degreaser can help safely tackle stubborn dirt and grease without damaging your bike.
Frequently Asked Questions
Can Homemade Bike Cleaner Damage Bike Paint or Components?
You shouldn’t worry too much about paint protection if you choose your cleaner ingredients wisely. Some homemade bike cleaners can harm your paint or components if they contain harsh chemicals or abrasive materials. Always opt for gentle, pH-balanced ingredients like mild soap and water to avoid damage. Test your solution on a small area first, so you’re sure it won’t degrade finishes or weaken parts. Proper cleaner ingredients guarantee freedom from damage.
How Often Should I Clean My Bike Using Homemade Cleaner?
You should stick to a weekly maintenance cleaning schedule to keep your bike in prime shape without risking damage. Regularly removing dirt and grime prevents buildup that can wear down components. If you ride in muddy or wet conditions, increase cleaning frequency accordingly. This disciplined routine guarantees peak performance and extends your bike’s lifespan while granting you the freedom to ride confidently every time.
Is Homemade Bike Cleaner Safe for Electric Bikes?
When it comes to electric bike safety, you don’t want to throw caution to the wind. Homemade cleaning solutions can be safe if used carefully—avoid soaking electrical components or using harsh chemicals that might damage seals or wiring. Use a gentle, water-based cleaner and a soft cloth, and always keep electrical parts dry. This way, you maintain your bike’s freedom to roam without risking costly damage or safety hazards.
Can I Use Homemade Cleaner on Bike Chains Without Lubrication Afterward?
You shouldn’t skip lubrication after using any cleaner on your bike chain. Proper bike chain maintenance demands it because cleaning strips away essential oils that reduce friction and prevent rust. Without reapplying lubricant, your chain will wear out faster and perform poorly. So, after cleaning—even with homemade solutions—make sure you thoroughly dry the chain and then apply a suitable lubricant to keep your ride smooth and extend your chain’s lifespan.
How Does Homemade Cleaner Compare to Commercial Bike Cleaning Products?
When it comes to effectiveness comparison, homemade bike cleaners can be a double-edged sword—they’re often gentler but might not tackle grime as aggressively as commercial products. From a cost analysis standpoint, you’ll save money making your own, but it requires more elbow grease. If you crave freedom from chemicals and high prices, homemade options let you customize ingredients. Just remember, commercial cleaners are engineered for maximum efficiency and ease, so weigh your priorities carefully.


